|
Sd.Kfz 234/1 |
|||
| Kit # 7244 | Preview by Rob Haelterman - heman_148(at)hotmail.com | |||
|
Sd.Kfz 234/1 |
|||
| Kit # 7244 | Preview by Rob Haelterman - heman_148(at)hotmail.com | |||
 |
1. Packaging Flimsy side-opening cardboard box with individual zipper-type plastic bags (organised per subassembly, but without part numbers).
2. Type of kit Resin kit with interior, but without
decals and with limited painting suggestions (except for the picture
on the box-top and some indications in the manual). Tulle provided
for turret mesh.
3. Quality of casting The casting quality is very good, with next to no air bubbles, warpage or other annoying discrepancies. Only one small, fragile part was broken on the sprues. The detail is quite crisp. Most of the larger parts come with
substantial molding carrots, which are sometimes hard to carve away,
especially on the insides of the wheels. The latter require a major
effort. Incidentally, Attack
and Armory have both also
released resin wheels, with casting blocks that are far easier to
remove, but are still in a somewhat annoying location. A very nice thing about this kit is that it allows you to open most hatches and visors. Until a couple of years ago, this kit
was the only high quality offering of this important AFV. Today (2011 AD) we
have releases of the Sd.Kfz 234 by Roden, Italeri and Hasegawa, and a host of aftermarket
parts. (See the Sd.Kfz.
234 article for more details.)
4. Version As most readers with a passing interest in the Sd.Kfz.234 will know, four main versions of this vehicle existed, the /1, /2, /3 and /4. Some might even know that a very limited number were fitted with a Schwebelafette or a Luchs turret (both currently available from Modell Trans.). Production of the 4 main variants can
be summarized as follows: MarS has released the 234/1 and 234/2, which logically share many components. The hull of the /2 is a solid piece, i.e. without interior, though. The Sd.Kfz.234 underwent some minor changes during the production run:
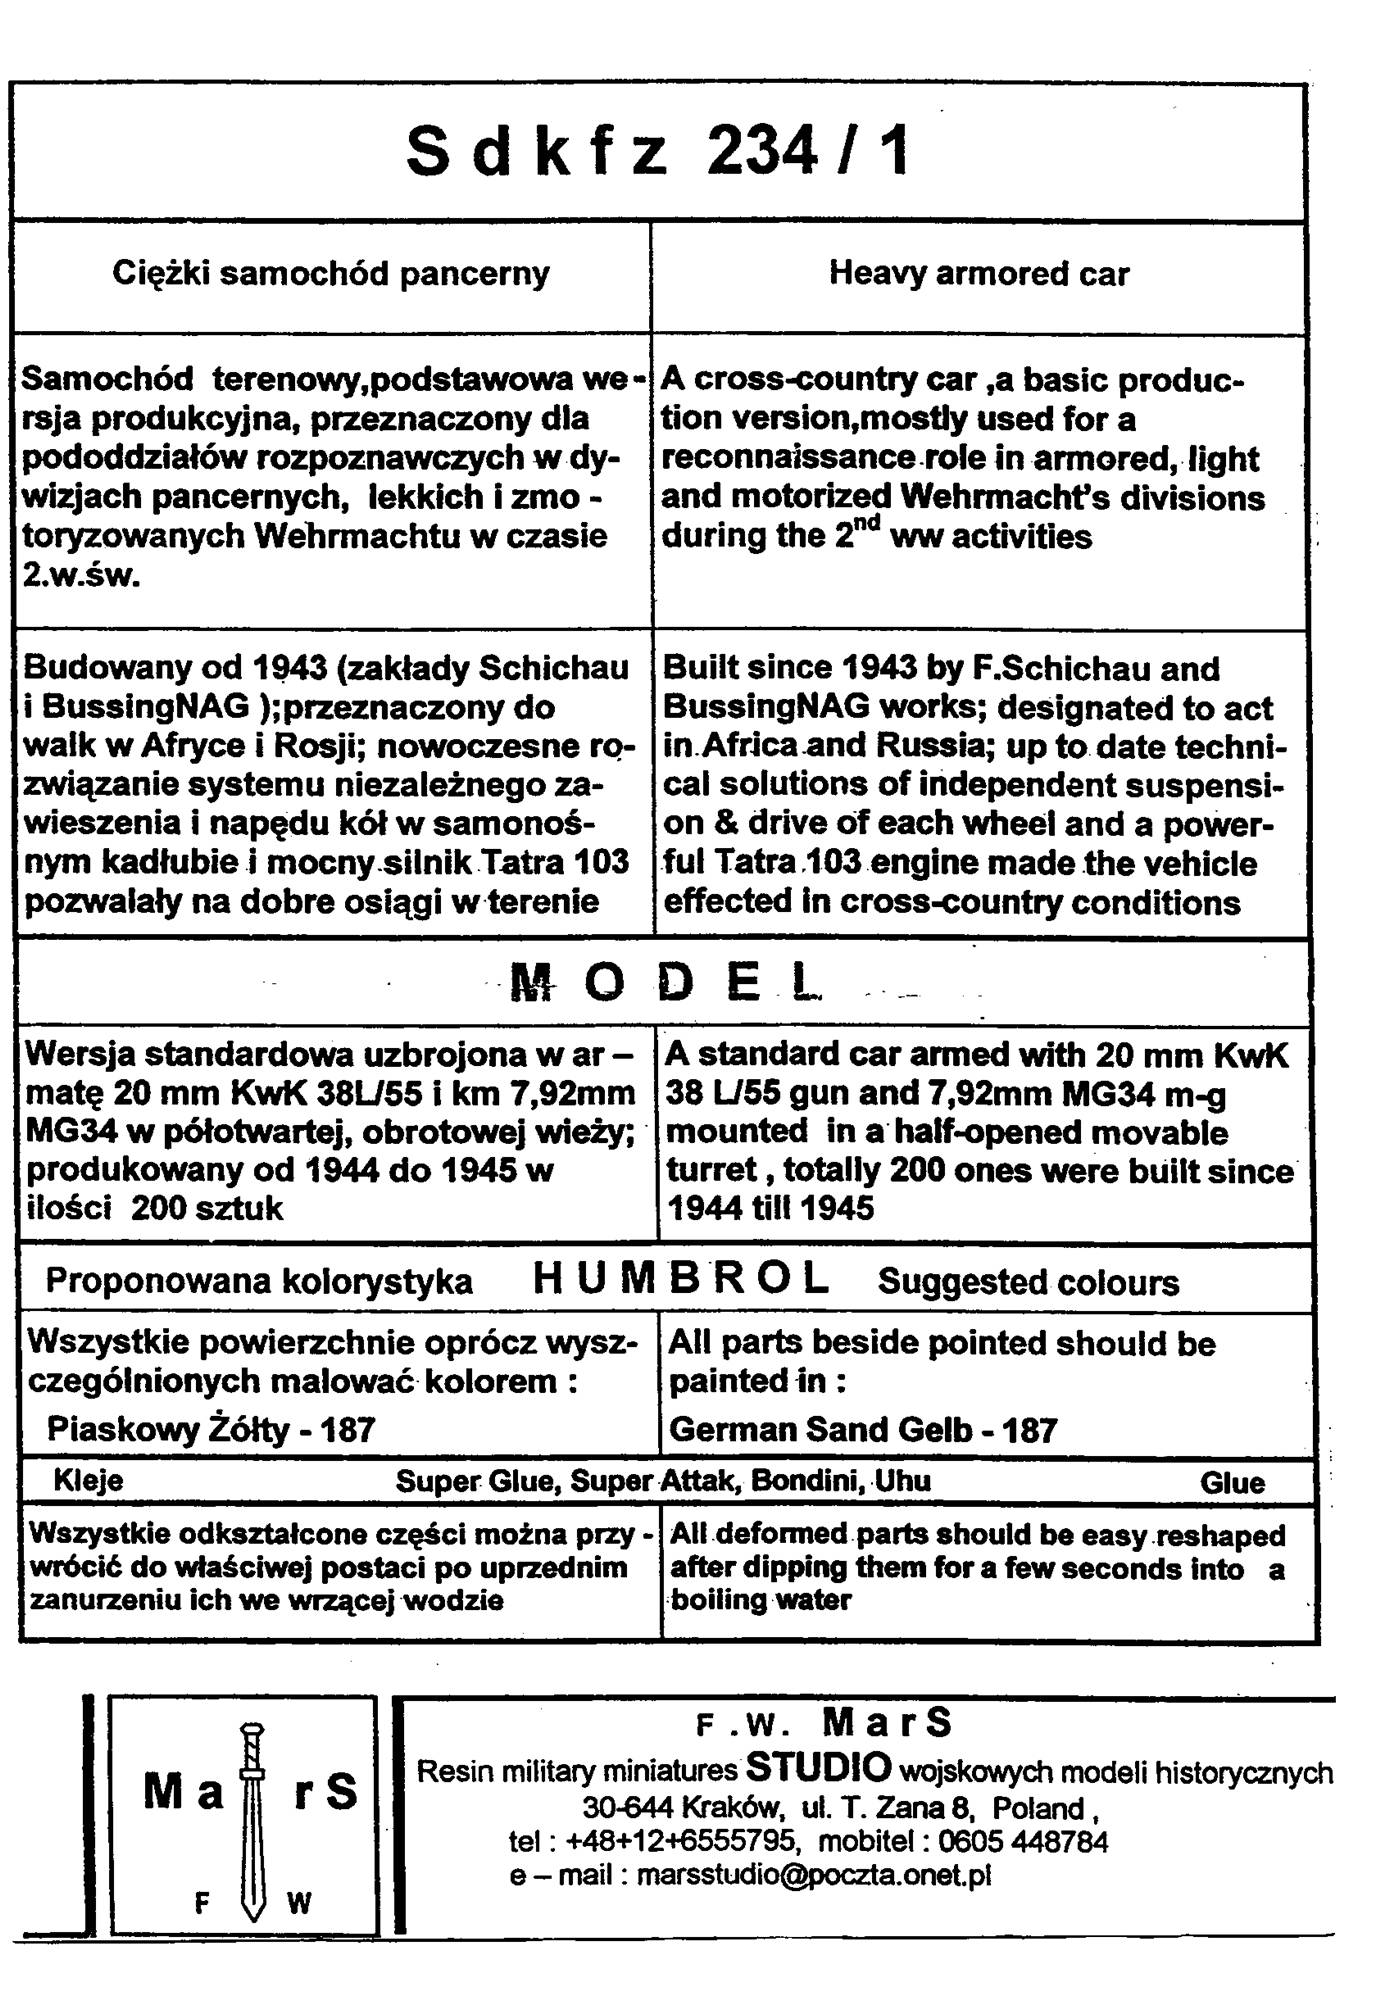
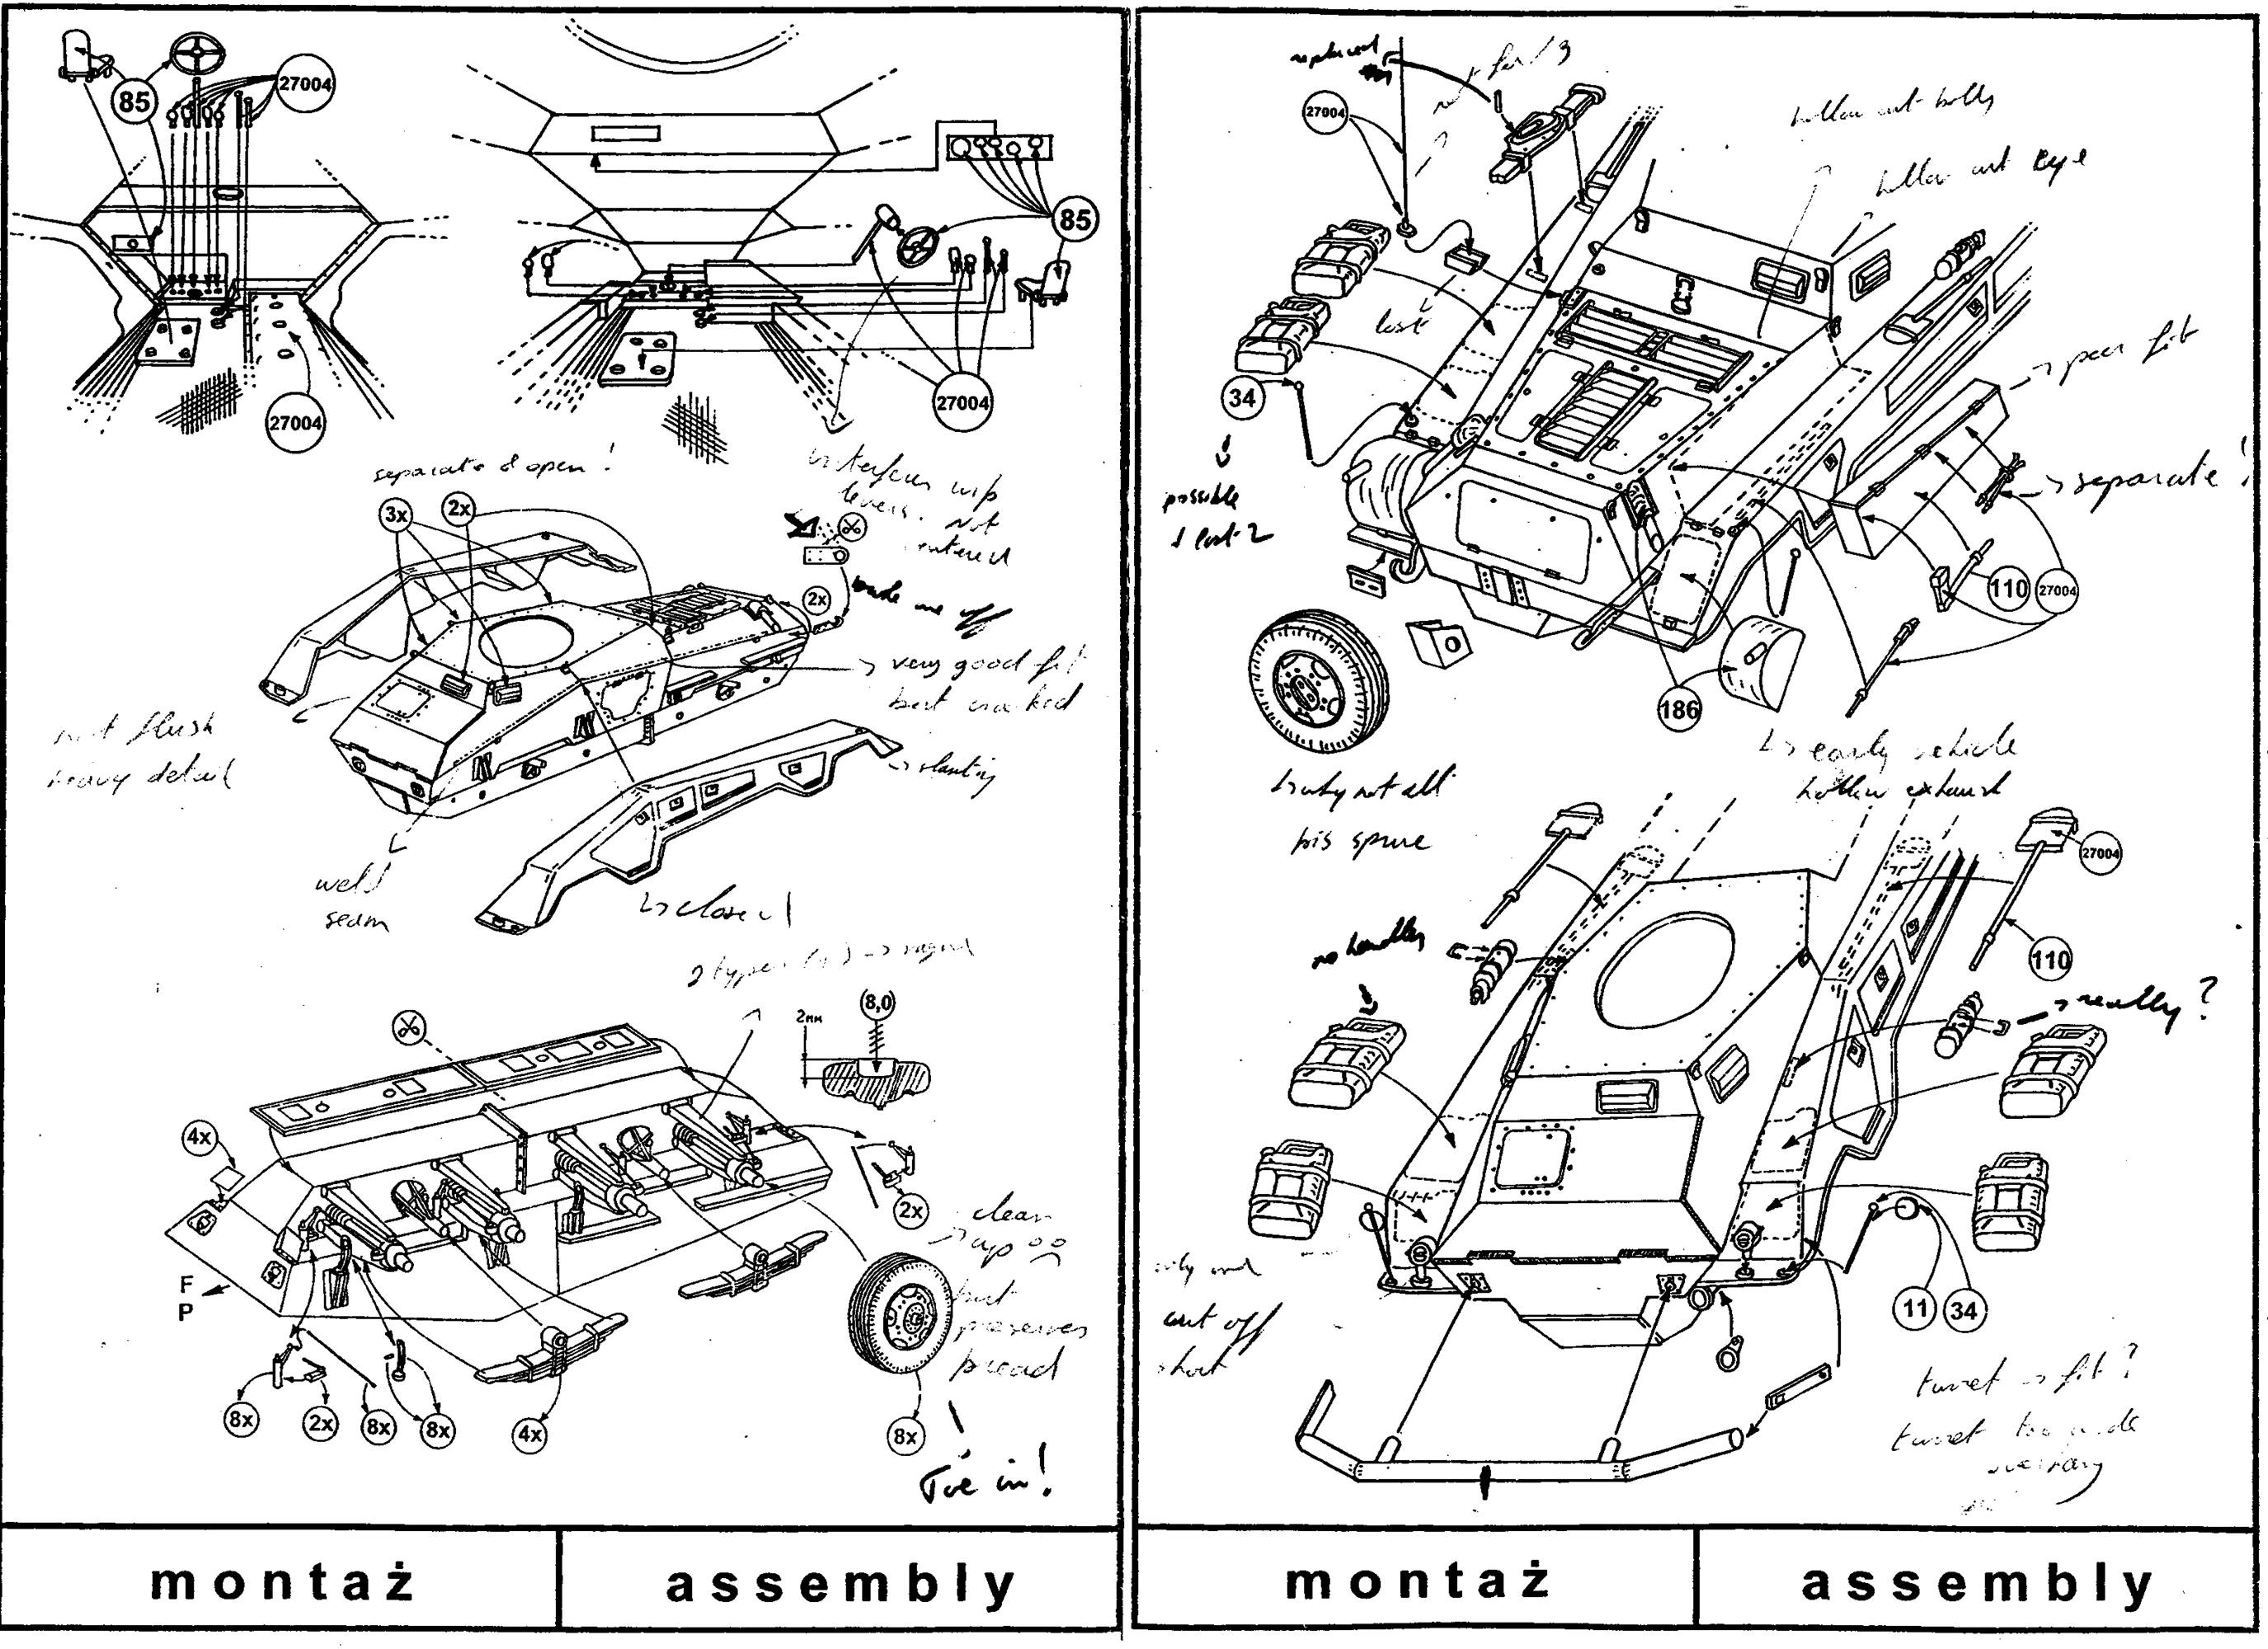
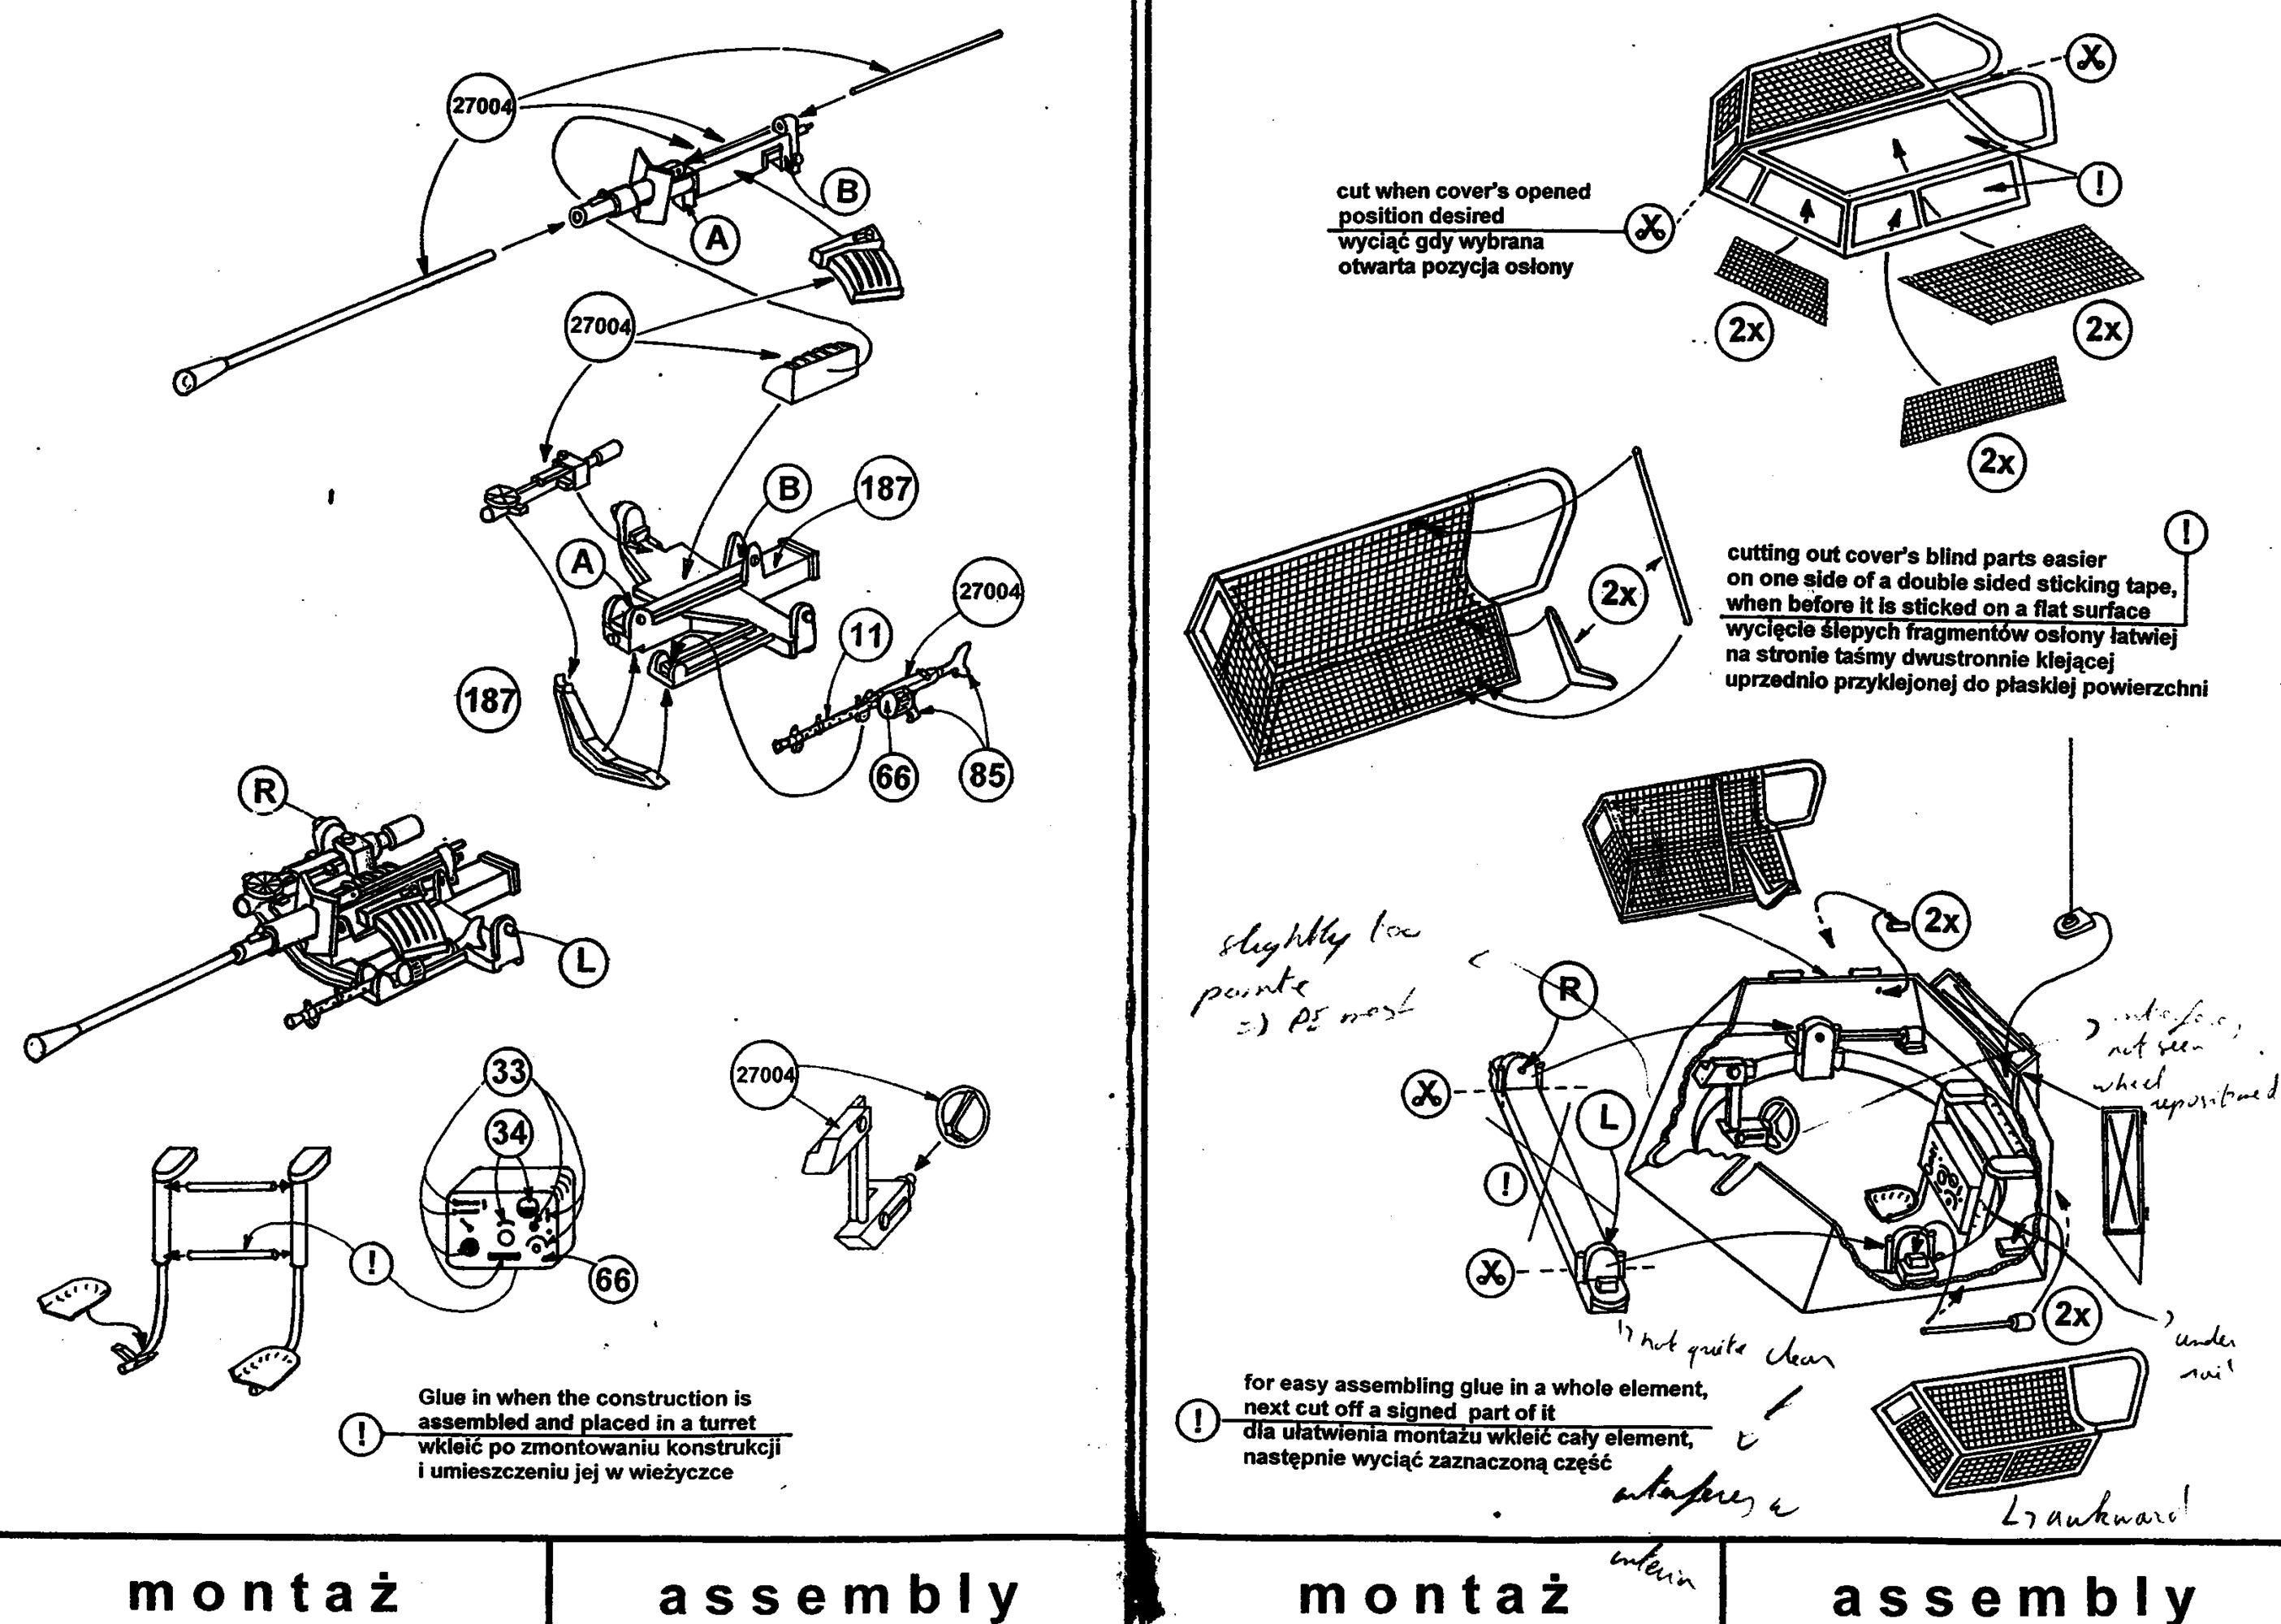
5. Instruction sheet: The instructions consist of hand drawn
"exploded" sketches, which are not always 100% clear. The
lack of numbering on the kit parts (which are very numerous) does
not make it any easier. Because the parts are packaged according to
their subassembly you can eventually figure out where everything goes...
at least, I believe I did.
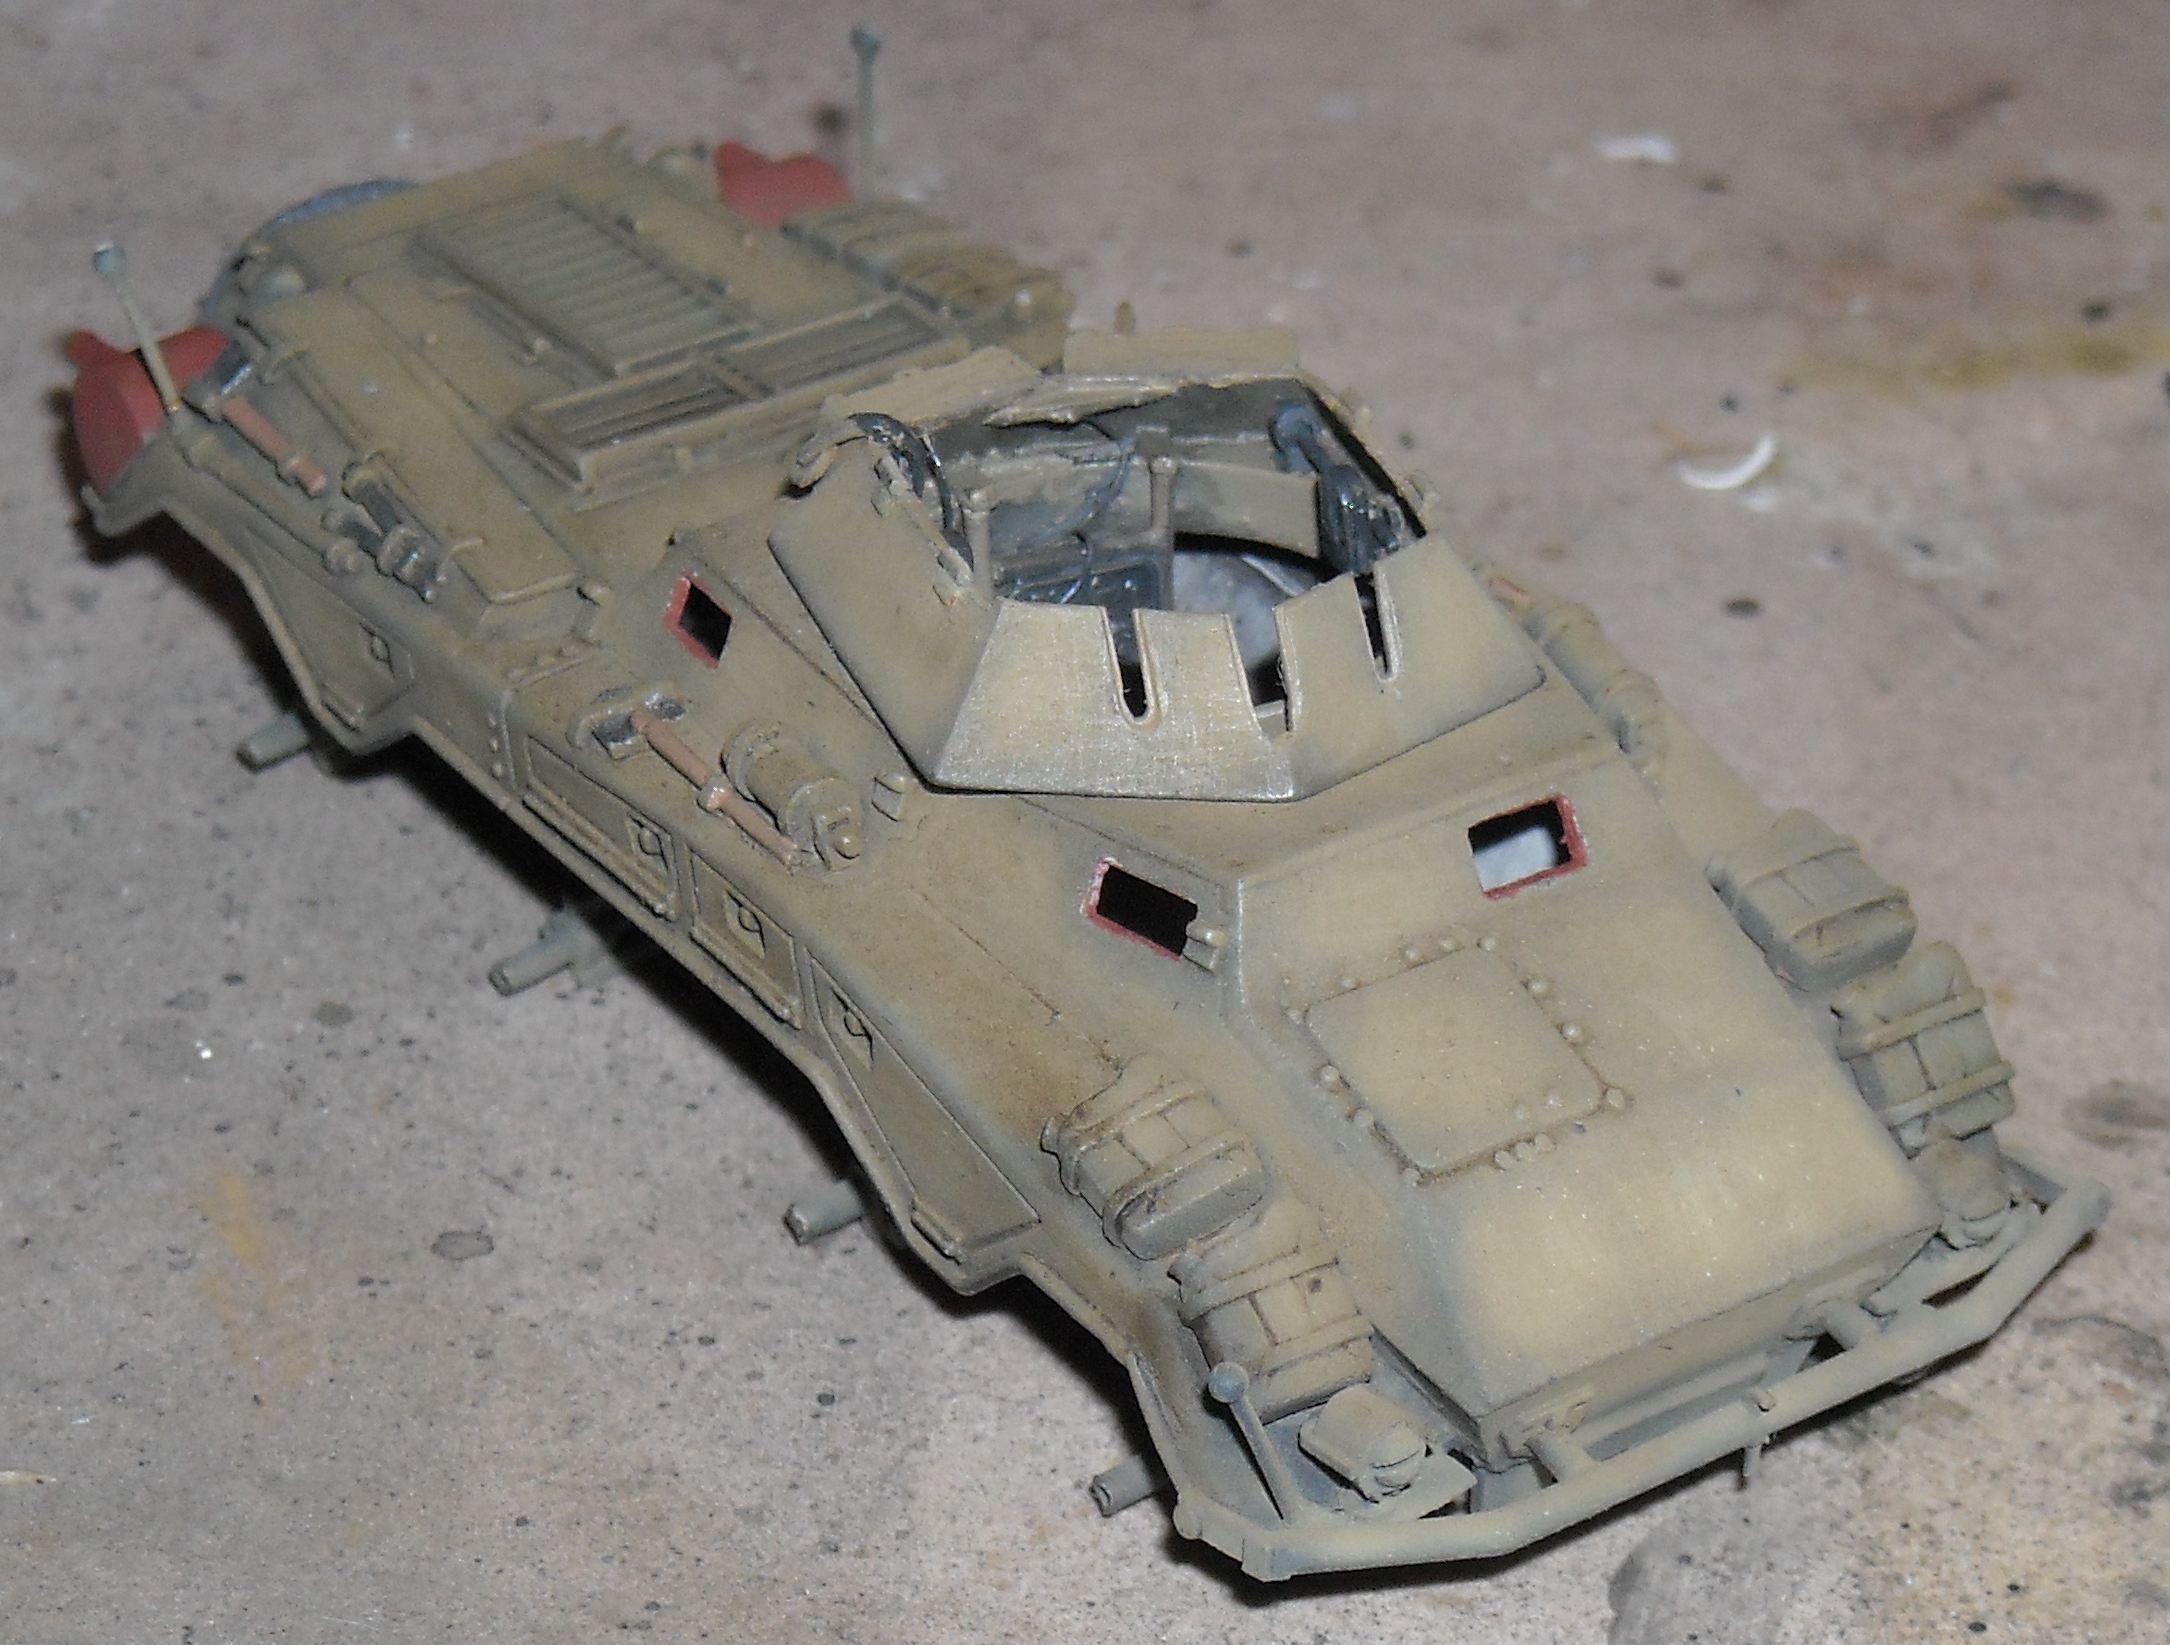
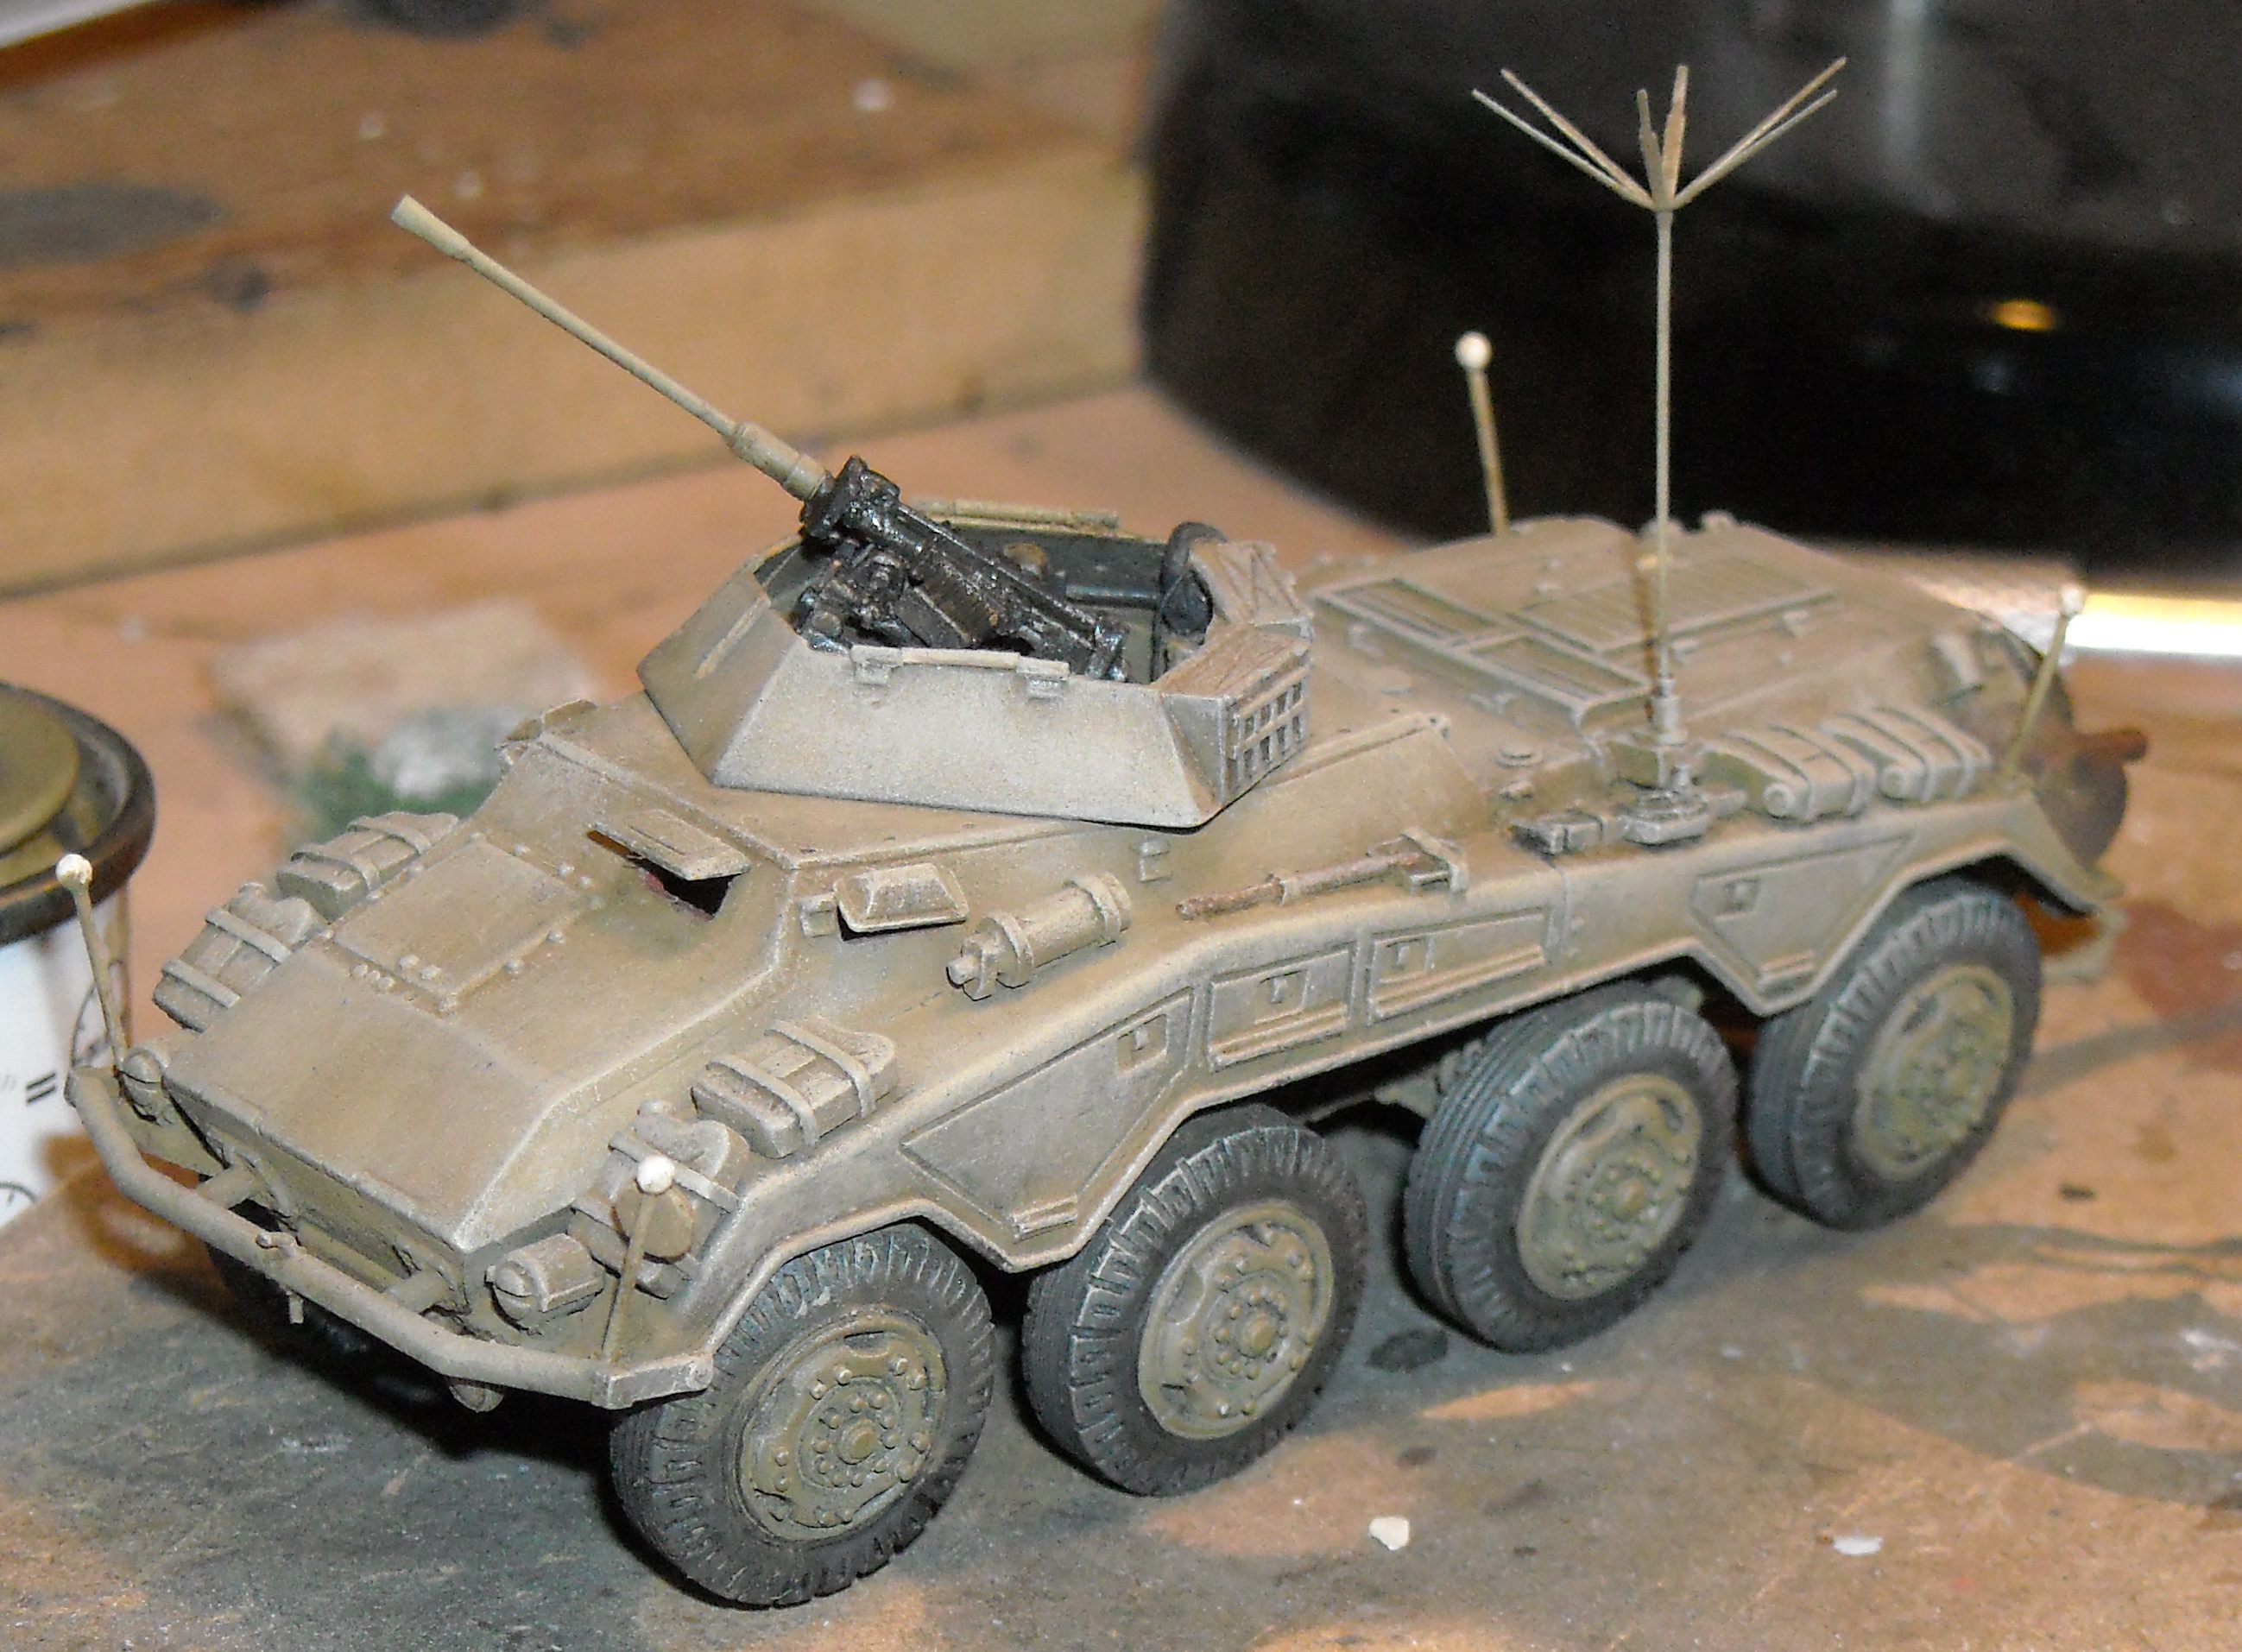
6. Construction Preliminary note: I built this kit over multiple "sessions" and moved house two times during its protracted construction. It is therefore possible I lost some notes or lost some memories, if not parts. I suggest one starts with removing
the huge carrots from the rear of the wheels, and I hope one has a
motor tool at one's disposal for that. Even then, it will be difficult
to obtain a flat rear side of the wheel. (This will be partially visible
on the completed model.) After that, everything is smooth sailing
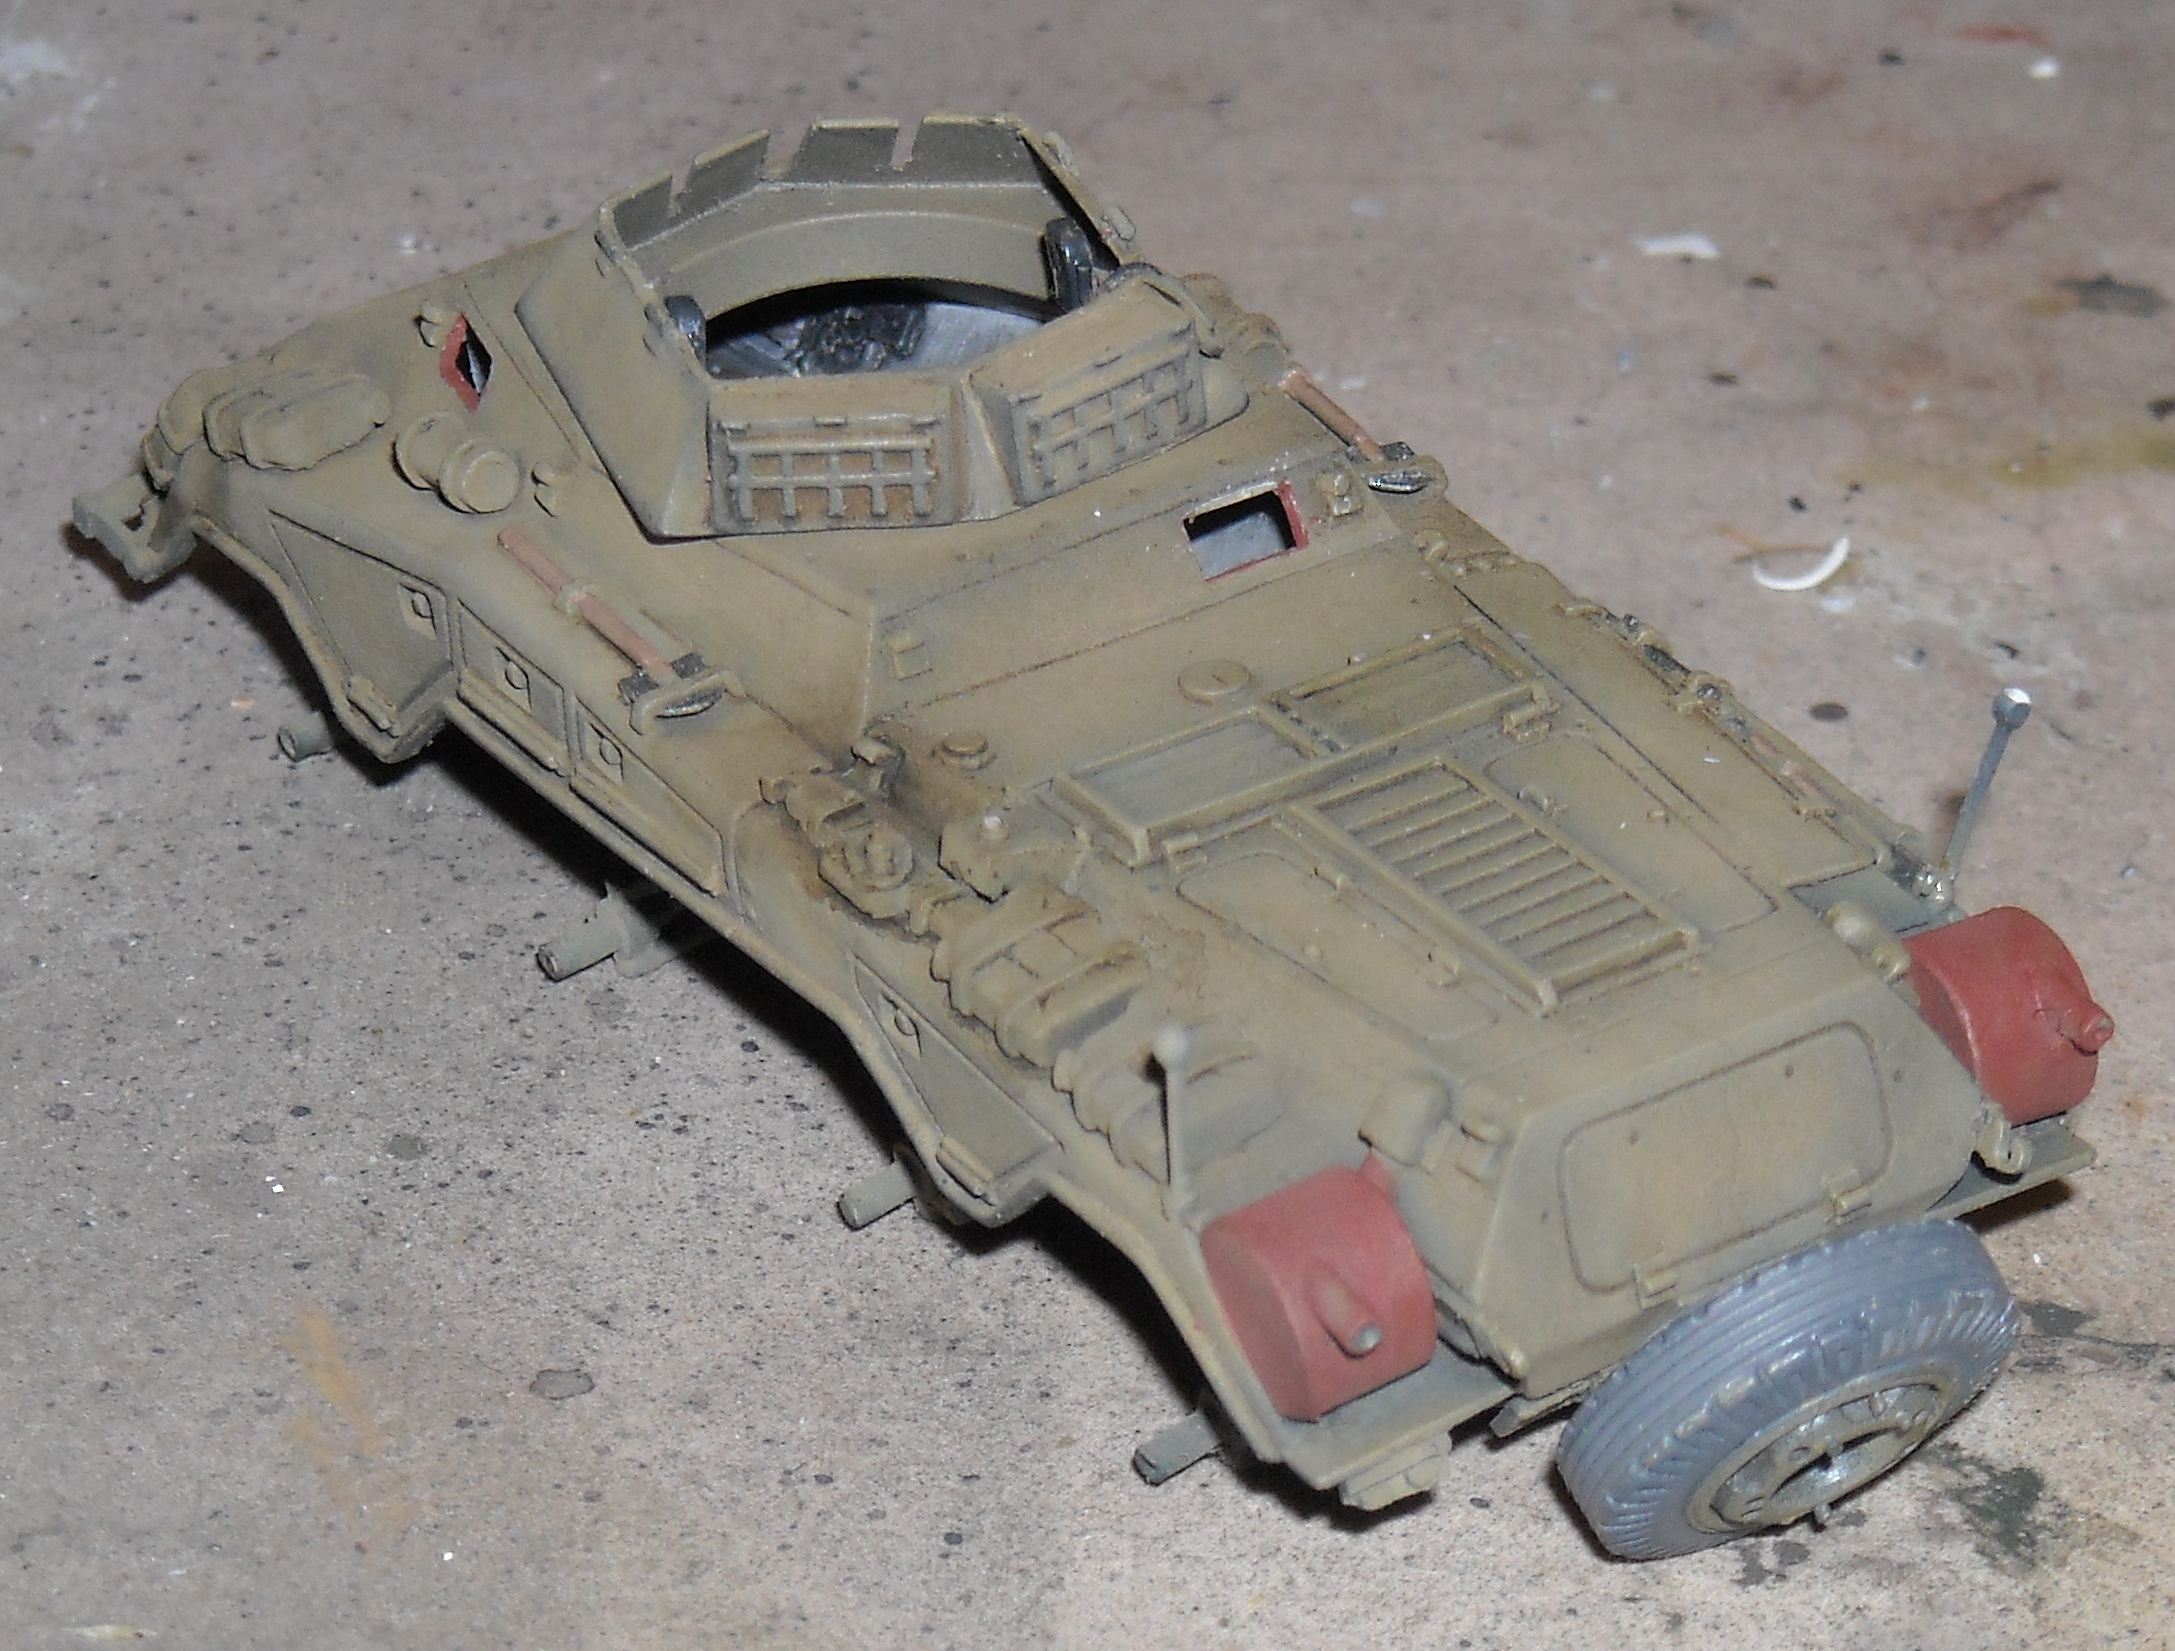
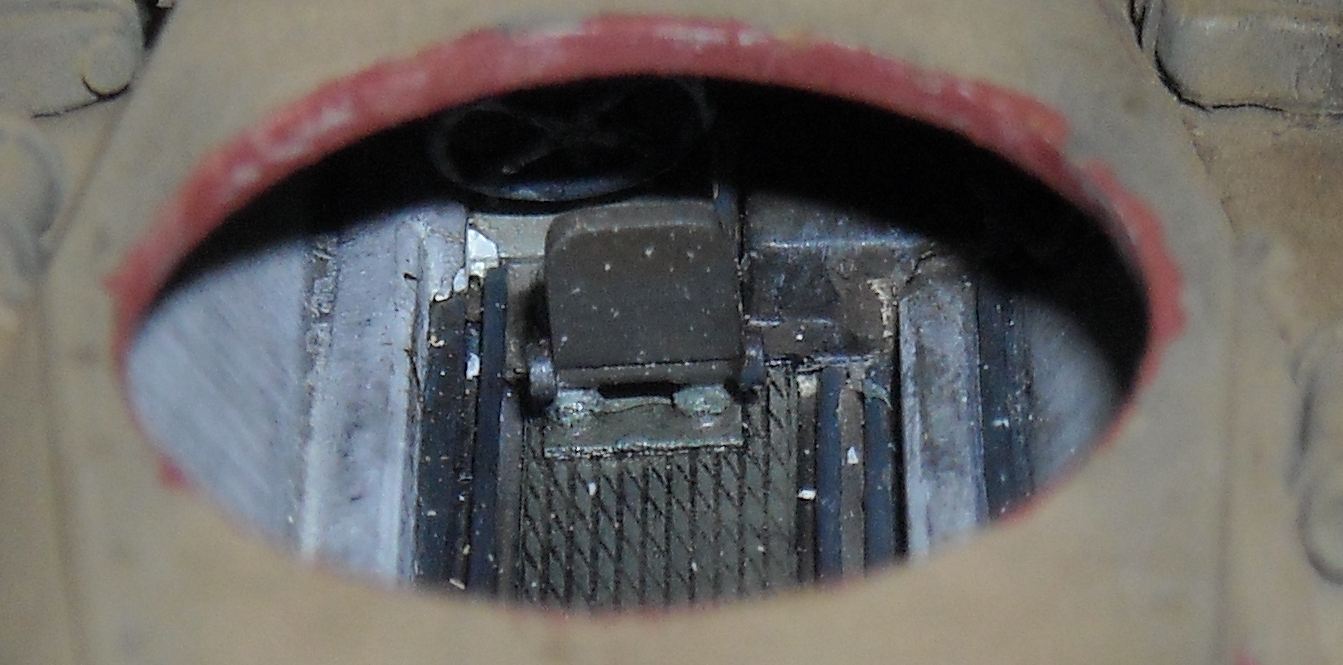
! An almost complete interior is provided for the hull and turret, but there are so many parts that some interfere with one another. For instance, some of the turret parts interfere with hull parts, impeding full turret rotation, and the steering wheel interferes with the gear levers. I also feel the steering wheel should be mounted more to the left to be in-line with the driver's seat. Not a lot needs to be added or altered
on the kit in my opinion. I added a pin to the front bumper, made
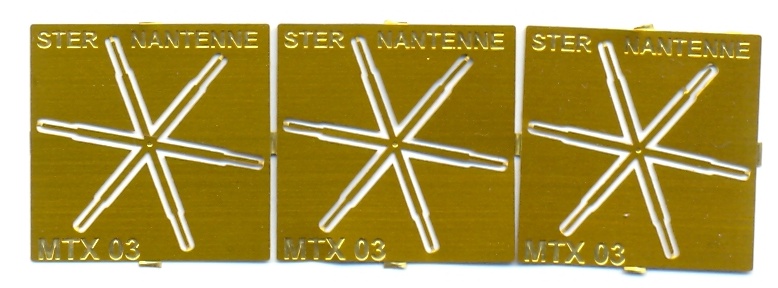
the antenna base from scratch (because I lost the original piece...),
glued a Modell Trans Sternantenna
to the top of the antenna and drilled out the lift and tow hooks on
the hull. Some of the latter broke during this operation, so that
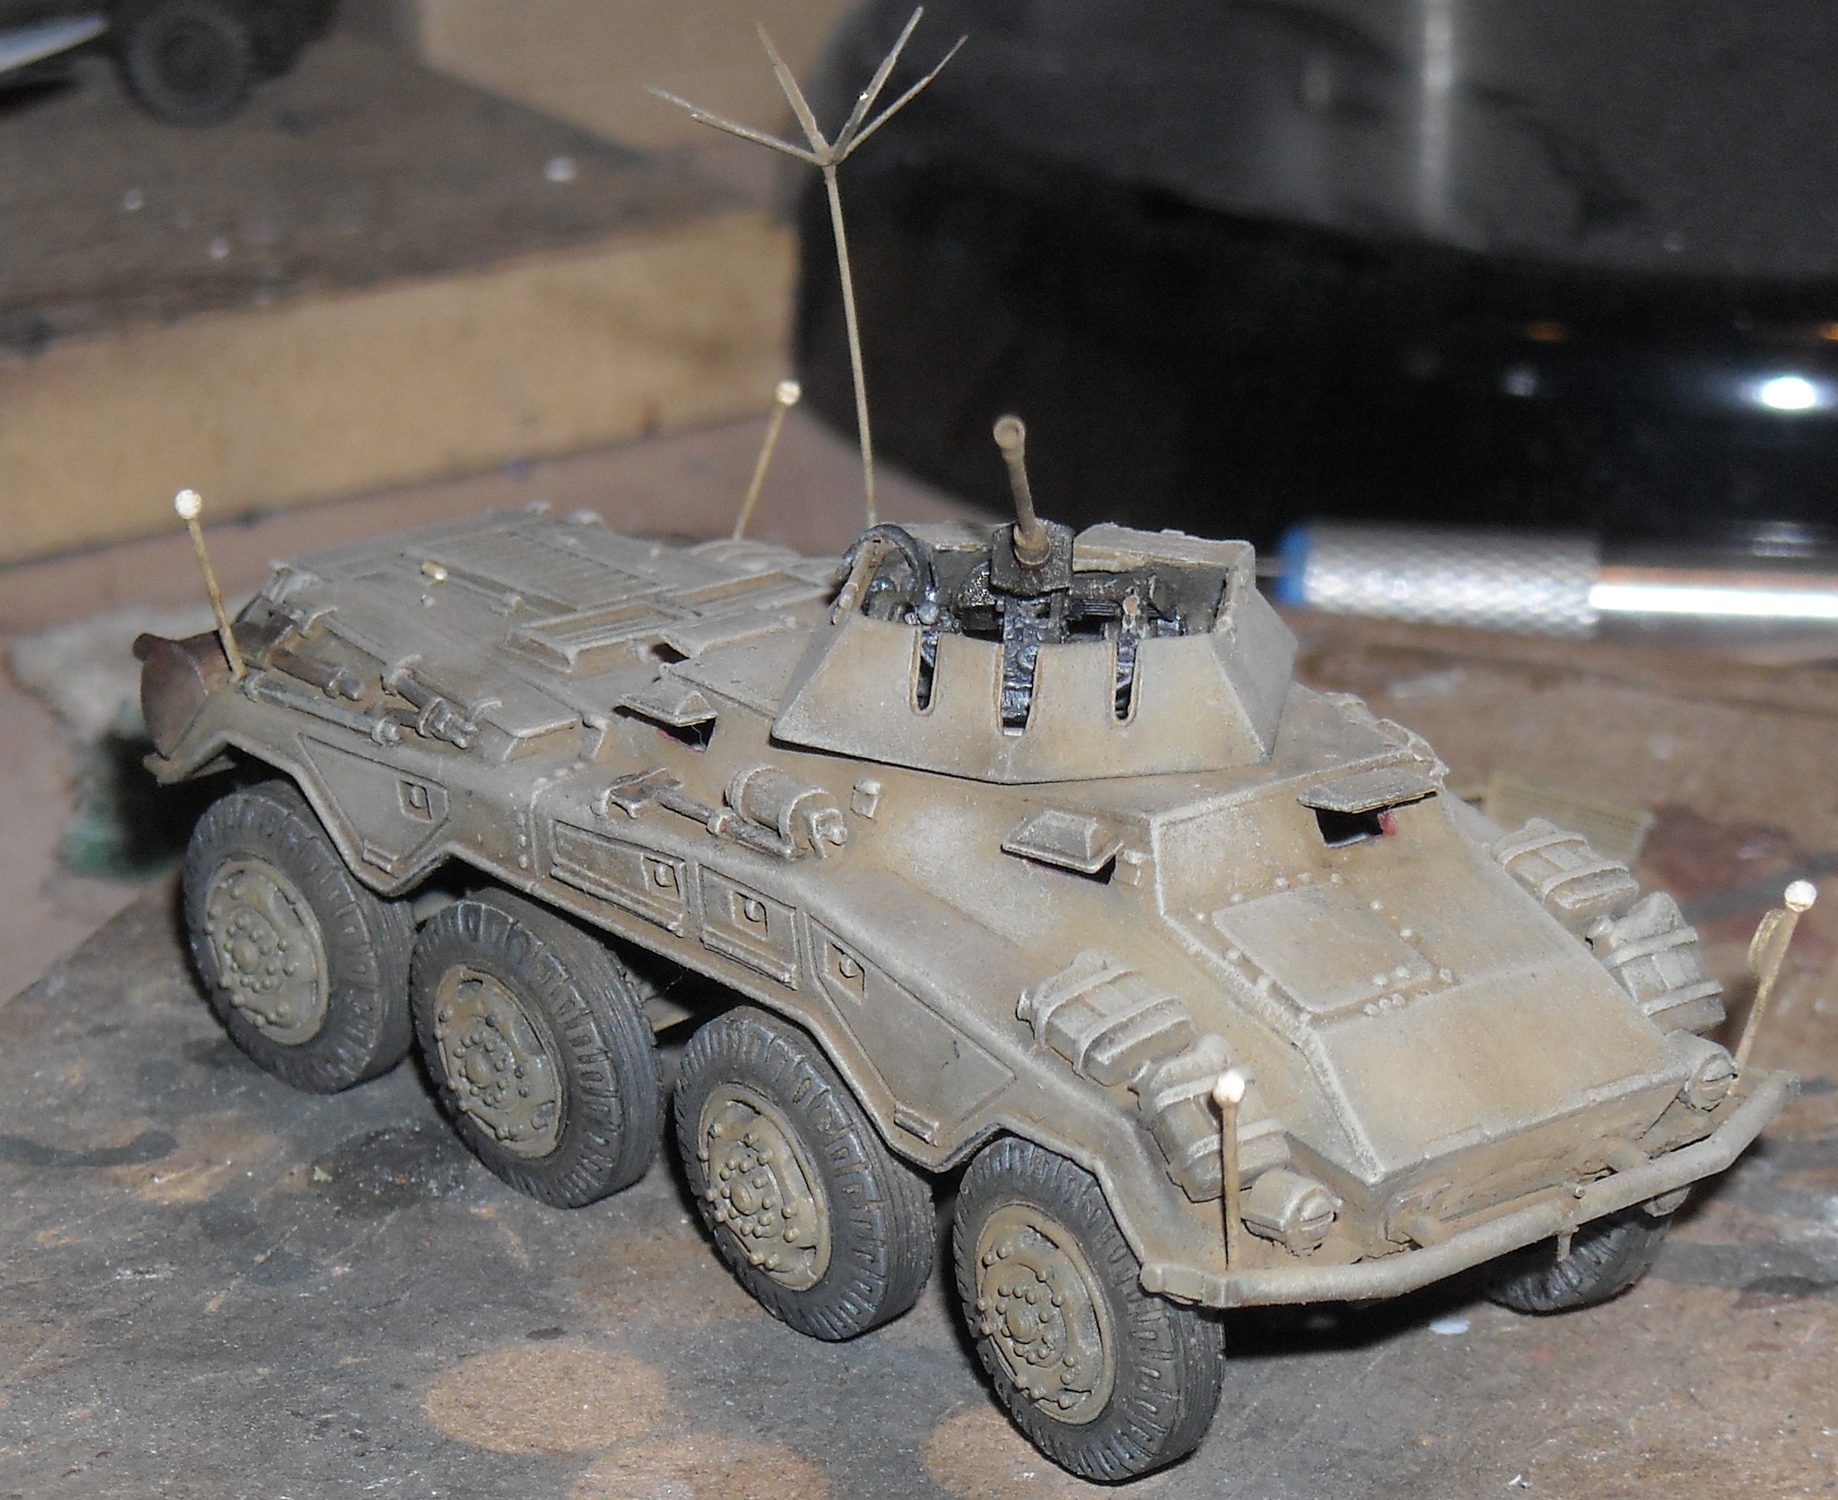
I ended up making some from scratch. A nice thing about this kit is that
all visors can be positioned open. Detail for the opening mechanism
is not provided, though. Also nice are the separate tools, but I don't
think the handle for the fire extinguishers was ever fitted to the
real one. Talking about handles: the jerrycans lack their trademark
middle handlebars, which I think is a real shame. I followed MarS in gluing the two headlights,
while my references told me (afterwards) that only one was fitted
to the /1, on the left fender. Occasionally a horn was fitted close
to that headlight. I haven't measured the kit, but Doug Chaltry claims that the rear hull plate is too vertical. I also believe the nose hatch should
have been flush with the nose armor, not raised as the kit shows.
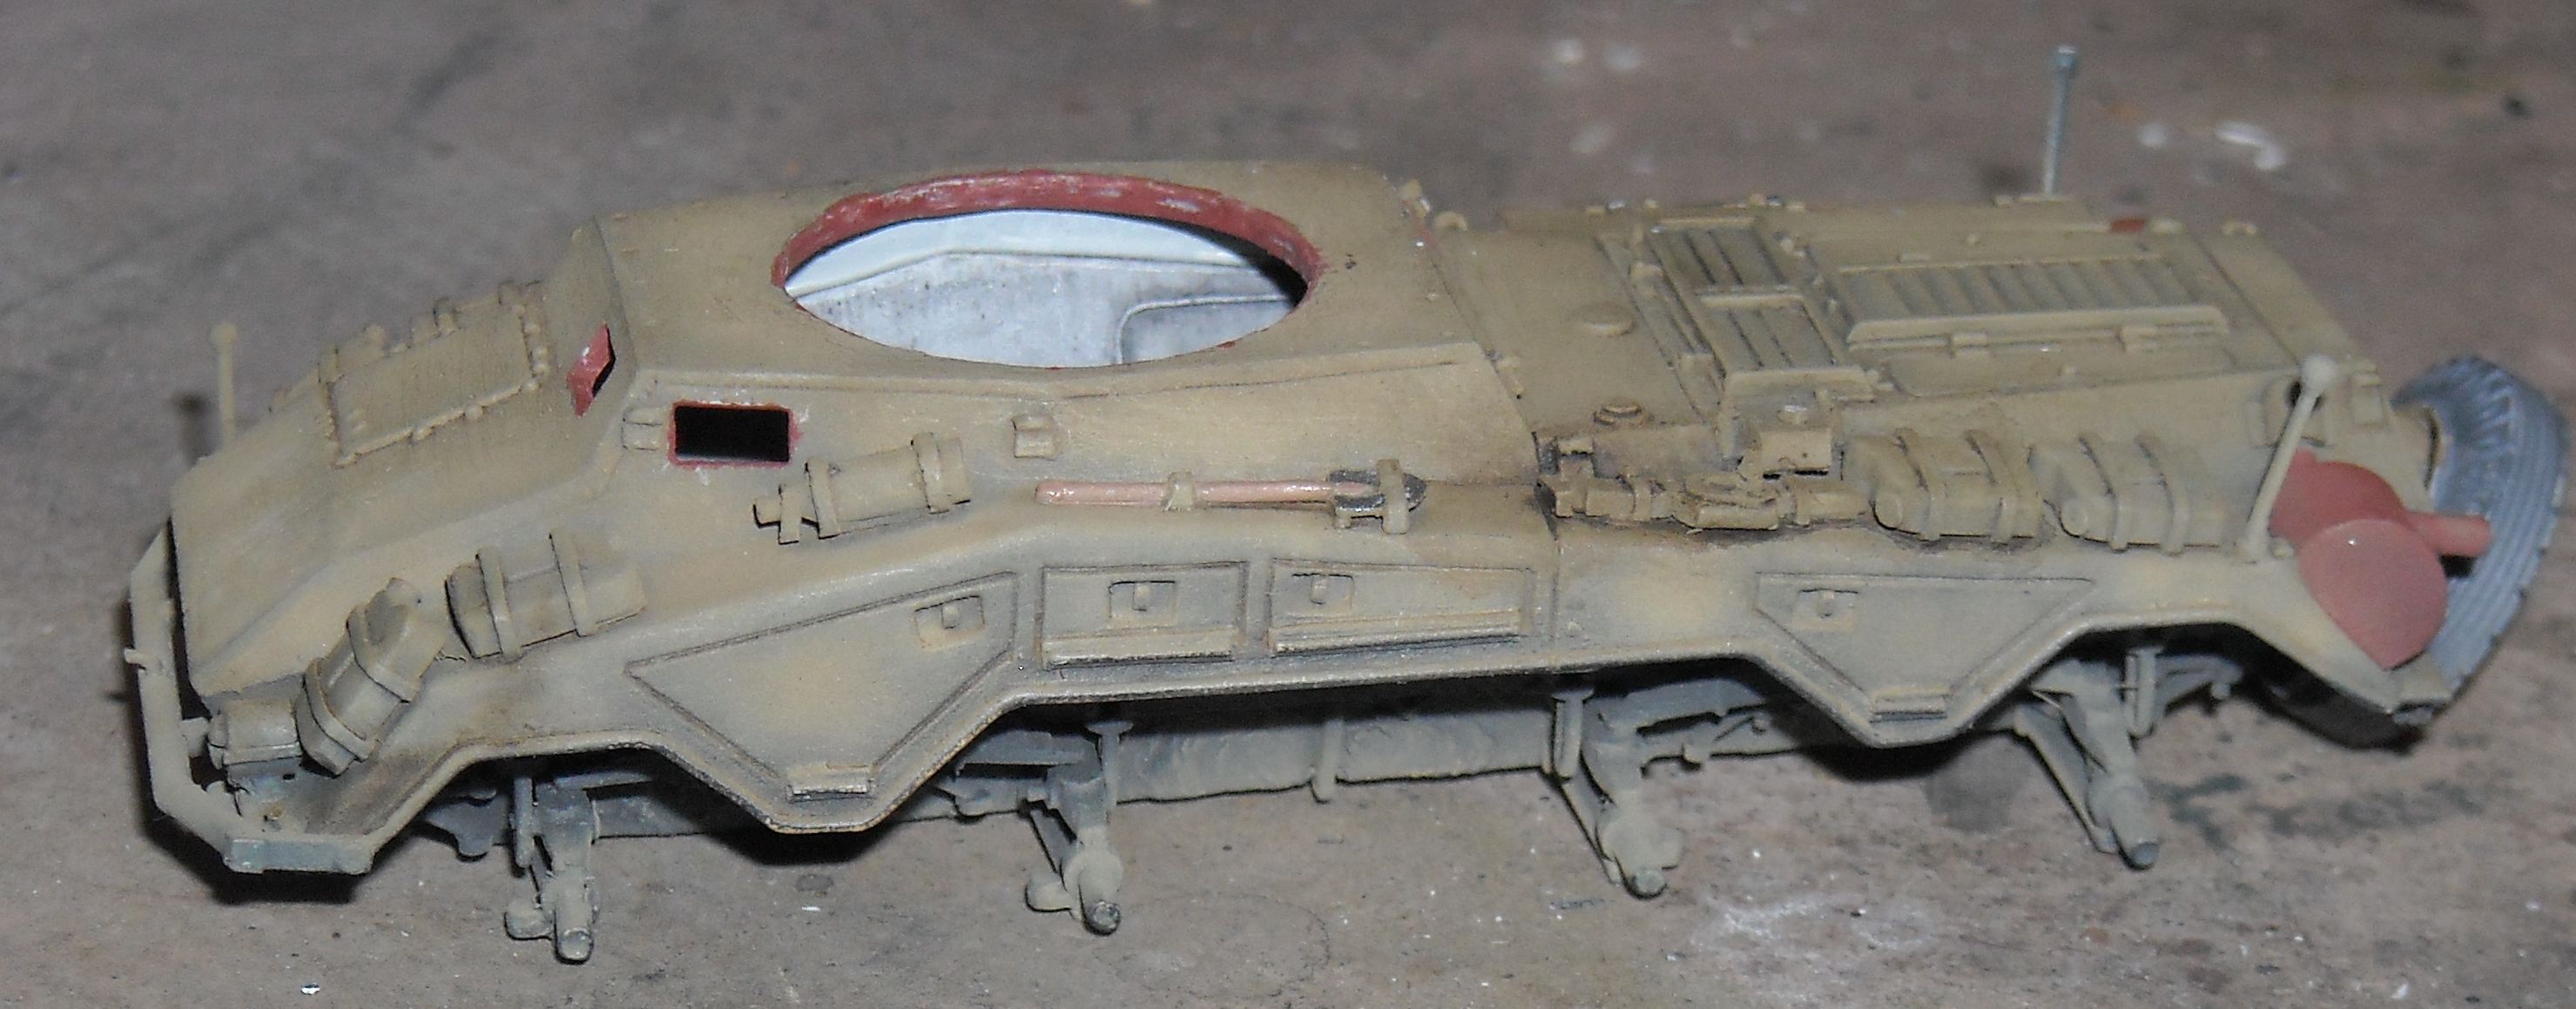
It is also my impression that the turret is a tad too wide, as it
shows a limited amount of overhang, which I don't think it should.
7. Decals and painting options: No decals or specific painting instructions
are included, except for those mentioned in §5. I opted for a vehicle from 116PD, with
decals coming from the following sources I painted the floor an olive green, but it might have actually been red oxide in late versions of this vehicle. PS: I totally agree that not all the wheels touch the ground on the finished kit, but that's because of the gentle slope of the diorama it will eventually reside in. (Don't we all use that excuse... ?)
8. General Impression: Until recently this was by far the best Sd.Kfz.234/1 in this scale. It is not cheap, takes some care and attention to build and has a poor turret mesh; but at least you can build it with all visors open !
9. References [1] Die Gepanzerte Radfahrzeuge des Deutschen Heeres 1909-1945, W.J. Spielberger. Band 4 der Reihe "Militärgahrzeuge" , Motorbuch Verlag [2] Panzer Tracts No. 13 - Panzerspähwagen, by Jentz and Doyle [3] Sd.Kfz.234, Kagero Photosniper 20
|
| Back to MarS Kit List | Back to Home Page |
Article Last Updated: 02 June 2011 |
Back to Construction
Review Page Back to "Modeling the Sd.Kfz. 234 Armored Cars in 1/72nd Scale" Page |


.JPG)
.JPG)
.JPG)
.JPG)
.JPG)
.JPG)