|
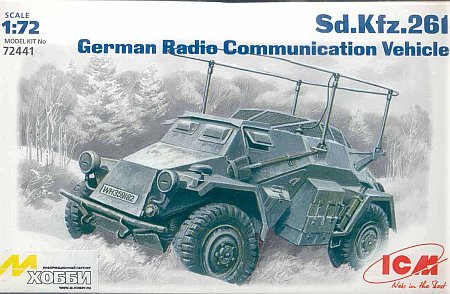
Before reading this build on the ICM 261, review the numerous kit reviews on the other
ICM kits of the “222 family”
(here,
here,
here,
here,
here, &
here). No need for me to repeat those details.
If you want to build some of these vehicles, I would strongly suggest the Tankograd
book on the 222 family. It has great interior photos and detailed discussion of the subtle
differences between the various iterations.
Now, building this model is a breeze except for the wheel attachment and getting that
photo-etched mesh top to fit.
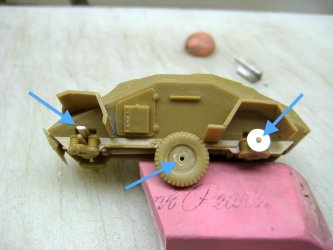 |
The wheel attachment is flimsy at best and impossible at the worse. First, the upper
arm was not long enough to touch the kit wheel without making it toe in at the top. So
some scrap white plastic was added to the end of the upper arm until the wheel/disc is
vertical or accurate.
The wheel glues to the upper and lower suspension arms and drive shaft, all with
minimum gluing surface making for a very weak joint. Plus, you can't see if the parts
are touching while assembling.
To correct this, four discs of 10 thousand plastic, small enough to fit inside the backside
of the wheel, were made and glued to the upper/lower arms and drive shaft. Think of
this disc as the brake drum on the real 260.
On the backside of the wheel, that circle for the drive shaft was ground away.
Then I glued three wheels to a disc and after they dried, I attached the fourth wheel checking that all
wheels touch!
|
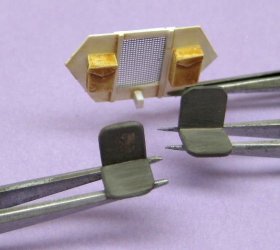
Fitting the mesh takes patience. This process took longer than building
the model but it looks so good when finished. I removed the raised placement guide
from the kit part after scribing a guide line in the plastic. It is much easier to fit without
that raised ridge!
Then it is bend and fit and bend again until it fits, which it will... eventually. Once all
edges touch the plastic, I taped the mesh in place, then using a needle, applied cyano glue
along the edges and let capillary action pull the glue in place.
Other details added:
- fender guides made from 0.010 inch brass rod
- fender storage box
- some water/gas cans in a scratch built rack
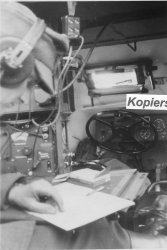
- The kit has no interior. I added seats, desk, rear bulkhead, radios, wiring and storage boxes
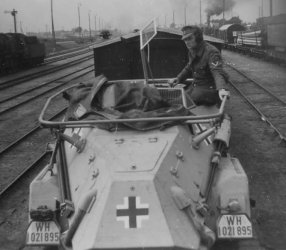
- a strip of brass rod/sprue was added to the lifting mesh panels, apparently that is some
type of handle or stiffener (as can be seen in the photo above).
- a thin rod from the hull to the back antennae support, apparently part of the
mechanism for folding down the antennae. (as can be seen in the photo above). It would be fun to build one of these with the antennae folded!
The radio antenna frame broke four times, each time in a different place. Fortunately, it glued
together without any misalignment.
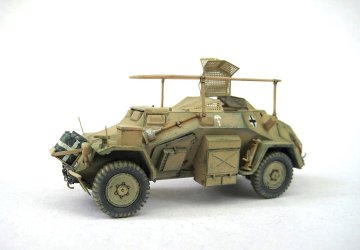
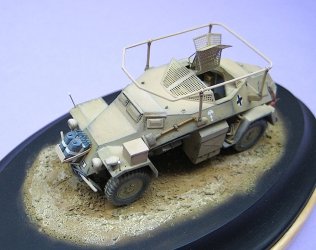
Painting was an experiment with the hairspray/wear technique. The model was painted in
grey, hair sprayed and then Afrika Corp tan. Gentle rubbing removed the tan in areas of
wear and let the grey show. In high wear areas, the edges were touched with graphite/
silver/steel. Finally a coat of Dullcote and then some MIG pigments.
Review sample purchased by the author.
|
