|
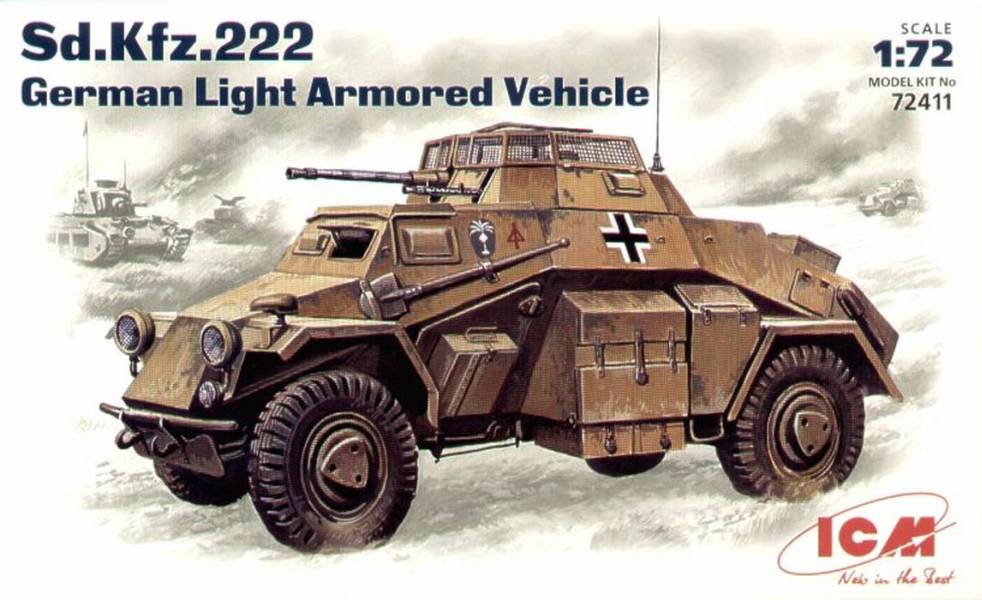
Sd.Kfz. 222 German Light Armored Vehicle |
|||
| Kit # 72411 | Review by Rob Haelterman | |||
|
Sd.Kfz. 222 German Light Armored Vehicle |
|||
| Kit # 72411 | Review by Rob Haelterman | |||
|
1. Packaging: Side opening cardboard box with 3-view painting guide on the backside (for one of the marking options).
2. Type of kit: Injection plastic kit with small photo-etch fret. Decals provided.
3. Quality: This is a simple but very decent plastic injection kit. The fit of the parts is excellent, which allows it to be built very quickly. Given a small amount of liquid glue it will just fall together, with only the smallest amount of sanding and NO filling needed, apart from the turret mesh (see below). The plastic is quite soft and reacts very well to MEK. The detail is very good, but softer than on the MarS kit. There are some ejector rings, but most of them are invisible after assembly. There are also two of them on the top plate; why ICM chose to engineer the sprues in this way is a mystery to me. They could have put them on the underside of the top plate with ease, but chose to put them on the visible side. These are not very difficult to remove, but demand some care. The rear one, incidentally, is almost in the spot where a filler cap for the radiator could be found. You might use it as a base for the latter as it is missing. Some
sink marks are visible in the rear license plates (easy to file down
or fill), and the boxes on the entry doors. The latter demand more
patience. Even
though you can open the side doors and see the hull through the turret,
there really is not much to see inside, so if you don't put some figures
in there, you're off for some scratchbuilding, or alternatively, buy
the Goffy set meant
for this kit (if you can still find it). The major error I found in
the ICM kit, is the representation of the gun mount. It should be
on a pedestal, but is attached to the turret ring in the kit instead
and lacks a lot of detail like seats, spent cartridge bags, ... This
is solved by the Goffy set. While the turret mesh is nicely done in PE, it is too large to fit the turret. To me, the only decent way to hide this is to open up at least one half, so you won't be able to tell. This, however, will make the interior more visible. You might also want to weaken the joints where you have to fold the mesh by scoring them. Behind the turret you get another mesh. If you want to be technically correct, you will need to cut away the plastic underneath to create a see-through effect. On some kits the tow hooks suffer from a casting deficiency, meaning that they miss their extremities. (I have quite a number of these kits, and they slightly vary in boxing, quality and censoring of some decals.) Some nice, mostly invisible, detail is provided on the underside of the chassis.
4. Version and accuracy Looking at the evolution of the Sd.Kfz.222, this kit has a lot of the distinguishing features of a 5. Series vehicle:
Features that it does not, but should have are
Some other comments:
Dimensionally this vehicle corresponds well to the drawings in my references, but the detail is somewhat simplified. The nose area is definitely more accurate than the MarS offering.
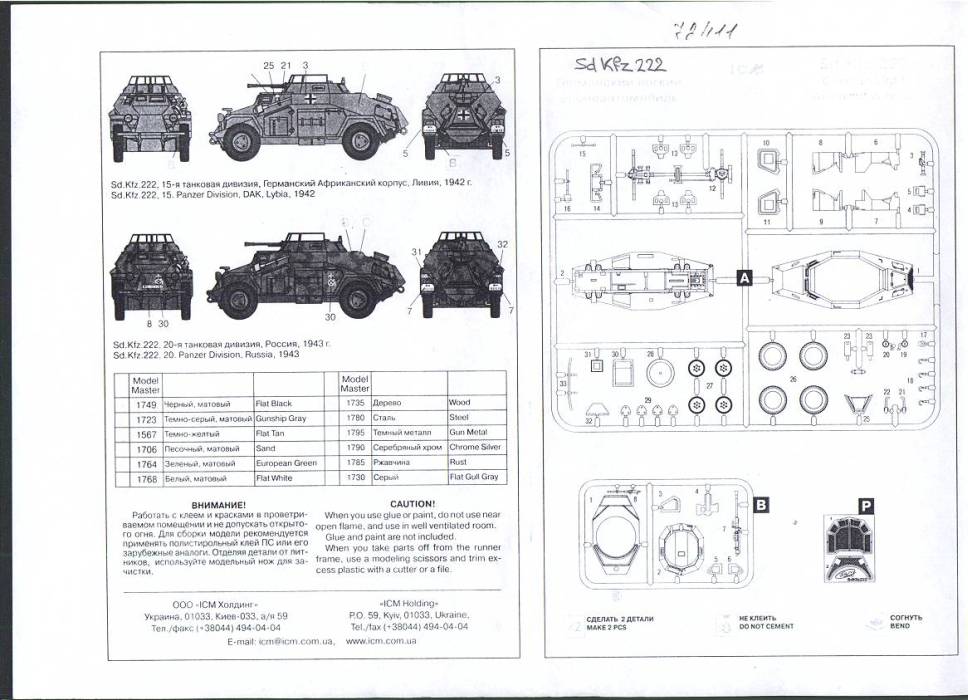
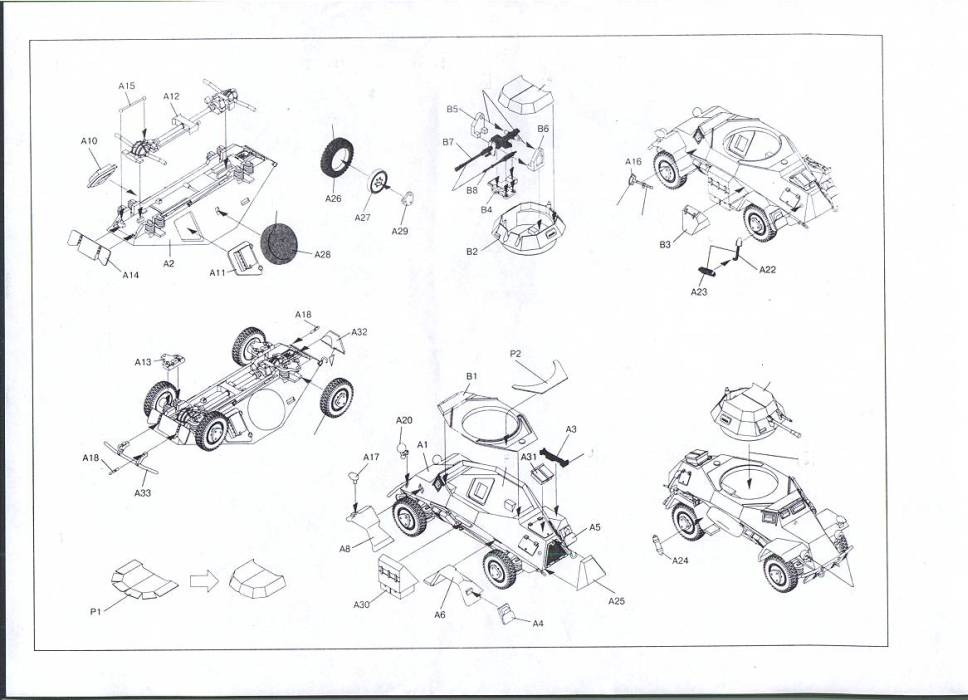
5. Instruction sheet: The instructions
are in Russian (Ukrainian ?) and English. As this is the baseline
kit for he 222/223/260/261 series, all parts are to be used. They
are of the drawing type and are very clear and show the painting and
markings of the two schemes. (Some releases of this kit clearly of
photocopies of photocopies of original instructions.)
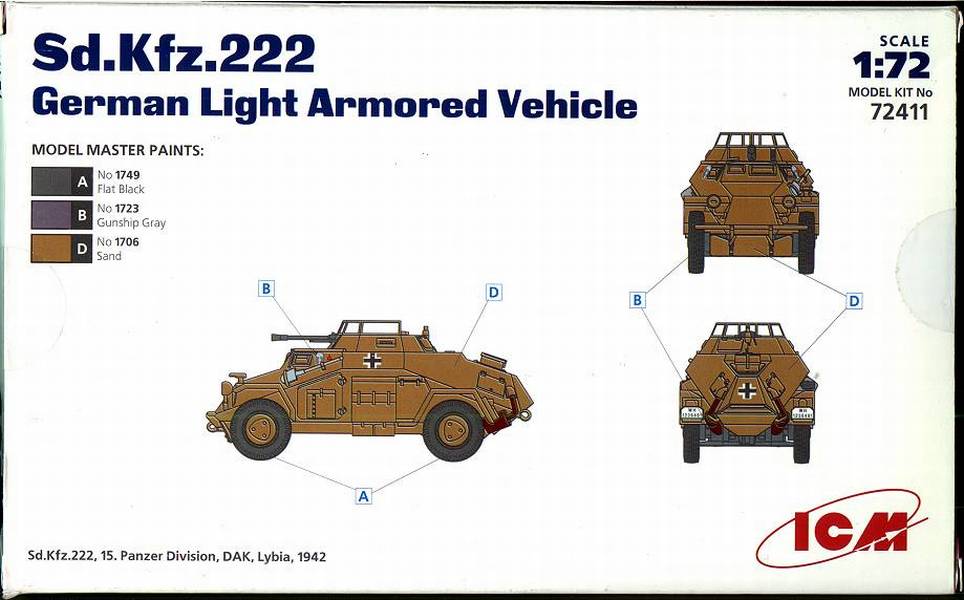
6. Decals and painting options:
The decals
are very, very good. They are thin, sharp and in excellent register.
This decal sheet is the same as for the 223,260 and 261, so you get
a LOT of spares. On one sheet, one of the DAK palm trees was not printed completely and a very small trace of a stray decal was found. This is, however, no problem at all, as the decals are plentiful, and give you too many items. For instance, you get 4 DAK palm trees, while you can maximally put 2 on the vehicle, according to the manual. Painting options for this kit are
Color references are for Model Master. Apart from these decals you get the names Stettin and Siegfried, both well-known 222s [8,9], but you won't find these in the painting guide. One of the versions is a vehicle of 20 Pz.Div. of which you can find pictures in [9]. Something peculiar is that the decals react with Revell Matt varnish (and probably also with other enamels). They actually dissolve to a paint-like substance, which means you will get no silvering and perfect adhesion, as the carrier film also dissolves. That is, if you take care. If you don't, you might VERY easily ruin the decal, but if you manage to pull it off you will have a "painted" on decal.
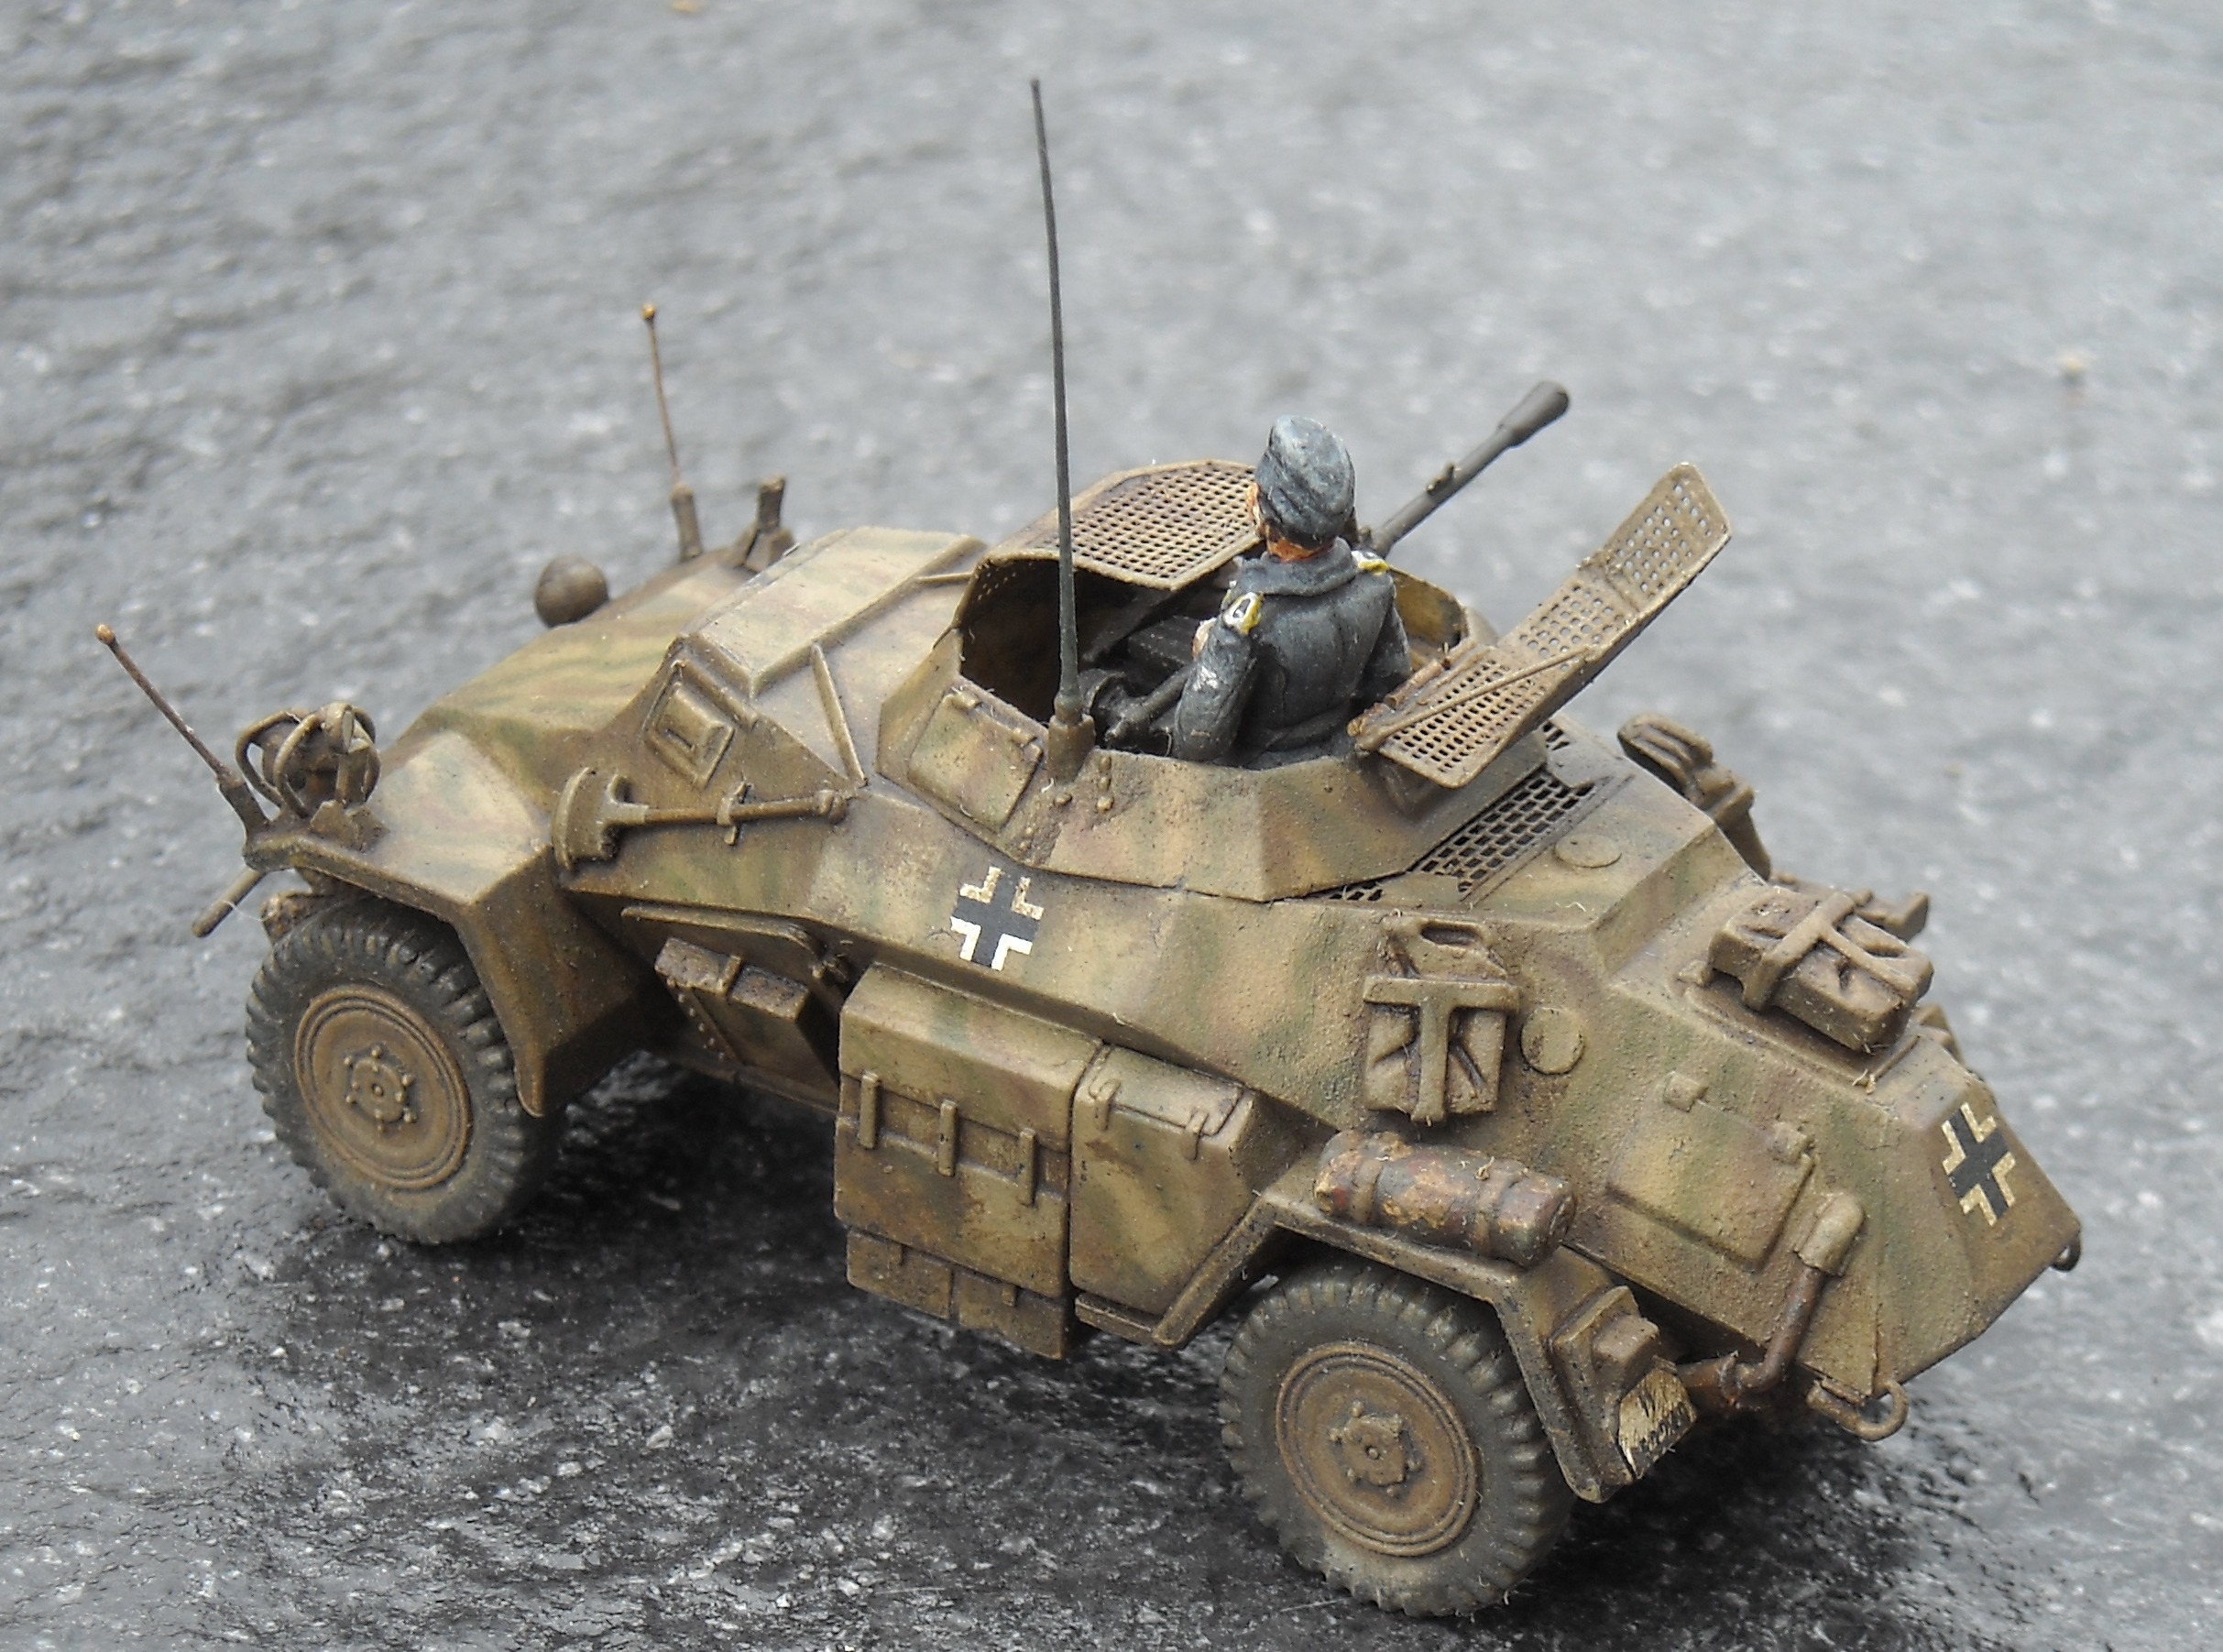
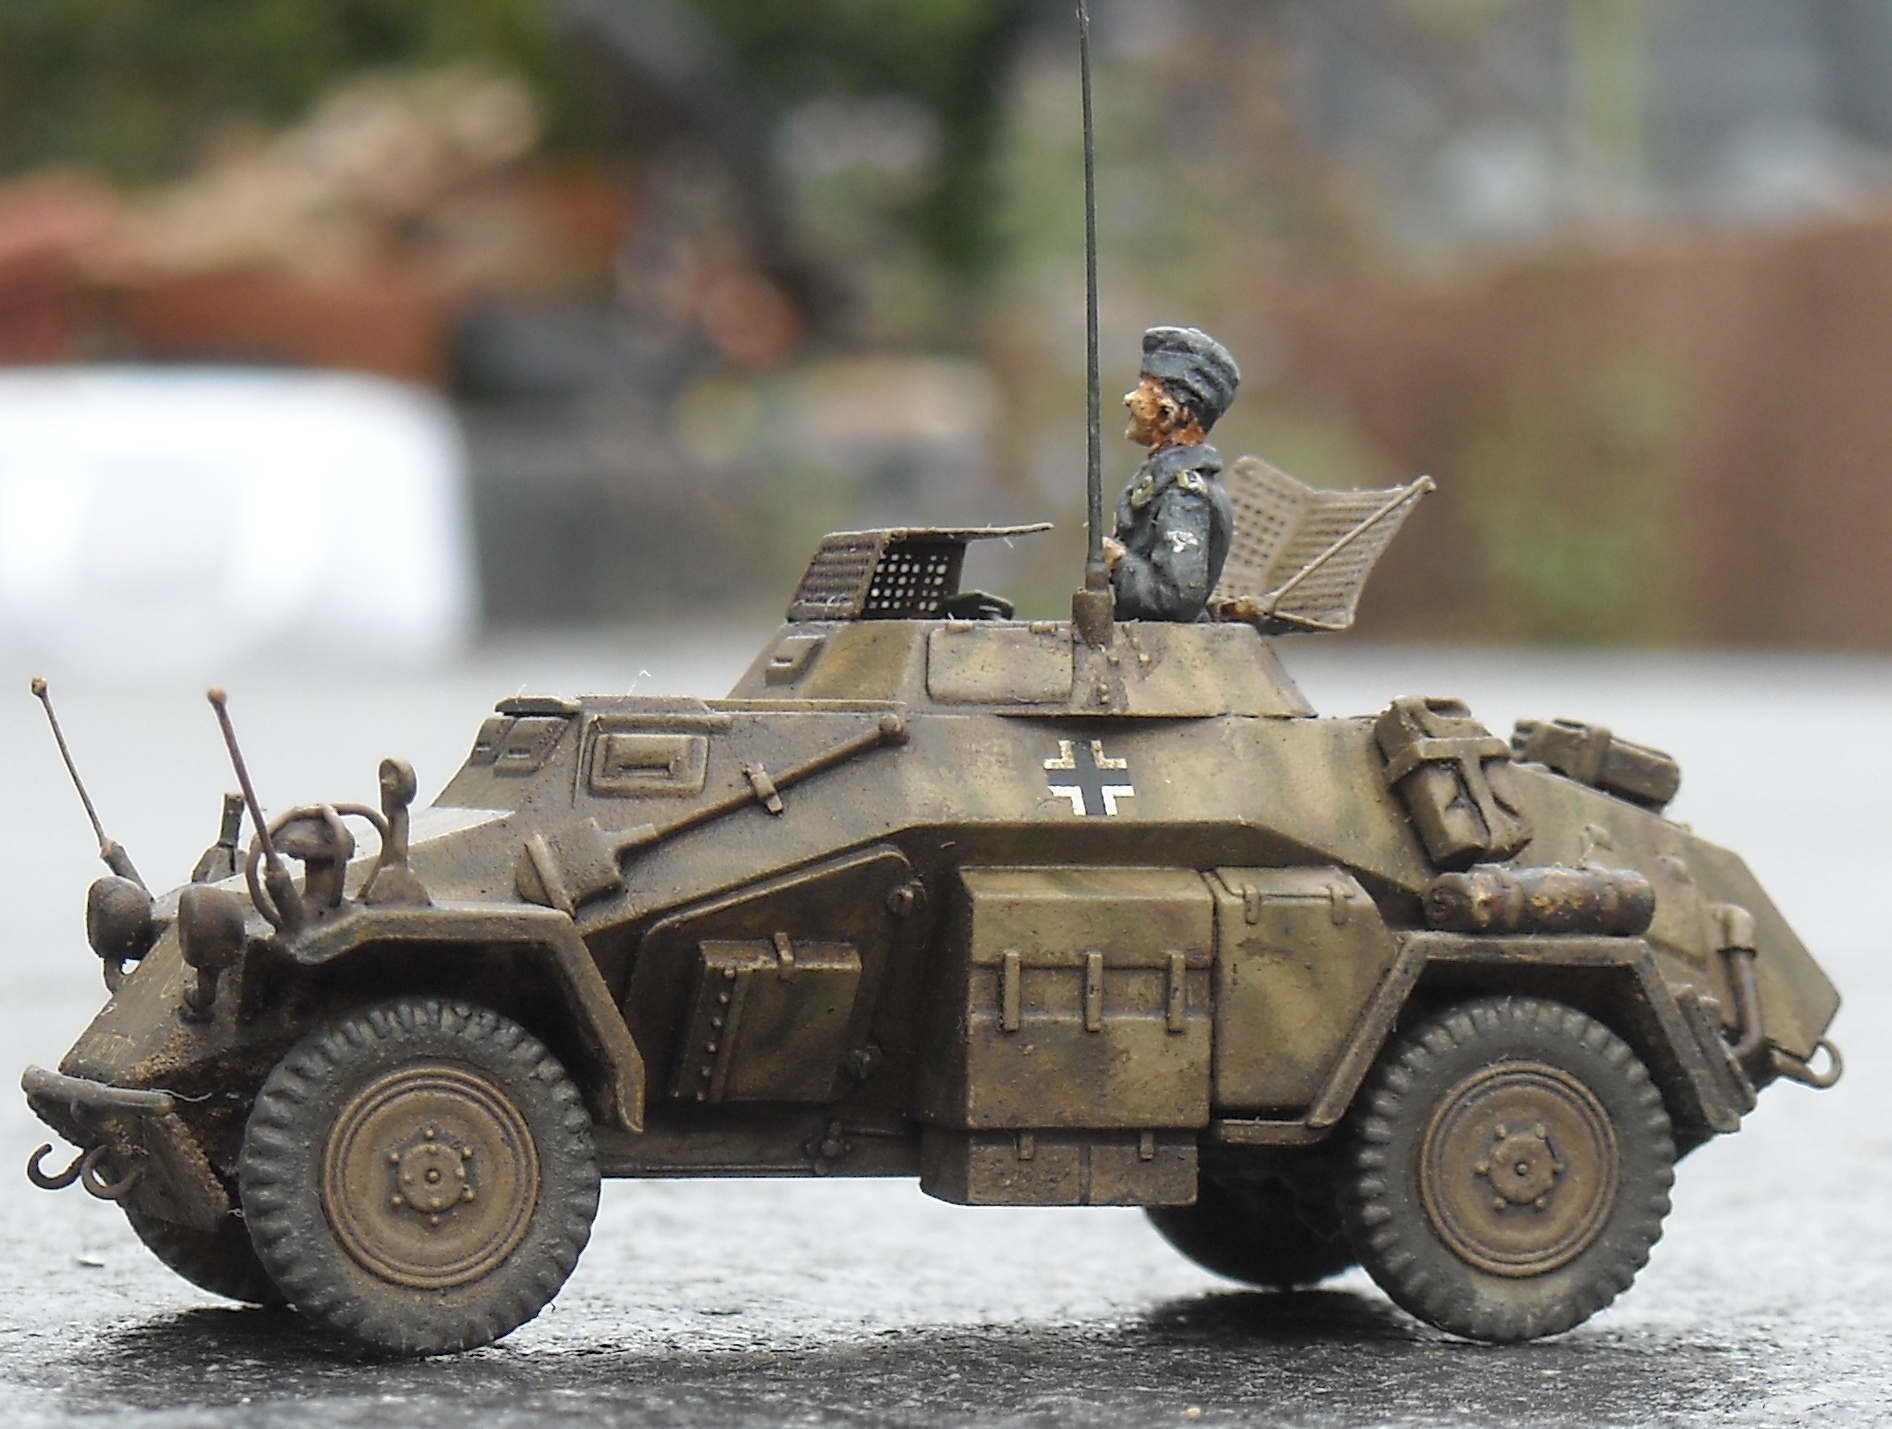
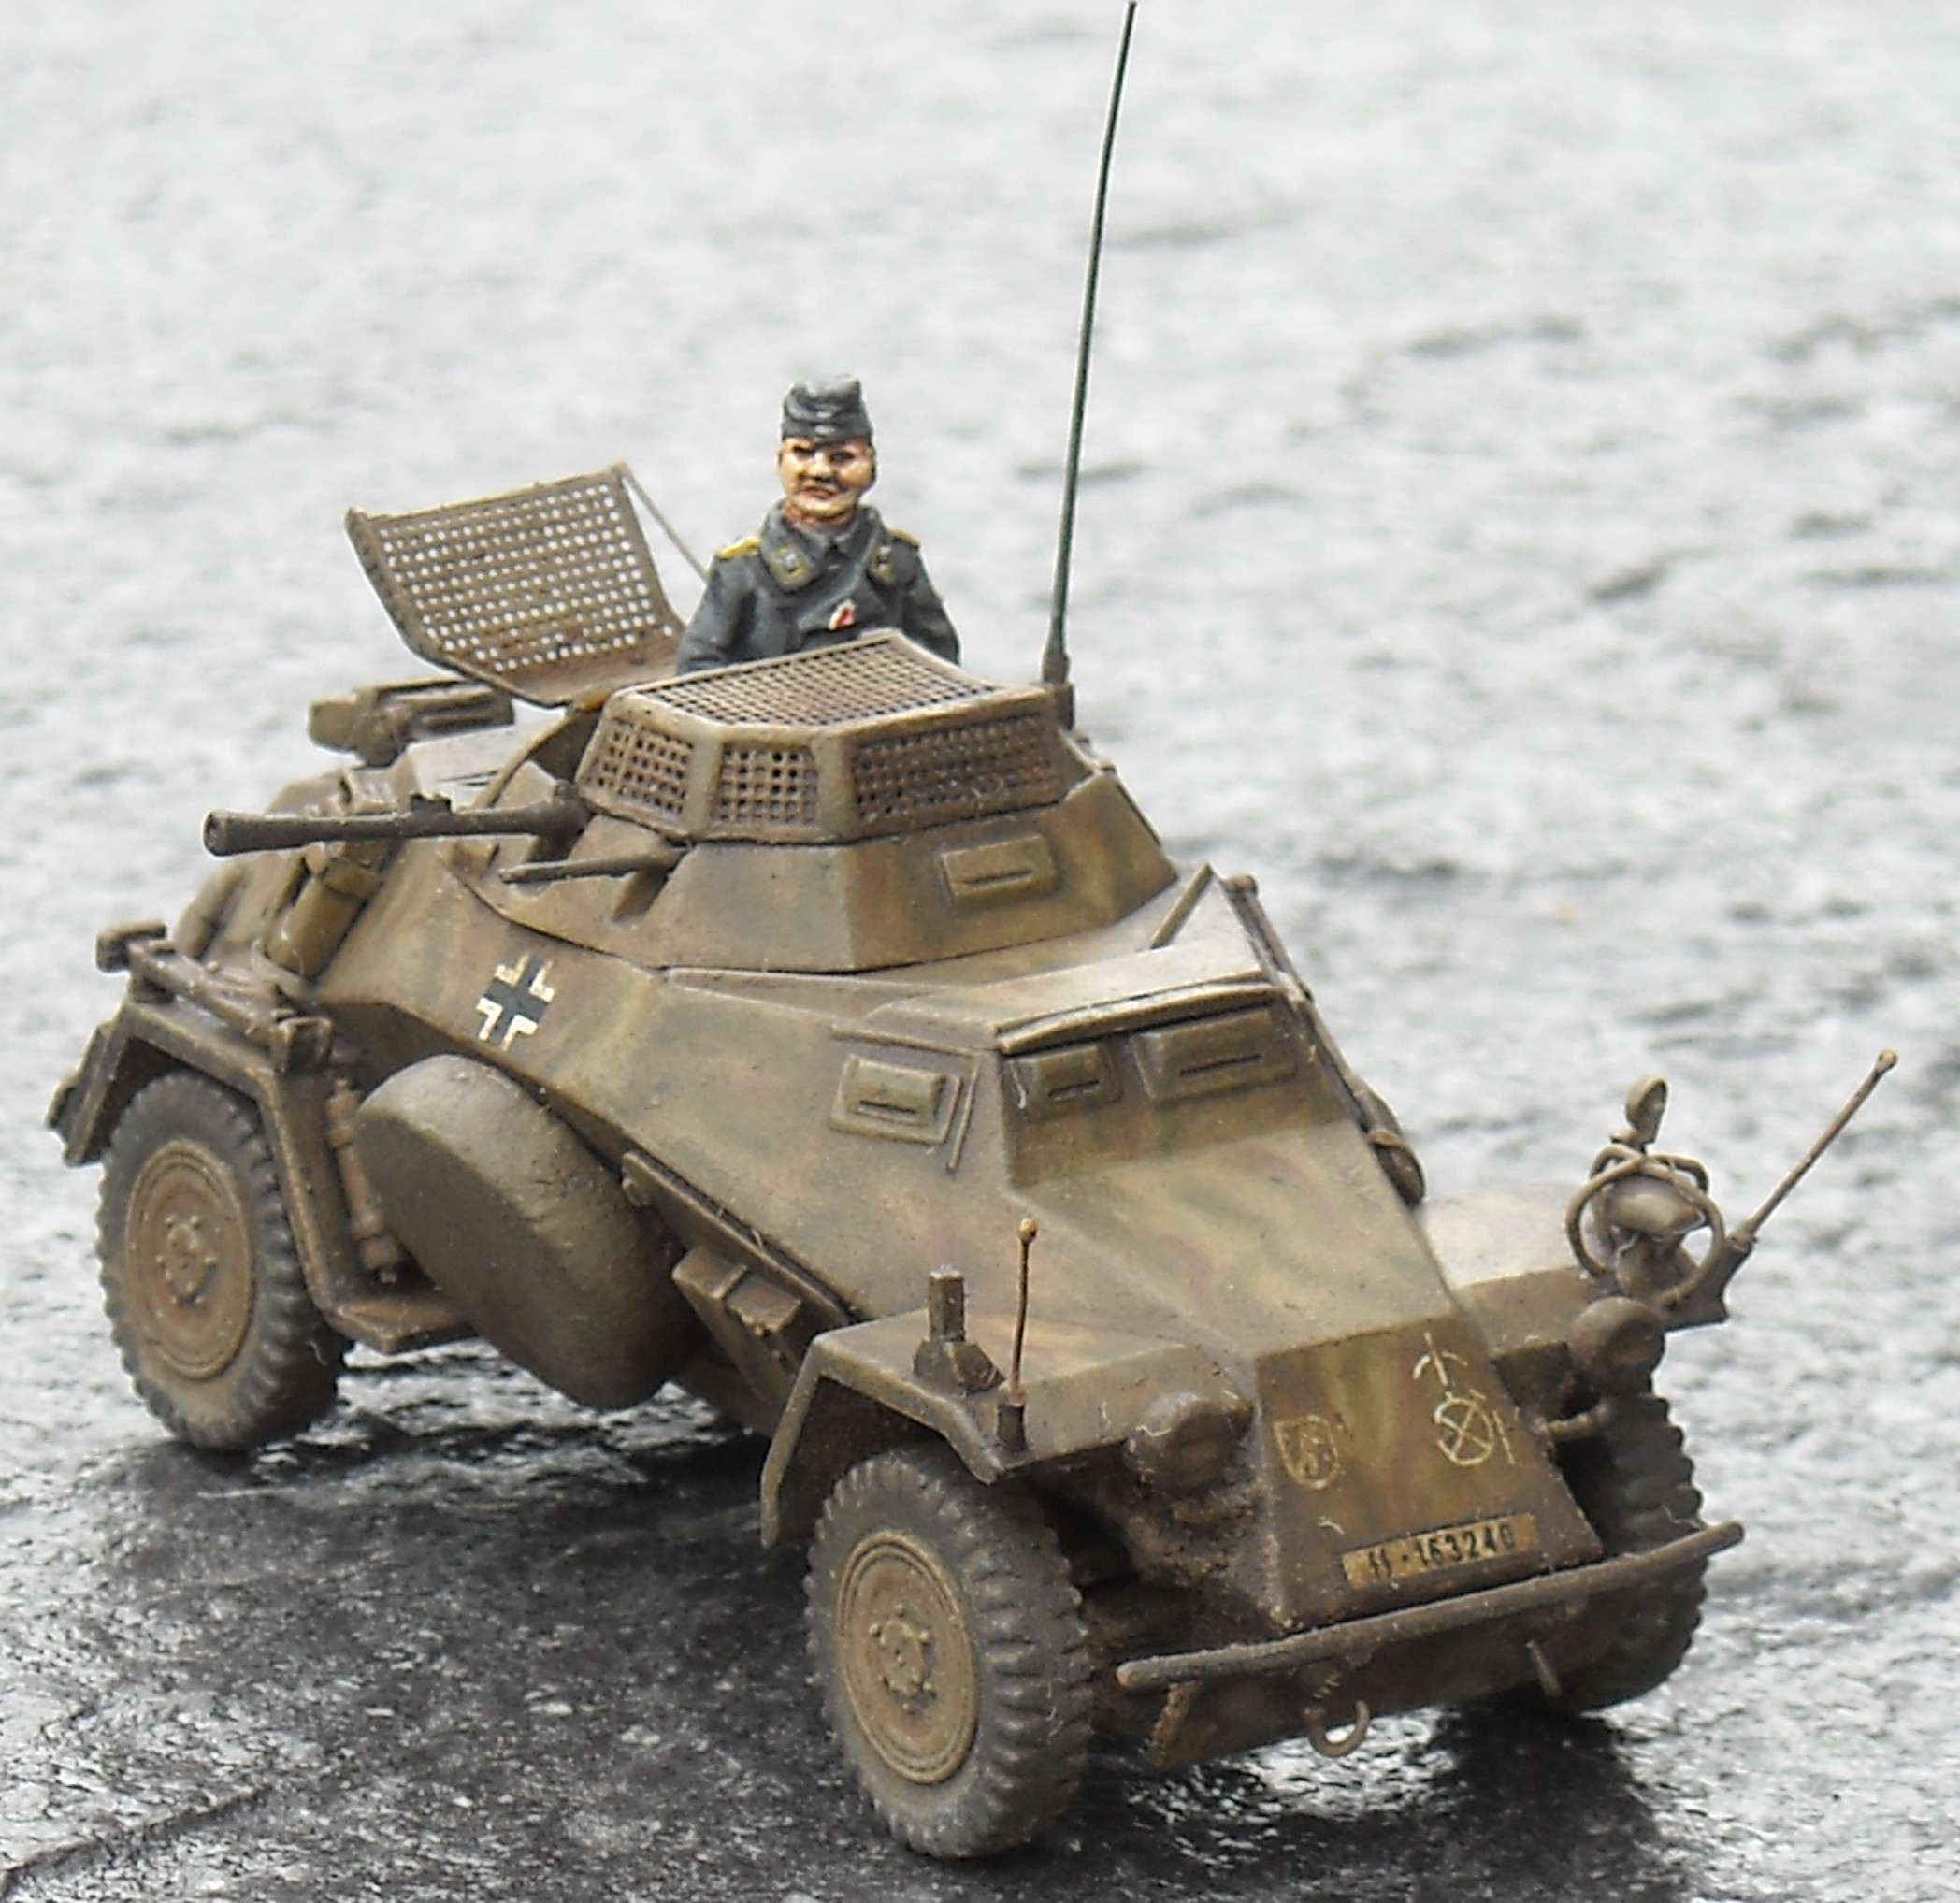
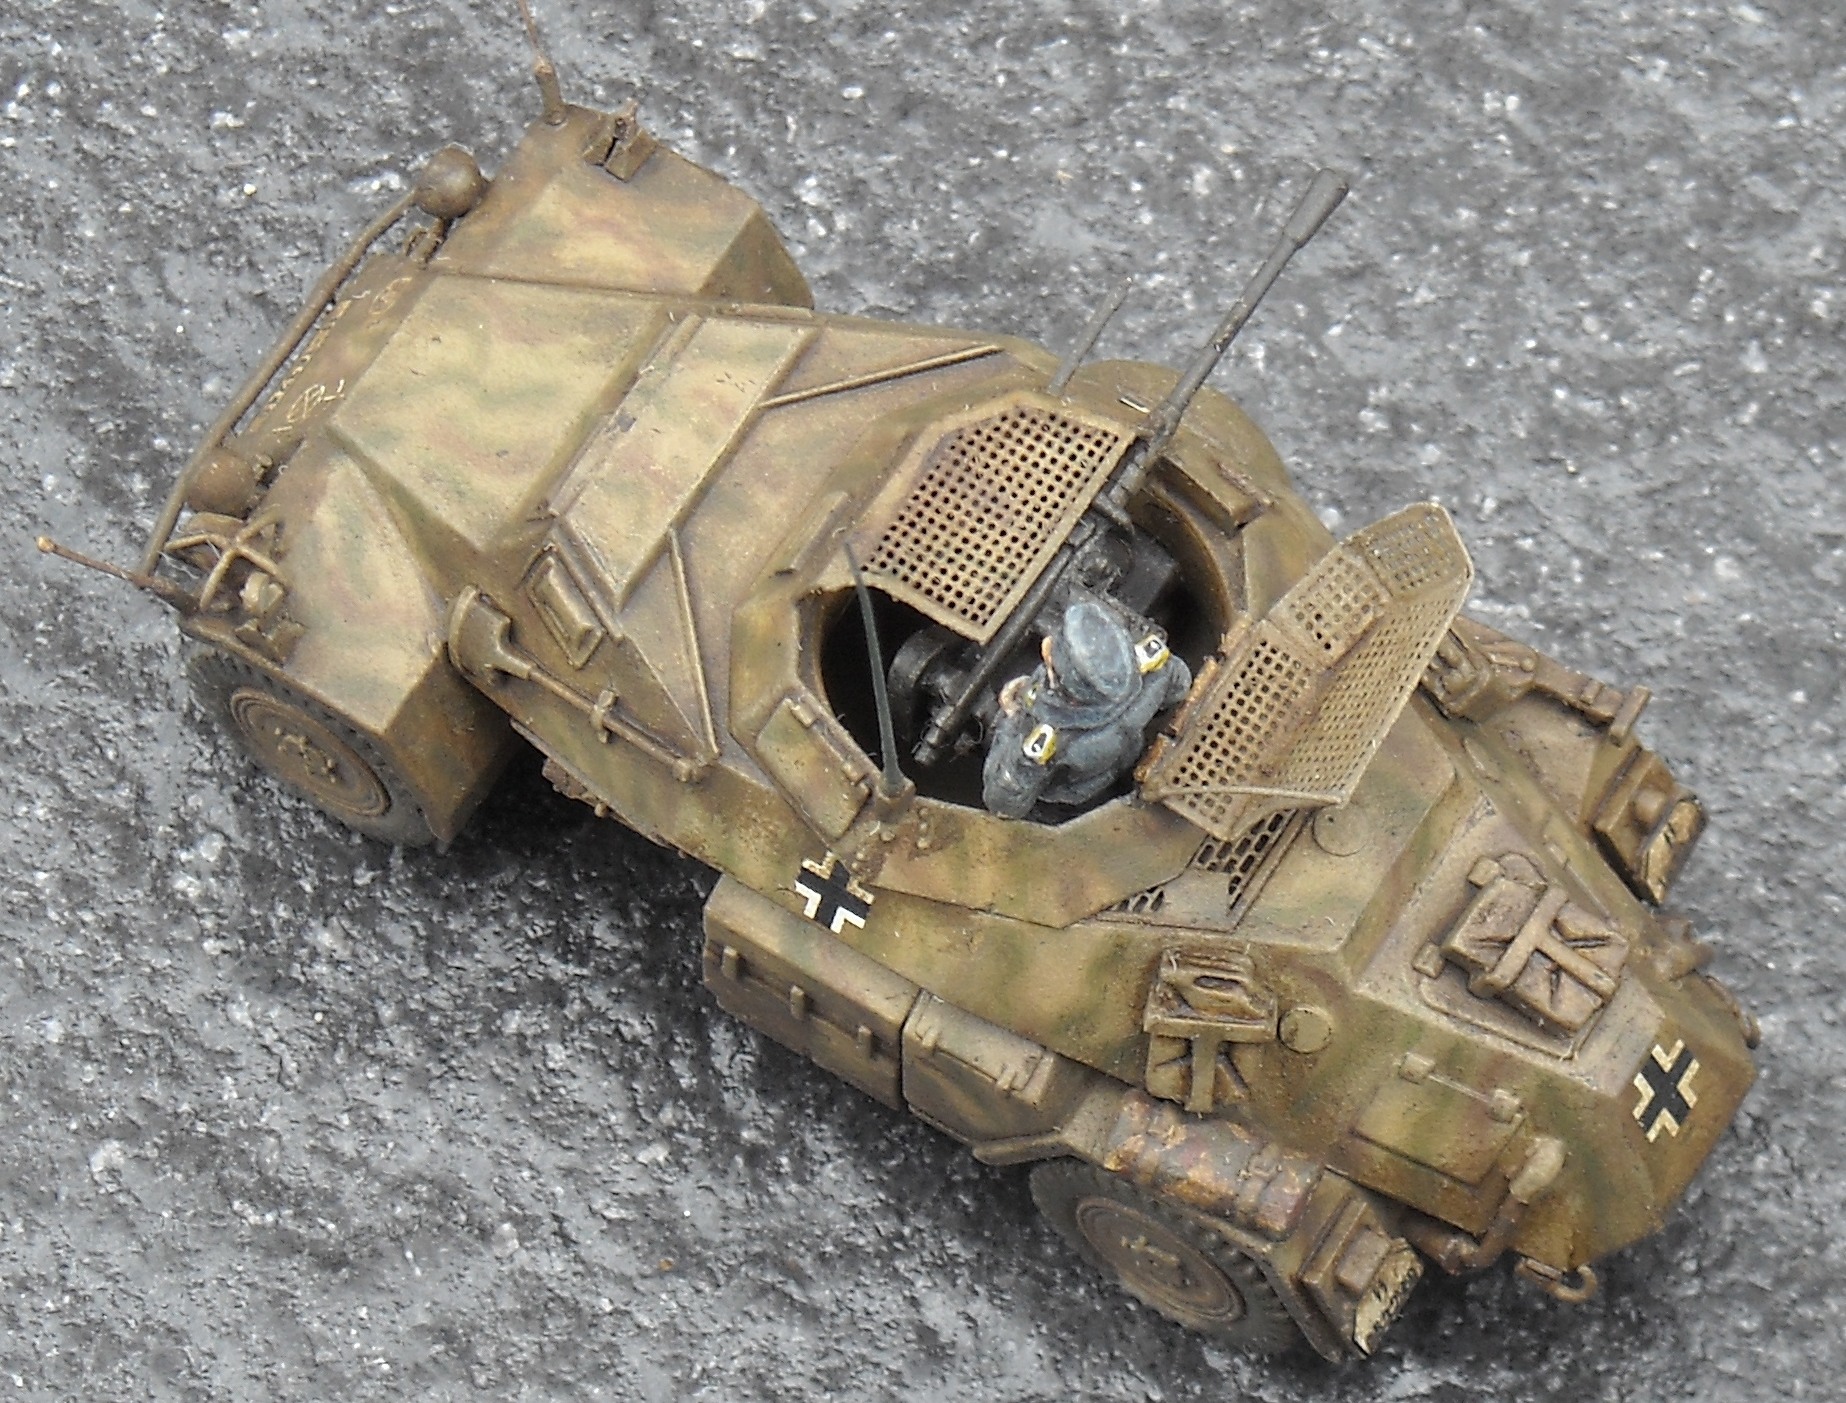
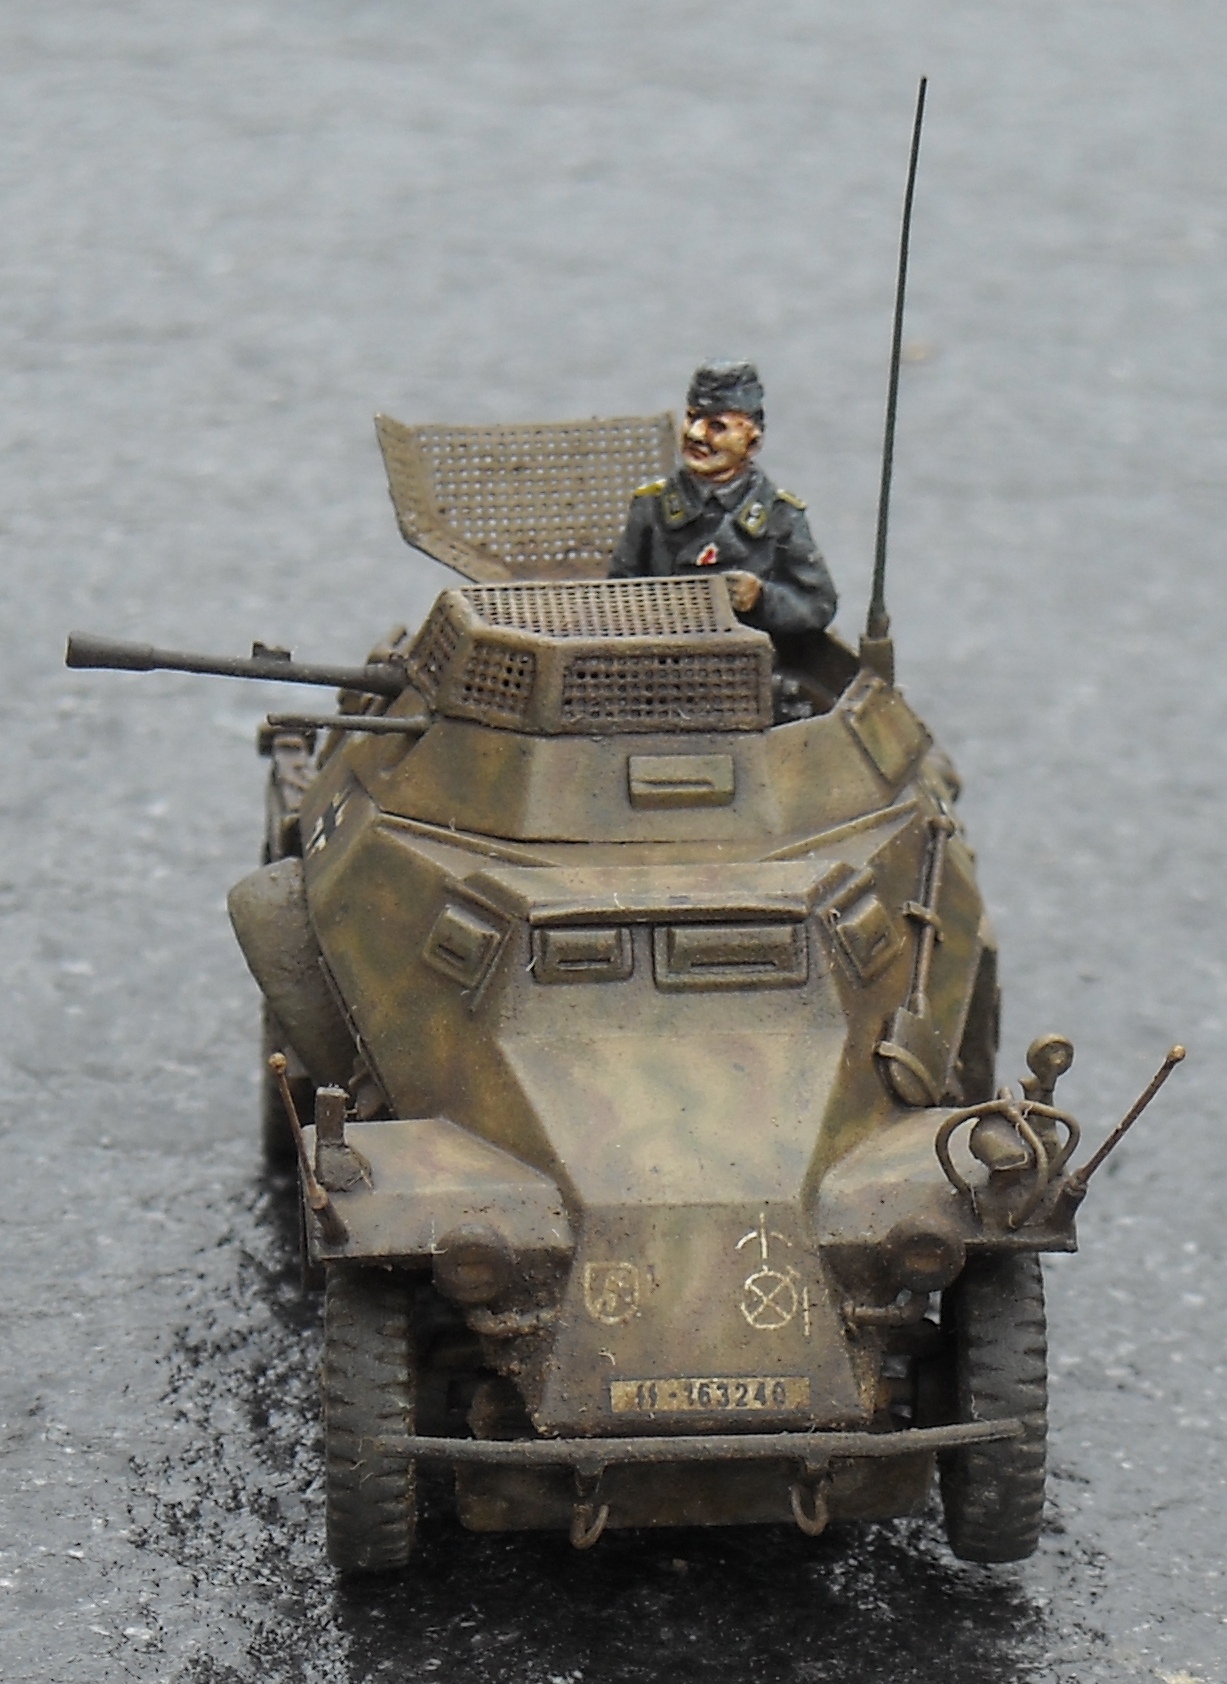
7. The models: 7.1 The most recent build
For this model I tried to make the vehicle as accurate as possible. Unfortunately, I lost the turret mesh, which was actually a good thing as
The features I corrected were
A feature that I didn't correct was the presence of two smaller meshes at the rear of the hull top plate.
Other improvements:
I built this kit as a Bulgarian vehicle using Bison decals. This particular vehicle did not have the small box on top of the engine compartment and the right rear licence plate and light wasn't installed. In it's place a box was mounted, which came from the spares box, possibly from a Flyhawk kit. I didn't build a cage for the front Notek as not all vehicles were thus equipped and I couldn't verify if this vehicle had it.
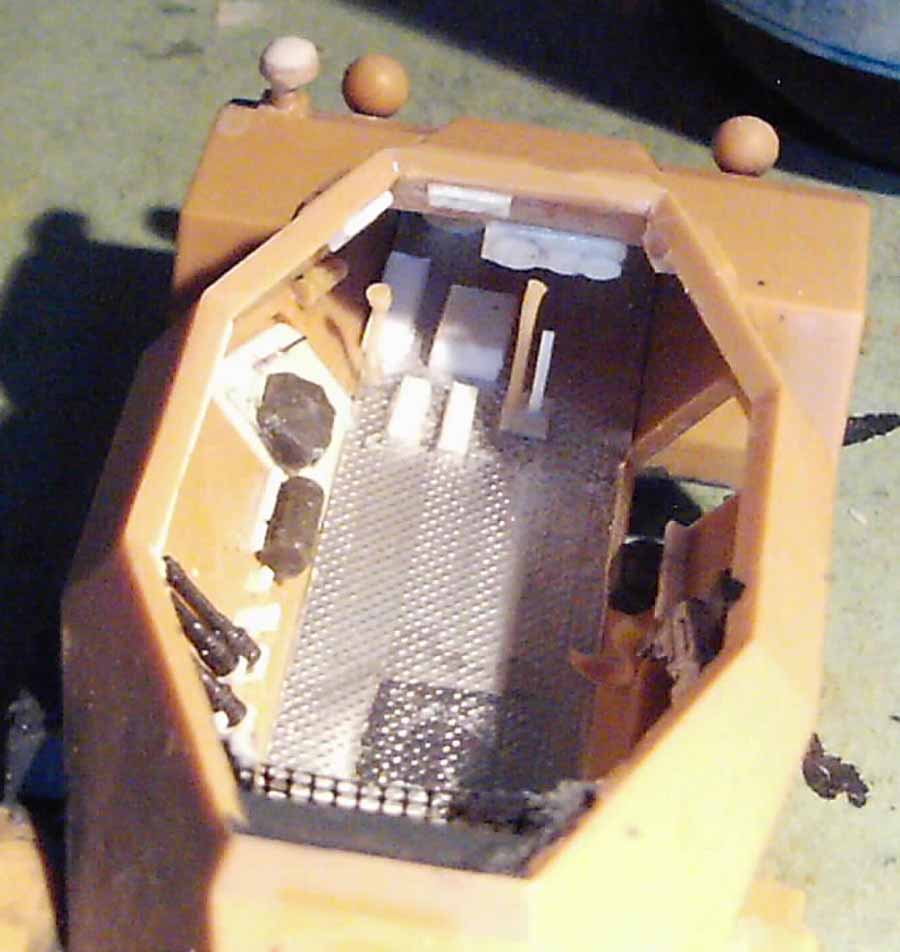
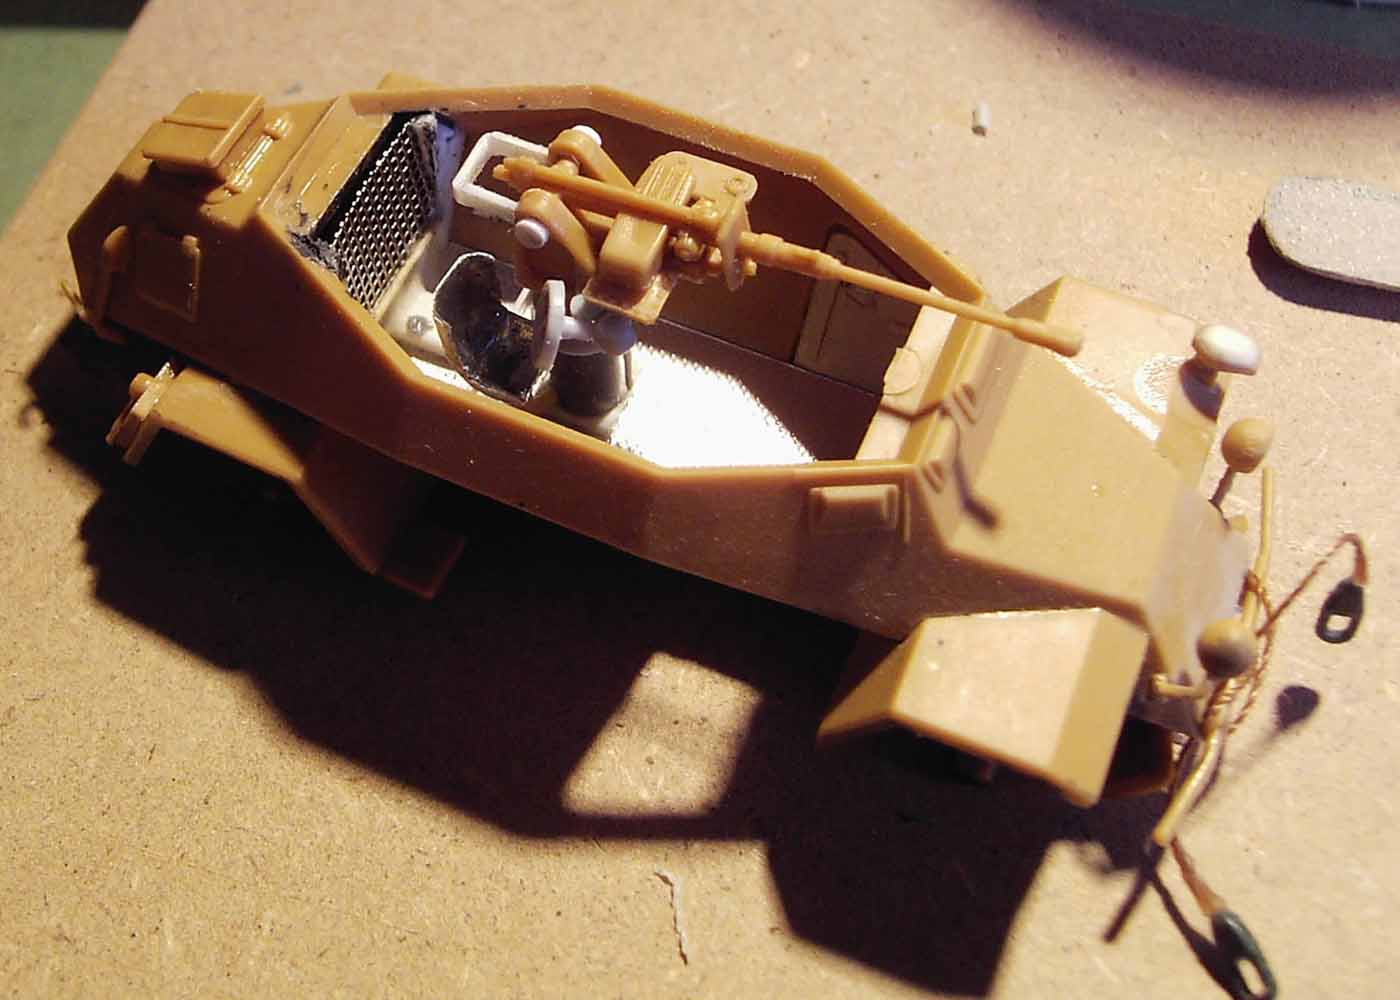
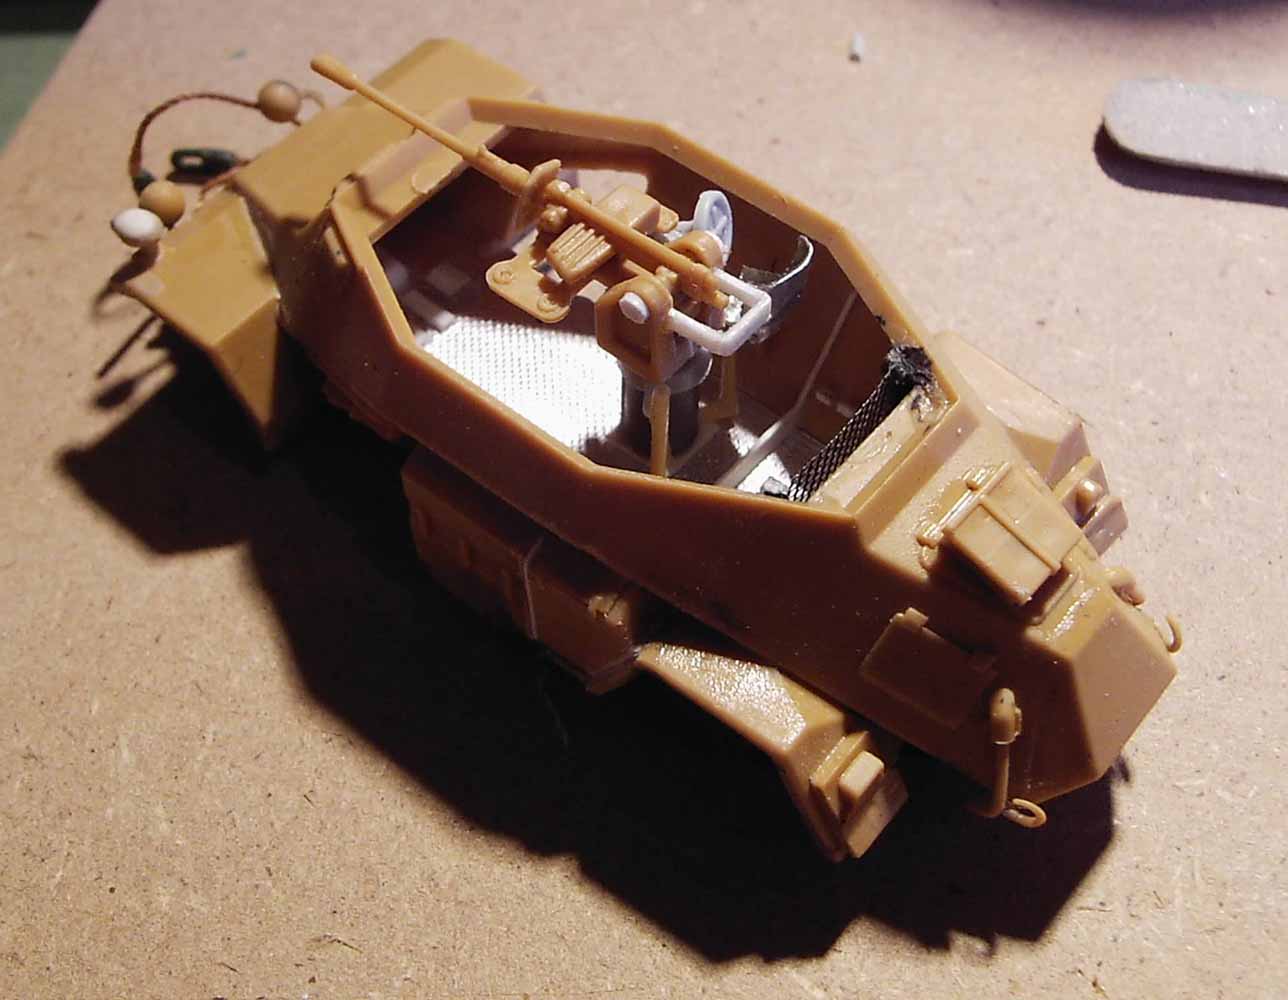
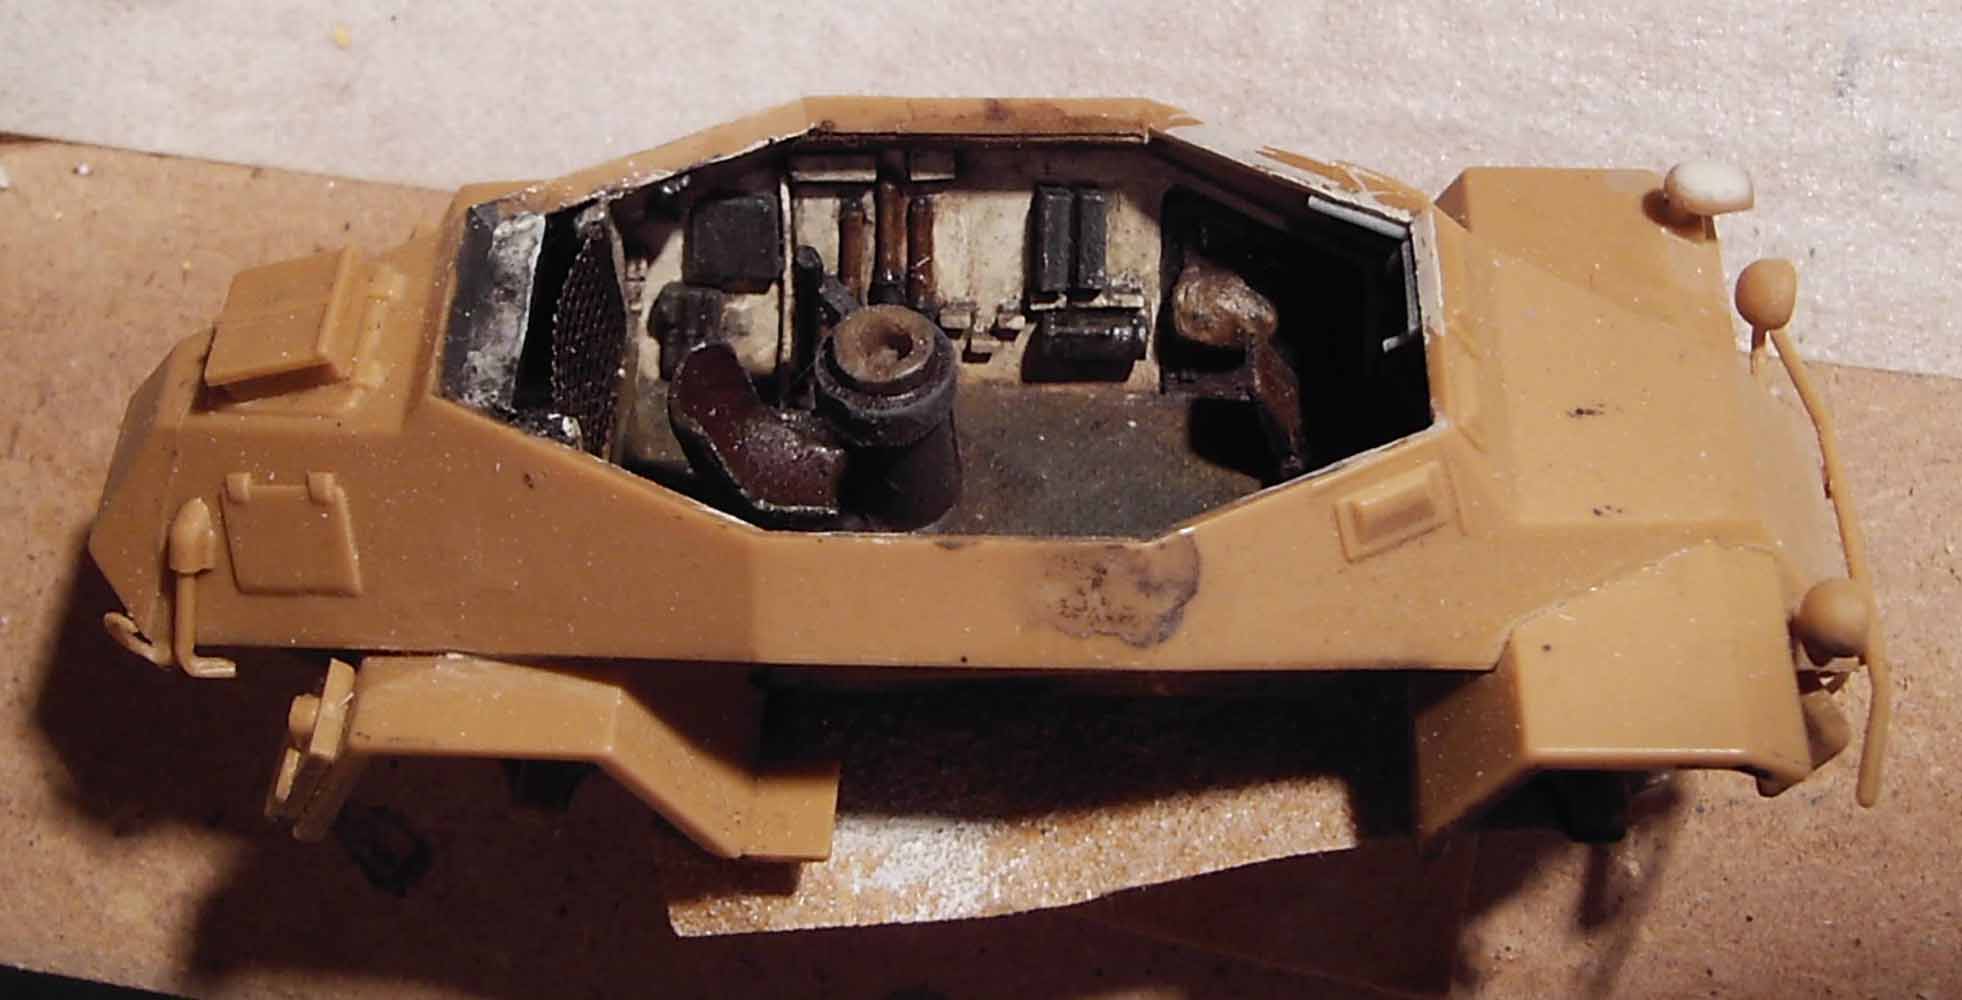
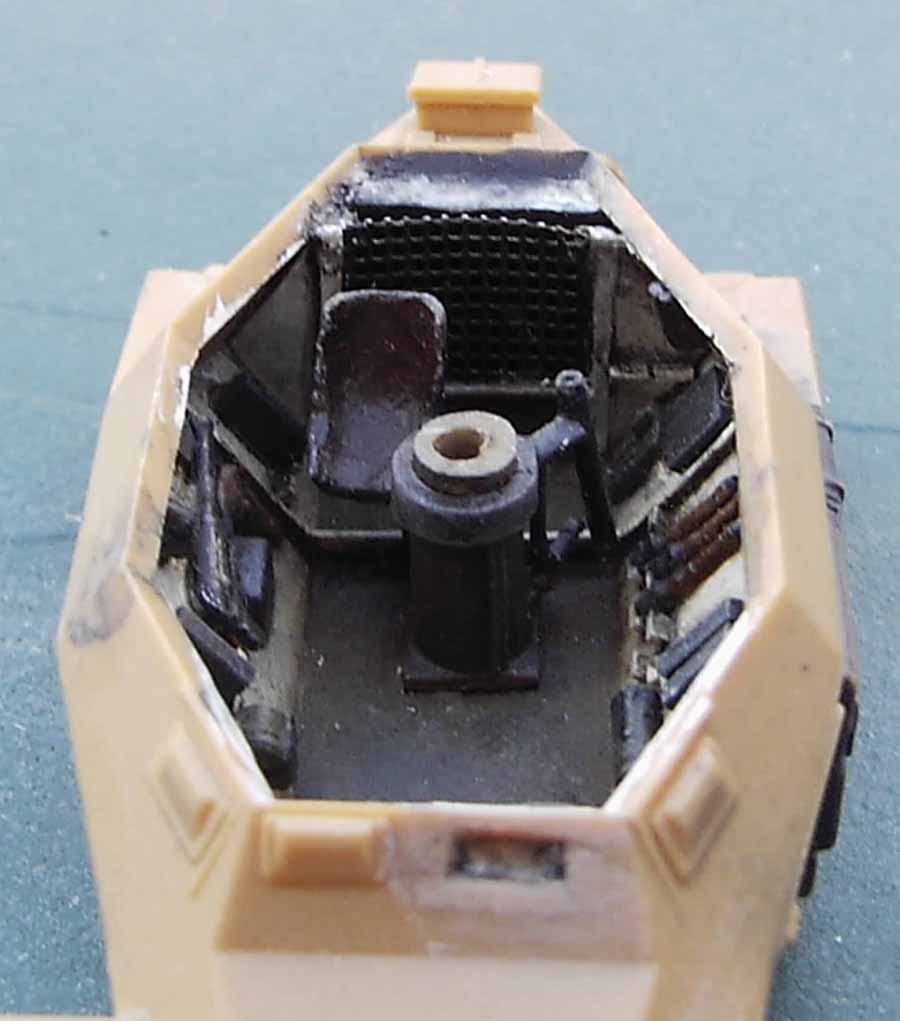
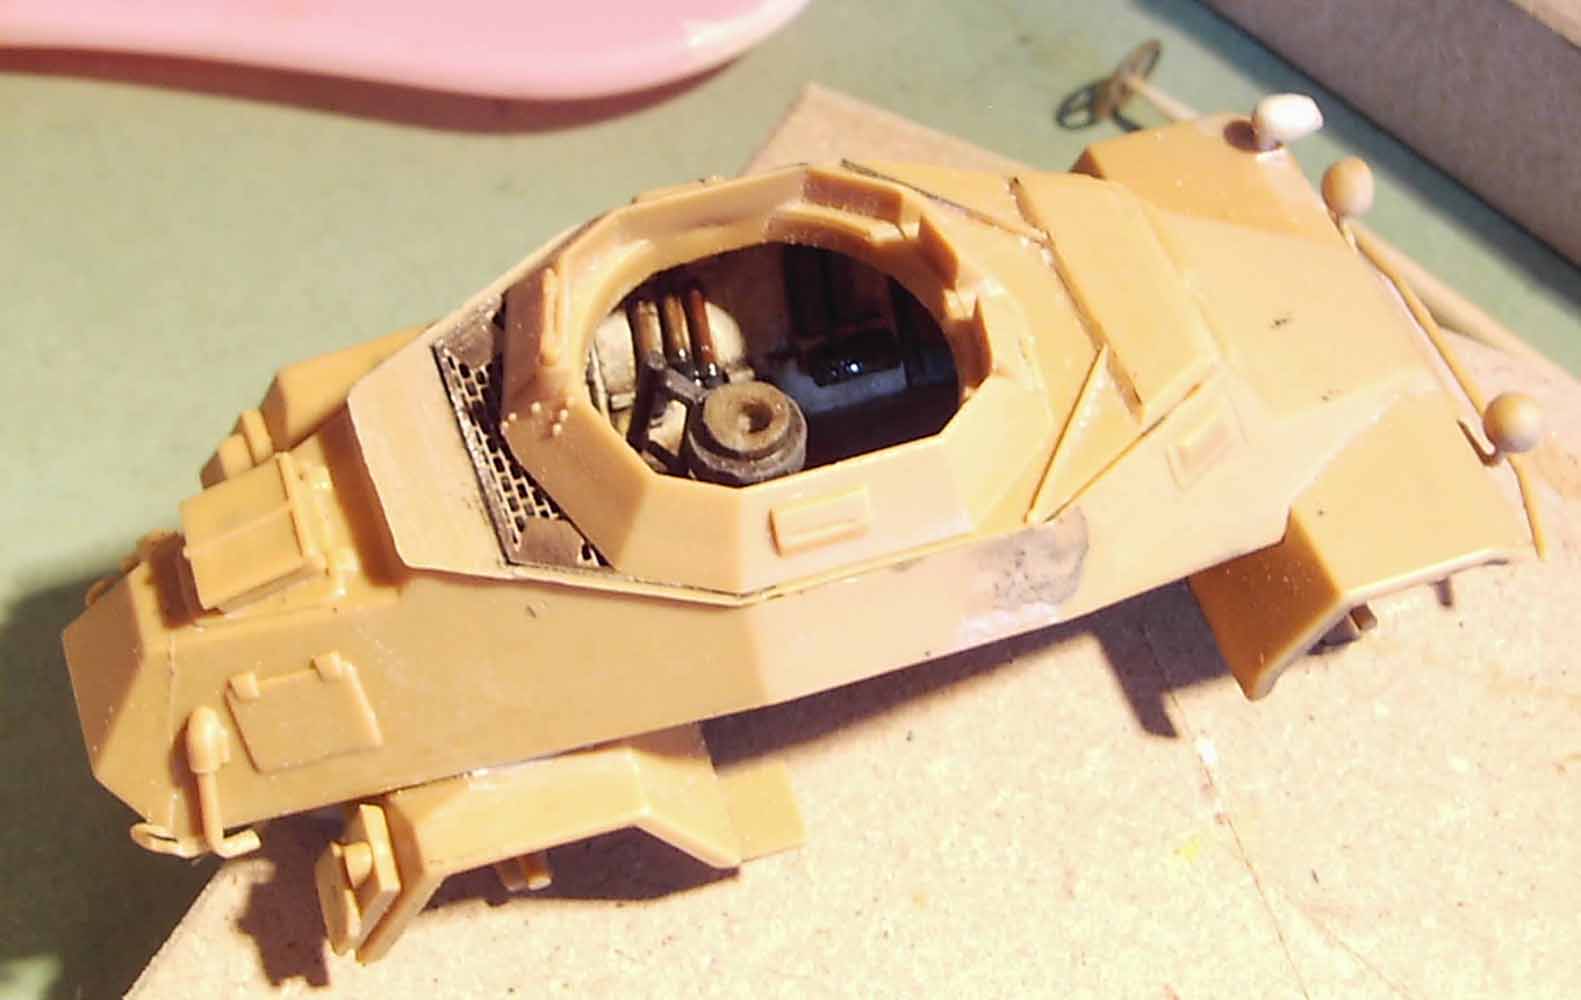
7.2 Previous build #1 Below are pictures of the construction
process of one of my other ICM Sd.Kfz.222 kits. The interior was enhanced
with plasticard and other items from my spares box, together with
some items from one of the Preiser infantry sets (like MP40, hand
grenades, gas mask canisters, bread bags, etc.). The doors were thinned
down and one was opened. Figures in the diorama are from Preiser, the wall from Extratech, but I can't quite remember where the horses came from.
Other features that I corrected for this build were:
The features that I didn't correct, because of a lack of documentation at the time, difficulty or laziness were:
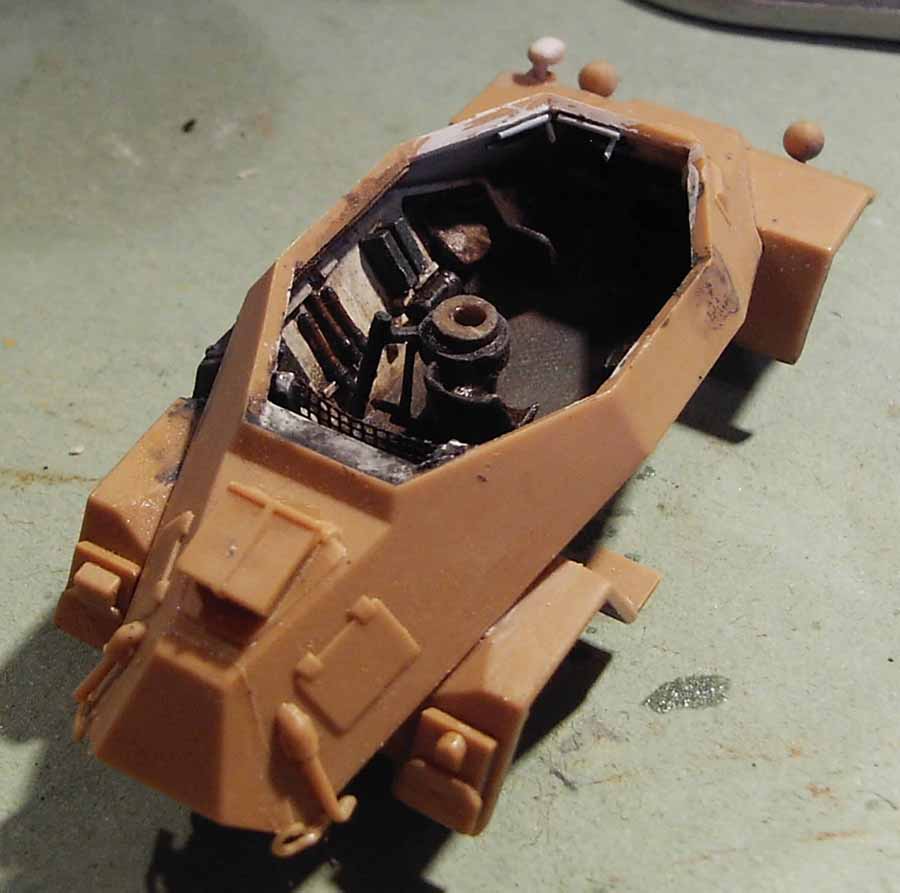
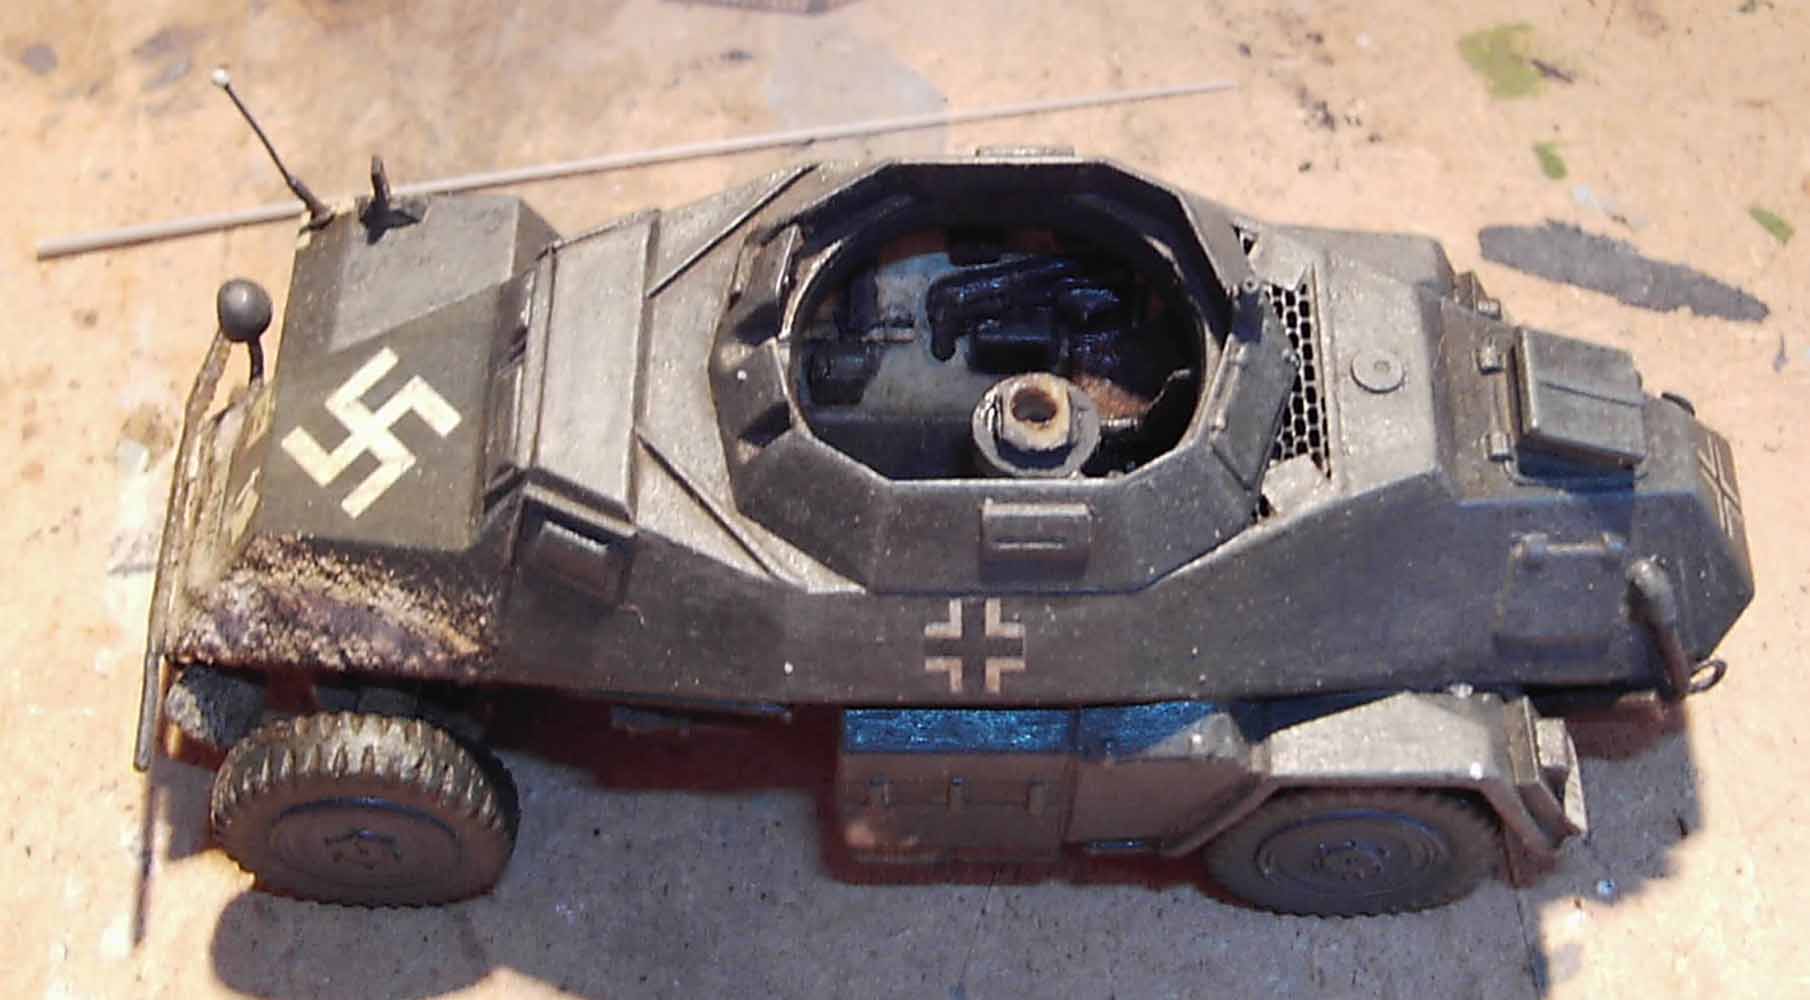
7.3 Previous build #2 Below is another one I built. The mottling was done with Agama Patinator pastels. Features that I corrected for this build were:
The features that I didn't correct, because of a lack of documentation at the time, difficulty or laziness were:
7.4 Extra build, with interior For this build, I used the Goffy interior set on the ICM kit. It turned out to be an exercise in self-flagellation, as I first started converting the kit to an early version, then discovering (with the arrival of the Panzer Tracts book [16]) that this would require many more modifications than I could handle, and ending up converting it back to a 5.Series vehicle. The latter required a lot of scratchbuilding and parts from the spares box, as I had (deliberately) destroyed a lot of detail while initially backdating the kit. For those of you that really want to know the finer details of this madness:
8. General Impression: With
all the comments I mentioned above, you might start to believe I am
no great fan of this kit. Well, nothing could be farther from the
truth, as the number of kits I built will attest, together with the
ICM Sd.Kfz.260. The best thing about this kit is the great ease of construction and the retail price (I got some of mine for 5 Euro). The worst is the complete lack of interior and the configuration of the gun mount. The detail is also not as crisp as on the corresponding MarS kit, but the dimensional accuracy is better.
9. Further information Also
check Harry Leith's preview (with
pictures of the sprues and decals) of this kit.
10. References [1] Samochody pancerne 4x4, J. Ledwoch, Militaria. [2] Missing-Lynx website (http://www.missing-lynx.com). Discussions on forum, e.g. Robert Johnson, 27/02/05 [3] AFV Interior, http://afvinteriors.hobbyvista.com/ (Currently closed) [4] DAK SdKfz 222 http://members.verizon.net/~blu.skink/blueskink/222_interior/222_interior.htm (Currently off-line) [5] Littelfield collection pictures, http://russiannavy.net/photos/littlefield (/Sept_2004/Sdkfz222) [6] Petr Vanek, private communication. [7] SS Armor, R.C. Stern, Squadron/Signal [8] Panzer Colors I, B. Culver & B. Murphy, Squadron/Signal [9] Panzer Colors II, B. Culver, Squadron/Signal [10] Panzer Colors III, B. Culver, Squadron/Signal [11] Gepanzerte Radfahrzuege, W.J. Spielberger, Militärfahrzeuge 4, Motorbuch Verlag [12] Panzer Tracts N°13, Panzerspaehwaegen, T.L.Jentz, Panzer Tracts [13] Panzerspähwagen, Ryton [14] Steelmasters 53, Les automitrailleuses SdKfz 222 et 223, October 2002 [15] SdKfz 253, 252 & early 250, Archive Part 1, M. Kögel, Total Detail [16] Panzer Tracts N°13-1, leichter Panzerspaehwaegen and kleiner Panzerfunkwagen, T.L.Jentz & H.L. Doyle, Panzer Tracts
This
model can be purchased from
|
| Back to Manufacturer Kit List |
Back to Home Page |
Article Last Updated: |
Back to Kit Review List |

.JPG)
.JPG)
.JPG)
.JPG)
.JPG)
.JPG)
.JPG)
.JPG)
.JPG)
.JPG)
.JPG)
.JPG)
.JPG)
.JPG)
.JPG)
.JPG)
.JPG)
.JPG)
.JPG)
.JPG)
.JPG)
.JPG)
.JPG)
.JPG)
.JPG)
.JPG)
.JPG)