|
Flyhawk Model
|
www.onthewaymodels.com |
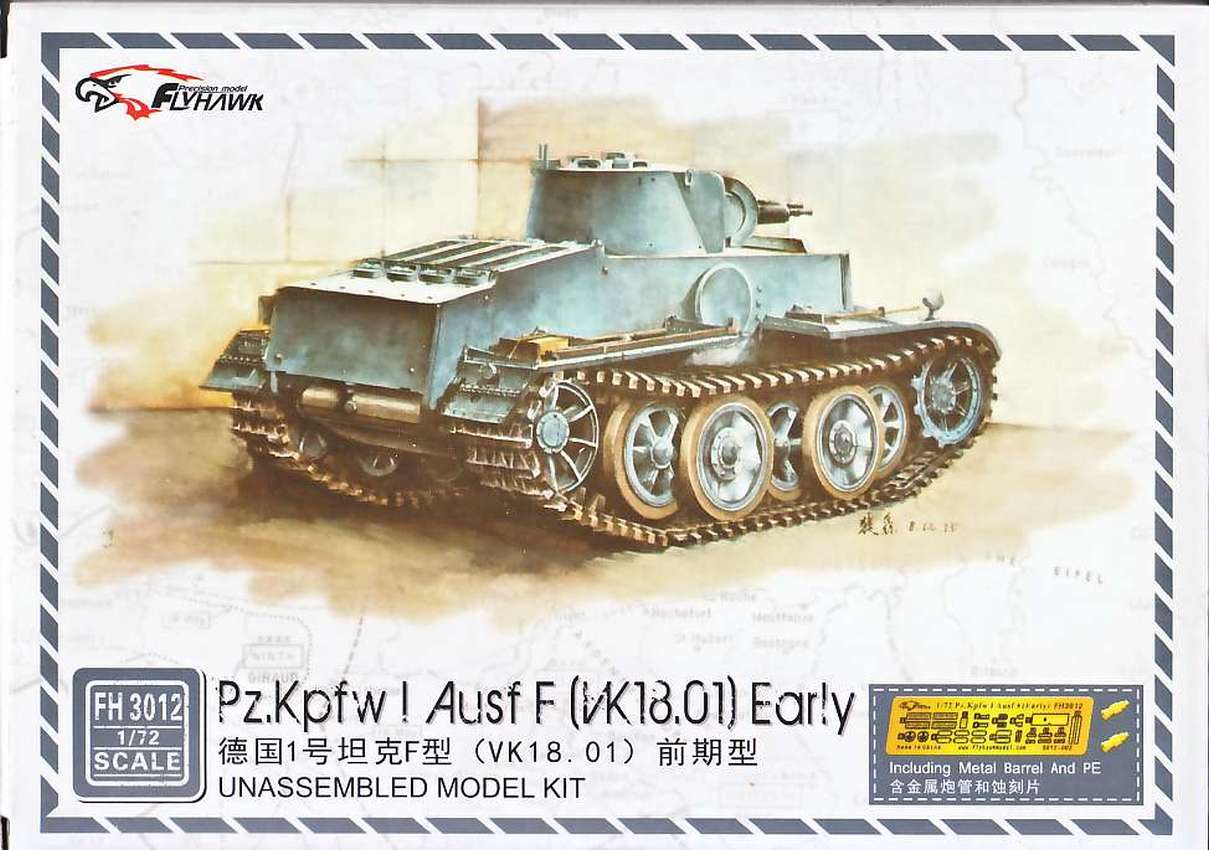
Pz.Kpfw.I Ausf. F (VK18.01) Early |
|||
| Kit #: FH 3012 |
Preview by
- F. Giovagnorio
|
||||
|
Flyhawk Model
|
www.onthewaymodels.com |
Pz.Kpfw.I Ausf. F (VK18.01) Early |
|||
| Kit #: FH 3012 |
Preview by
- F. Giovagnorio
|
||||
 |
|
Everything good that can be written about Flyhawk kits can be found in the other reviews by Rob Haelterman and Al Magnus, so there is not much I can add, apart from my total agreement with their opinions. My preview of this kit contains a general analysis of the model and some info about historical background.
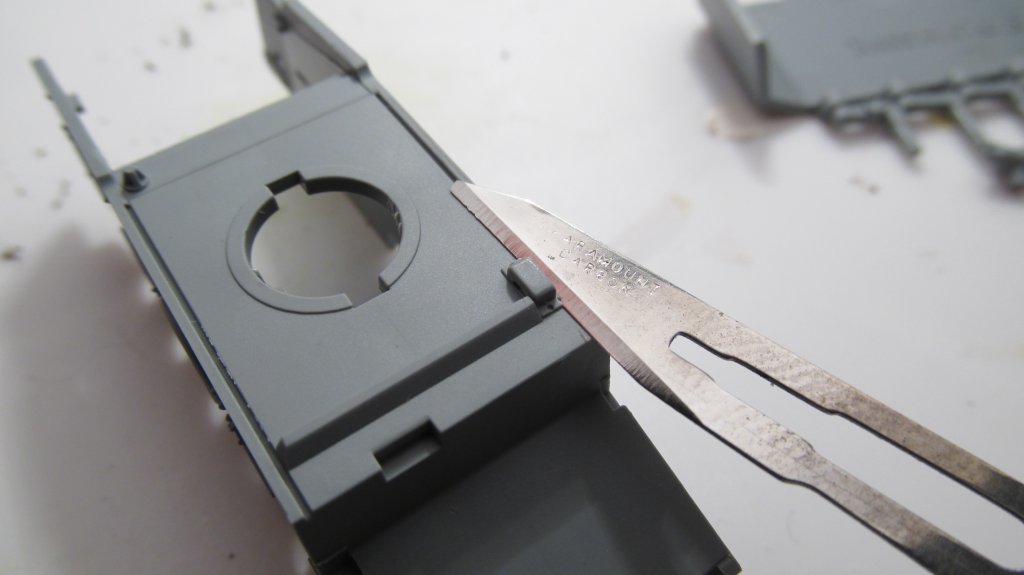
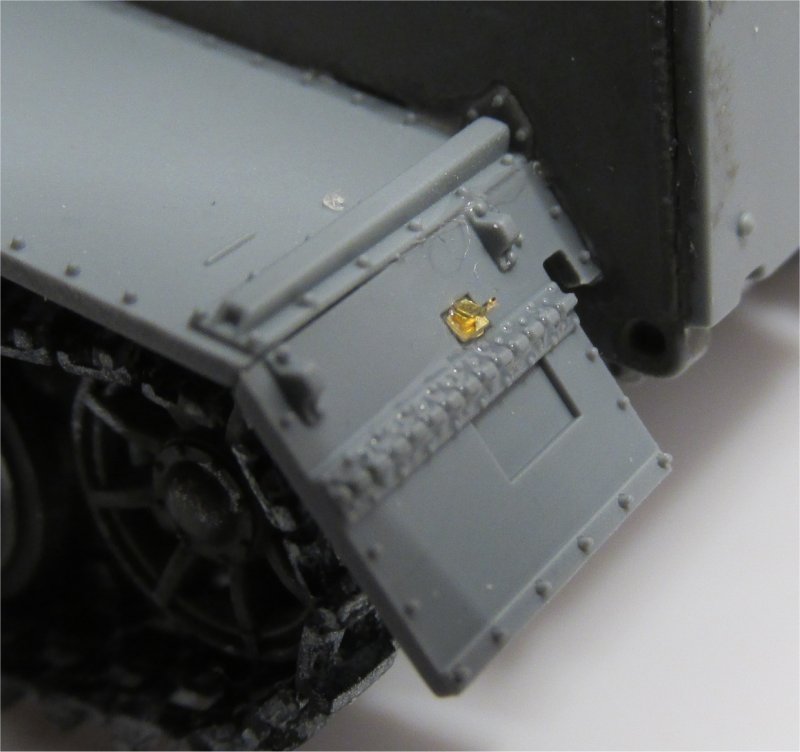
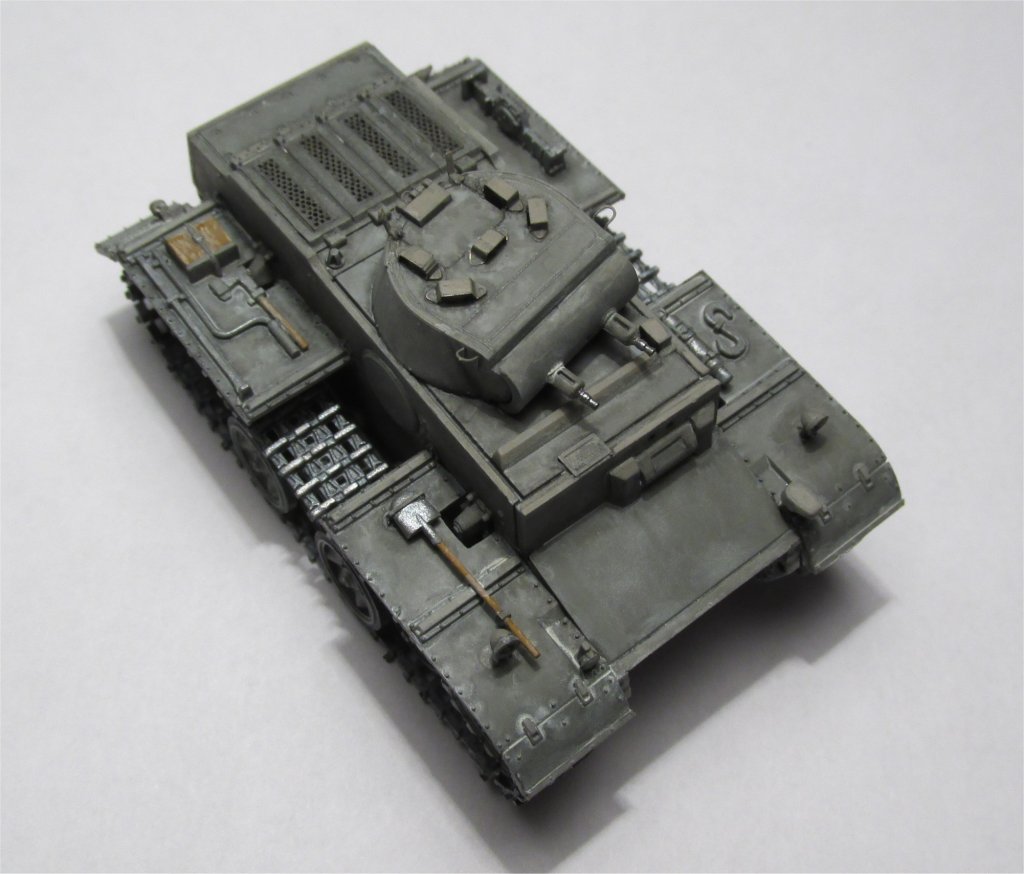
This is what I was talking about. All the plastic covers have to be carefully removed with a scalpel, to avoid destroying details or leaving scratches, then each PE part has to be bent and positioned. A small piece of acetate should be put inside the hole in the hull (or turret) before glueing the cover; afterwards, it can be done nonetheless, but it is more difficult.
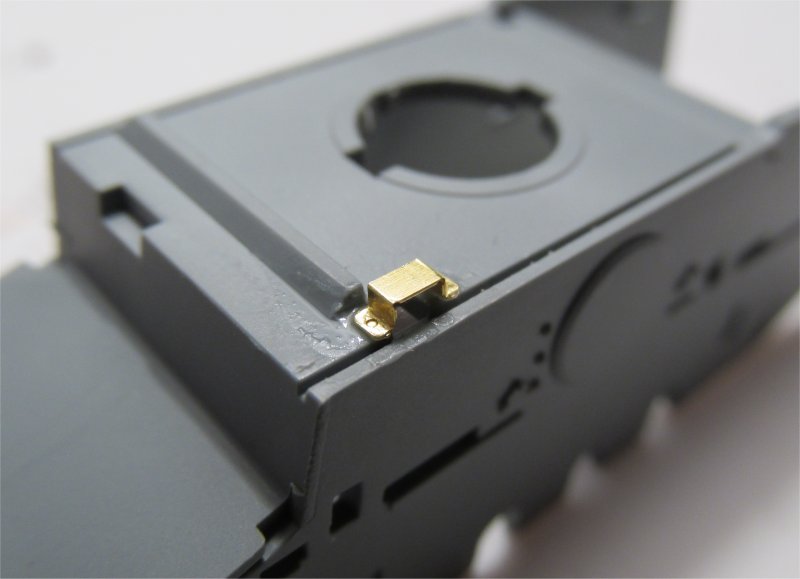
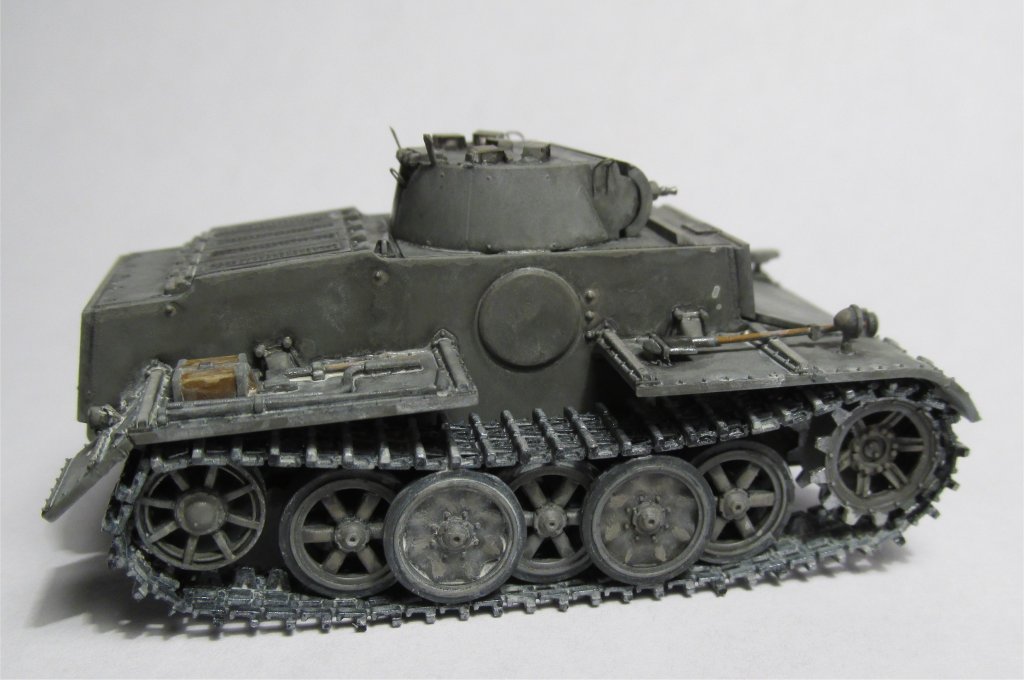
The final result is quite pleasing, because the PE covers look thin as they should be, while the plastic ones looked a bit too thick. Assembling hull and wheels is quite straightforward: I am not going to repeat what you can find in the aforementioned reviews. I would just say that the shock absorbers (pieces H7-H8) have their connection to the sprue along the upper profile, which makes it difficult removing the pieces without damaging the bolted ridge. Sprocket wheels (H9-12) should see their two halves firmly inserted to avoid teeth misalignment, yet this does not happen because the squared peg-hole combination is a bit loose, so be careful.
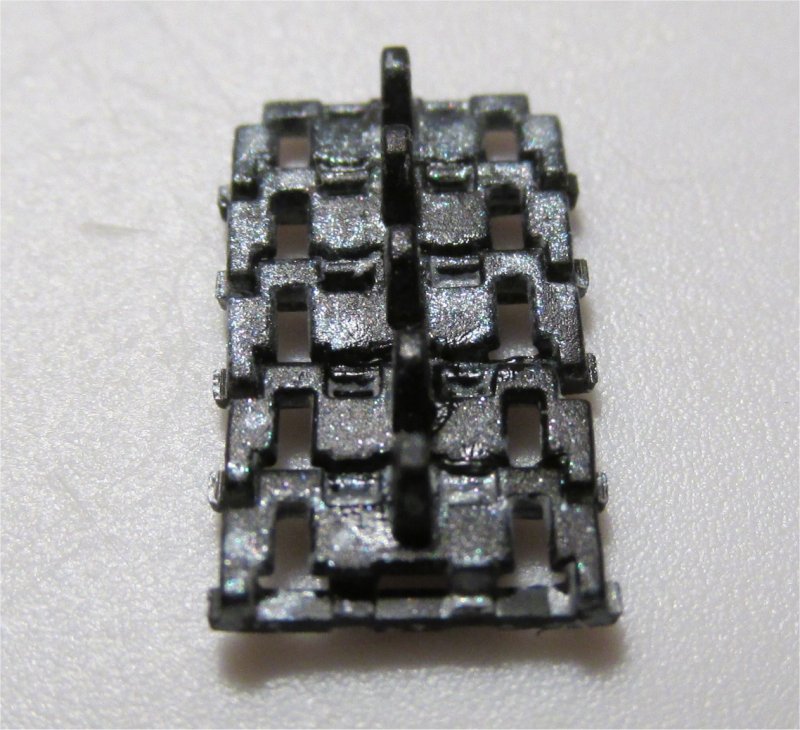
Tracks are a strong point of Flyhawk kits, because they are extremely detailed and eack link fits perfectly to the others. Depending on the sag you apply, you might need less or more links, or even end your work needing only a fraction of a link, because an entire one is too much. Just work on the amount of sag and you will be fine.
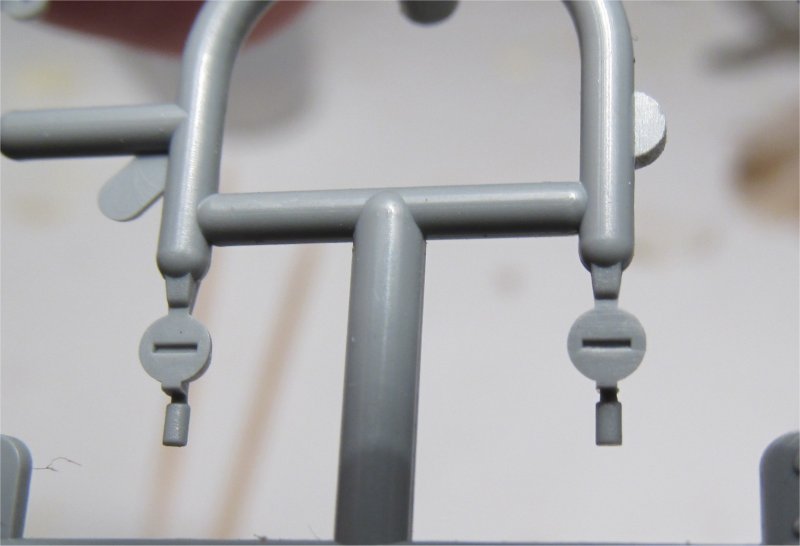
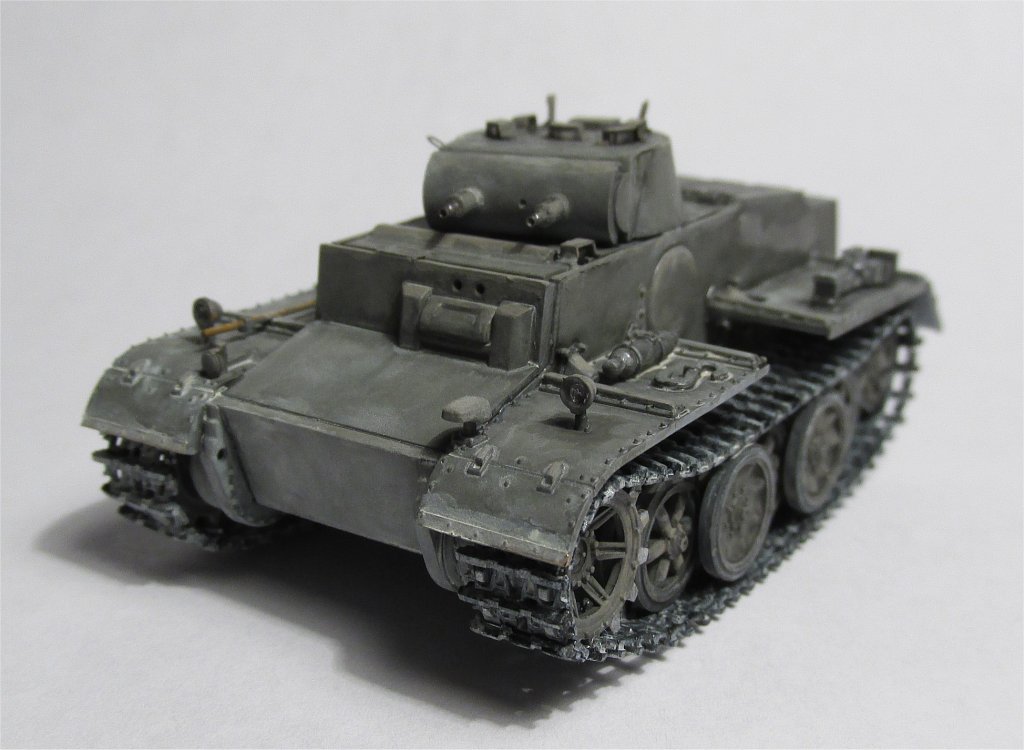
There is one step where I had to do disagree with Flyhawk: in the box, you can find the same, covered front lights which were standard in the Late serie, while the only photos of the Early version show the normal, non-covered lights. I decided to hollow the supplied lights, paint the inside in plain silver and put a drop of white glue to reproduce the lens.
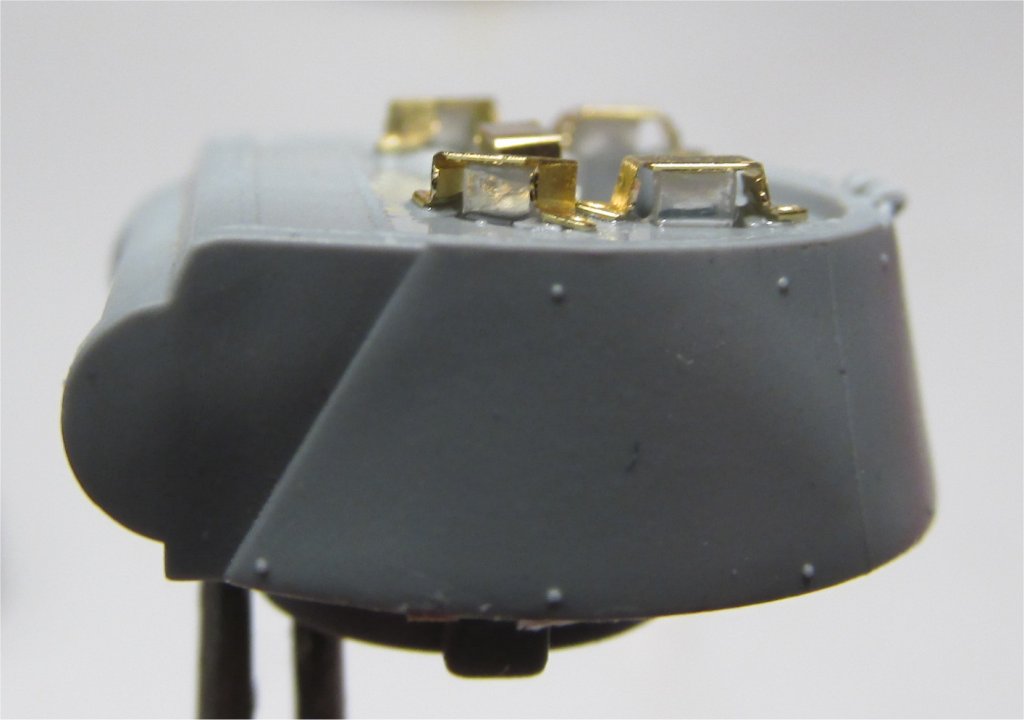
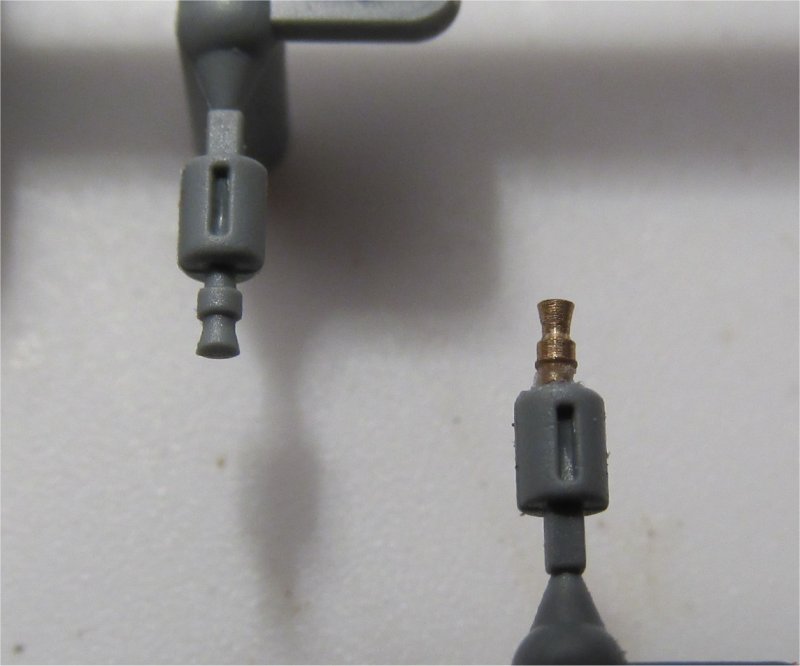
Other "non-plastic" parts which require attention are the supports for the posterior lights (better distract the carpet monster before working with them). The metal barrels are a very fine touch: to mount them, you should cut off the plastic ones, drill a very small hole and insert the metal ones while the carpet monster is still distracted. Fact is, the plastic ones are just about as nice, which means that the whole work is probably not justified. In the above picture you can see both solutions together, so you can compare the two yourself.
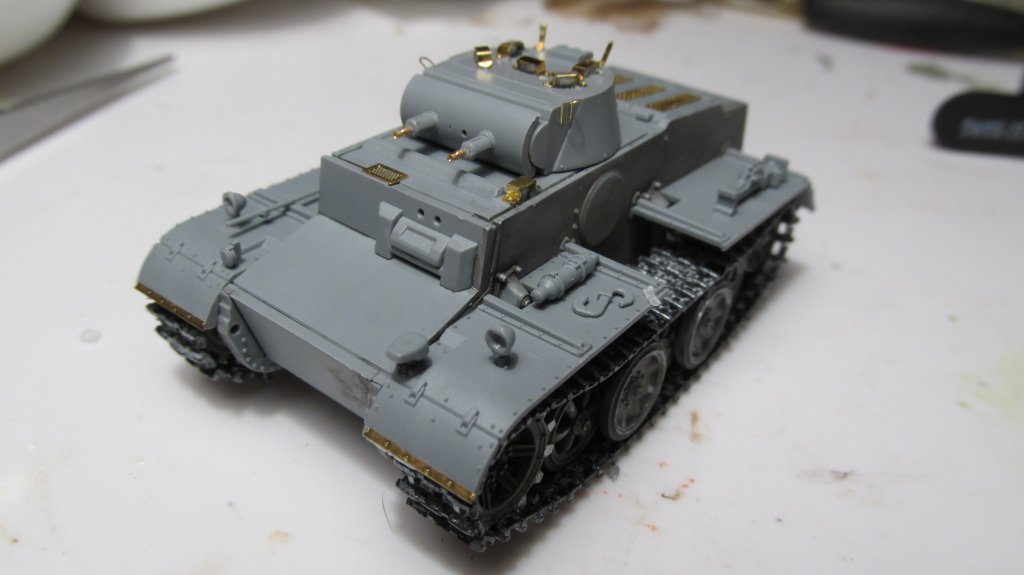
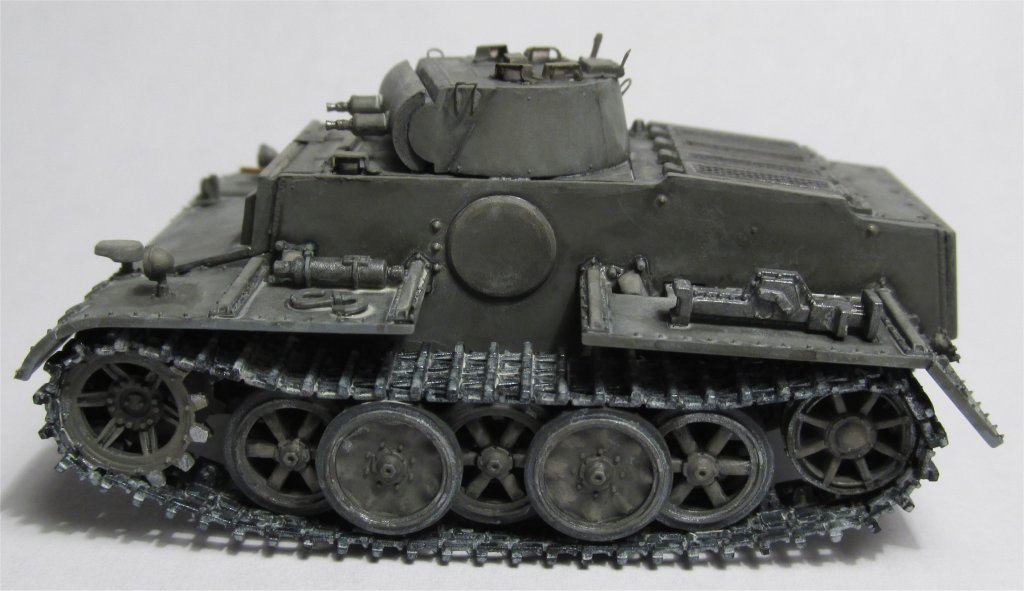
Here is the completed model.
Weathering is only minimal for a vehicle which never left the proving ground. Only a small amount of dirt and white dust, while the tracks are in plain steel because they surely had no time to build any rust.
A very fine dental needle was used to re-open all the holes in the PE grills after many layers of paint and washes. Hard work, but the model deserved it.
Conclusion
|
| Back to Flyhawk Model Kit List | Back to Construction Review Page |
Article Last Updated: 08 December 2015 |
Back to Home Page |