|
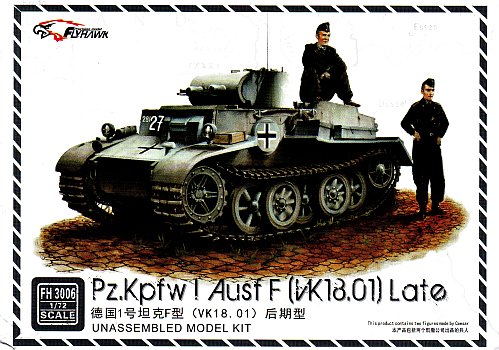
Before proceeding I suggest the reader check out the preview by Henk Timmermann here
and review by Rob Haelterman here.
Construction
The other Flyhawk kits that I have built are so well detailed and molded, that I have built them all pretty much out of the box. I saw no reason why this kit
shouldn't be treated likewise and proceeded to build it out of the box as well.
Because this kit is almost identical with the Pz.Kpfw.II Ausf J sister kit (FH 3005) I had built previously (review is here),
my build pretty much followed the same sequence, subsequently many of the points I mentioned with the Pz.Kpfw.II Ausf J also apply to this build.
In Step 1, the mounting instructions for the visor cover (part I-5) is vague. The part is small and virtually symmetrical so it is easy to
place it the wrong way. The instructions have you mount the muffler and exhaust pipe sub-assembly here but I found that it can actually be added after the rear panel
(part G-16) is attached in Step 2, allowing the builder to construct the hull in its entirety and add the muffler after painting.
Flyhawk provides etched replacements for all the periscope covers - one for the front left side of the hull and another five to replace those on the turret top.
It seems to me the etched covers were an after thought because to add them, the molded on plastic versions need to be removed beforehand. I saw no reason to do
this extra work since in my view the plastic versions are quite acceptable as is.
In Step 2 I chose the plastic option for the tow ropes (parts F-4 & F-5) over the optional set of separate eyes and some nylon string, which also requires
the modeller to also shave off the molded on brackets and replace them with etched pieces. Like in the Pz.Kpfw. II Ausf J kit this alternative looks to me like a
potential recipe for disaster. In my opinion trying to route the string around the brackets without causing damage to the rope and eyes or separating the
brackets from the hull would be very difficult should one choose to add them after painting the kit, and should they be added before painting they would
probably get damaged while handling the model in subsequent construction steps.
The grab handles (parts G-8 & G-9) were left off until just before painting knowing that they too would most likely be damaged while handling the model in
subsequent steps. Those wishing to improve the kit may want to replace the handles with something thinner.
Construction of the spare track mounts is awkward due to the small and delicate nature of the etched pieces. It also doesn't quite match the spare track
mount as seen in period photographs (refer to the pictures in my Pz.Kpfw. II Ausf J review).
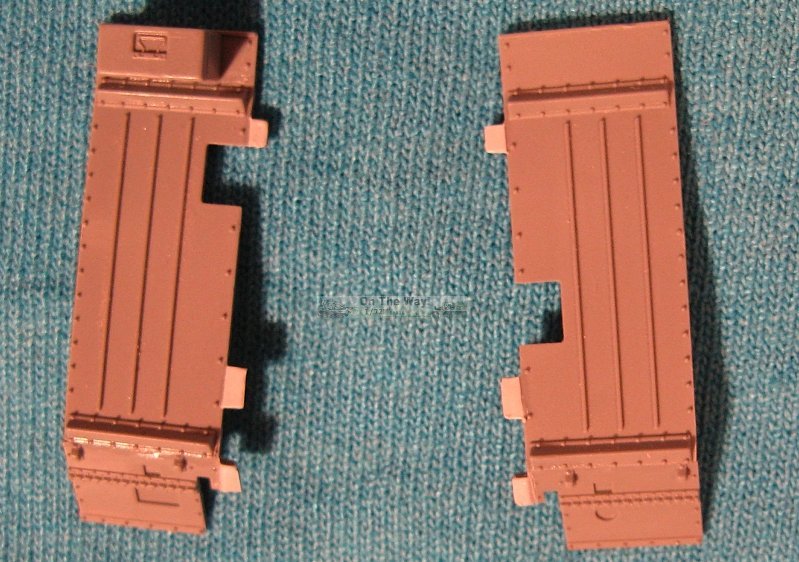
I then skipped ahead to Step 5 and glued together the two-part rear fenders, temporarily pushing them into the hull while the glue set so they'd line up properly.
At this point I noticed that the slots in the hull for the tabs were too large so I added some extremely thin plastic to the tabs so they would fill the gap when
finally mounted (see below).

Now it was back to Step 3 where the wheels, idler and drive sprocket were cleaned up.
At Step 6 the tools, jack and the jack block were all separated from their sprues, cleaned, painted and left as separate items to be mounted later. The storage boxes
were glued to the rear fenders except for the large one on the left fender (parts D-2 & 2 x D-3) that covers the tools.
Lights, horn and extinguisher were also attached here. Once again I glued the rear lights (parts I-2 & I-4) directly to the fenders instead of using the
fragile etched mounts. To me they look quite acceptable this way.
The turret is put together in Step 7. Here I skipped replacing the molded on periscope covers with the etched versions. Otherwise the turret was constructed as
directed by the instructions. The MG barrels were drilled out.
I added the etched lift rings (Parts PE-5 & PE-14) here but this meant that extreme care was necessary from this point forward to prevent subsequent damage.
They are easily bent or knocked off. The extremely delicate etched hatch props (part PE-3 & PE-4) were added after final painting and touched up as required.
Then the hull, wheels, idler, sprocket and fenders were all painted, gloss coated followed by some preliminary weathering applied to the lower hull and wheels.
Like with the Pz.Kpfw.II Ausf J kit, the wheels fit tightly to the axles keeping everything aligned. The fit is so tight that I had to ream the holes
slightly after painting as the paint removed what little slack there was and there was no way I was going to slide the bogies onto their respective axles.
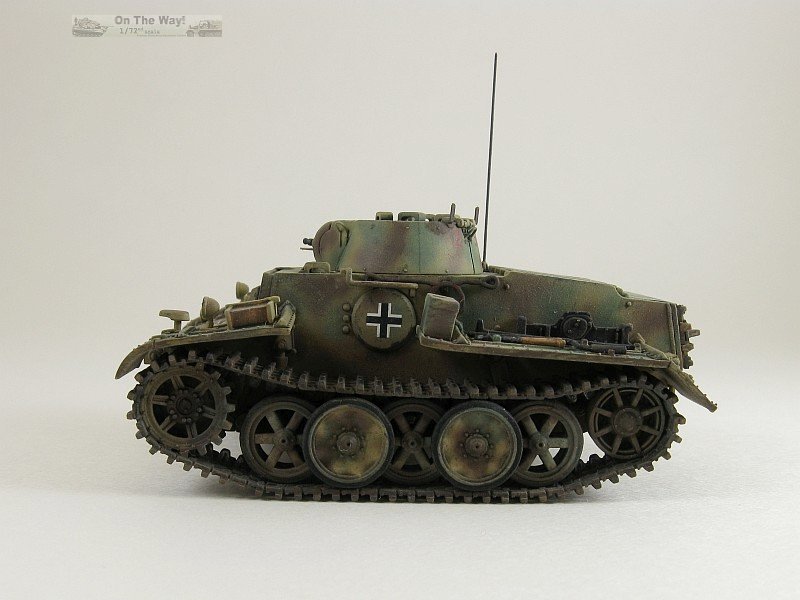
Next I returned to Step 4 for the tracks. Once again I was supremely impressed with their execution. Parts fit was superb and the detail exquisite. I was able to get the
prescribed number of links mounted to both sides though the fit on the right side was somewhat tight. In retrospect I should have added an extra link to the right
side to give myself more slack to work with while I glued down the tracks to the wheels. With the tracks being molded in black I could forego having to paint
them black first and proceed directly to weathering them.
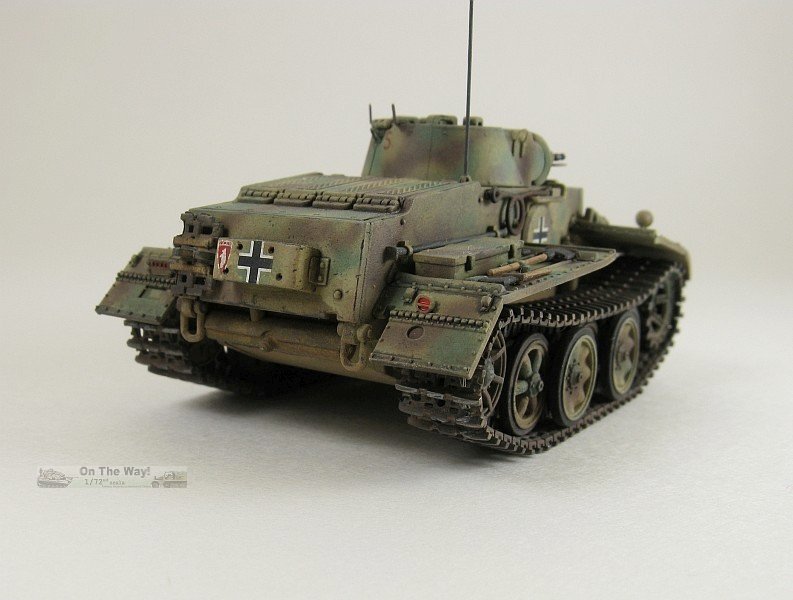
With the tracks mounted all the separate parts could be added: fenders, tools, jack block, muffler, grab handles and tow ropes. There is a small gap between the fender
brackets and the hull. This was filled with thick CA glue and then touched up with paint.
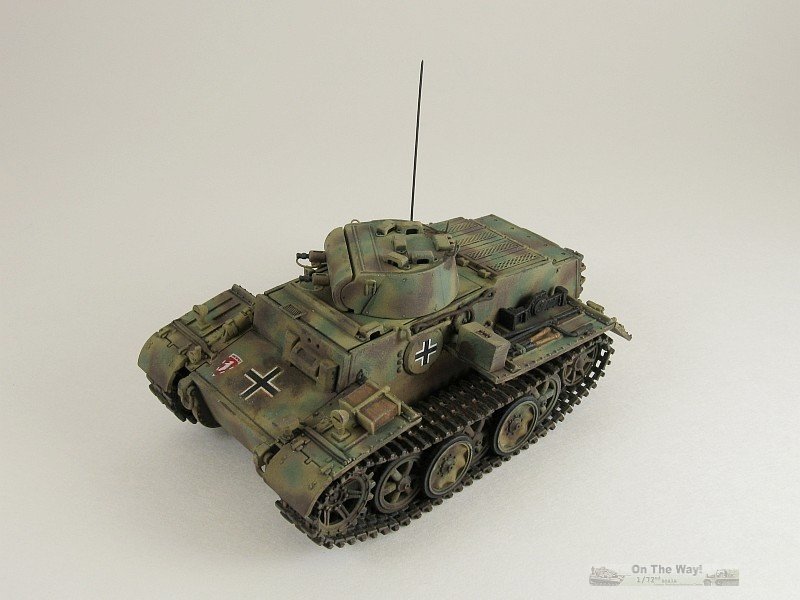
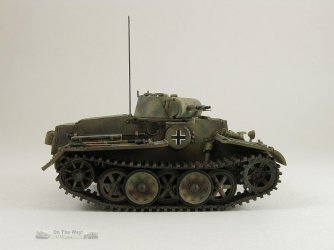
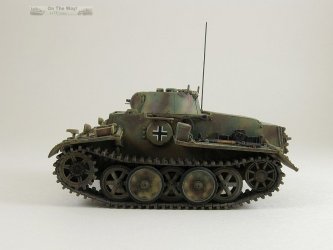
I had originally planned to use the markings for the dark grey 2.Polizei.Pz.Kp.(neu) vehicle. I changed my mind upon seeing the decals for the turret insignia. They
didn't quite seem right to me, so I went with the 3-tone camouflage option for Pz.Rgt.1 instead.
The decals were somewhat disappointing. The black & white crosses were oh so slightly off register. I started my decaling with the turret numbers which were the only
decals for which I had no replacements. I found they did not stick well and tended to silver so I decided to replace the out of register crosses with spares.
Flyhawk renders the unit marking in black & white (I think this was done to keep the number of colours on the sheet to just two and save printing costs), which
I didn't agree with, and they also don't seem to match the shape or design of the shield seen in the photos of this vehicle from reference [1] (which are also
widely copied on various web sites and also used in reference [2]). Photos also show a slightly lighter shade to the background of the shield, possibly
red. Since the decals that come with reference [2] were red and looked closer to the proper shape they replaced the kit decals.
The replacement insignia were very good. Their opacity was excellent, preventing any bleed through of the underlying camouflage. What they lacked was a lot of
glue, hence they slid off the paper within seconds of being dipped in water, and needed some gentle persuasion with numerous Microsol soakings to sit down.
No silvering was encountered.
The final touch was an antenna wire cut from a guitar string glued into a hole drilled in the mount. Some last minute weathering and a flat coat completed the build.
Conclusion
Another winner from Flyhawk. This is a kit well worth the money with its abundant detail, excellent molding and superb fit. Bravo Flyhawk! Keep them coming.
References
[1] Encyclopedia of German Tanks of World War Two: A Complete Illustrated Directory of German Battle Tanks, Armoured Cars, Self-Propelled Guns and
Semi-tracked Vehicles, 1933-1945, Peter Chamberlain & Hilary L. Doyle, Arms & Armour, London 1993 ISBN: 1-85409-214-6
[2] German Unit Insignia of WWII, Pt. I Ground Units, Waldemar Trojca & John Fedorowicz, Model Hobby and J.J. Fedorowicz Publishing,
Kotowice-Speyer-Winnipeg 2006 ISBN: 83-60041-17-2 (Review can be found
here)
[3] Panzerkampfwagen I Kl.Pz.Bef.Wg. to VK 18.01, Panzer Tracts 01-2, Thomas L. Jentz & Hilary Louis Doyle, Panzer Tracts, Boyds, MD 2002 ISBN: 0-9708407-8-0
[4] www.aviarmor.net
[5] serkoff.narod.ru (walkaround of Kubinka vehicle)
[6] www.aviarmor.net
[7] scalemodelaircrafts.blogspot.ca
[8] forums.airbase.ru (another Kubinka walkaround)
Preview sample purchased by the author.

|