| Revell
|
www.onthewaymodels.com | Panther Ausf G early production with zimmerit | |||
| Kit #: 03109 or 03171 | Article
by Danilo Carli - 172normandyafv(at)gmail(dot)com |
||||
| Revell
|
www.onthewaymodels.com | Panther Ausf G early production with zimmerit | |||
| Kit #: 03109 or 03171 | Article
by Danilo Carli - 172normandyafv(at)gmail(dot)com |
||||
 |
The
kit is composed of four sand yellow mouldings in a transparent packaging.
Of these, three mouldings are common to the Ausf D/A kit (one with
the turret and wheels, one with the lower hull and tools and the third
one with the link and length tracks) while the last one is specific
for the Ausf G containing the upper hull, Schürzen and details. |
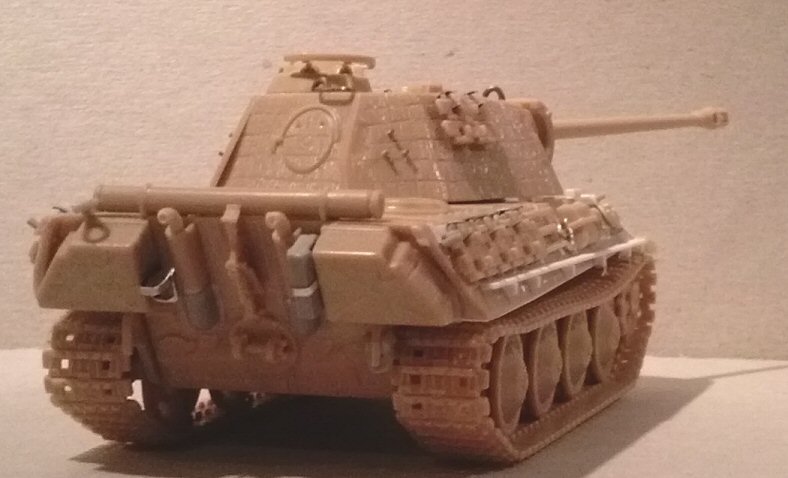
When I opened the box, my first impression was very positive; the details looked good and crisp. At first, the only problematic parts of this kit seemed to be the gun mount, the Schürzen and the tracks. Although the kit's generic dimensions were quite correct, after assembling it, something in the upper hull looked wrong (especially when compared with a Dragon kit). The turret rear overlapped too much the engine gratings and the turret front was too much near the crew hatches, so I measured it in detail. •
The turret is 33.0 mm long (the Dragon one being 32.5 mm), so the
problem wasn’t here. A research on the net confirmed my opinion. A discussion with good images showing the error can be seen here. |
|
 |
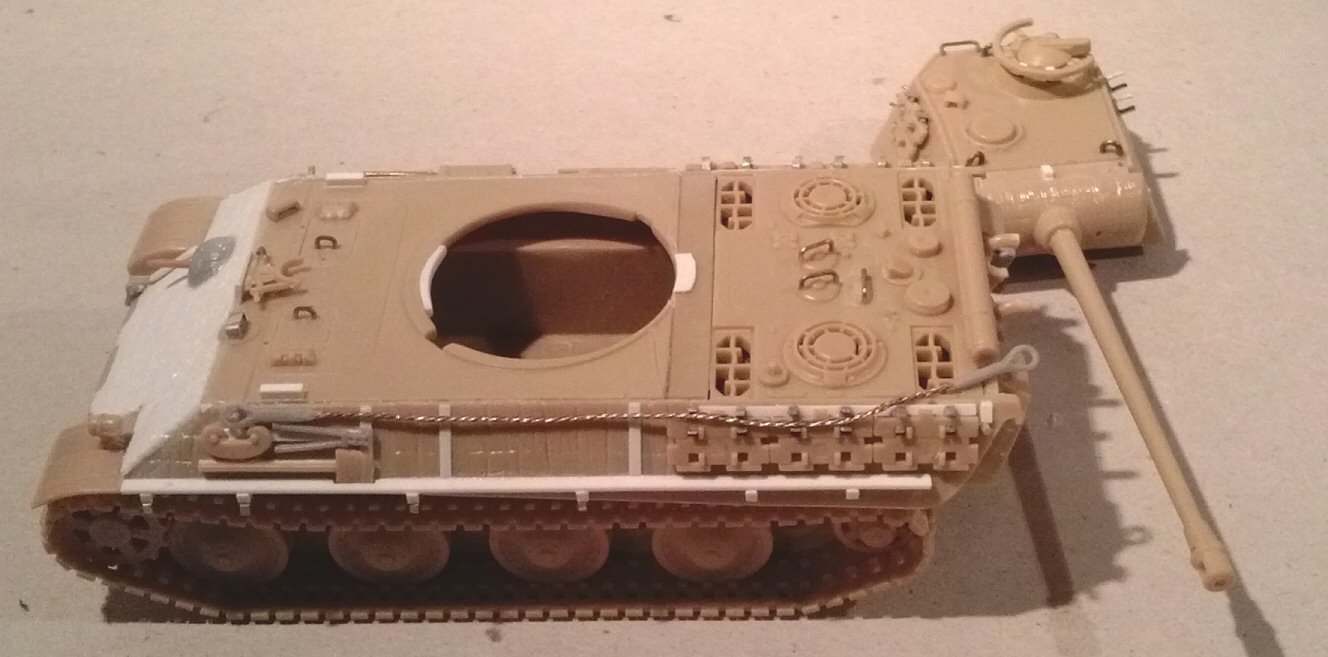
So what to do now? I choose to cut out carefully the crew compartment deck and push it forward adding a shim to the rear. This obviously also meant replacing the glacis plate. Here is what I made. Having
chosen to depict a Normandy tank, I built this cat as an early G.
What follows is referred to a March/May 1944 MAN production tank,
based on what I found on various paper and net sources (like this
recommended site panther1944.de).
|
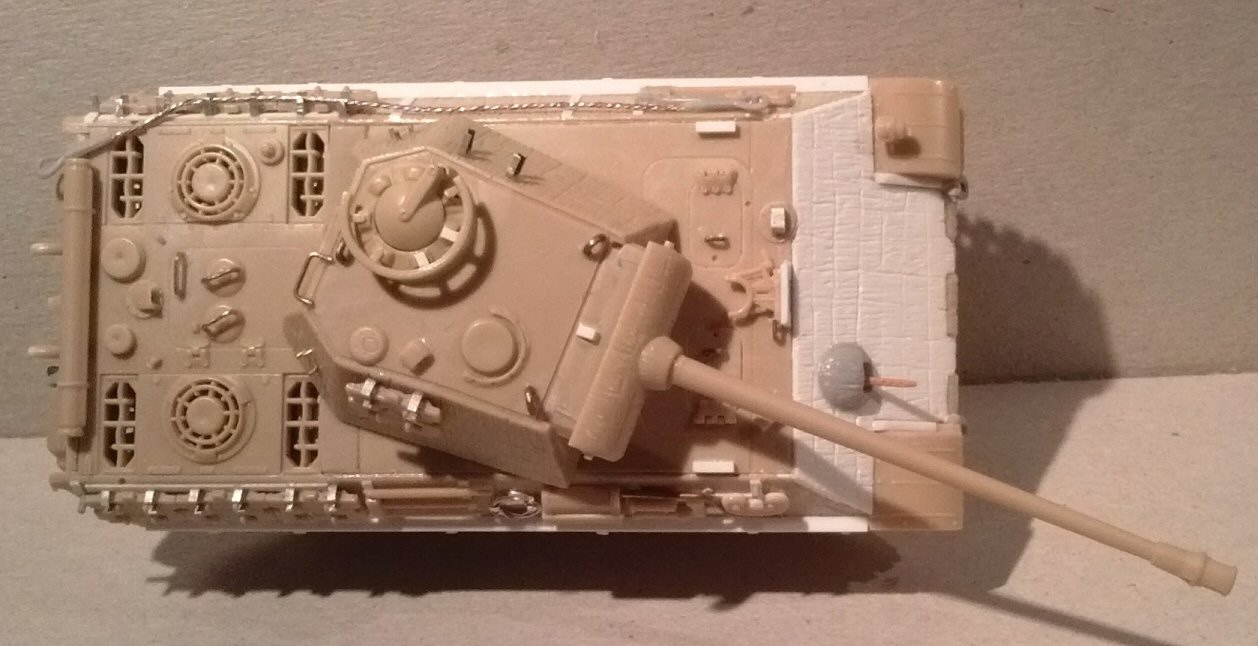
Hull 1. The crew compartment deck was carefully cut off leaving the engine deck on the upper hull. To correct the hull deck length I used an analogical system: I glued the plastic shim a bit larger than needed. Then I used the turret as template. The rear edge of the crew compartment deck was trimmed at the level of the rear turret plate edge. Then the deck was glued to the hull. 2. This served to correct most of, but not the whole, problem: the turret was still a bit forward. To have the right idea of the question you have to think that both the engine deck and the forward plate (which gave access to the gearbox) could be lifted off without removing the turret. However, the turret had to be turned at a little less of 3 o’clock for the hatches plate or a little more of 3 o’clock for the engine deck (or a little more of 9 o’clock and a little less of 9 o’clock respectively, if you prefer). So I shimmed the forward half of the turret hole in the deck with 1 mm plastic and filed the rear half restoring a circle in order to push back the turret. 3. I replaced the glacis plate with plastic sheet. This needed the shimming of the sides protrusion near the fenders. I think that an option may be to cut off the glacis have it repositioned, however this is the way I did it, obviously is not the only one. The kugelblende is from Dragon; just because I lost the original one… while the MG barrel was replaced, being a little oversized. |
|
 |
Now I could start working on the details: •
Before closing the hull, the spaces under the cooling exhaust vents
were filled using plastic with some “gizmo” details. |
•
I added a new front guard for the hinged gun barrel holder. Also the
inverted “L” shaped piping was added with metallic wire.
• The two crew hatches and the three engine deck hatches received metallic wire handles. • Near the crew hatches I added their stoppers with plastic rod. • The narrow plate lines along the hull sides are moulded to the inner sides of the Schürzen. To have some plates missing I replaced them with two plastic strips glued to the hull. To these I added the hooks for the Schürzen with plastic and metal strips. • The tools are moulded on the racks with little raised details. I cut out them and the racks were replaced with 0.25 mm plastic strips. The starter crank was scratch built. • The wooden jack base was pushed 1.5 mm forward to make room for the rope. • The rope and its holder were scratch built and added. • The hull side spare tracks needed the lateral hinges; I added them with stretched sprue. They were assembled with their racks, completed with the “C” hooks. These appear a bit oversized, because the track links are a little oversized too (see below). • I added the towing cables pins. • My “G” was made in March/May 1944 so it had the cast exhaust covers which I replaced with spare parts; for the same reason the driver periscope didn’t receive the rain shield. The presence of the shield around the exhaust pipes is based on photographic evidence. The pipe ends were drilled. • I added some spare Dragon towing “U” at the towing points, a detail usually visible in the photos. • The engine grating meshes are absent in the kit. There are aftermarket PE meshes; anyway, I didn’t add them because I don’t like the way they hide the gratings, being almost impossible to have an “in scale” mesh that leave them visible. • The original Ausf G Schürzen plates were 1,250.0 x 625.0 mm each, in 1/72 this means 17.36 x 8.68 mm. The Revell Schürzen full set measures 79.0 x 7.5 mm with a single plate being 17.0 mm long (they overlap so you don’t have an 85.0 mm long set). The Dragon Schürzen full set measures 81.0 x 9.0 mm with a single plate being 17.5 mm long. Having a Dragon spare set, I replaced the ones in the kit; however scratch building these plates is easy. |
|
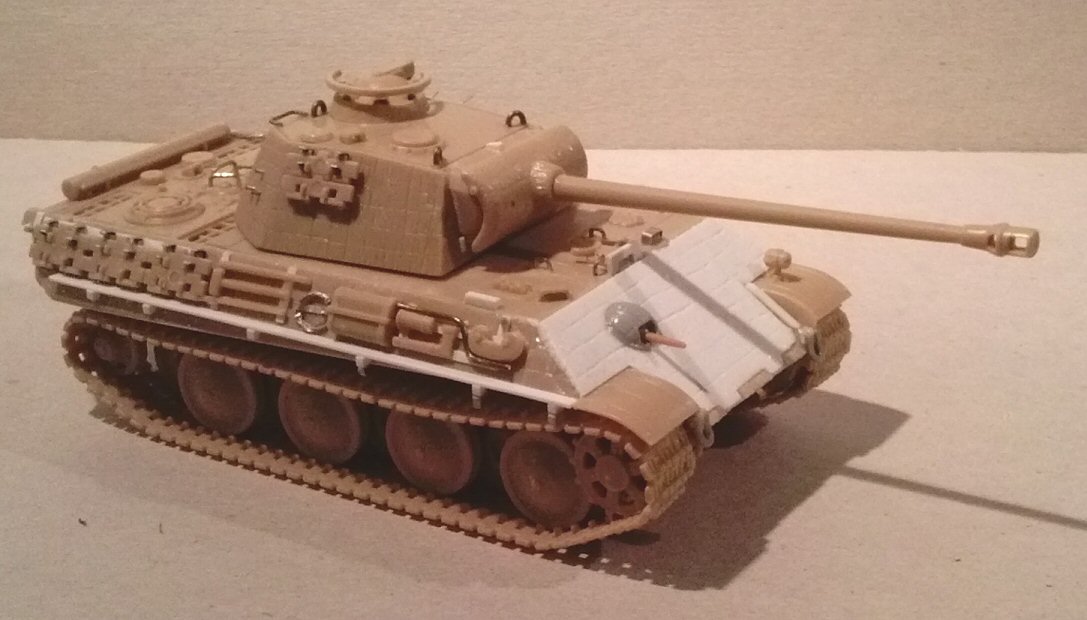 |
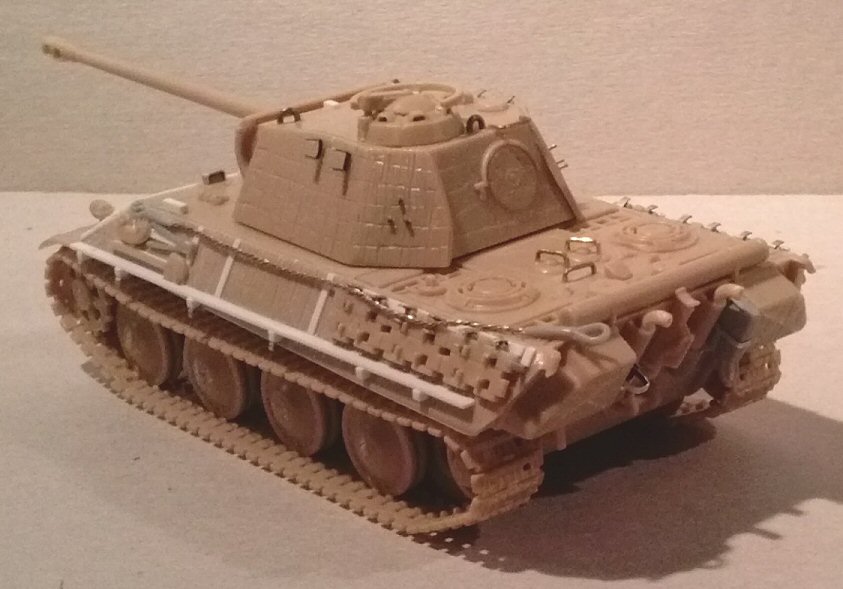
Turret •
The commander's cupola is wrong, it has six periscopes instead of
seven. Having an Italeri/Esci cupola (which is correct) in my spare
part box, I replaced it and used the Revell AA mount. However its
correction is quite easy. The seven periscopes positions are like
the points of a seven pointed star, with one looking directly forward.
You can also find a correct cupola in the Panther kit by Armourfast,
Italeri Fast Assembly or S-Model. |
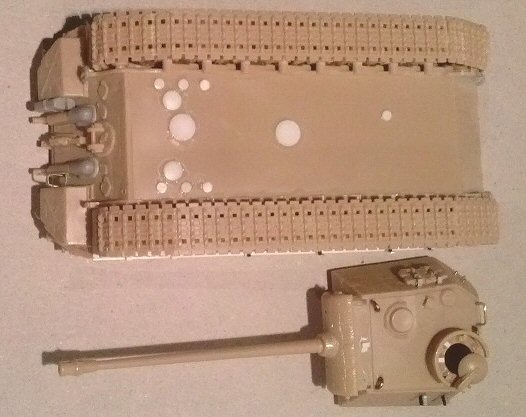
Wheels and tracks The original track links were 660.0 x 150.0 mm, in 1/72 scale this means 9.16 x 2.08 mm. The Revell track links (cleaned) measures 9.10-9.20 x 2.50 mm; as a result they are a bit too long. The Dragon links are correctly 2.10 mm long and when compared side by side the difference is visible. It means more or less five Revell links in the same space of six Dragon or Italeri links. The guide horns are a bit undersized. However they look well and I used them with no second thoughts.
The wheels set doesn’t give problems being well done (I'm not
a "bolt" counter). The idlers are better than the Dragon
ones found in the Panther G/Jagdpanther kit, while the sprockets (otherwise
good) have the “teeth” a bit more spaced because of the
longer track links length. When I added the front towing “U”
(Dragon spare parts) they sit too near the tracks. If I had to make
another Revell Panther G, I would put the sprocket pin a bit back
to the rear. |
 |
Some special features My Panther depicts a I./PzRegt 24 tank, attached to the 116 PD in Normandy. This unit made some local modification to their Panthers. •
I moved the gun cleaning set tube from the left side to the rear
engine deck. On the Western Front, the vehicles of the sPzJgrAbt
654 also had this field modification. |
 |
 |
|
Decals In my
kit edition, decals for three tanks are provided. Conclusion Despite
the good look of its moulding, this kit is far from perfect. It has
errors that need to be carefully corrected and it misses some details.
A little more attention by Revell could have made this kit a better
one. I still have to make a Revell Ausf A/D, but I suppose that, having
three mouldings out of four in common, some of these problems will
be found in that kit too. Review sample bought by the author |
|
| Back to Revell Kit List | Back to Home Page |
Article Last Updated: 24 February 2014 |