|
Cromwell Mk.IV |
|||
Kit # 03123 |
Construction review by Rob Haelterman | |||
|
Cromwell Mk.IV |
|||
Kit # 03123 |
Construction review by Rob Haelterman | |||
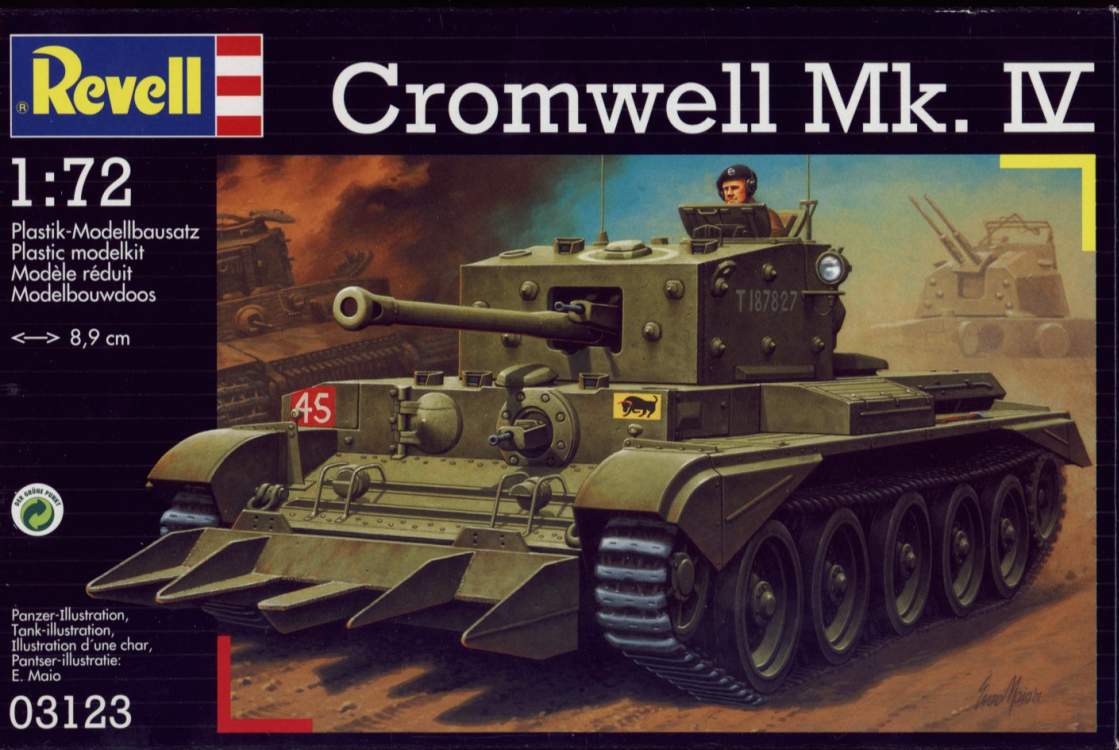 Picture courtesy of Henk of Holland website (used with permission) |
I admit that I
know next to nothing about this vehicle, except that it is a re-engined
Centaur Mk. III (and everything else that the manual teaches me) and
that they were used in the Armoured Reconnaissance Regiments of Armoured
Divisions participating in the liberation of France and in all Armoured
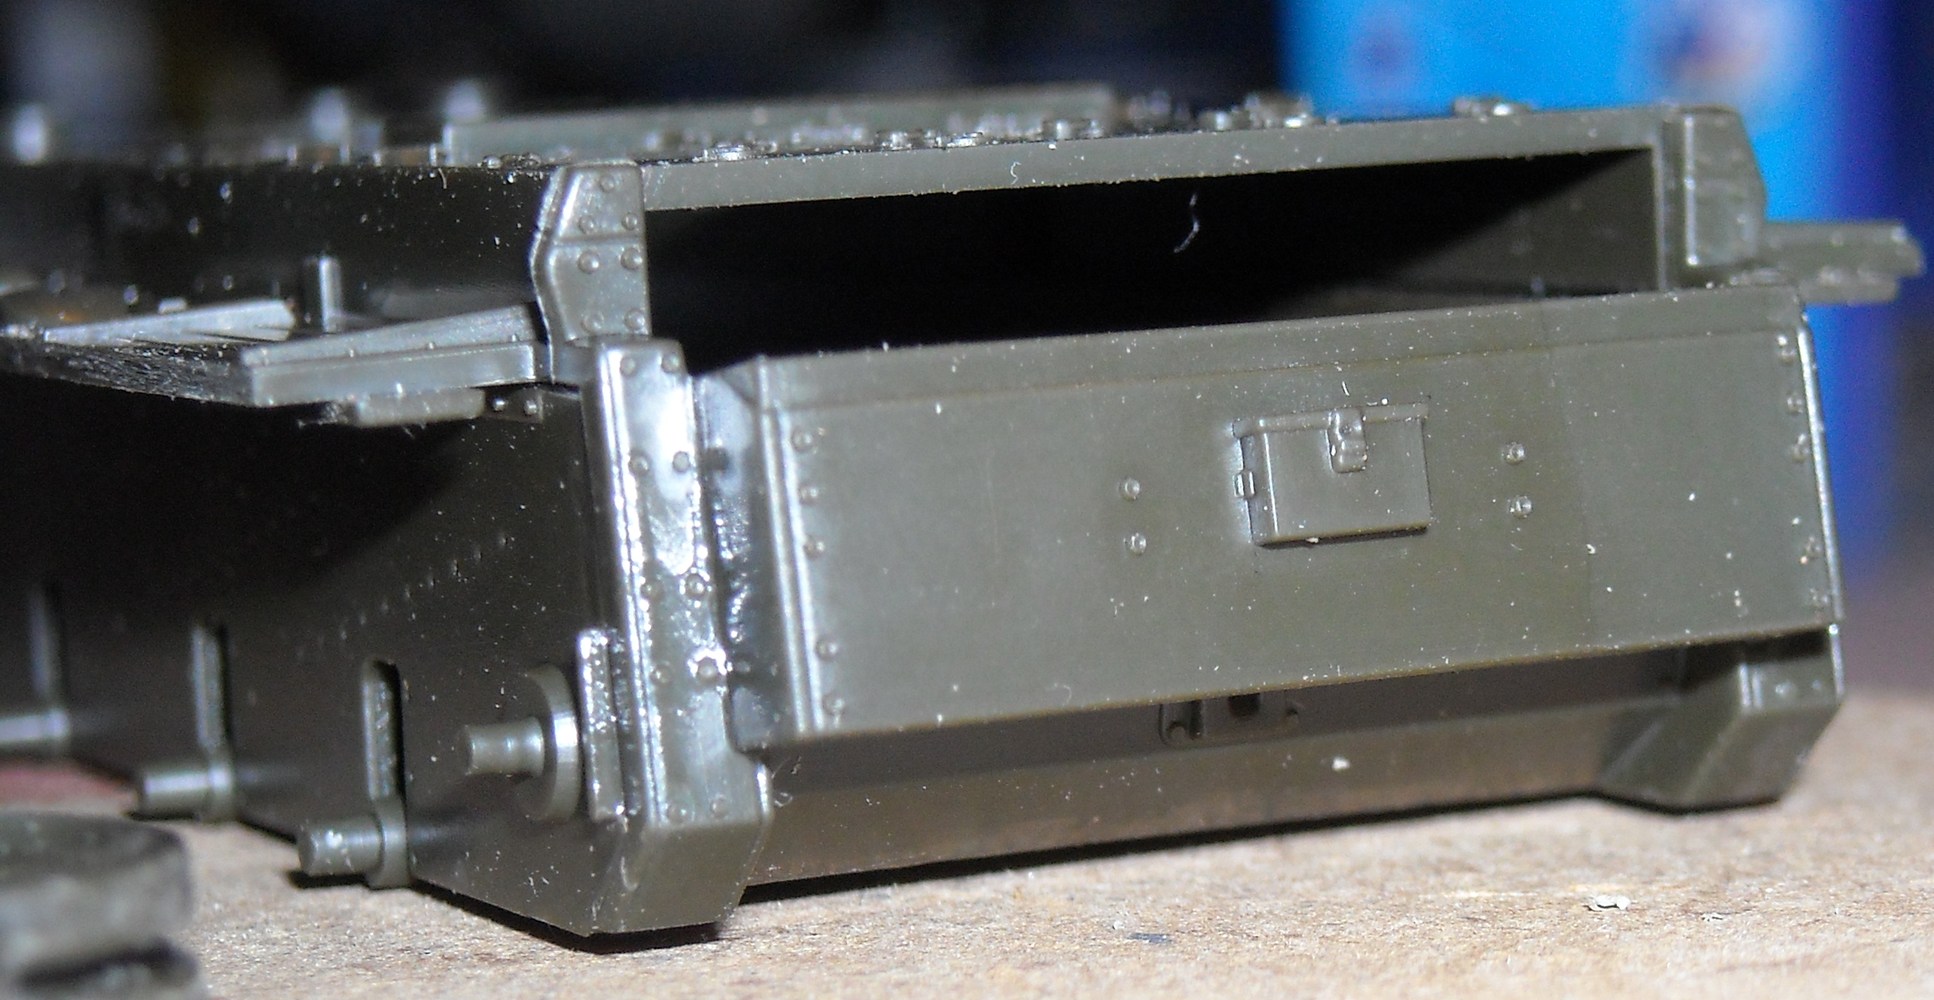
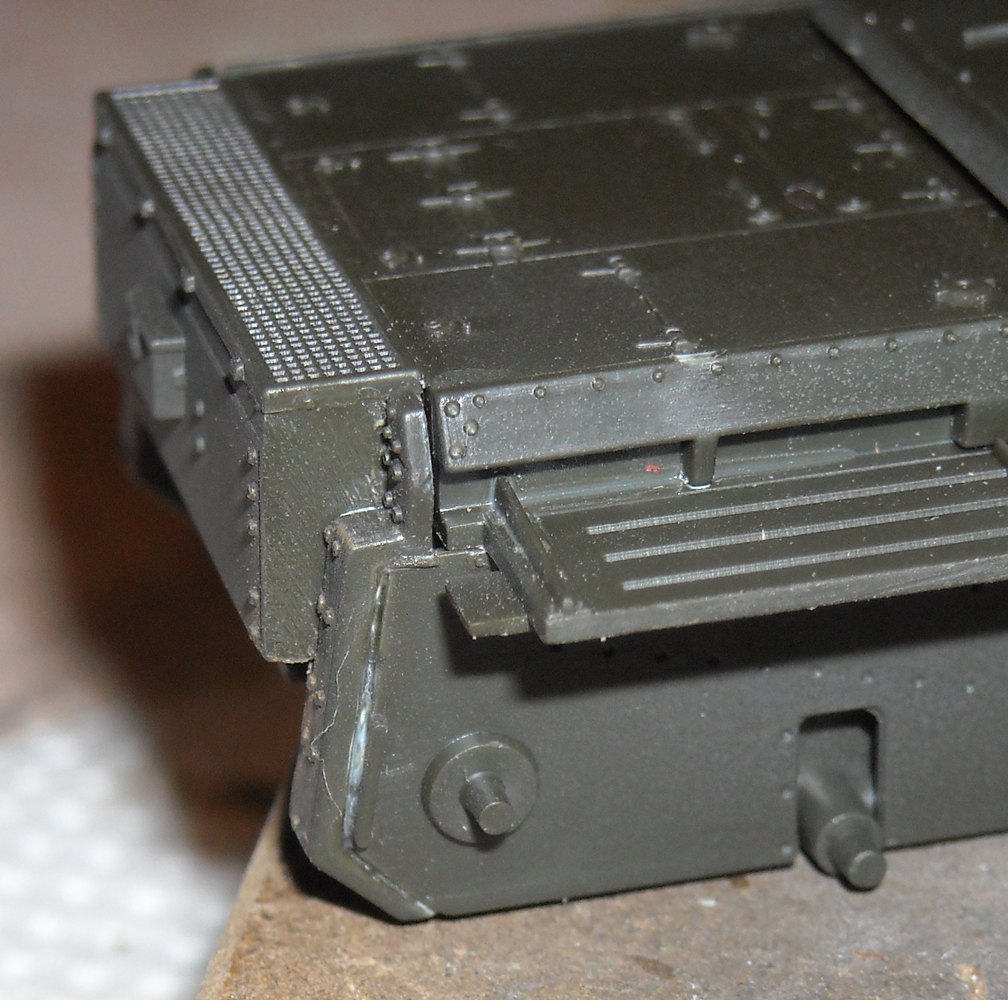
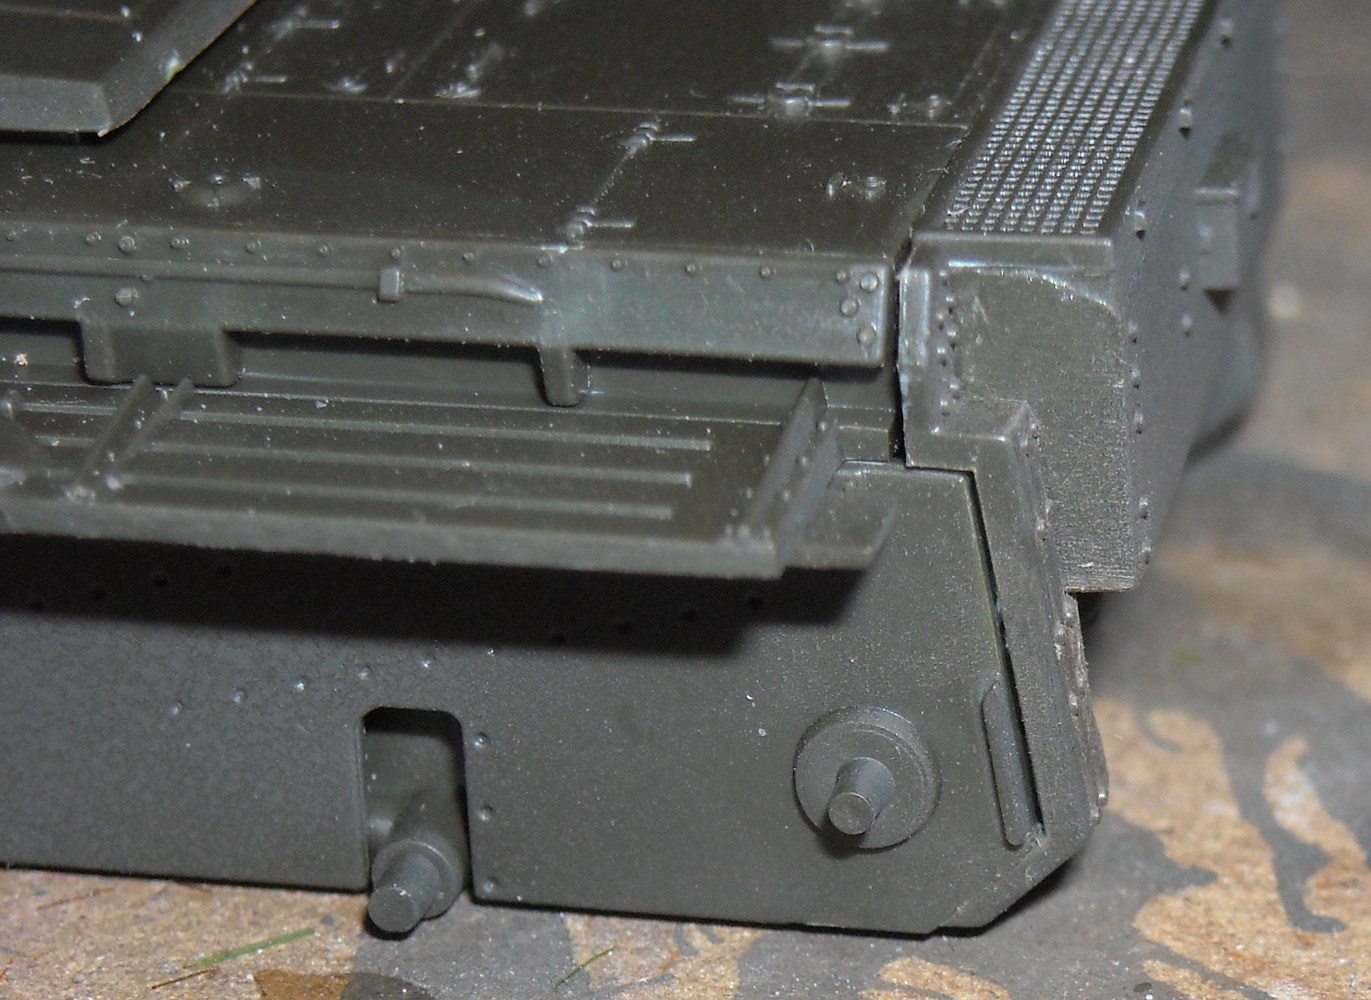
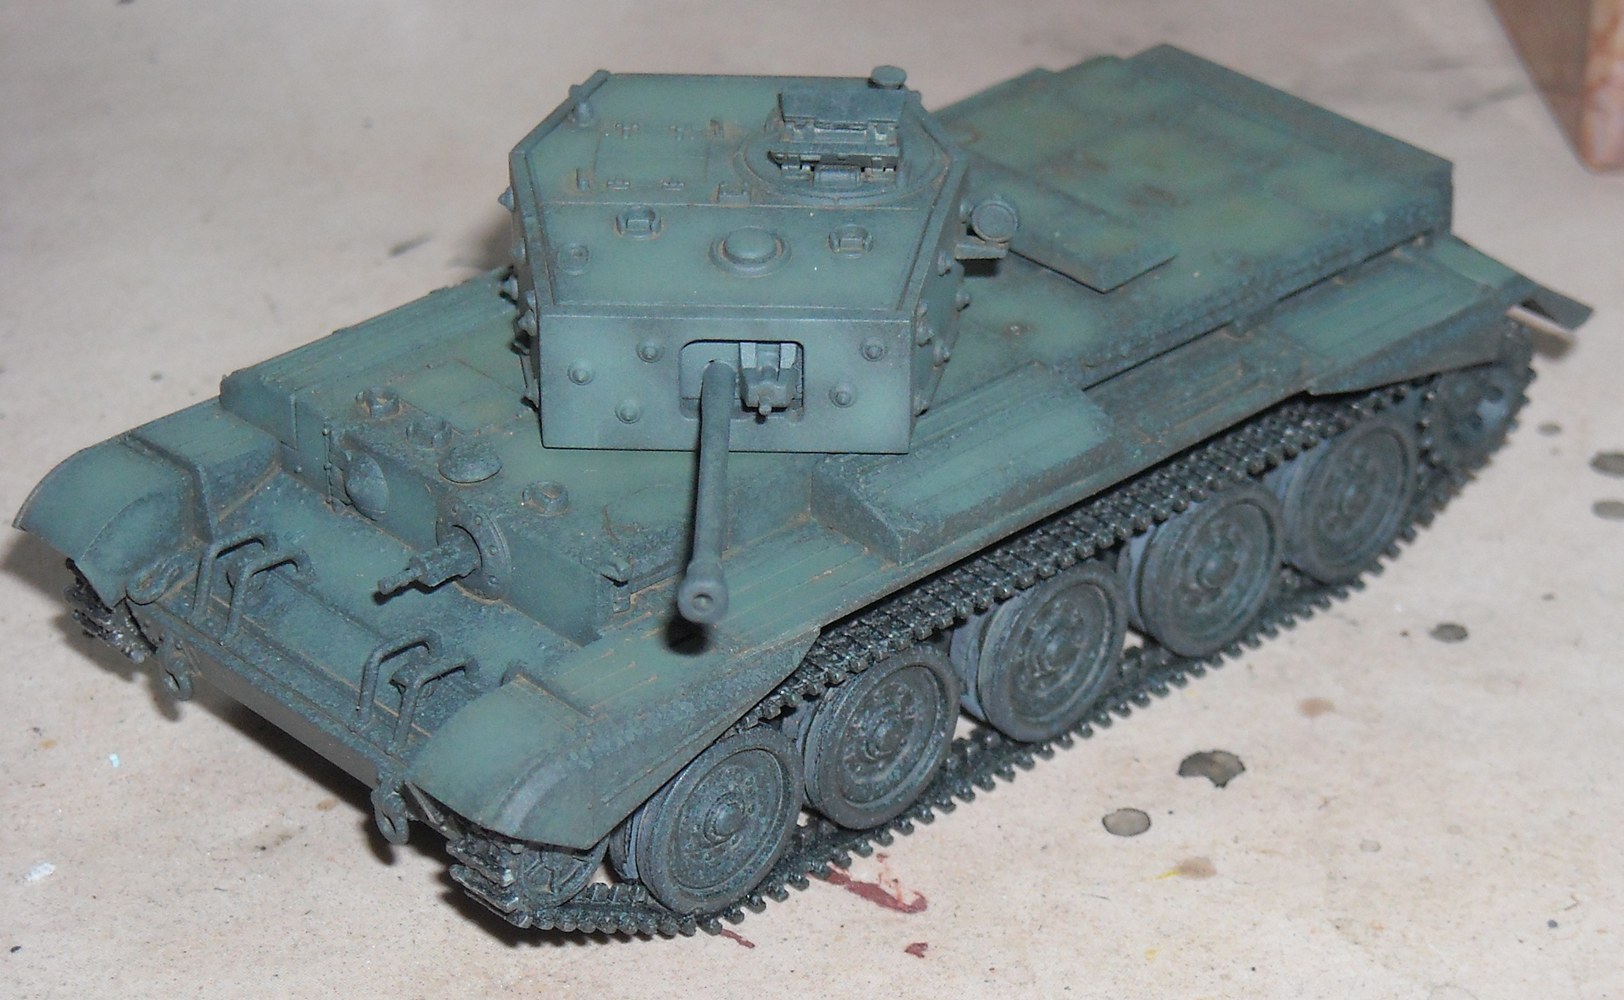
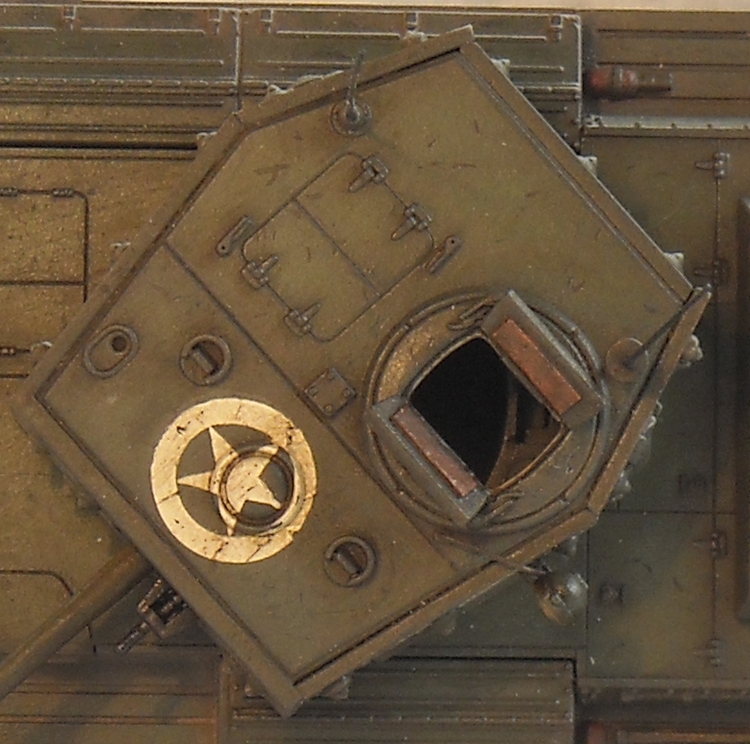
Regiments of the 7th Armoured Division [1]. (Note that we also have a preview and a construction review by Till Huber on OTW, where you can find a scan of the sprues and decals.) Not knowing a lot about this vehicle was actually one of the reasons I chose to build the kit, as it would allow me to build it OOB, and hence actually finish it. At least that was the plan. The construction sequence starts with the rear hull plate. And here I made a terrible mistake, as I misinterpreted the manual. The result can be seen in the pictures below. This is one of the drawbacks of building kits of vehicles you don't know anything about... Luckily I used minimal amounts of glue, so I was able to disassemble the parts with minimal collateral damage, but damage nevertheless. If I built the kit again, I would leave part (2) off until the complete hull was assembled.
All parts have very nice detail, even the underside of the hull, and most of them are fool-proof due to intelligent pegs, like the wheel halves that ensure the alignment between the inner and outer row of spokes. Well, at least most are fool-proof, as I managed to glue part (2) in the wrong place, remember... One design choice that I didn't understand is found in assembly step 12. Fender ribbing is absent where the toolboxes are to come, except for the frontmost box on the right fender. Is this box optional ? I don't know, but it causes a worse fit than necessary where the ribbing is present. (Yes, I could have sanded the ribbing off, but at this point I was still sticking to my OOB plan.) The turret goes together very nicely,
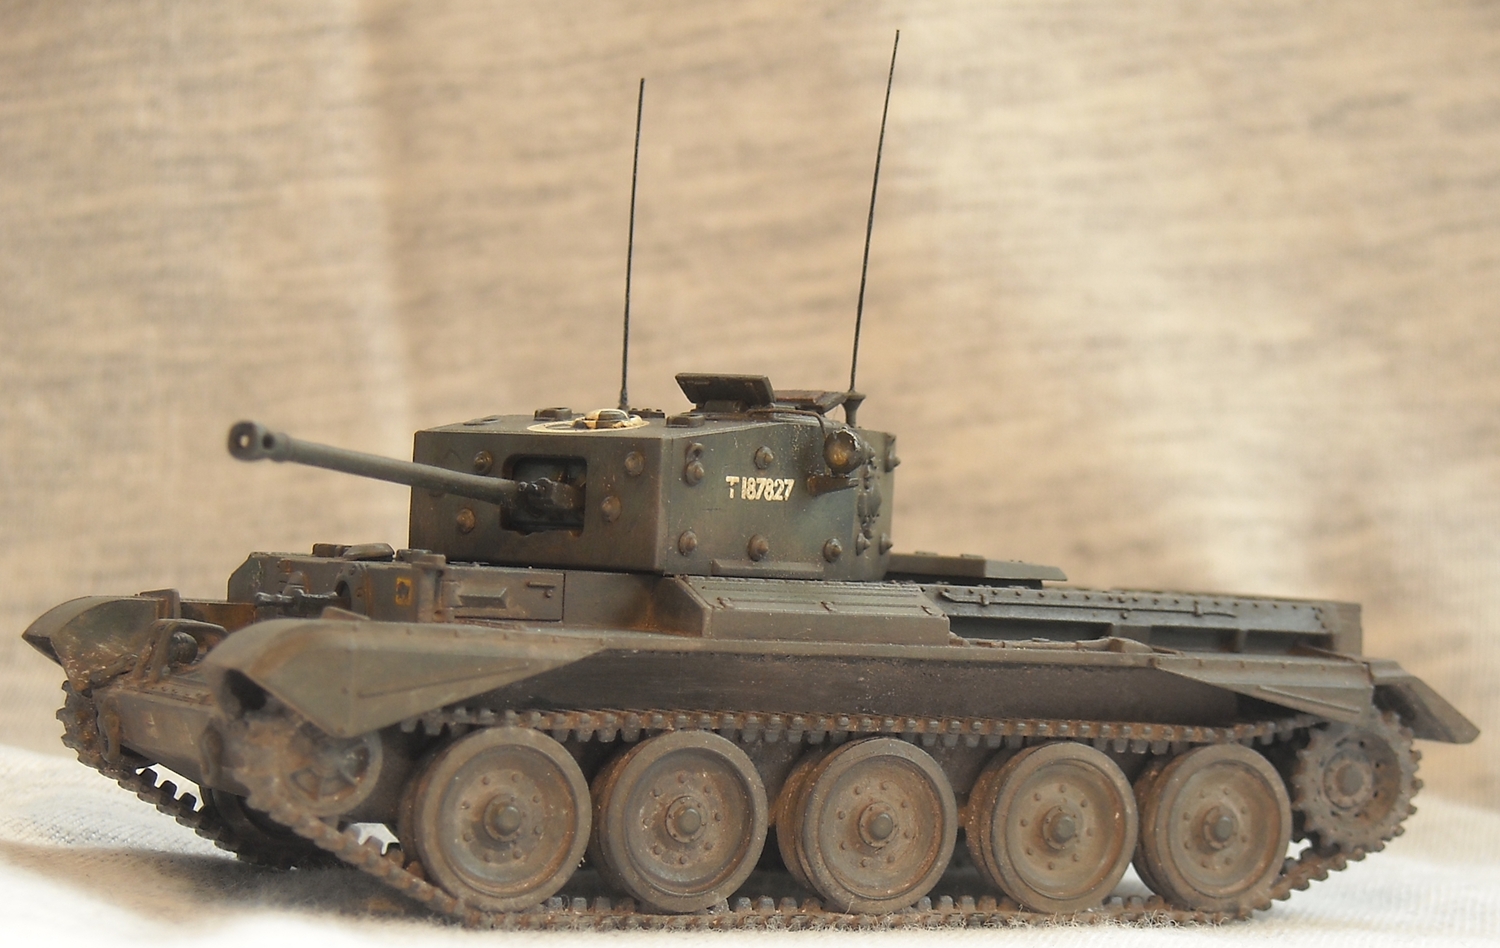
with the bolted on armor as separate parts. I believe this has allowed
Revell to give the turret faces better detail without using slide-mold
technology. While the commander's hatch can be opened (after slicing
the hatch in two), the other hatches are closed, and no interior is
provided. A small and easy improvement that I could not resist was
to hollow out the gun barrel's end and to improve the inside of the
turret hatch. Well, so far for dogmatic OOB... Then again, I needed
to make aerials from sprue, so that would not be OOB either, would
it ? Or would it ? In assembly steps 18 and 19 you can fit a hedgerow device and wading hood as an option. Apparently neither were ever used operationally, or so I have been told, so I left them off. (Not that I had much to chose, as my kit was second hand and the hedgerow device was no longer included.) Note that if you go for the hedgerow device you need to leave off the tow shackles in assembly step 7, but I feel that this is not really clearly indicated in the manual. Then again, how good am I at reading the manual ? Next come the tracks. They are very nicely cast, and click into eachother with amazing ease ! The only mistake I made was to cut out the individual links along a line on the inner side that I assumed would be where the sprue stopped... Mistake ! You have to cut about 0.5mm further outward, which I would have noticed had I looked either at the track face or the track sections. Live and learn, and write it down in a review. It's a pity some of the very nice track detail got ruined this way, although I did manage to restore them to full width. There are no spare links, but there is enough track to go around, although I feel that the top and bottom sections (parts (53) and (54) respectively) would better be switched, and some individual tracks fitted where the tracks "take a corner" at the first and last roadwheel. You can easily leave two links off the idler and drive sprocket. It would even be advisable, or you will have to bend the sections a little to ensure a good fit. Easy enough to do, though. On one side the track was half a link too long to have a perfect fit. As you have little margin for sagging on this tank, I decided to hollow out the axle of the drive sprocket a little so I could move it backwards just a tad. (Note that the mentioned drive sprocket in this tank is at the rear !) The turret can be fitted on top of the hull in a way it can rotate, which is a feature I always appreciate. There is a small amount of play however.
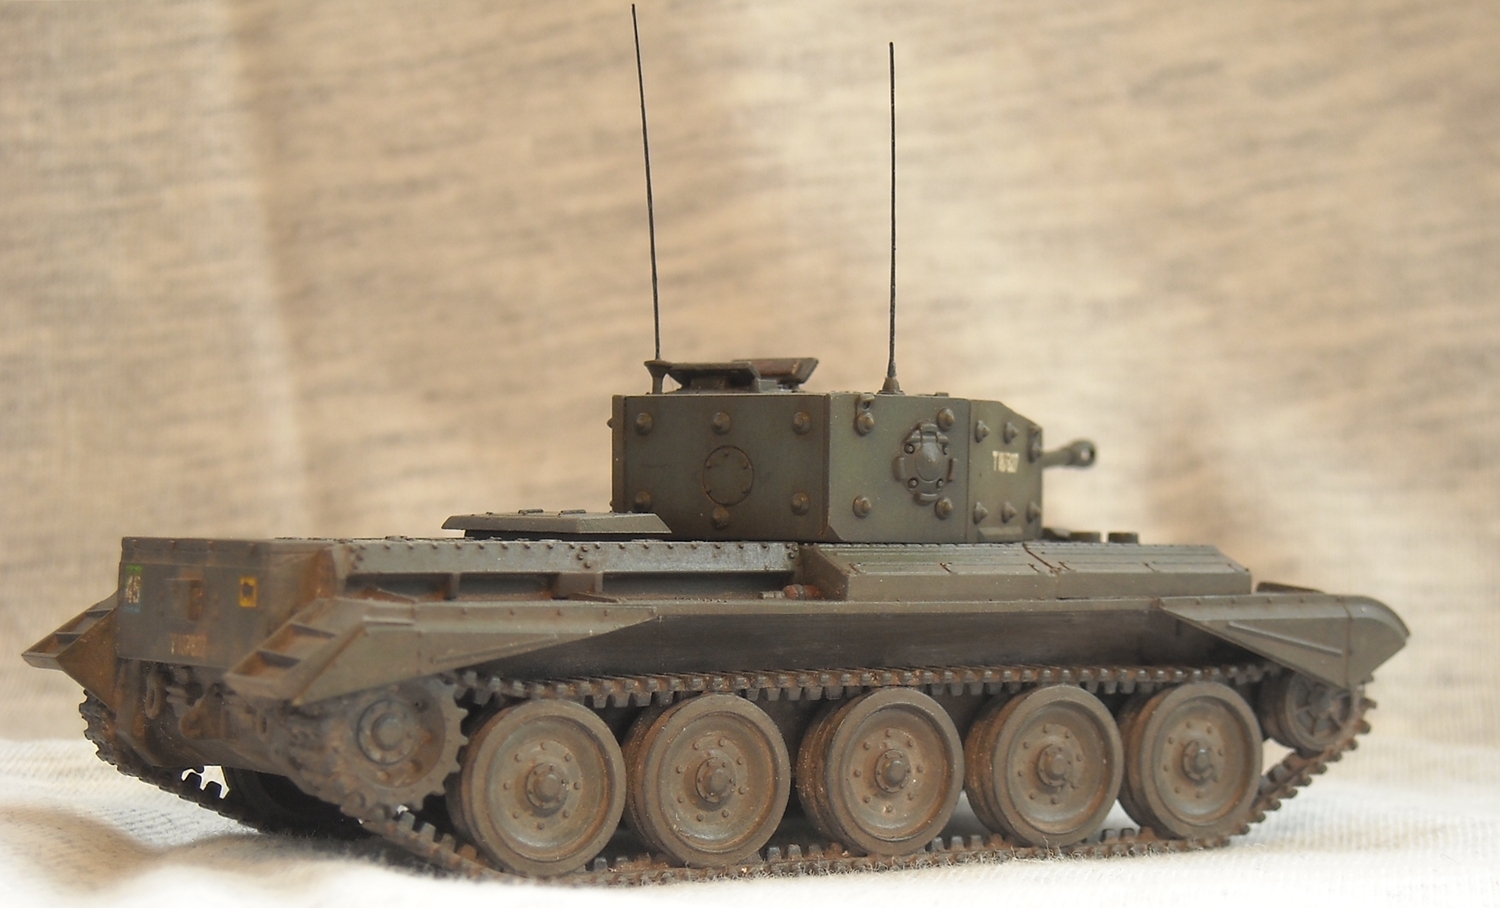
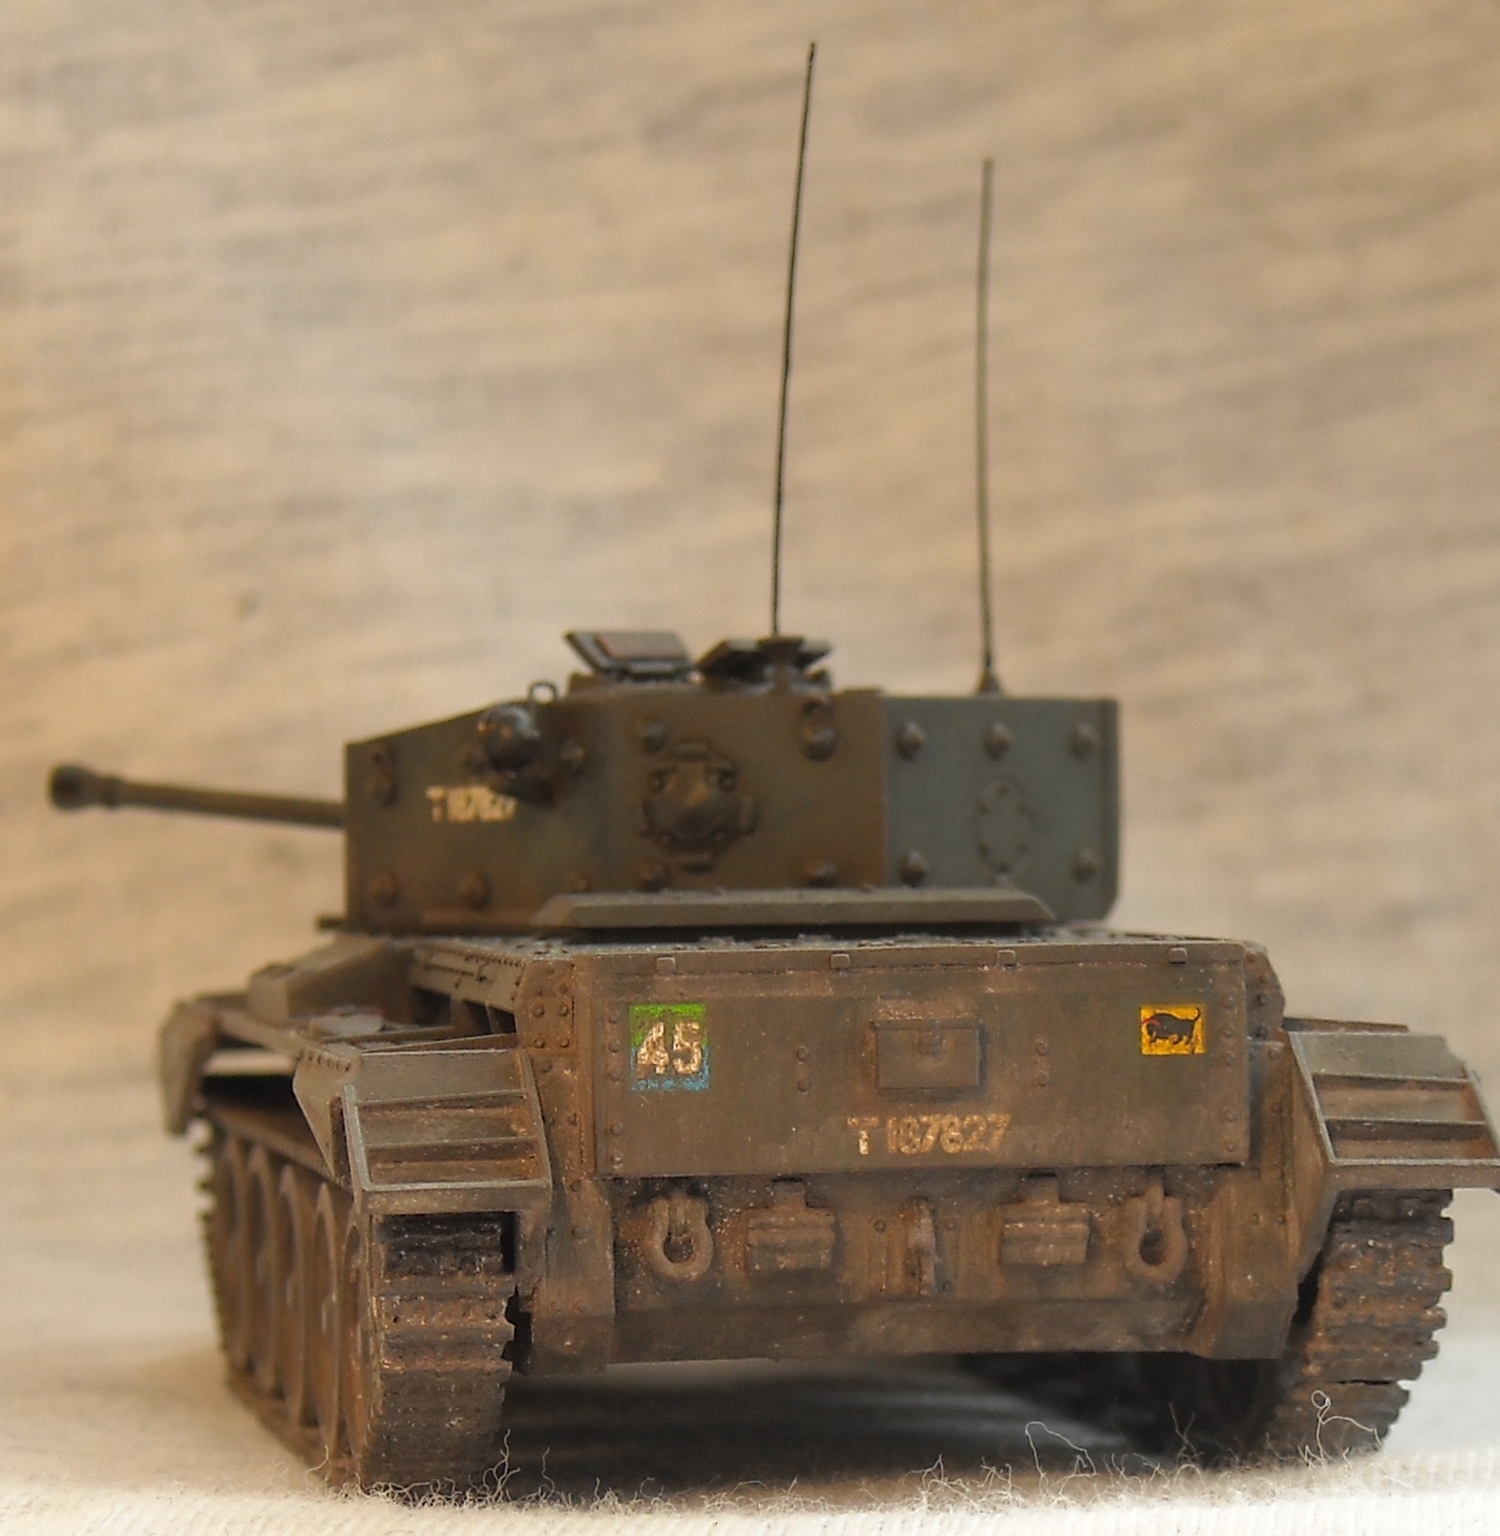
The only real error comes with the
markings. You get the choice between a vehicle from the 11th AD and
one of the 5th Royal Horse Artillery (an observation vehicle), both
in the summer of 1944. The markings of the 7AD observation vehicle seem to be correct, though. There is however a slight misalignment in the red-over-blue square on the sheet I had at hand. The model was painted with ad hoc mixes of Vallejo paints. A black base coat was painted first over which shading with green was applied. I only hope the resulting shade comes close enough to British Olive Drab (SCC15).
The diorama below was created with AB Figures (set BLA28 for the Tommy with prisoners, but for the love of any deity, I can't remember which set the tank crew came from, even though I believe they were AB too.)
References [1] Le Tommy de la libération, Tome 2, J. Bouchery, Histoire & Collection (also available in English) |
| Back to Revell AG Kit List | Back to Construction Reviews |
Article Last Updated: |
Back to Home Page |


.JPG)
.JPG)
.JPG)
.JPG)