|
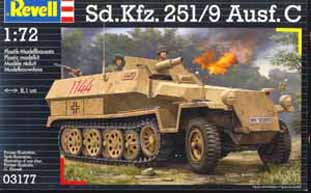
Sd.Kfz.251/9 Ausf.C |
|||
| Kit #03177 | Construction Review by Rob Haelterman - heman_148(at)hotmail.com | |||
|
Sd.Kfz.251/9 Ausf.C |
|||
| Kit #03177 | Construction Review by Rob Haelterman - heman_148(at)hotmail.com | |||
 |
1. Introduction. The /9 was the close support version
of the Sd.Kfz.251. It was produced both as the Ausf. C and the Ausf.
D subtype. It had a crew of three: driver, gunner and loader. An interesting article about such a conversion by Stephen Brezinski can be found here. A preview of this kit can be found here.
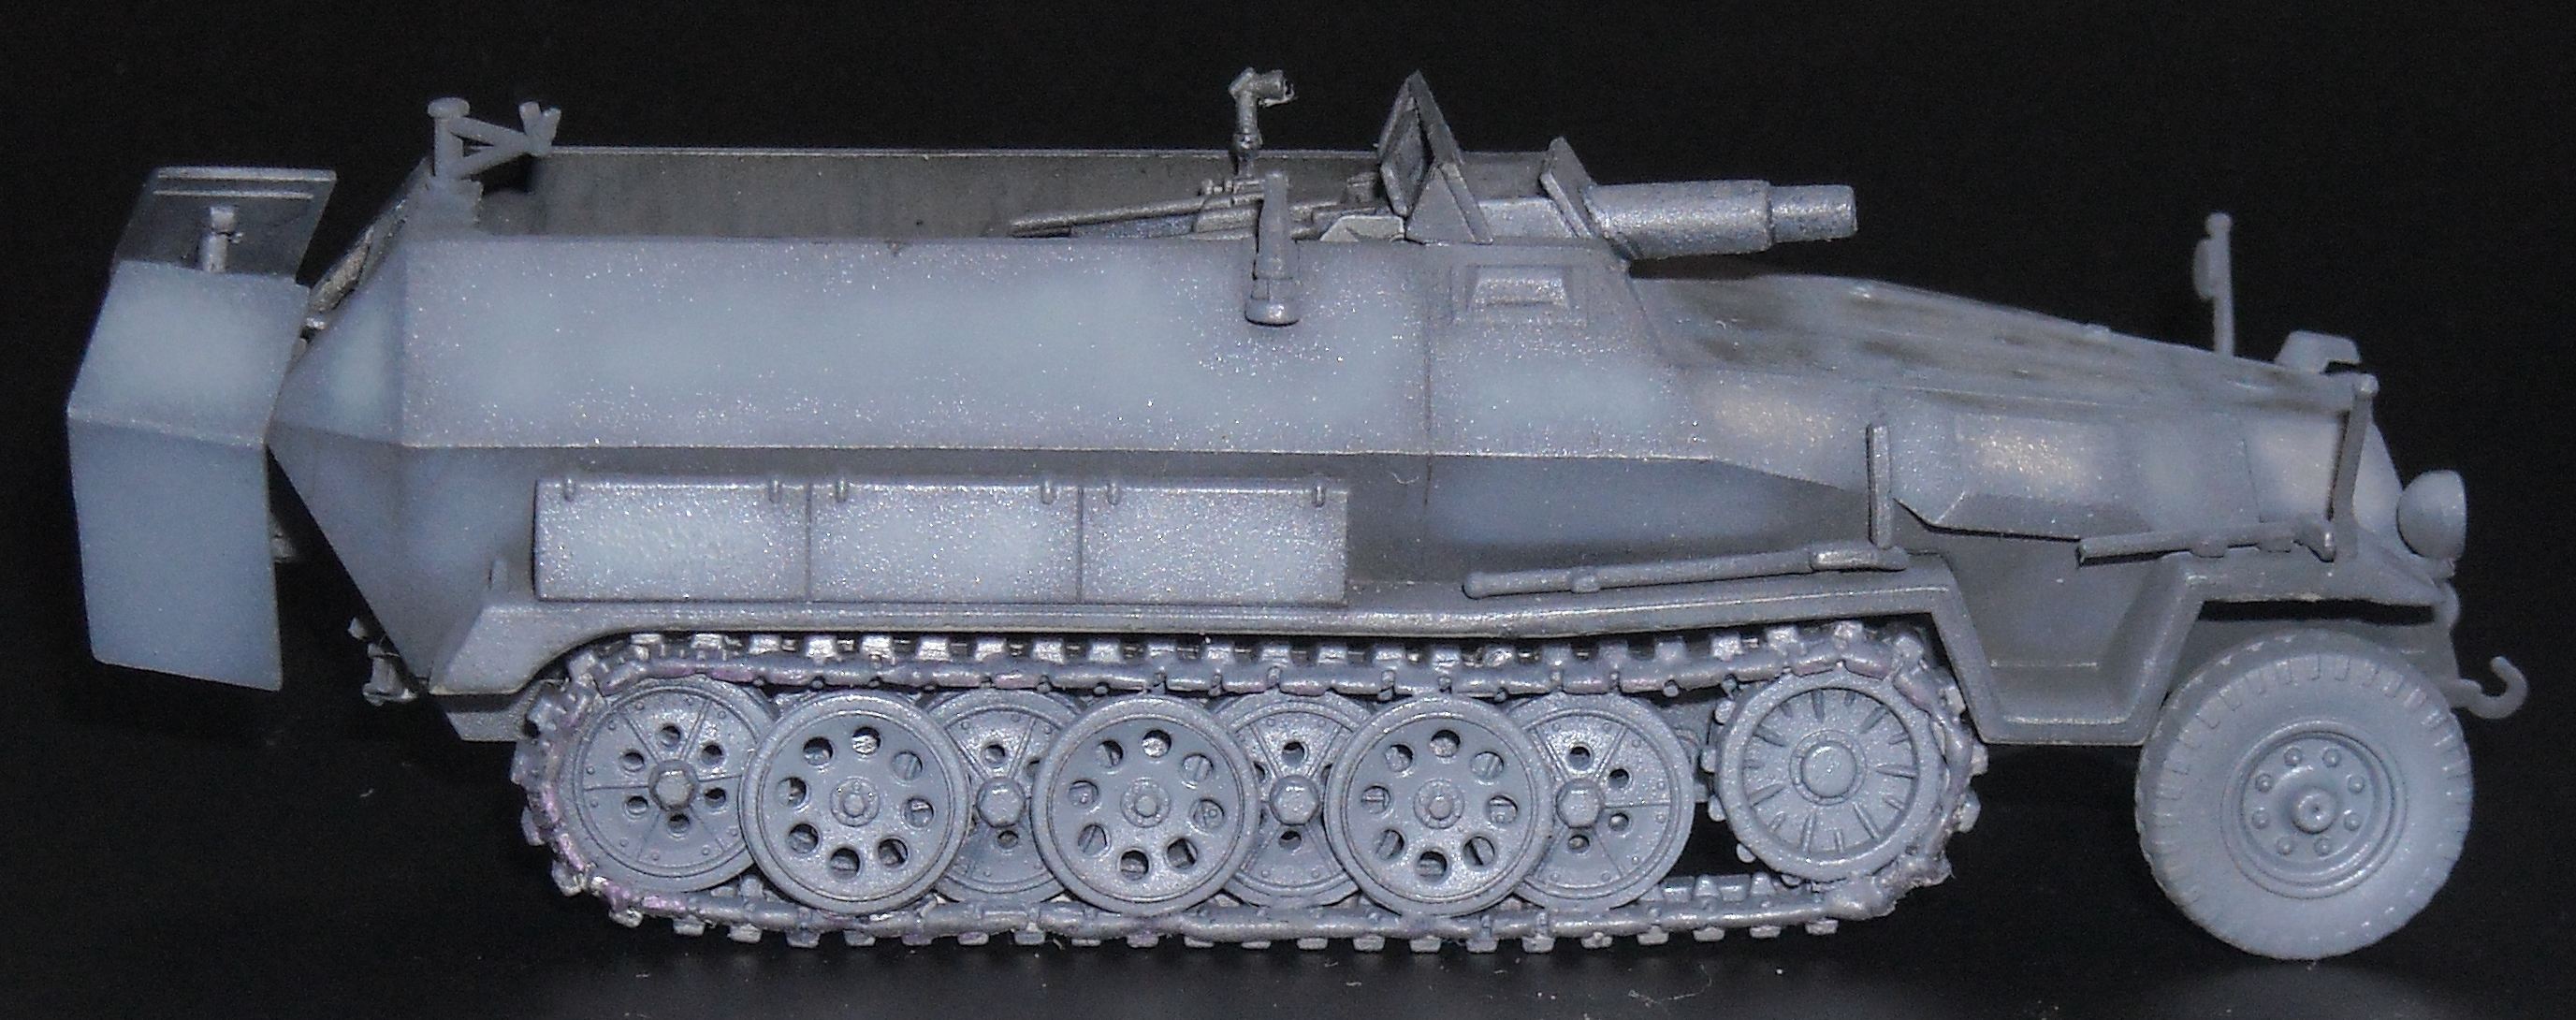
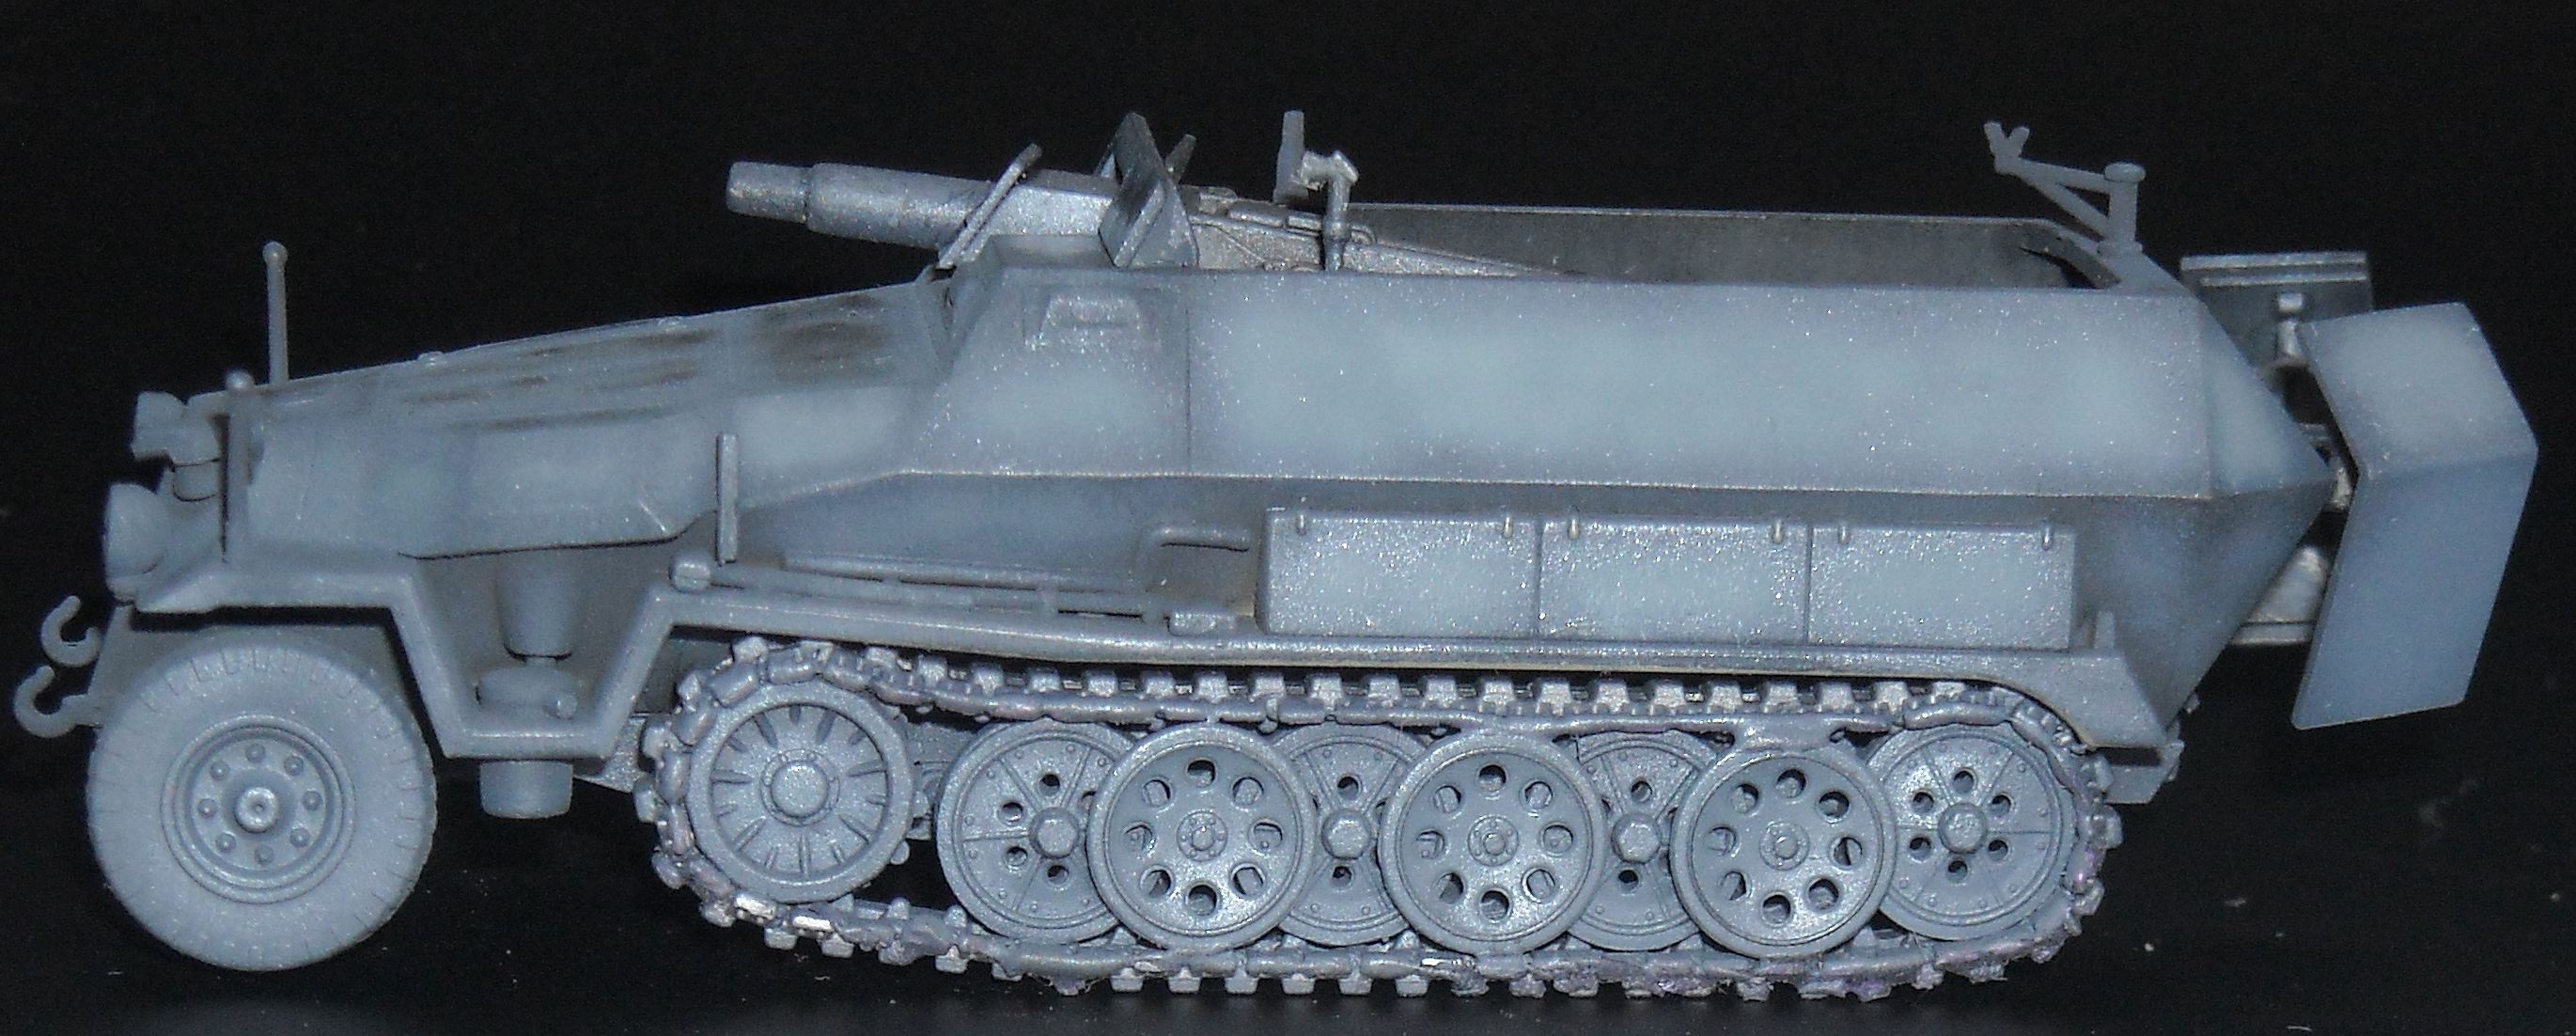
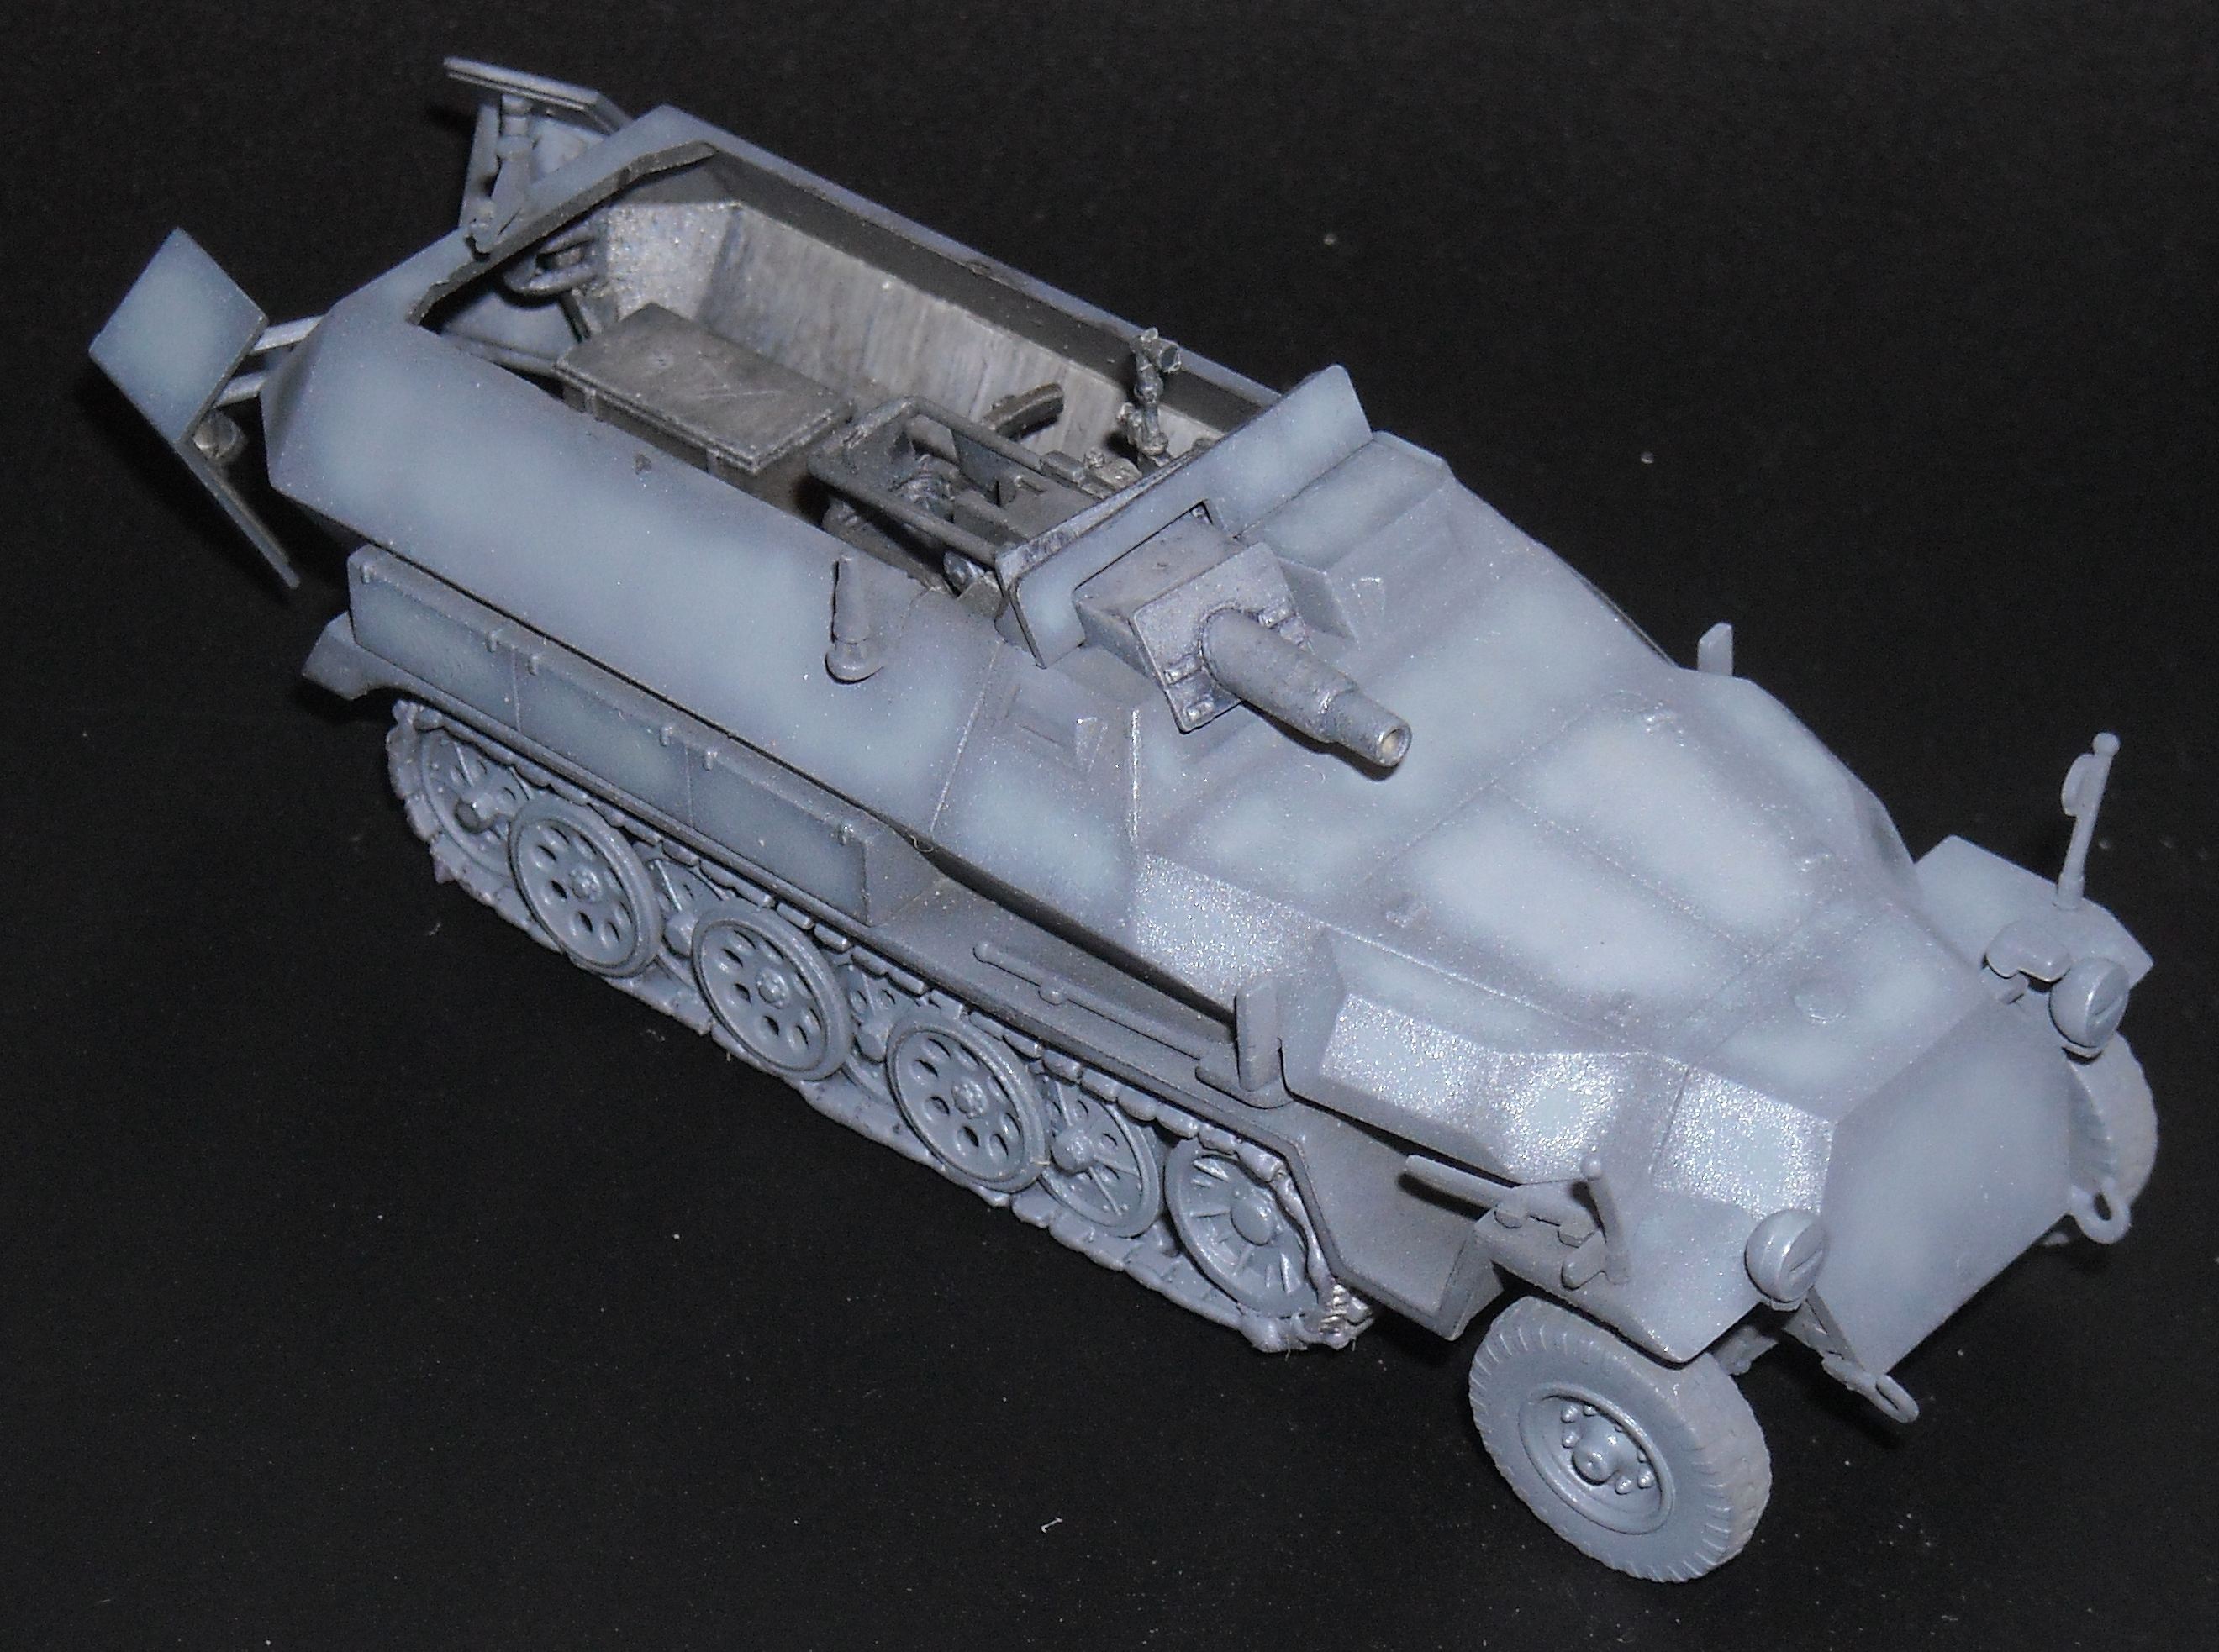
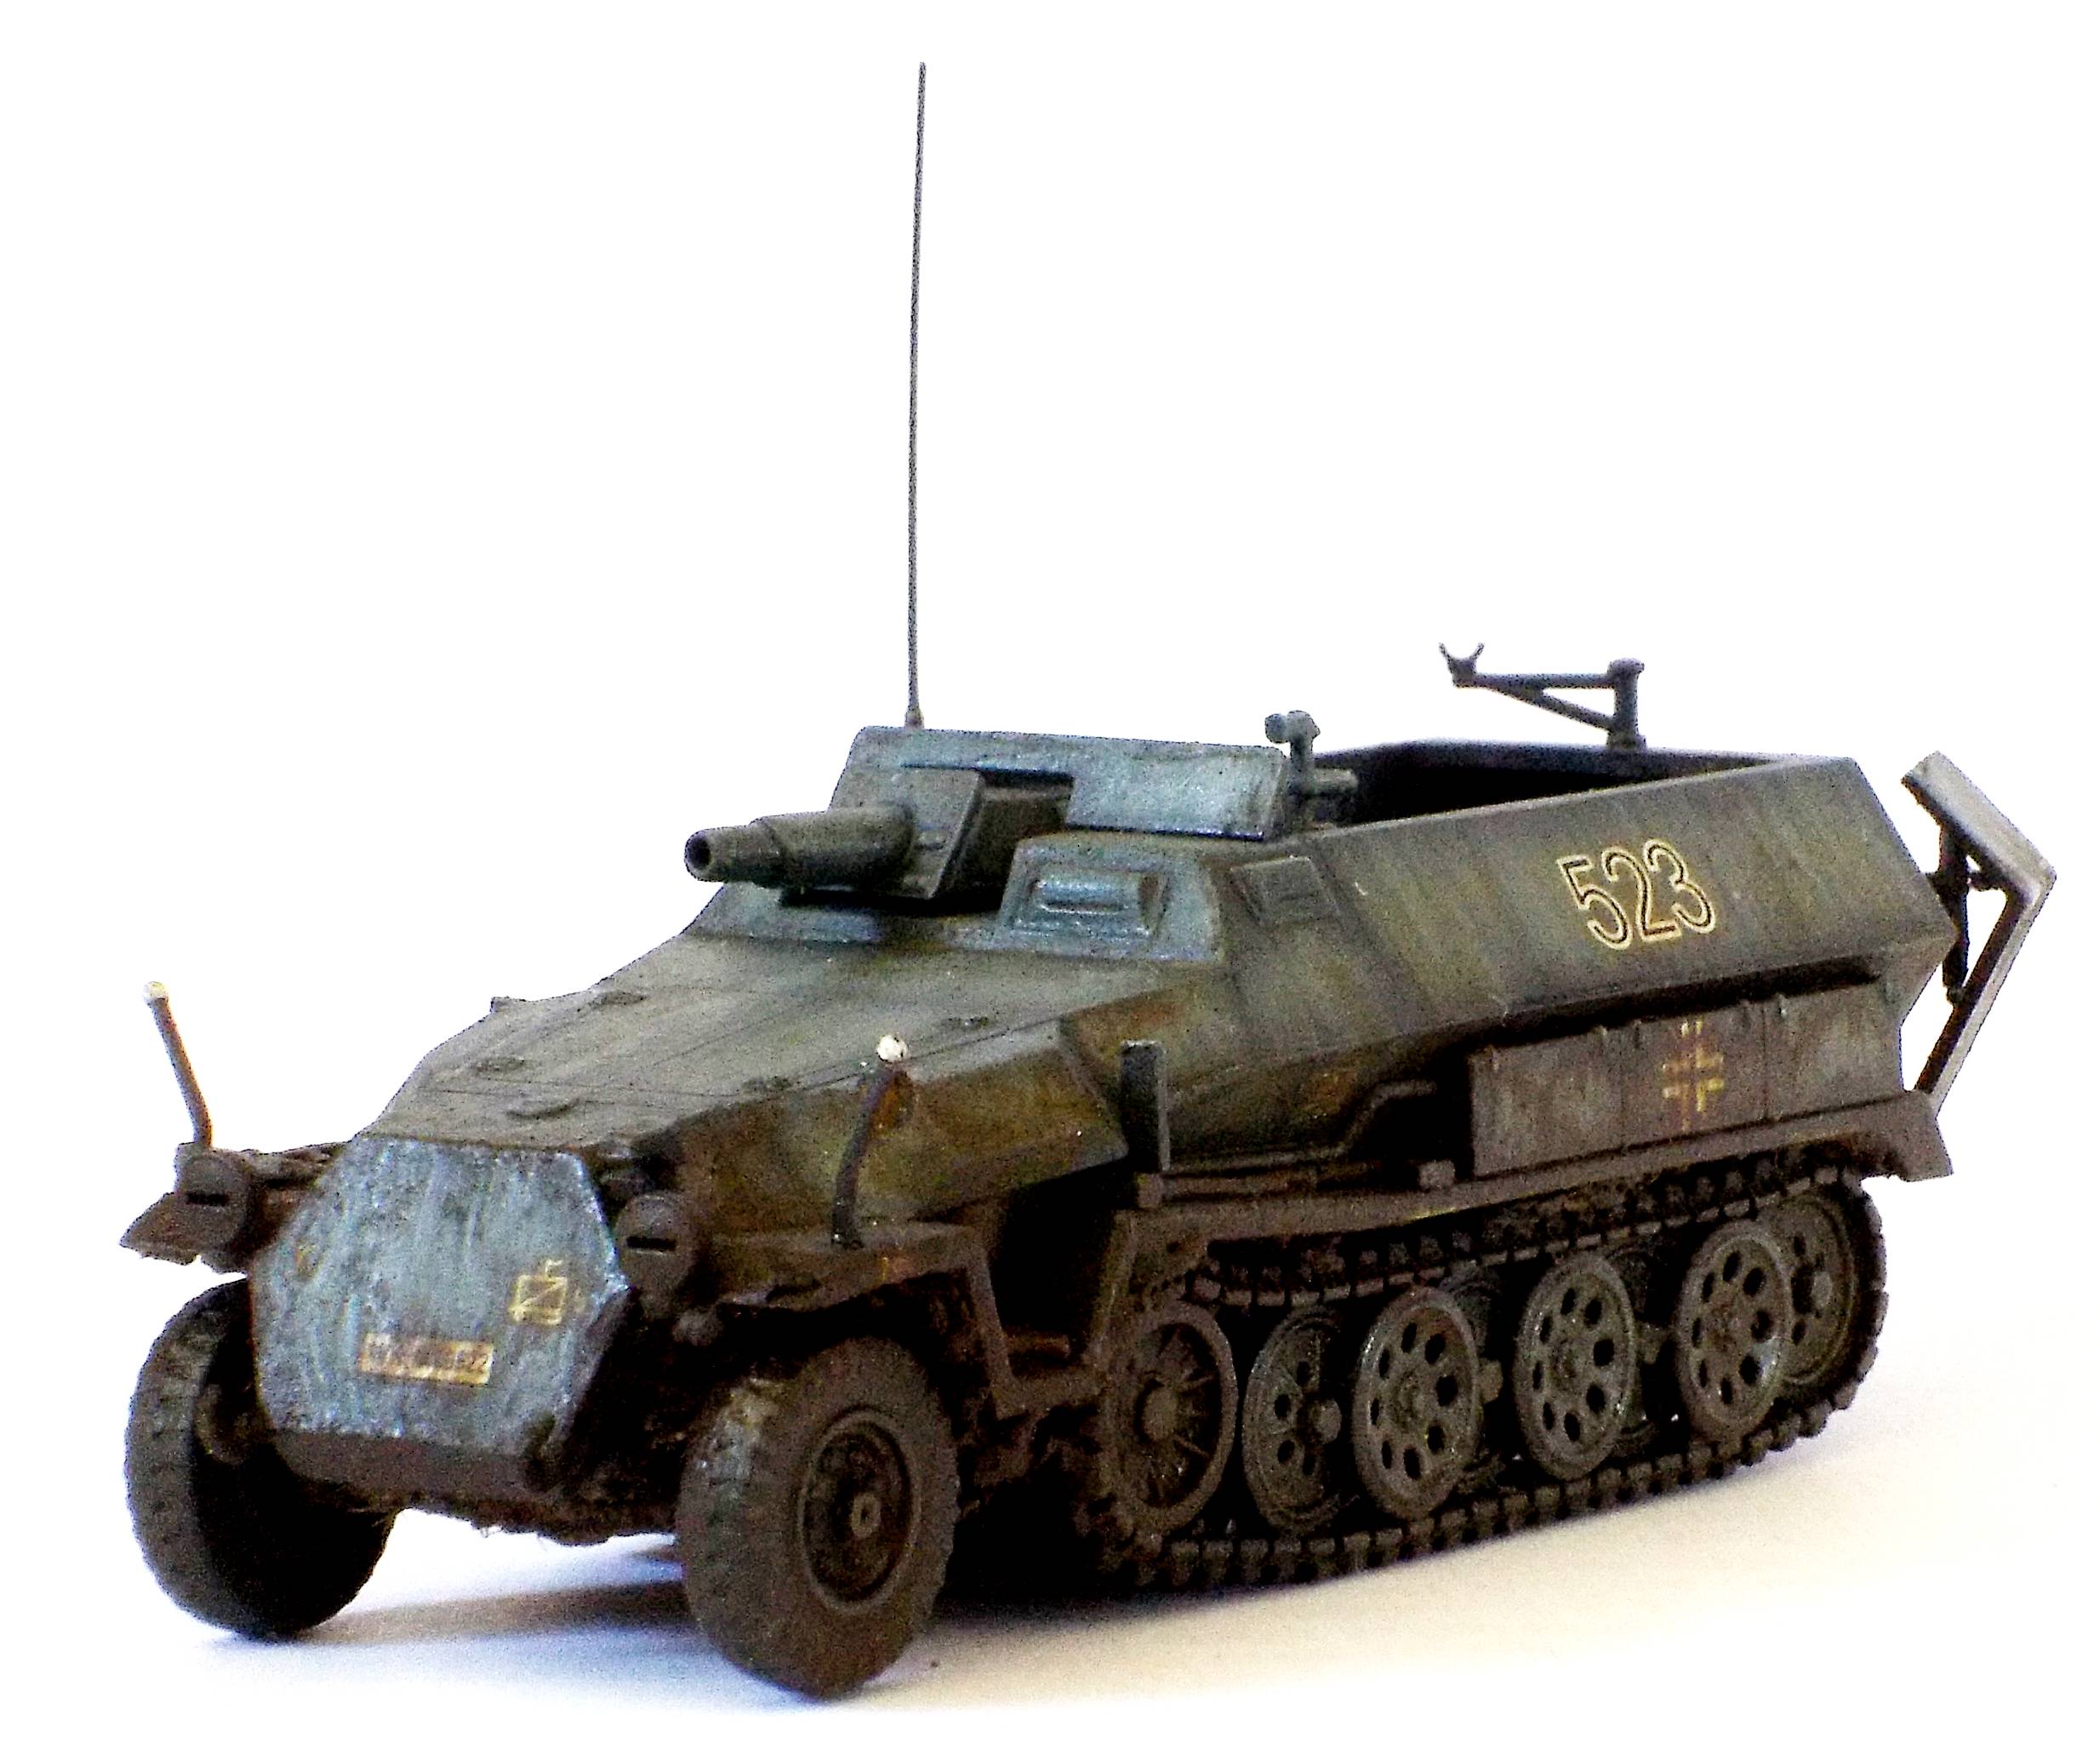
2. Construction. a) tracks and running gear Revell offers the interleaved roadwheels
in the fashion that has been customary for some time now: a single
piece for all but the front row of wheels, linked with an arch that
won't be visible after assembly. The main advantage is the ease of
construction and alignment, the downside is that all wheels are (once
again) in exactly the same position, which is very unlikely to be
the case in reality. (And no, you can't fiddle with the outer wheels,
as they have to line up with their inner halves...)
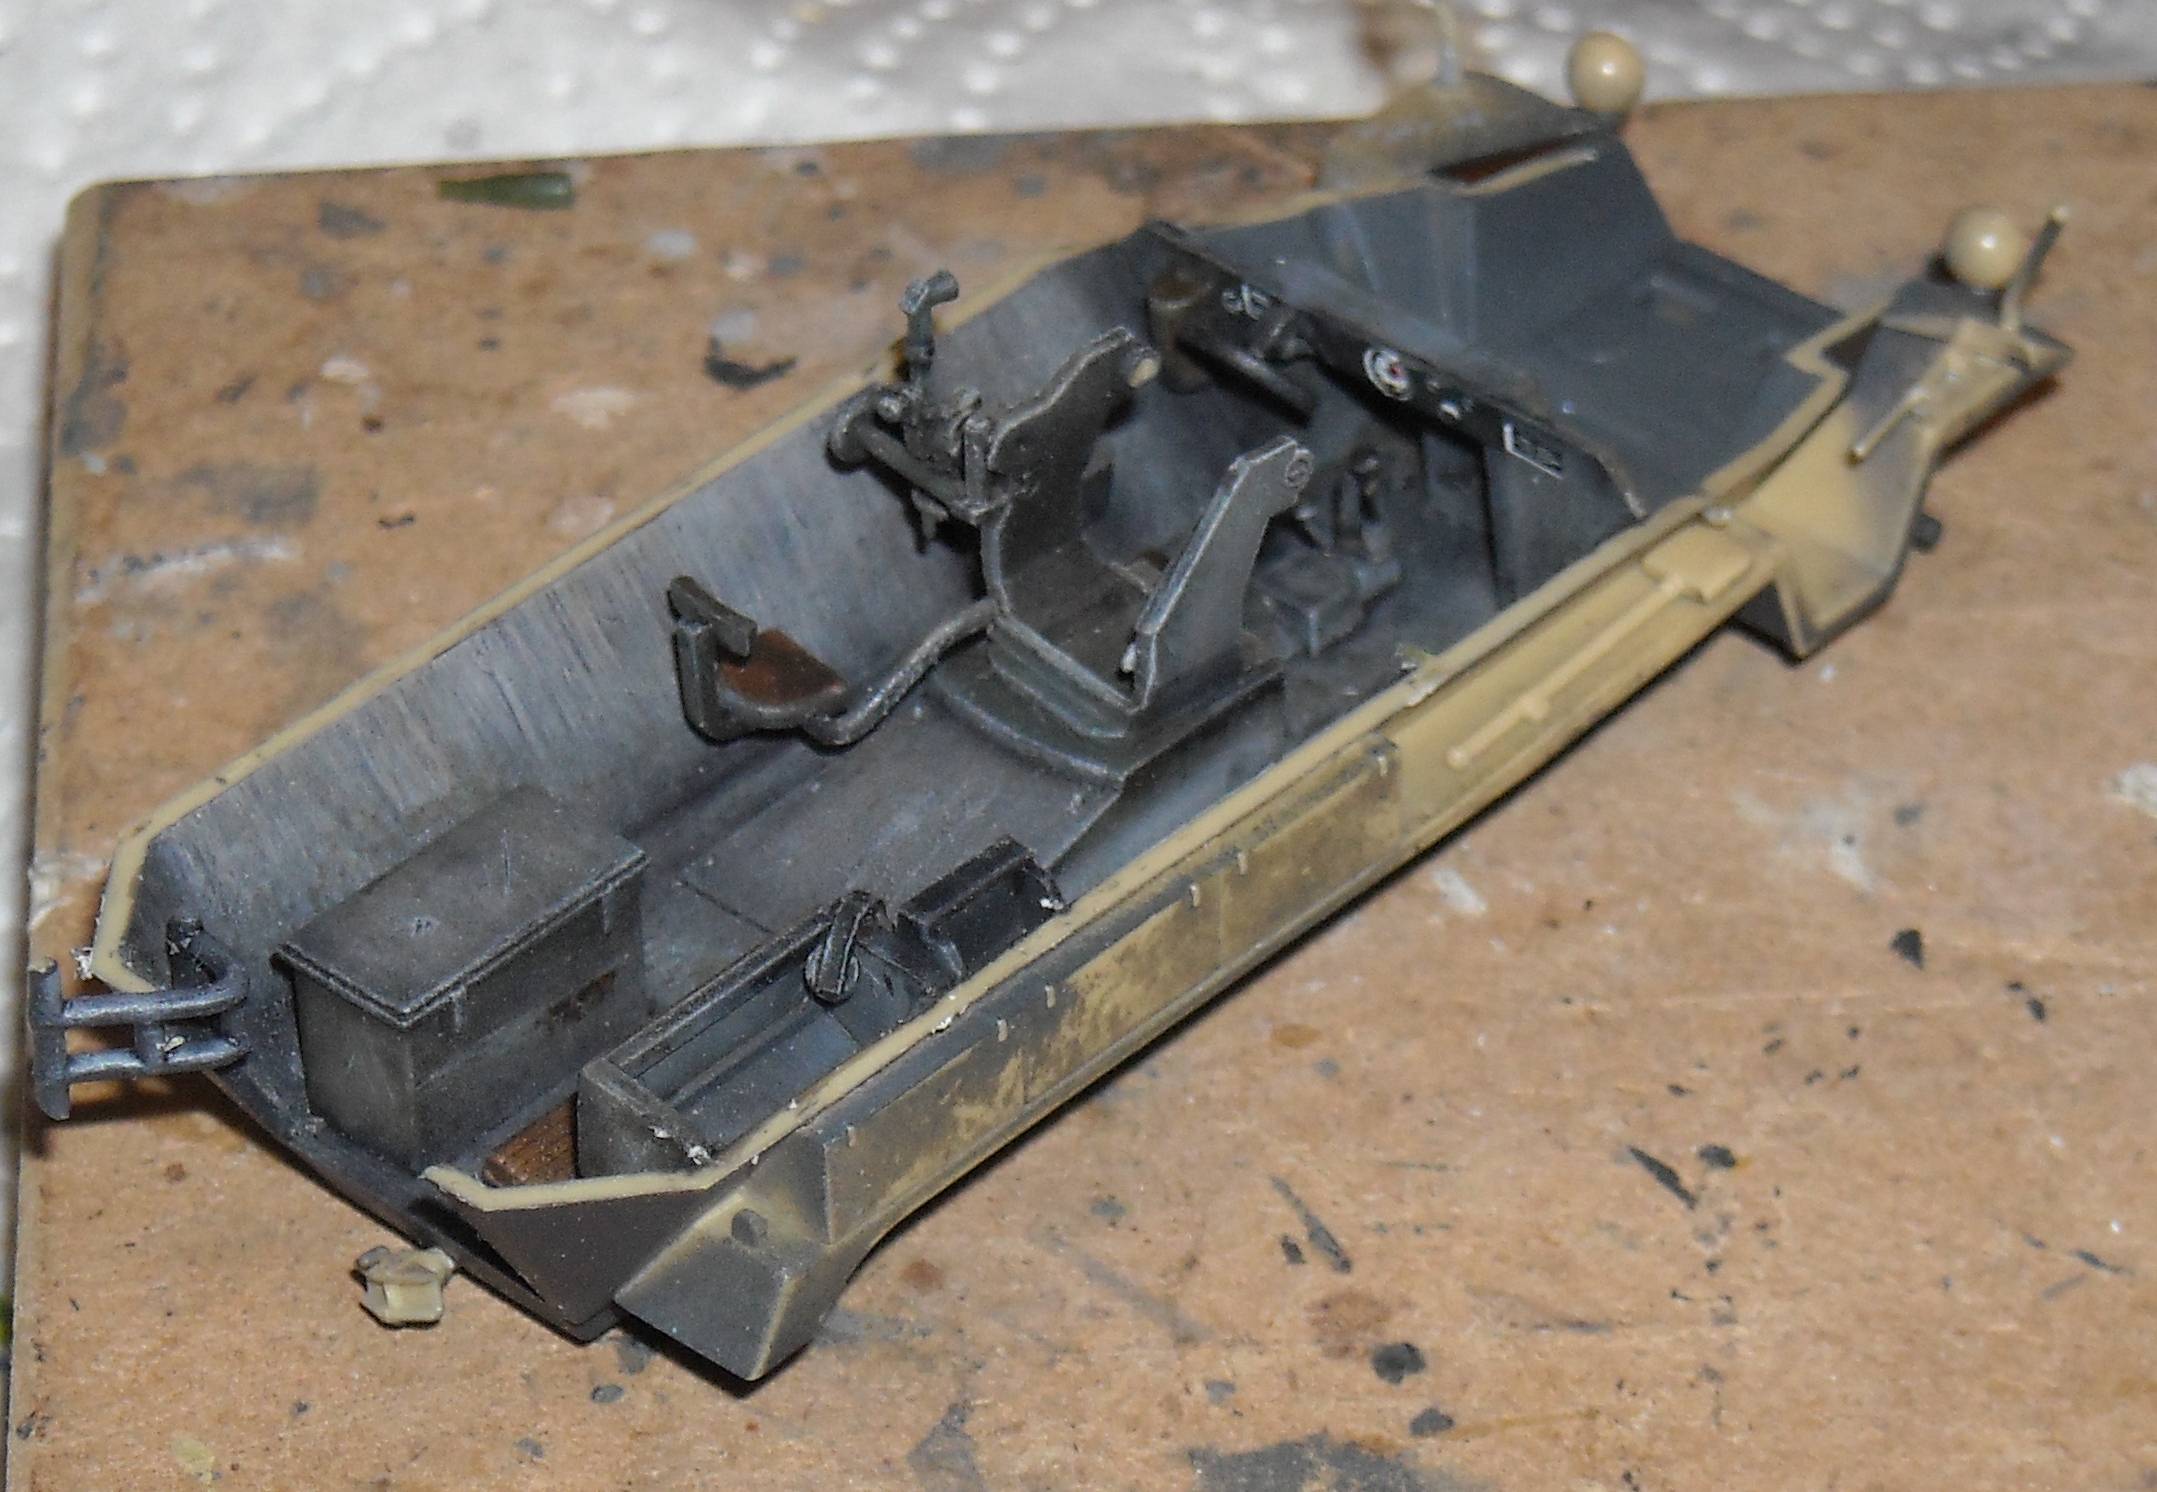
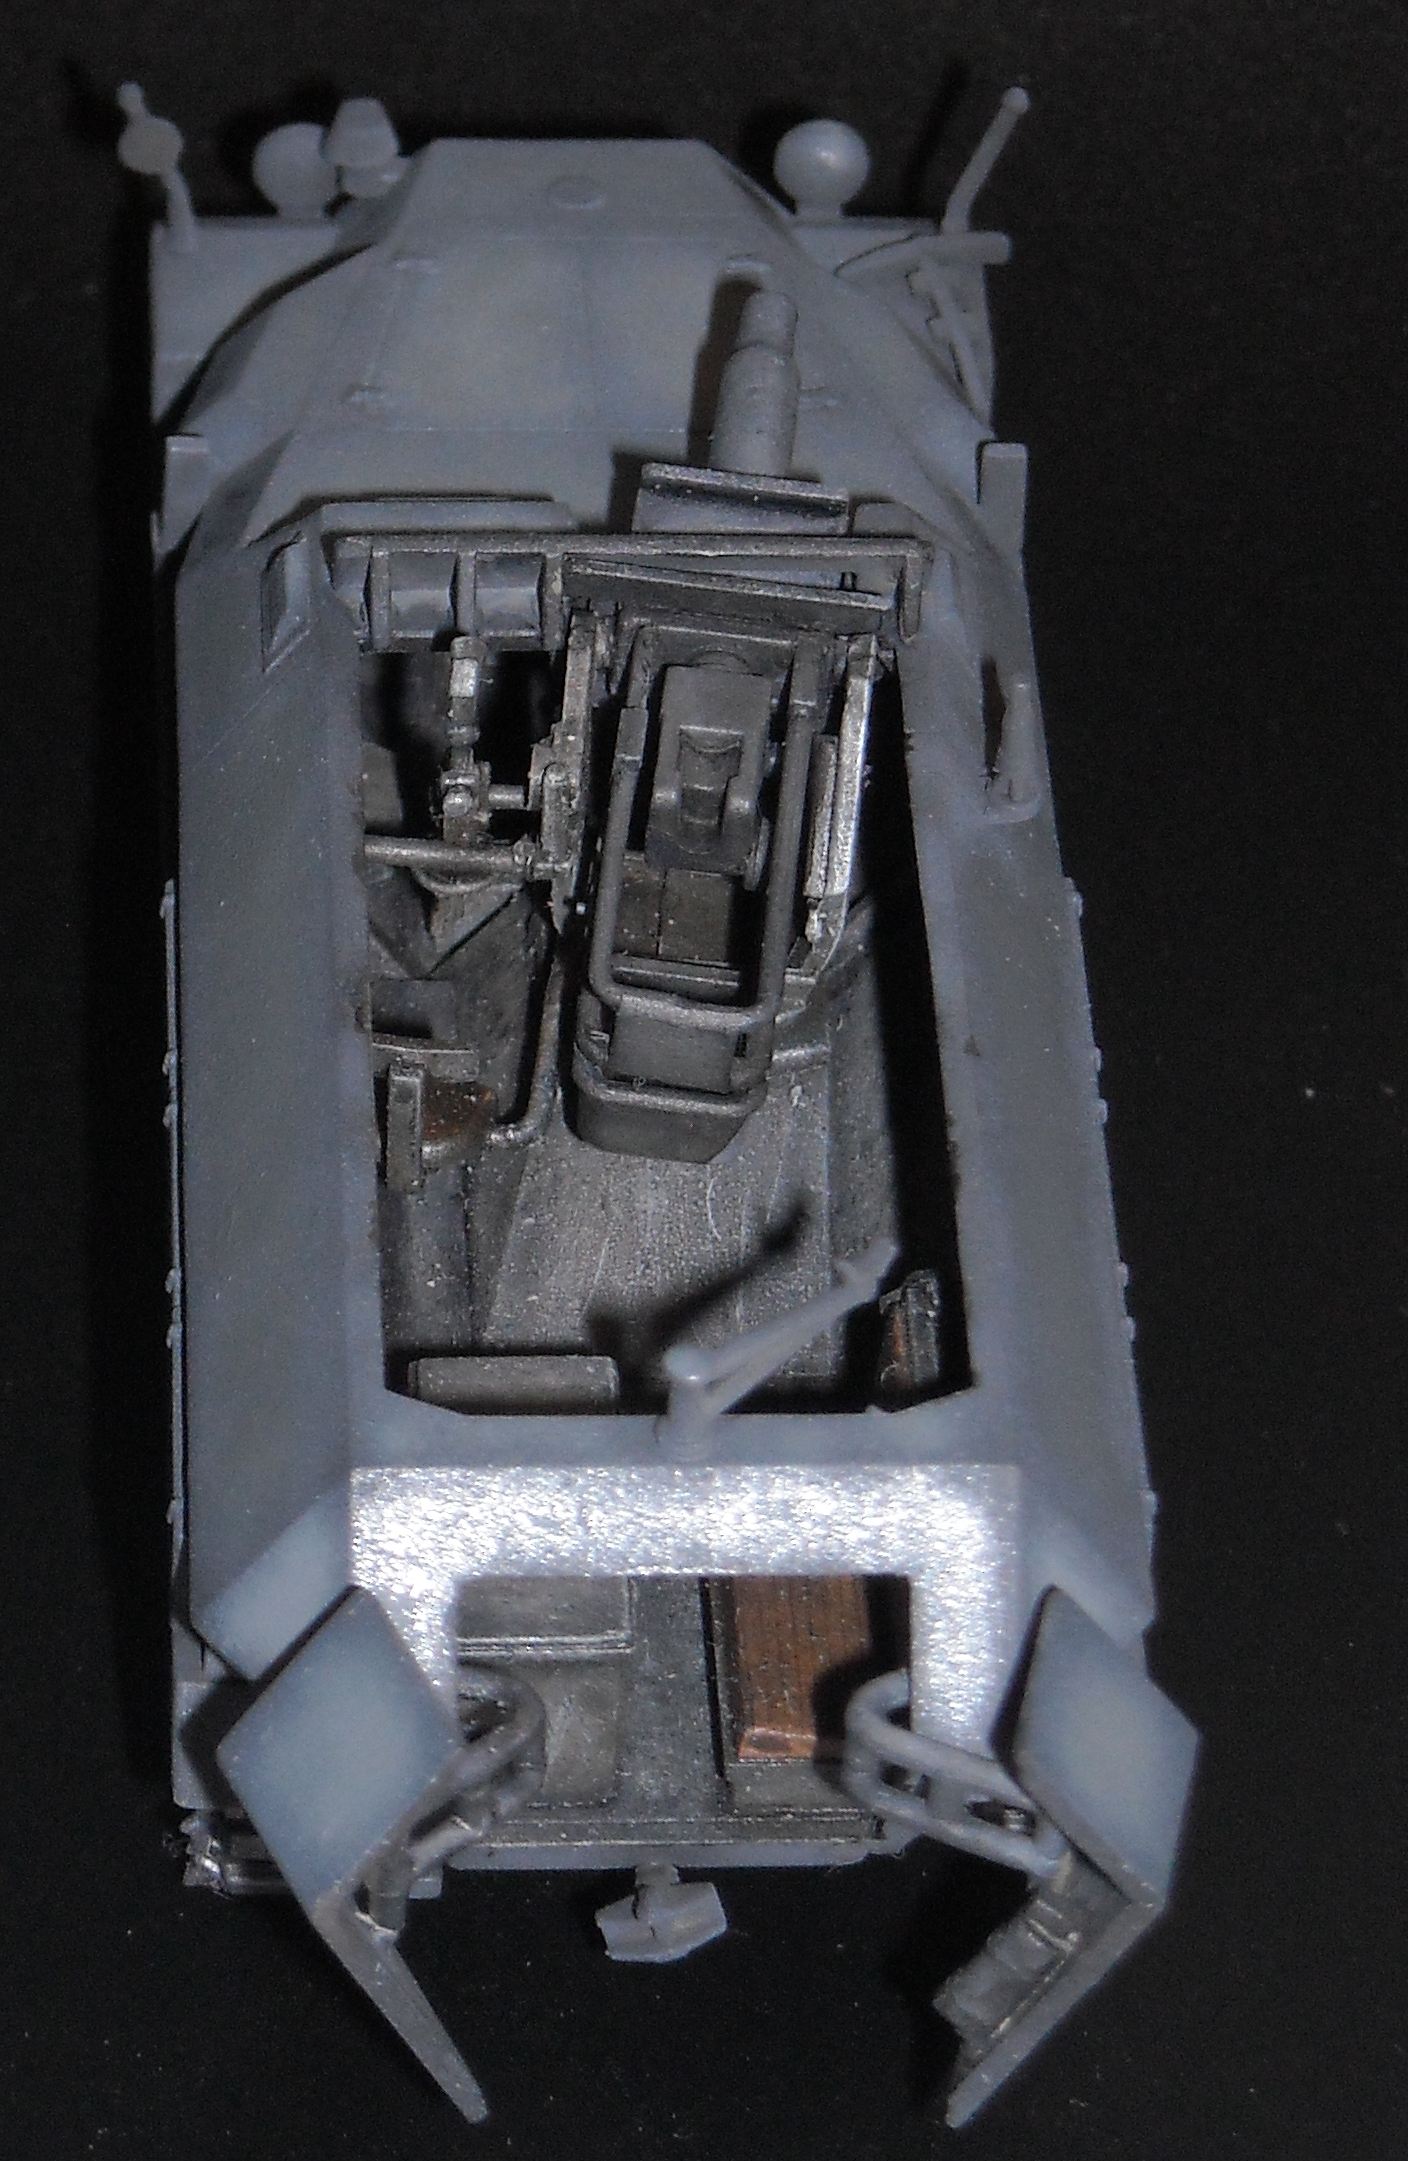
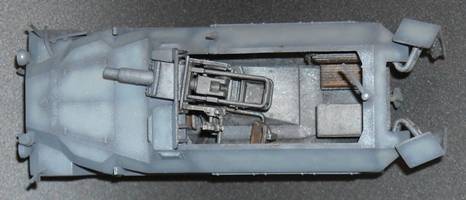
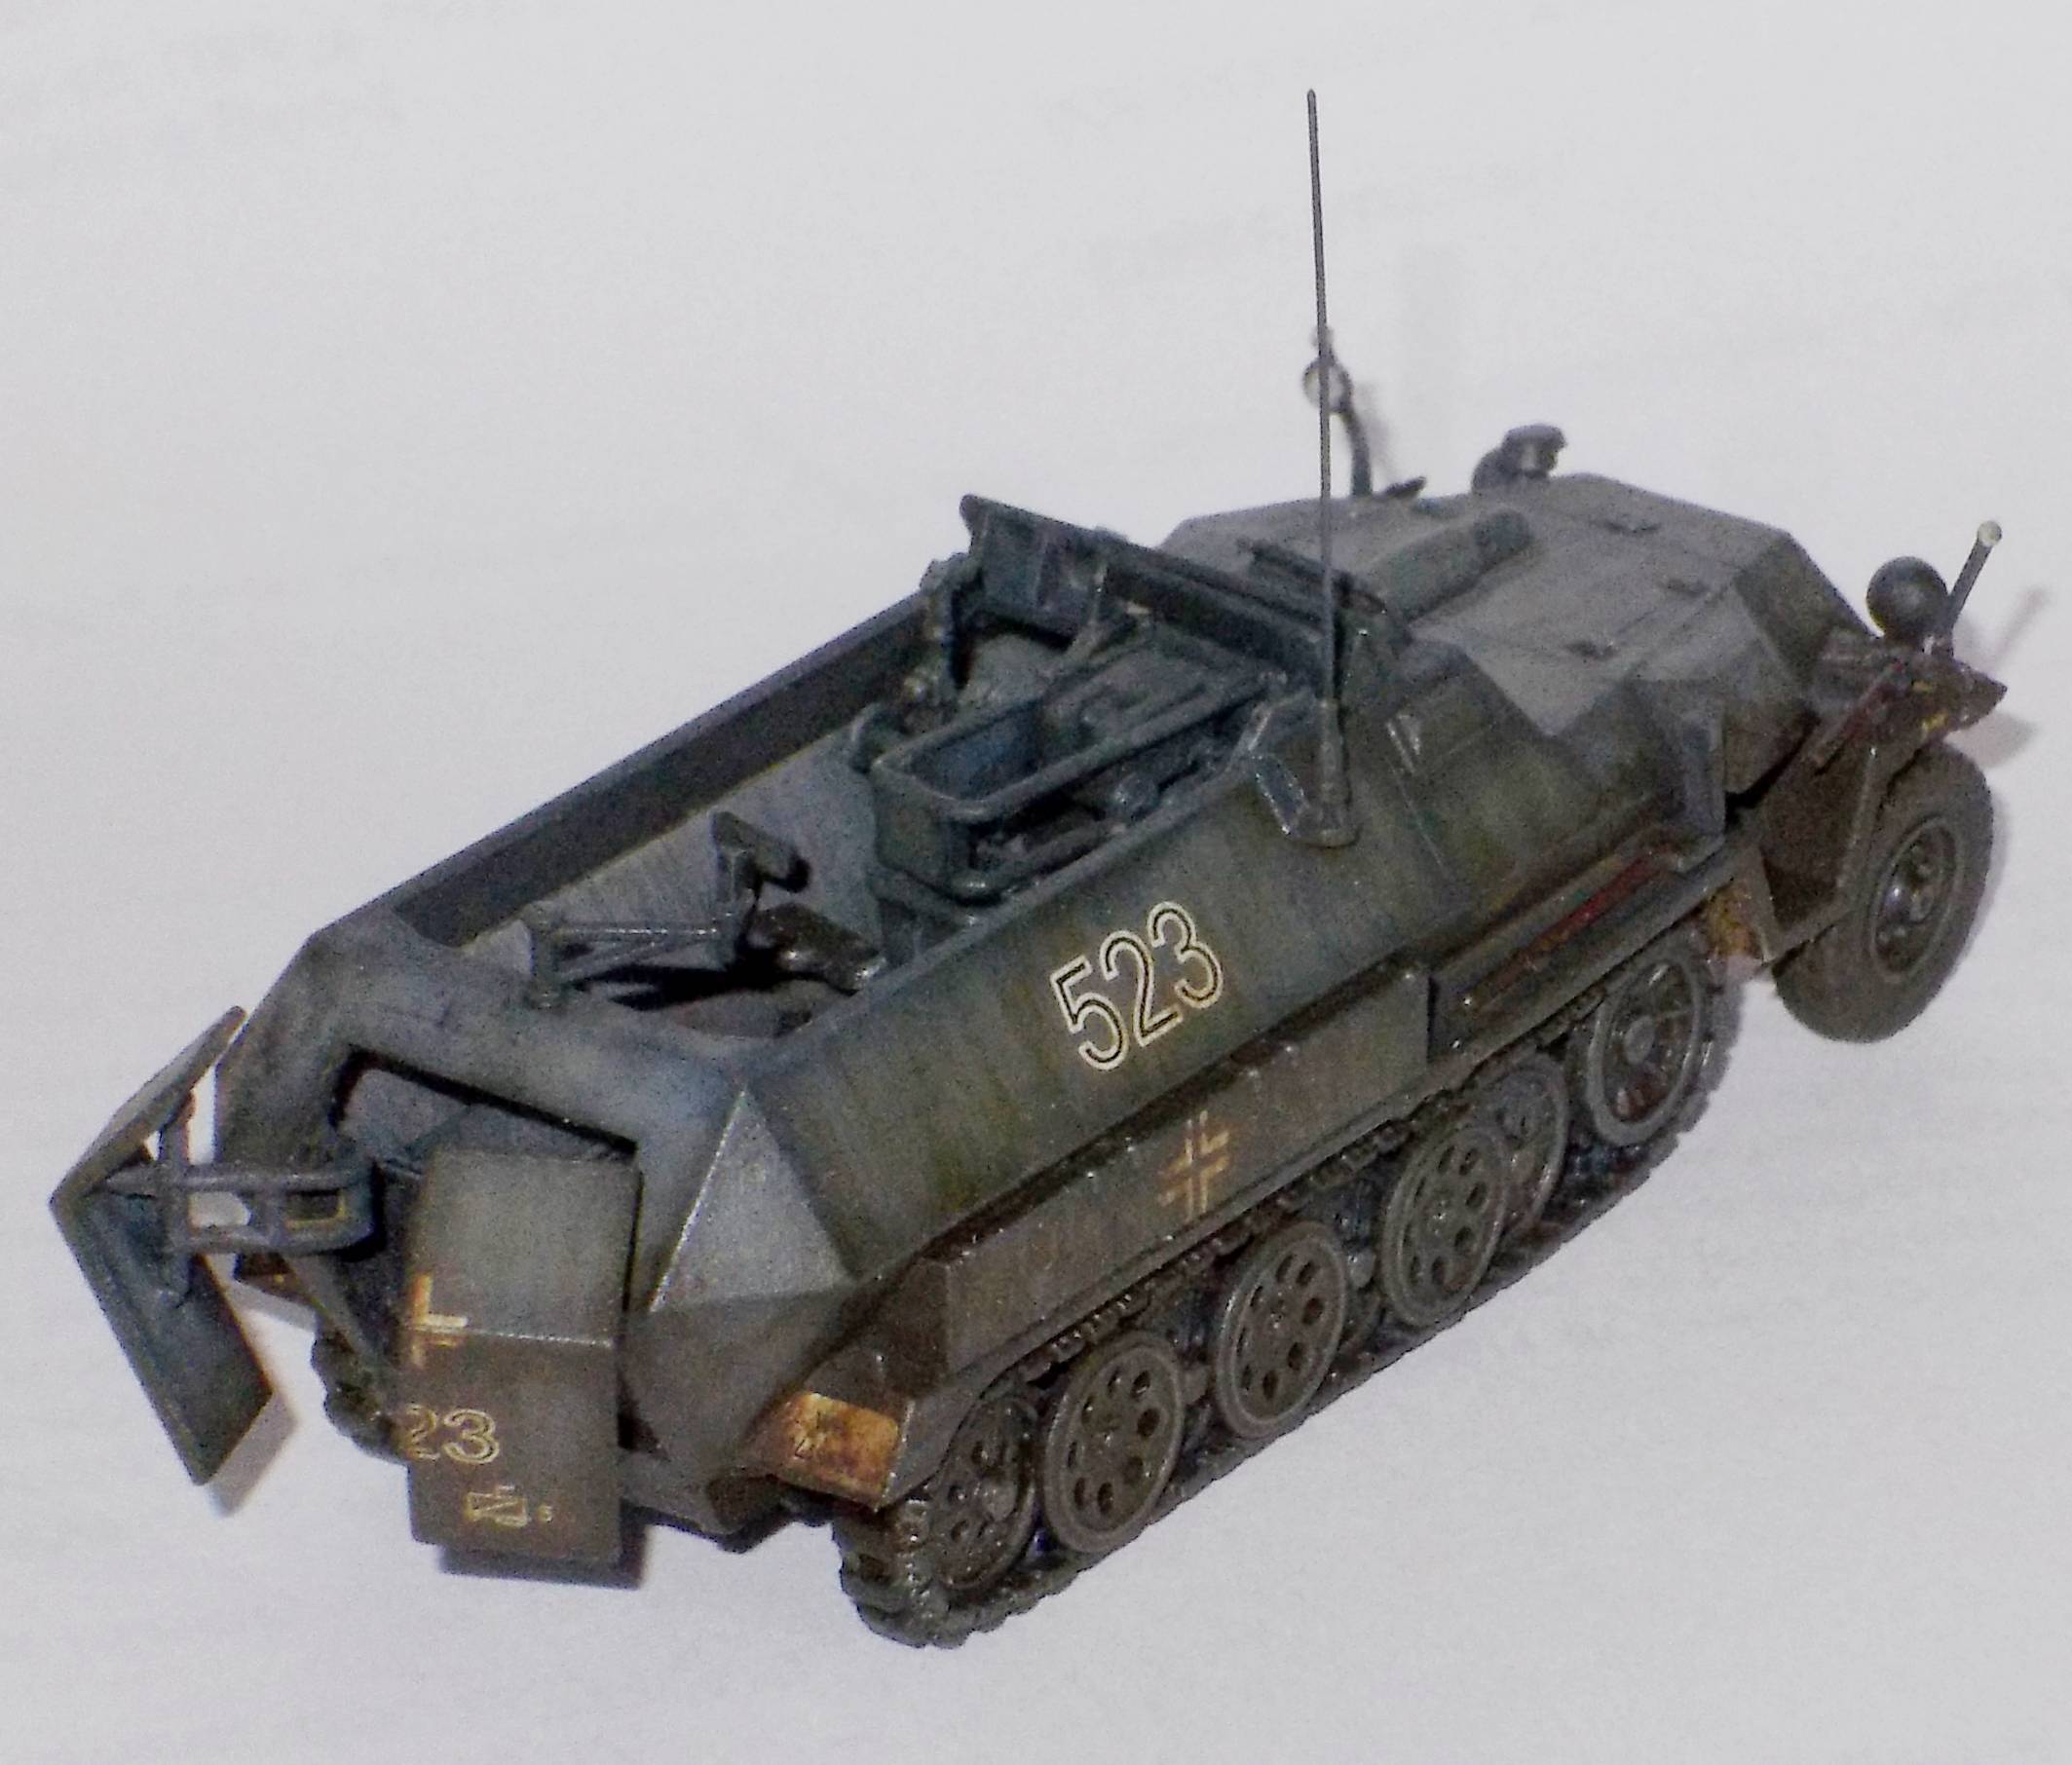
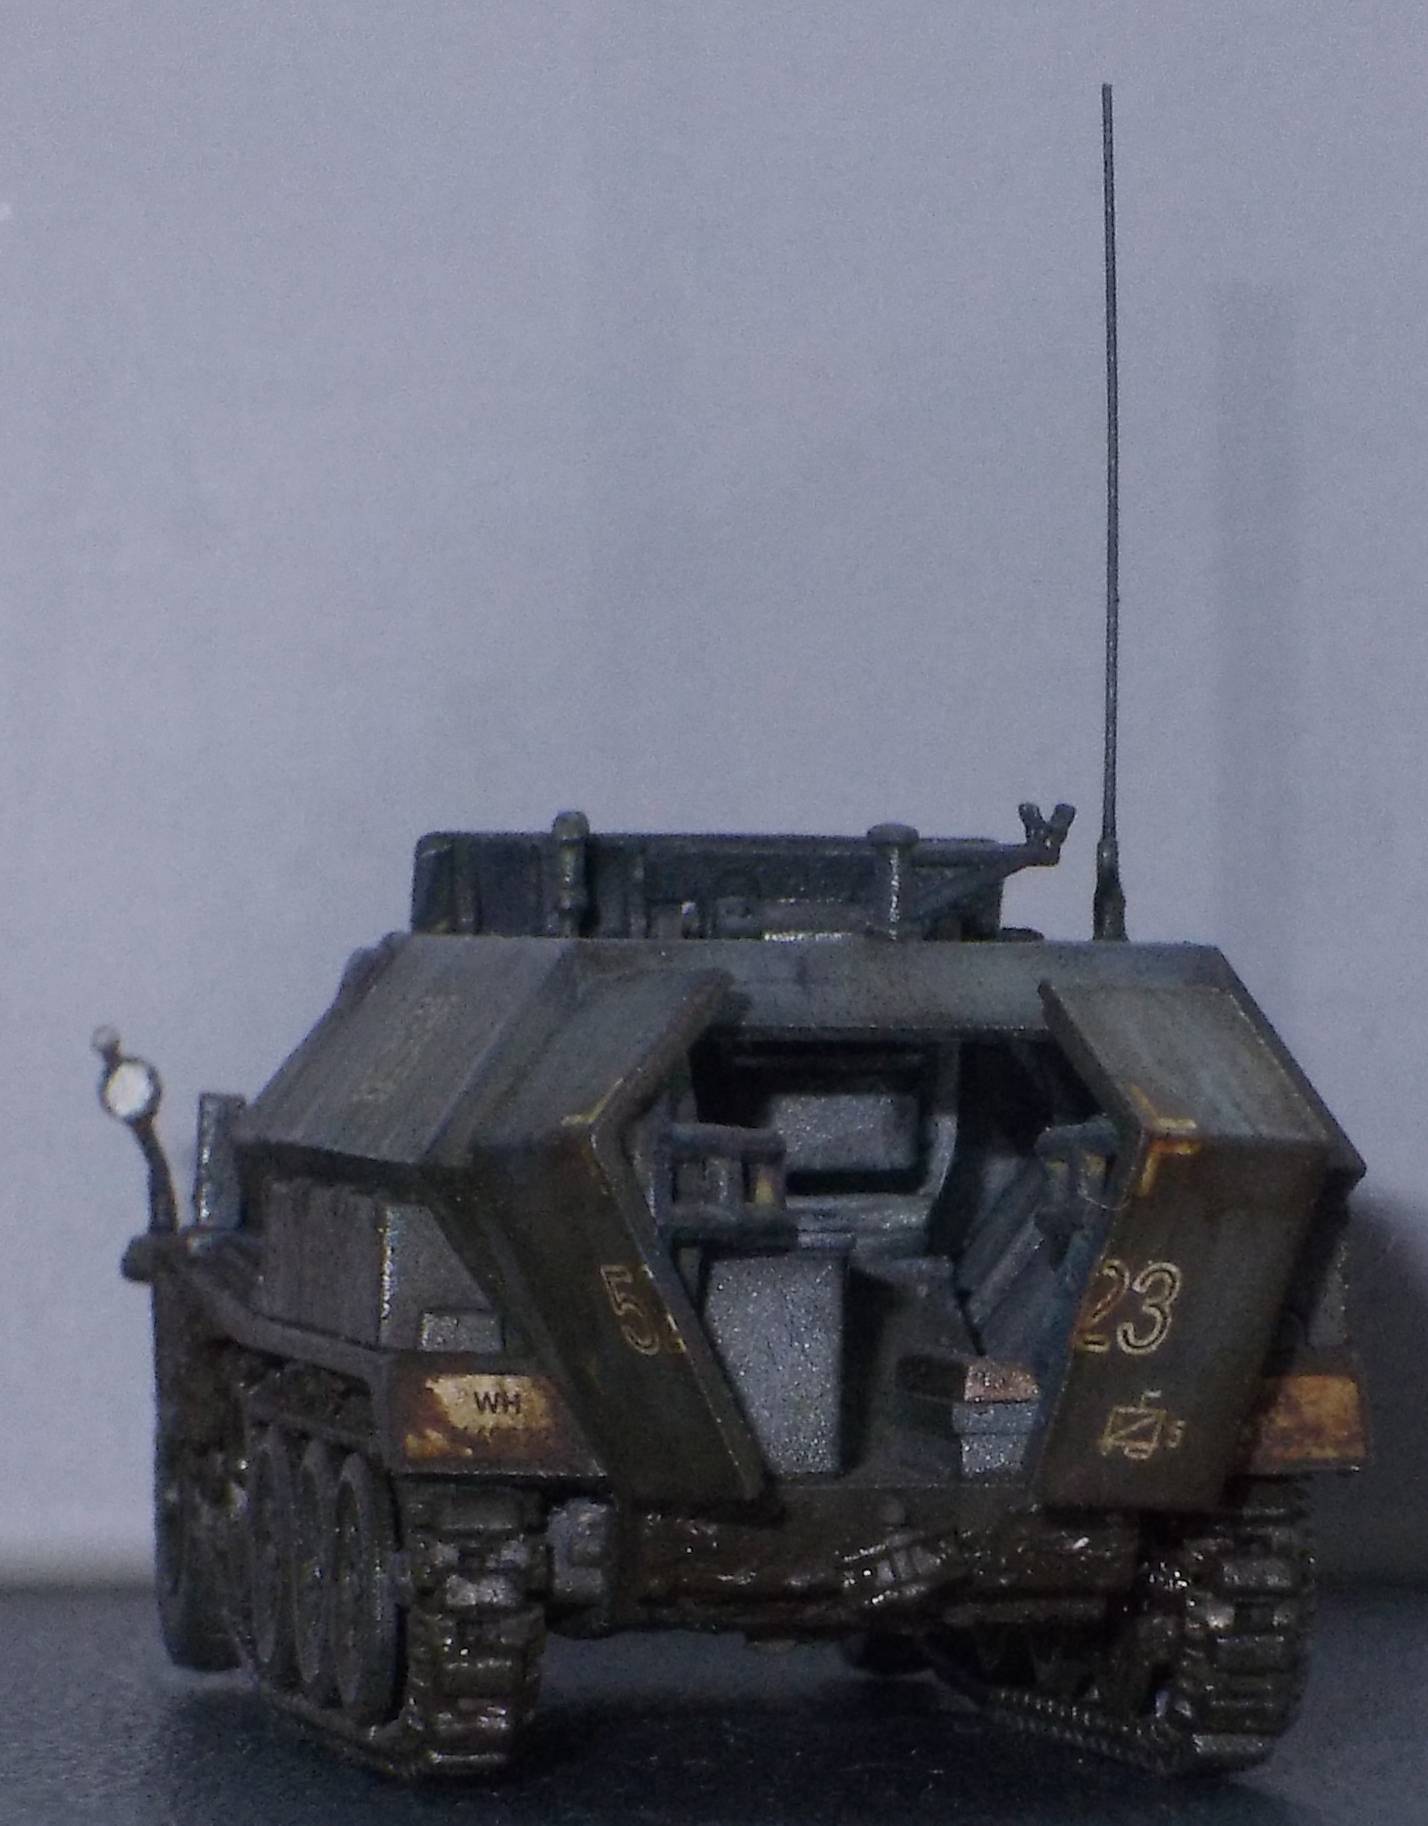
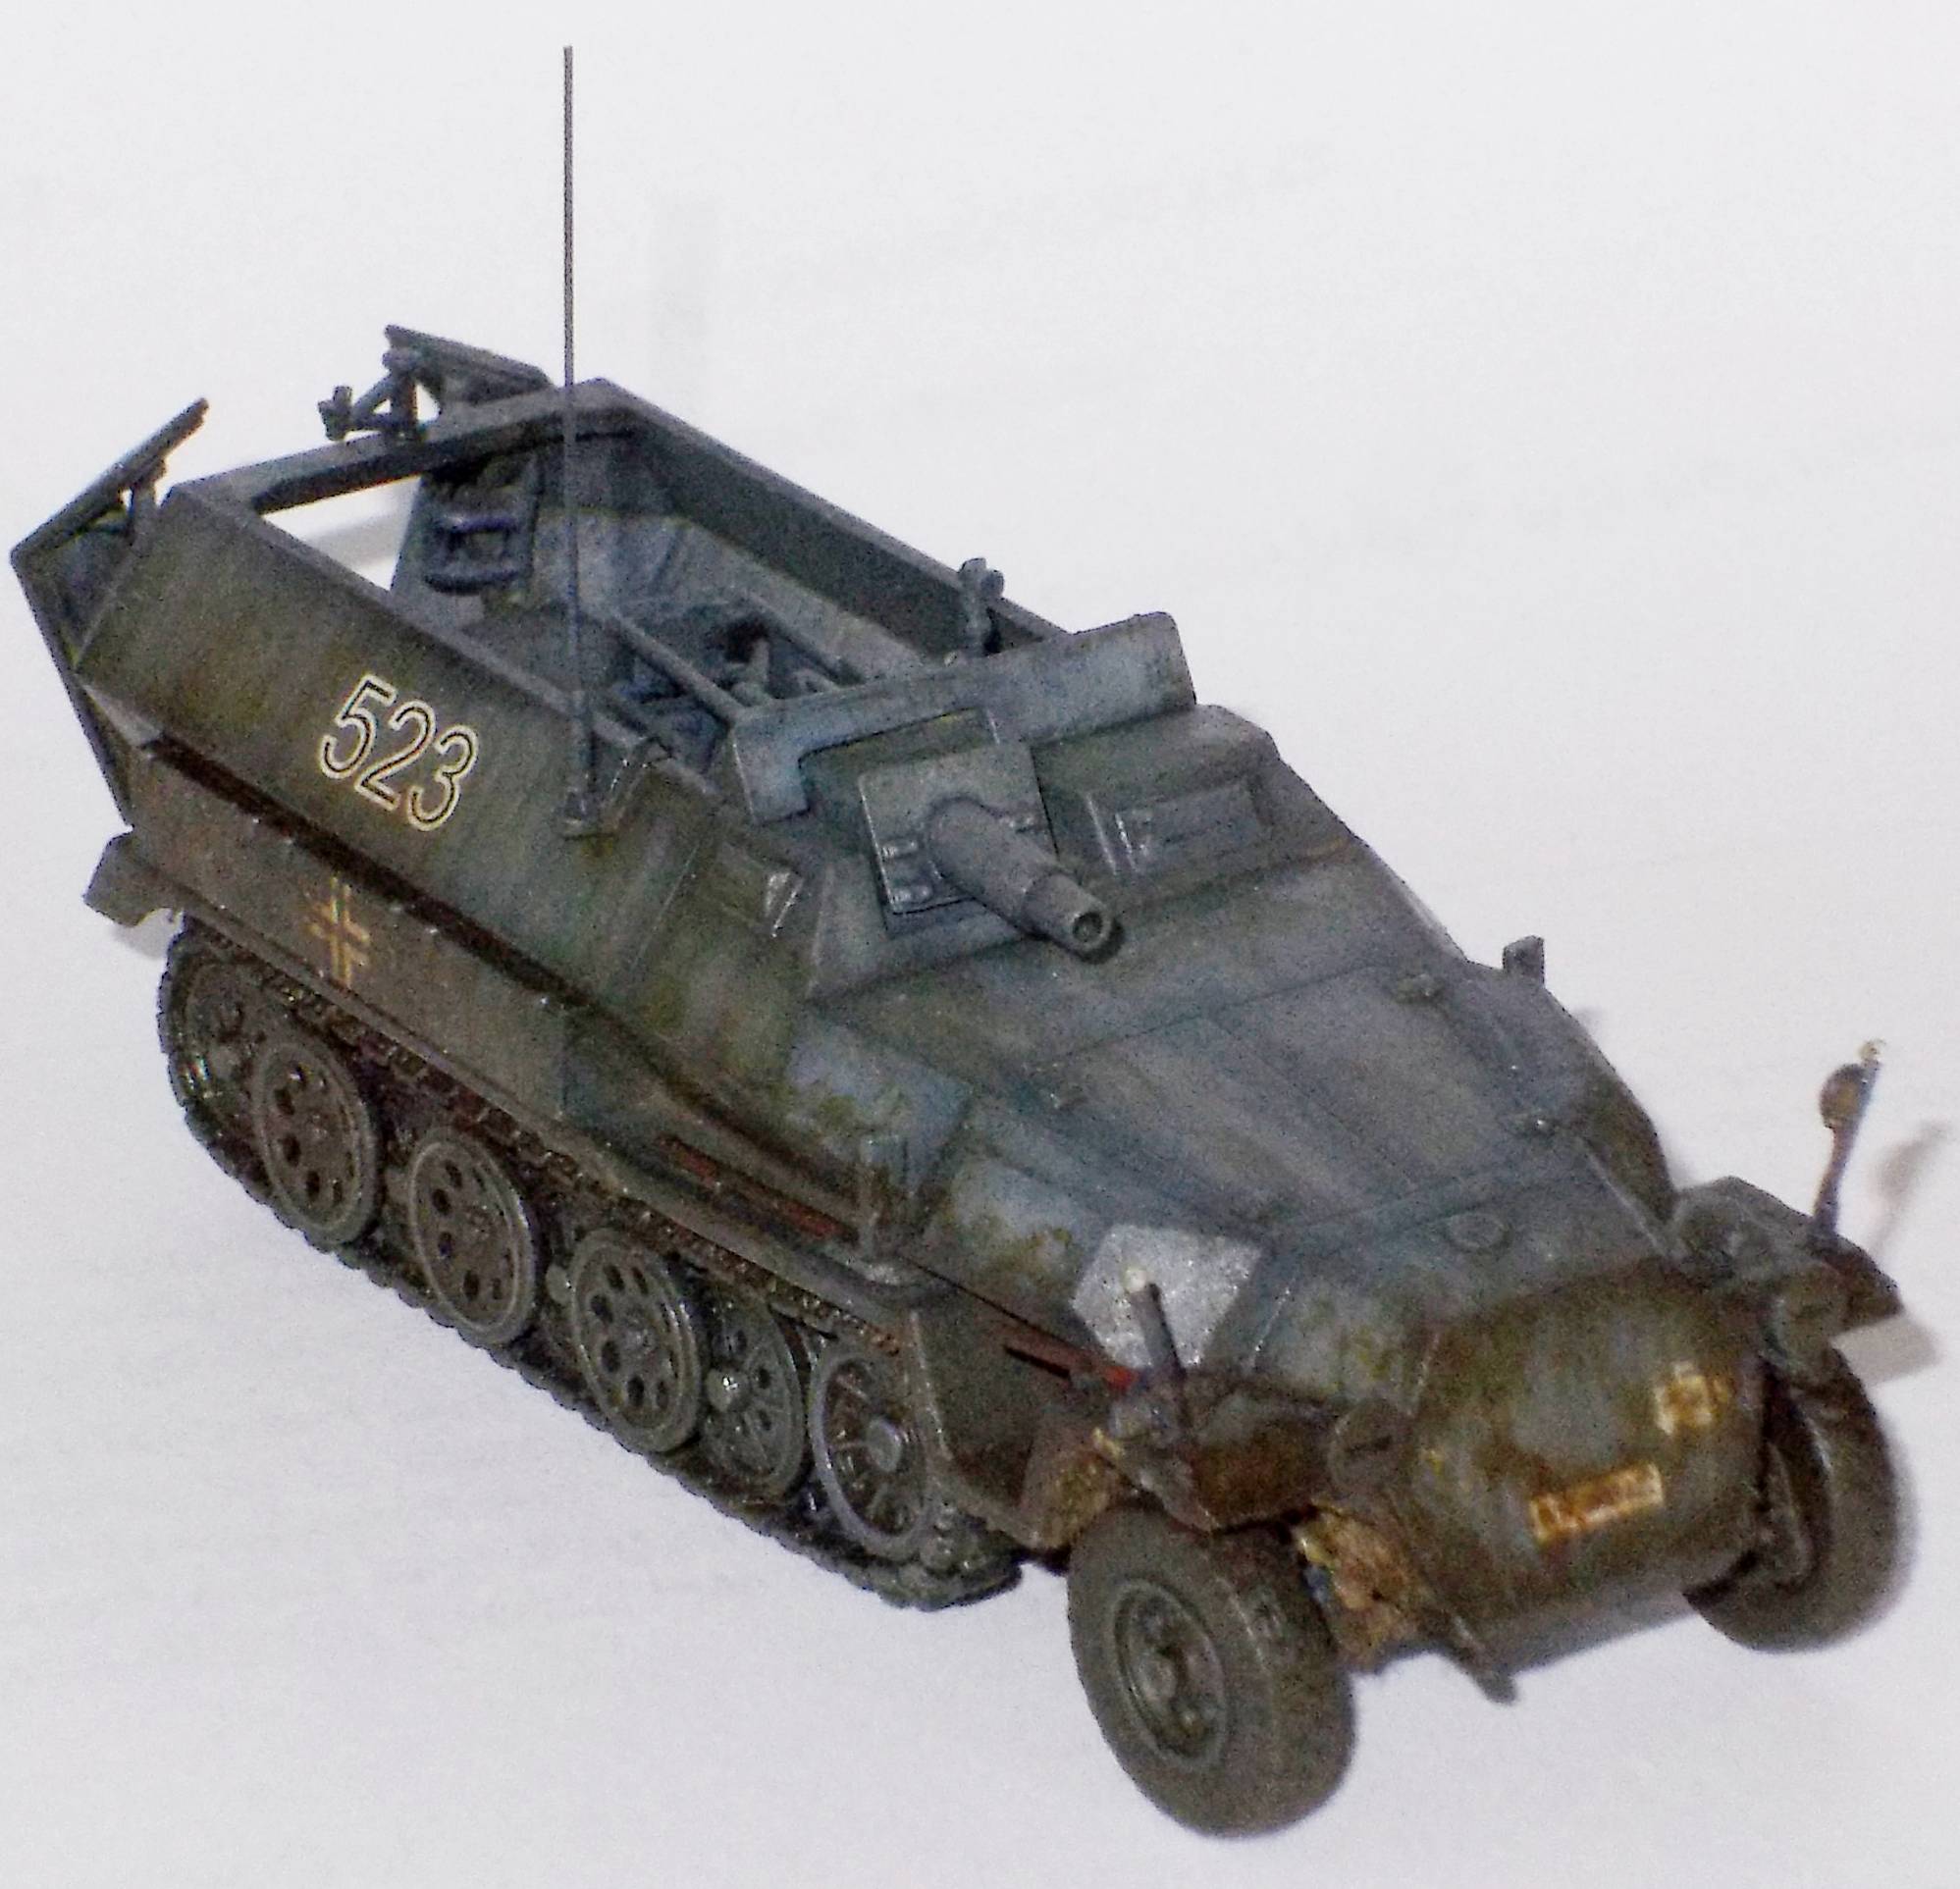
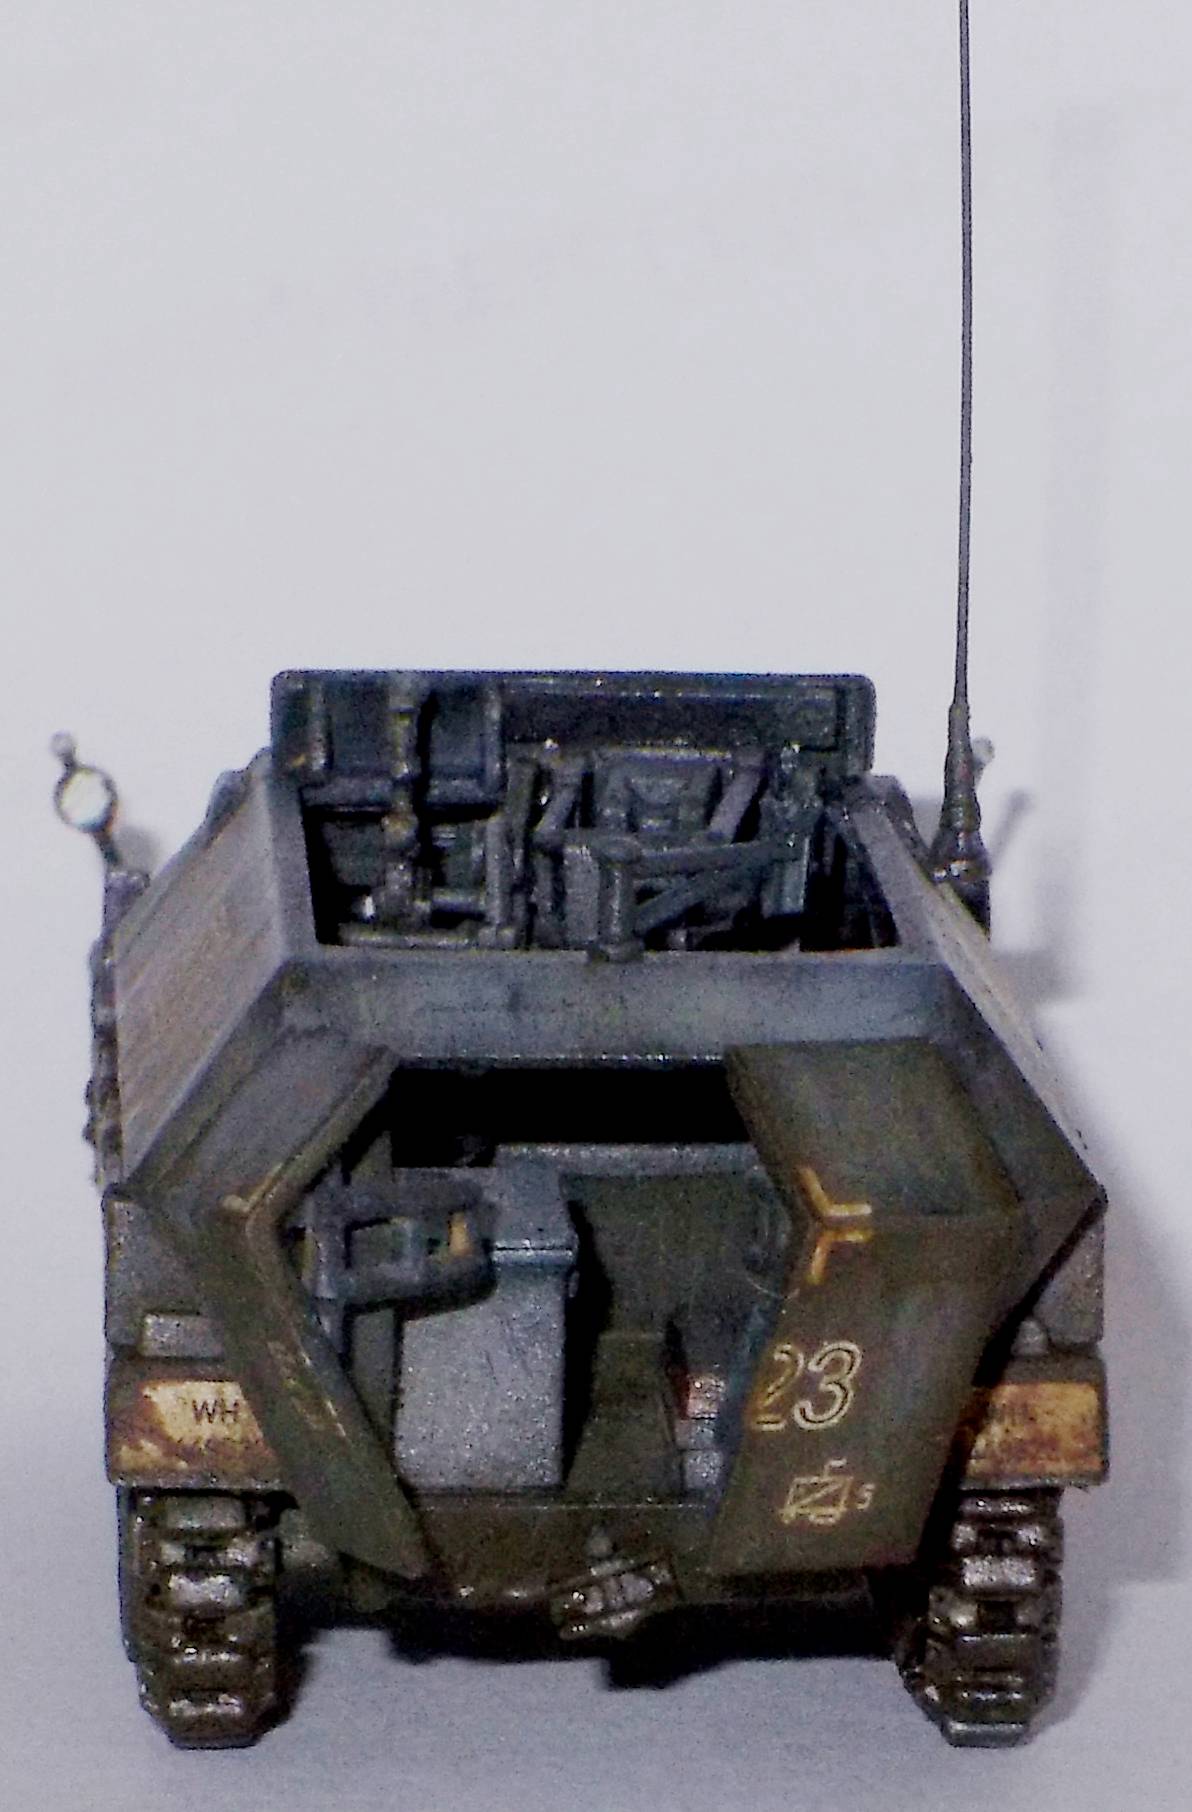
b) Interior An open topped vehicle really needs
an interior, and Revell caters for it. The interior looks quite spartan when
finished, but apparently this was the real deal. Nevertheless, I added
some minor items, like You might also add something to represent the vision blocks on the inside of the visors in the driver's compartment. Talking about the antenna mount, it
seems it was installed on the left side of the hull amidships or to
the right rear on late Ausf C's. The kit has it at the front right,
close to radio, which makes sense to me.
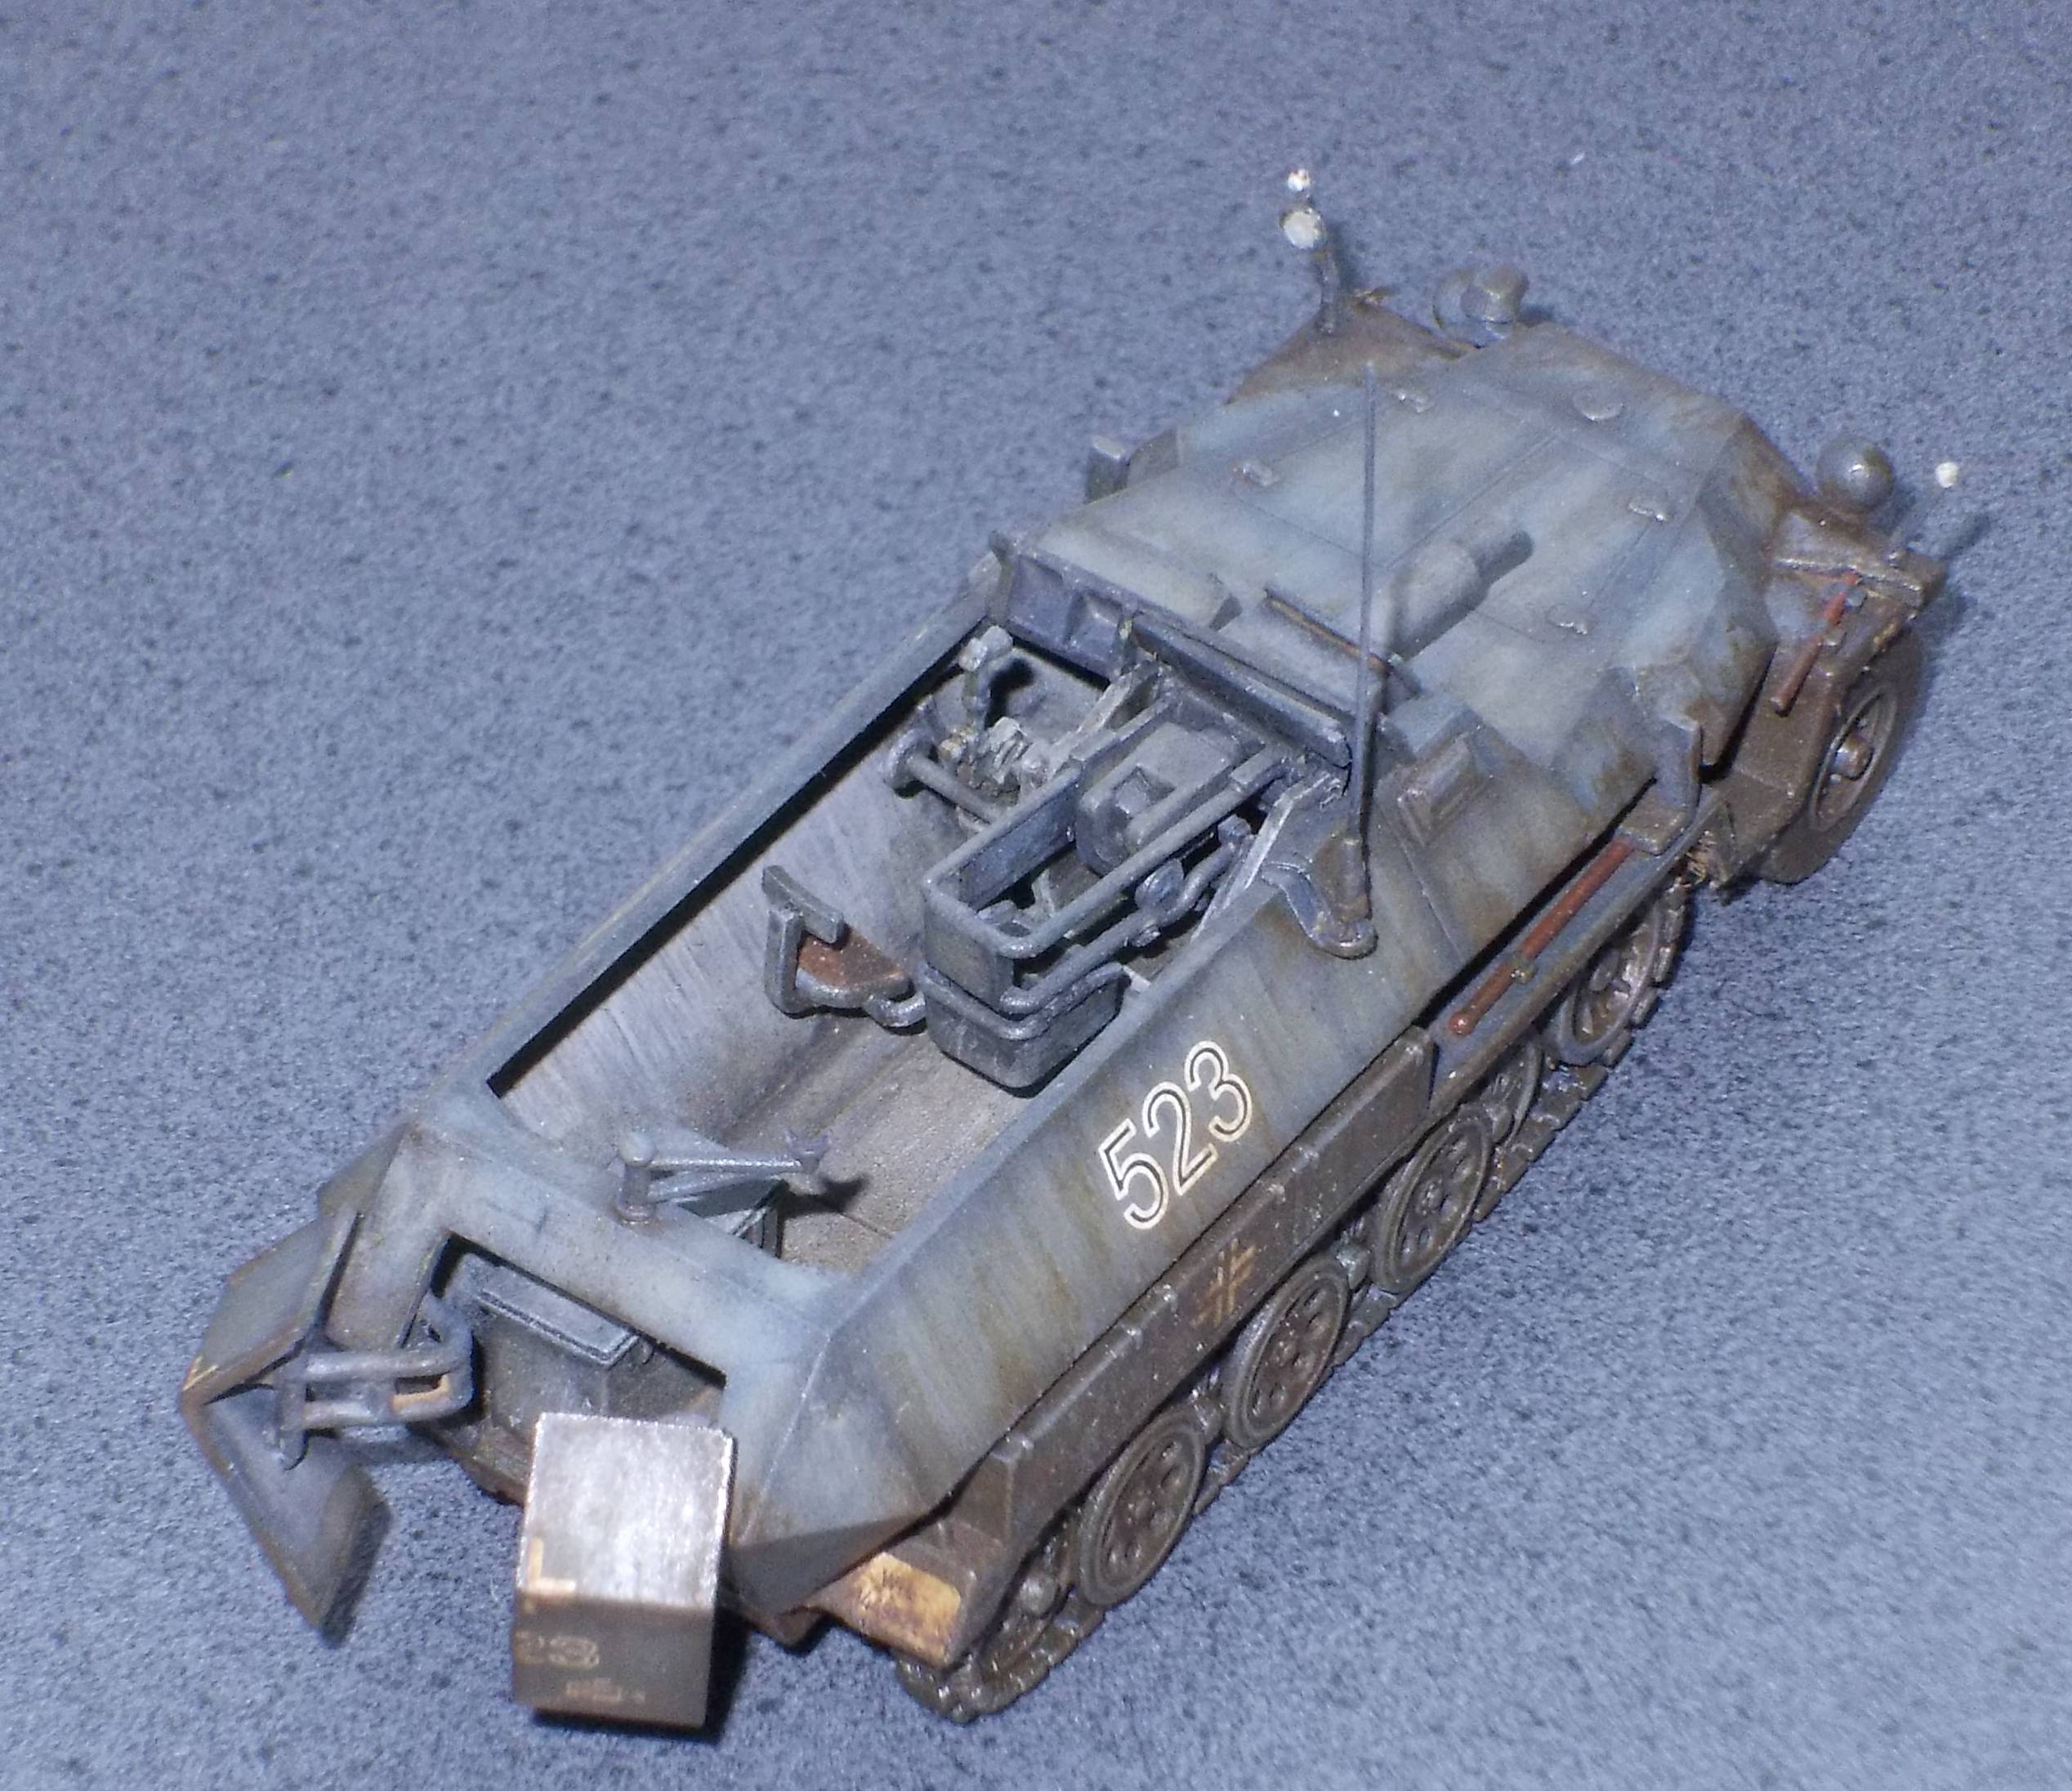
While the lower part of the gun mount
is not 100% correct, it will do the job, and the top part is actually
quite convincing, if fiddly to assemble.
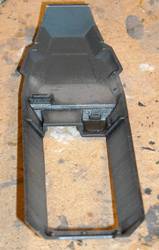
c) exterior Not much was changed to the exterior: I am not quite sure if the instructions
are correct when it comes to the placement of the axe. It might have
been mounted in the other direction, and it might have actually been
mounted on the fenders, instead of on the hull sides. When you come to step 25, it's best to obey the instructions and install part C50 (top of the muffler). I had hoped to able to leave it off until the end, end ended up regretting it. I had also hoped to be able to leave the gun assembly off until after painting, but the top of the gun shield makes it almost impossible. I also found the rear Notek light to be a bit poor, and while I have resin parts in my spares box to replace it, I wanted to build this kit as much out of the box as possible.
3. Scale accuracy The Zpw 5001/280/140 tracks of the
Sd.Kfz.251 (and Sd.Kfz.11) were 280mm in width. I did some other measurements, and
found that the vehicle is slightly too narrow (1/74), with the top
of the crew compartment being closer to (1/81). All this makes that
the vehicle looks a bit narrow for its length.
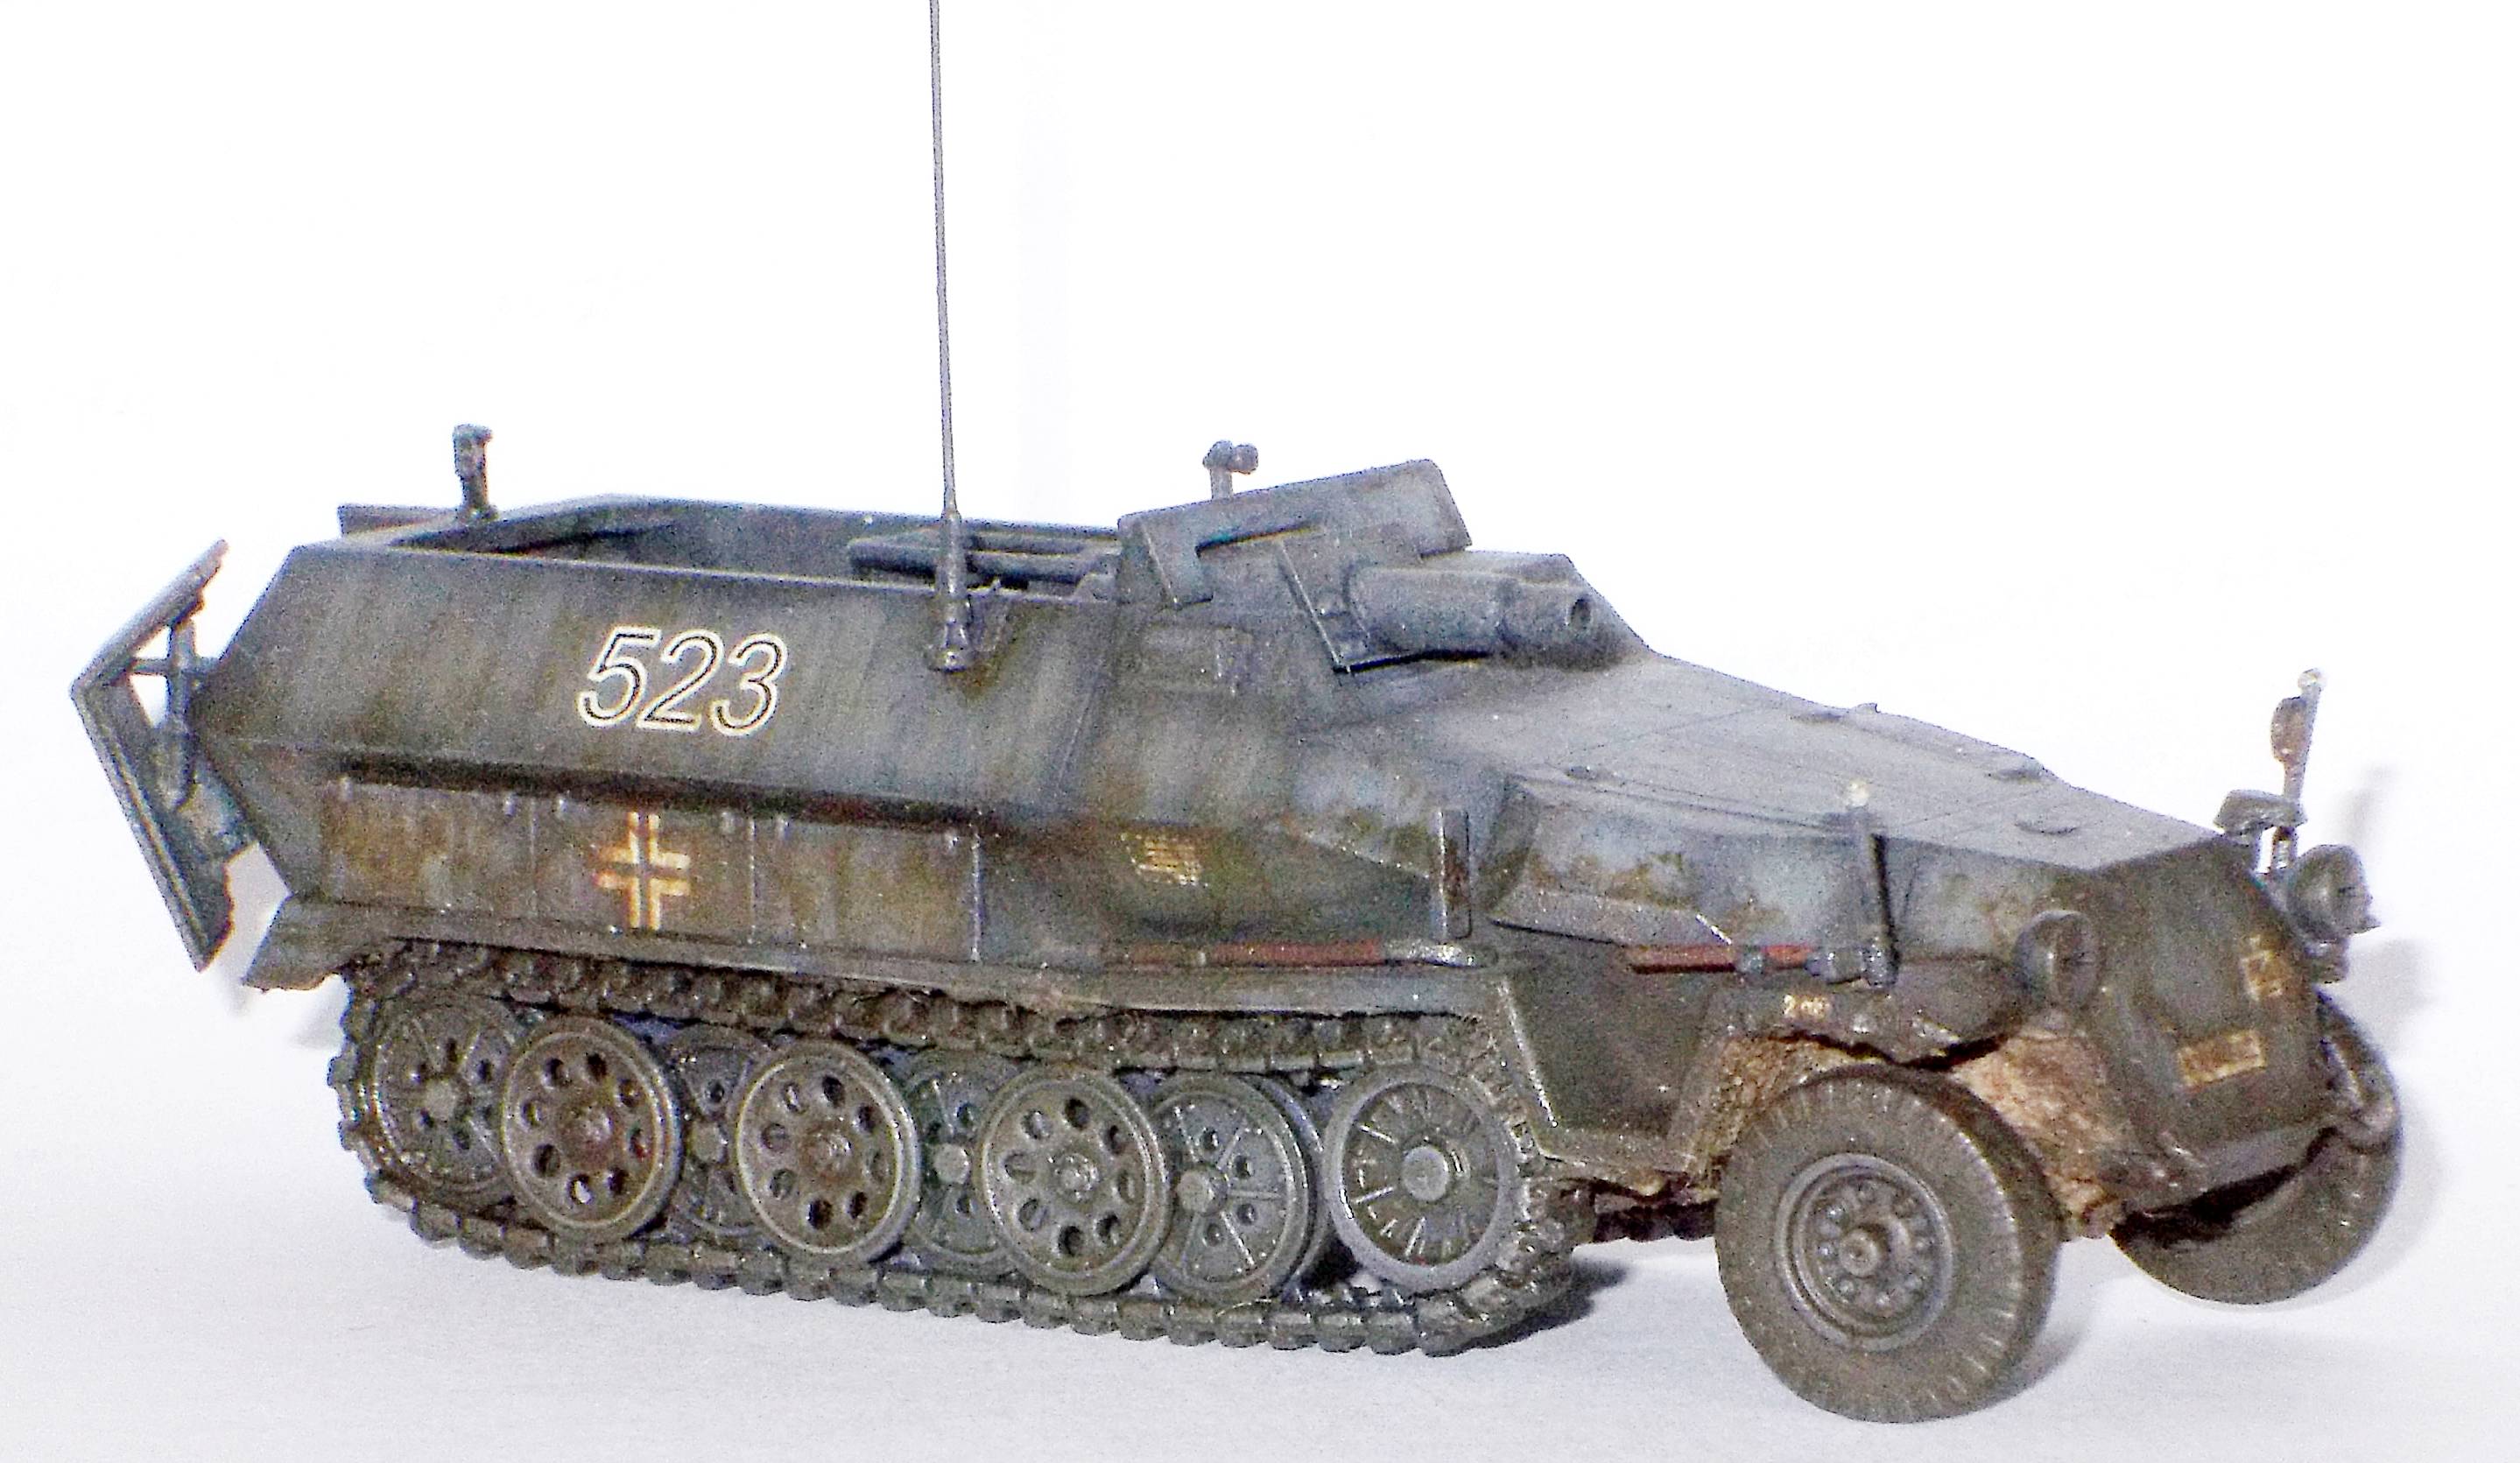
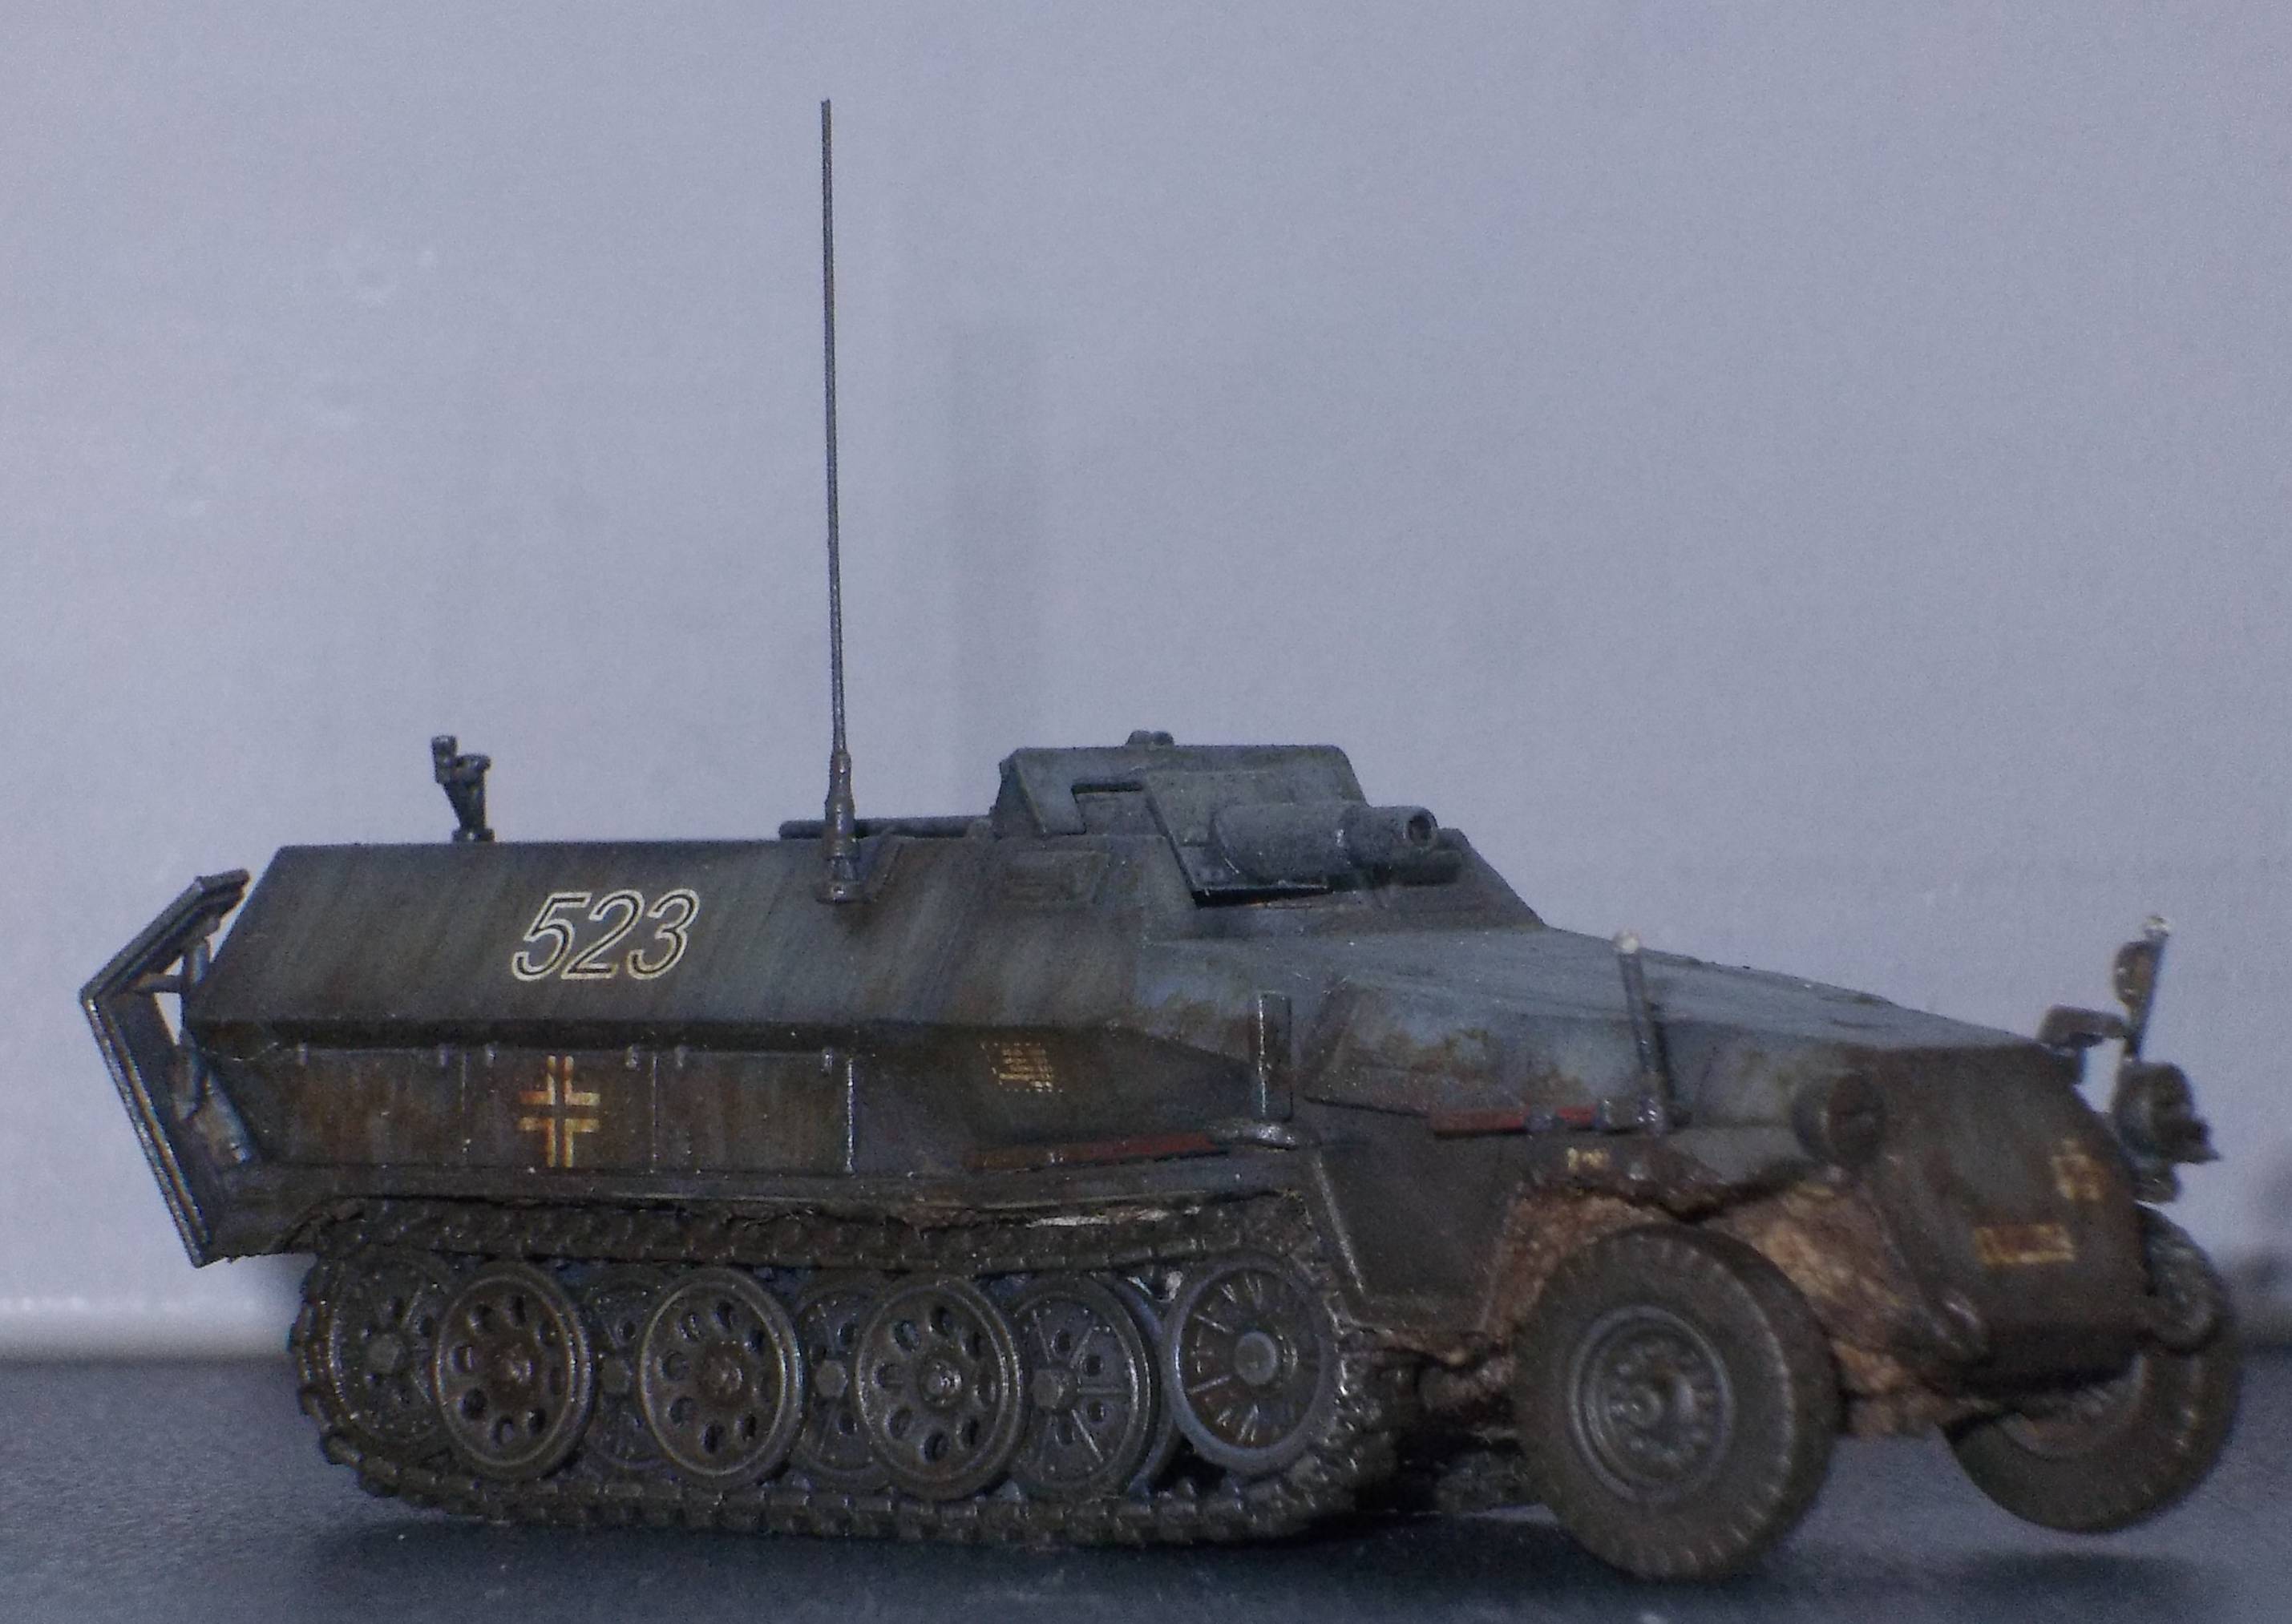
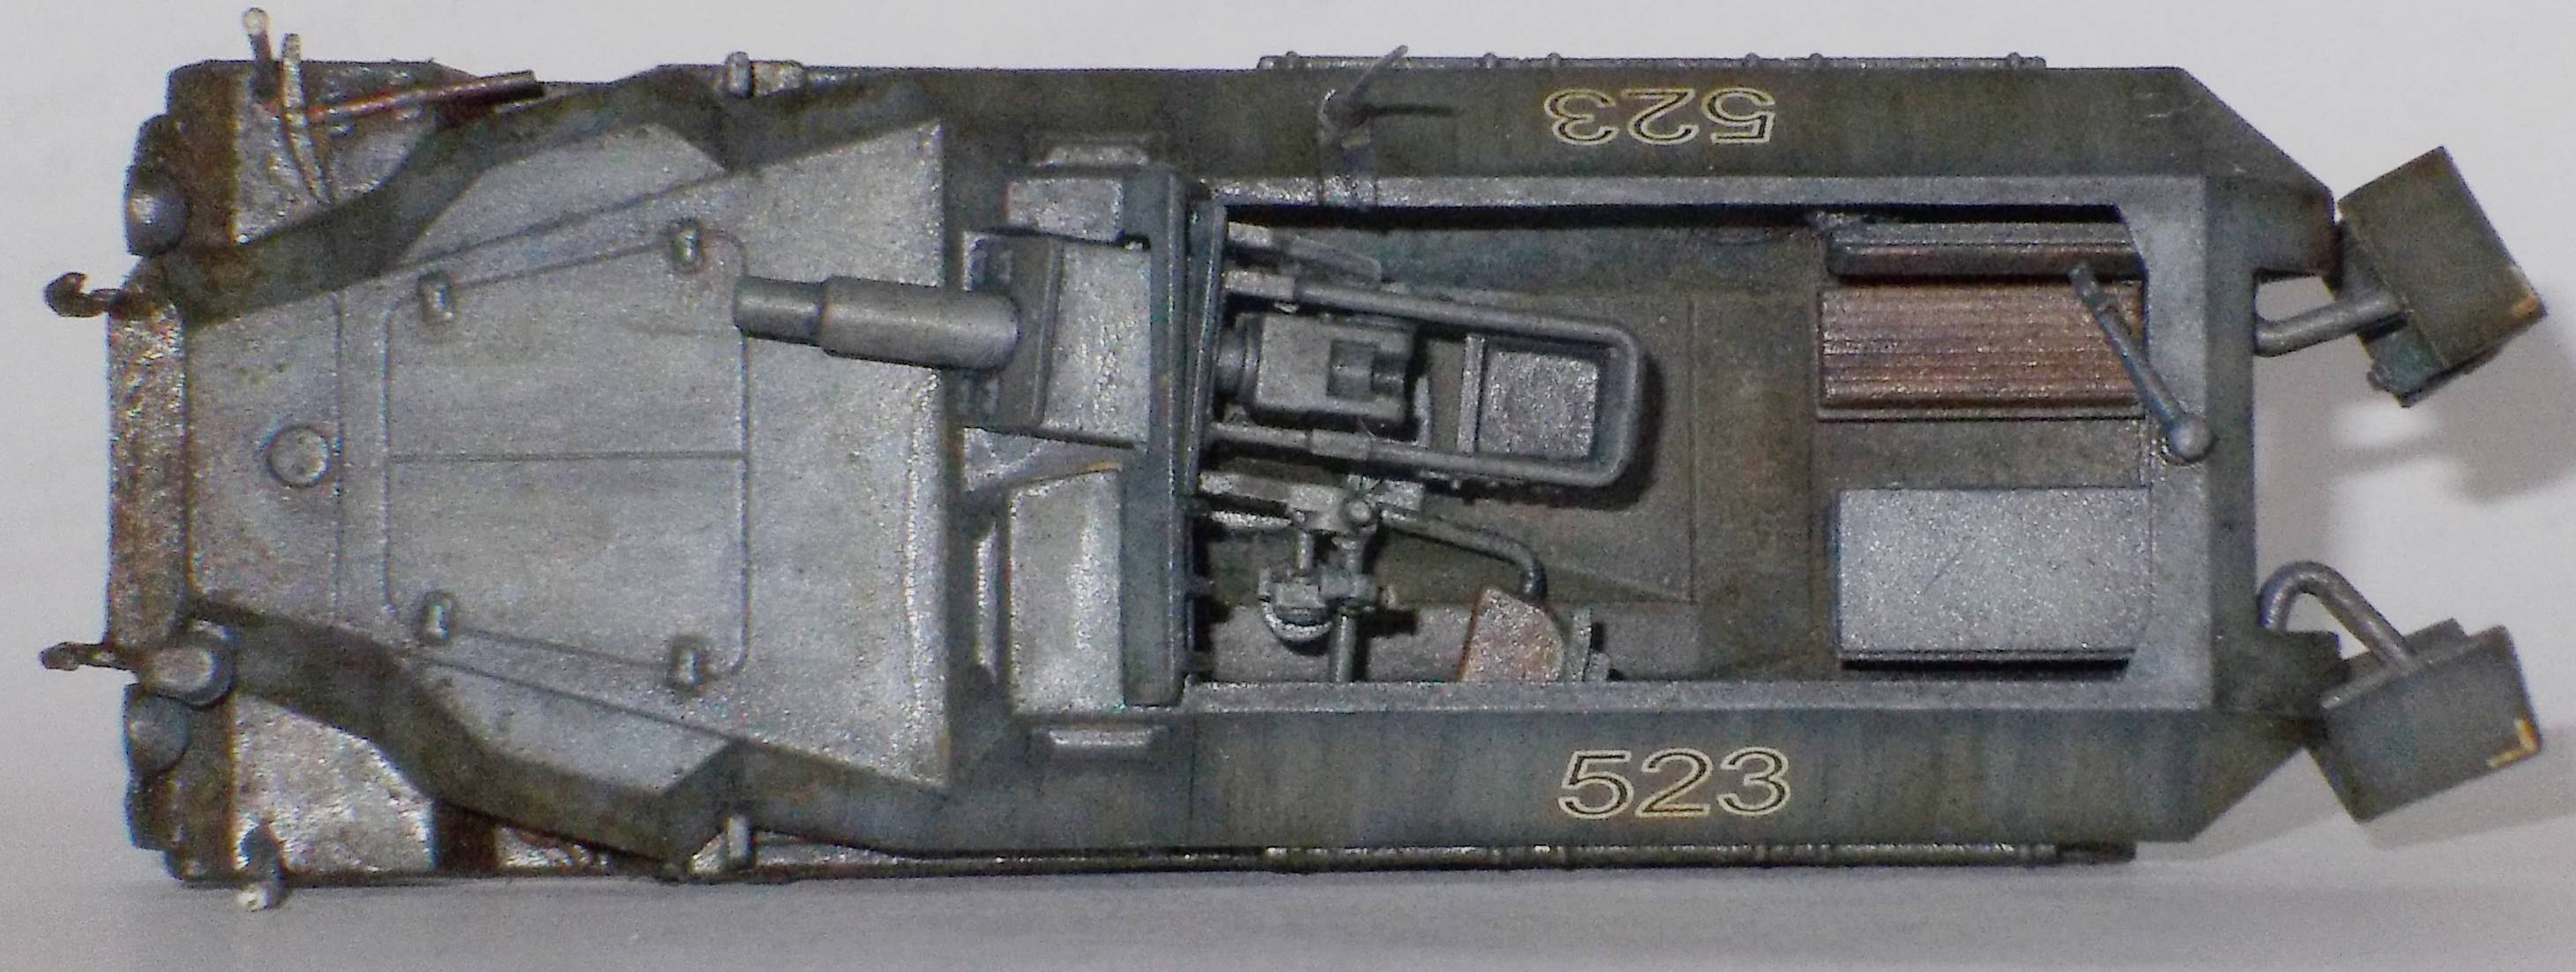
4. Camouflage and markings I chose to paint and mark the kit almost
exactly according to the instructions, with one notable exception.
The Nuts & Bolts book I have on the Stummel states that the vehicle
marked "523" has been photographically identified (without
actually showing the picture). The book cannot give the licence plate
number, nor the division the vehicle belonged to, only that it belonged
to a 5. Kompanie of a Pz.Aufkl.Abt., which would be where you'd expect
the SdKfz251/9 to be found. Revell chose to give us a divisional insignia
of the 9th Pz.Div. as used in 1940. As I already mentioned in my preview,
this cannot be correct for a simple reason: the Sd.Kfz.251/9 did not
yet exist in 1940. I remedied this by cutting of the two dots next
to the "Y", and placing it upright. In this way it depicts
the insignia that 7th Pz.Div. used later in the war. (The two dots
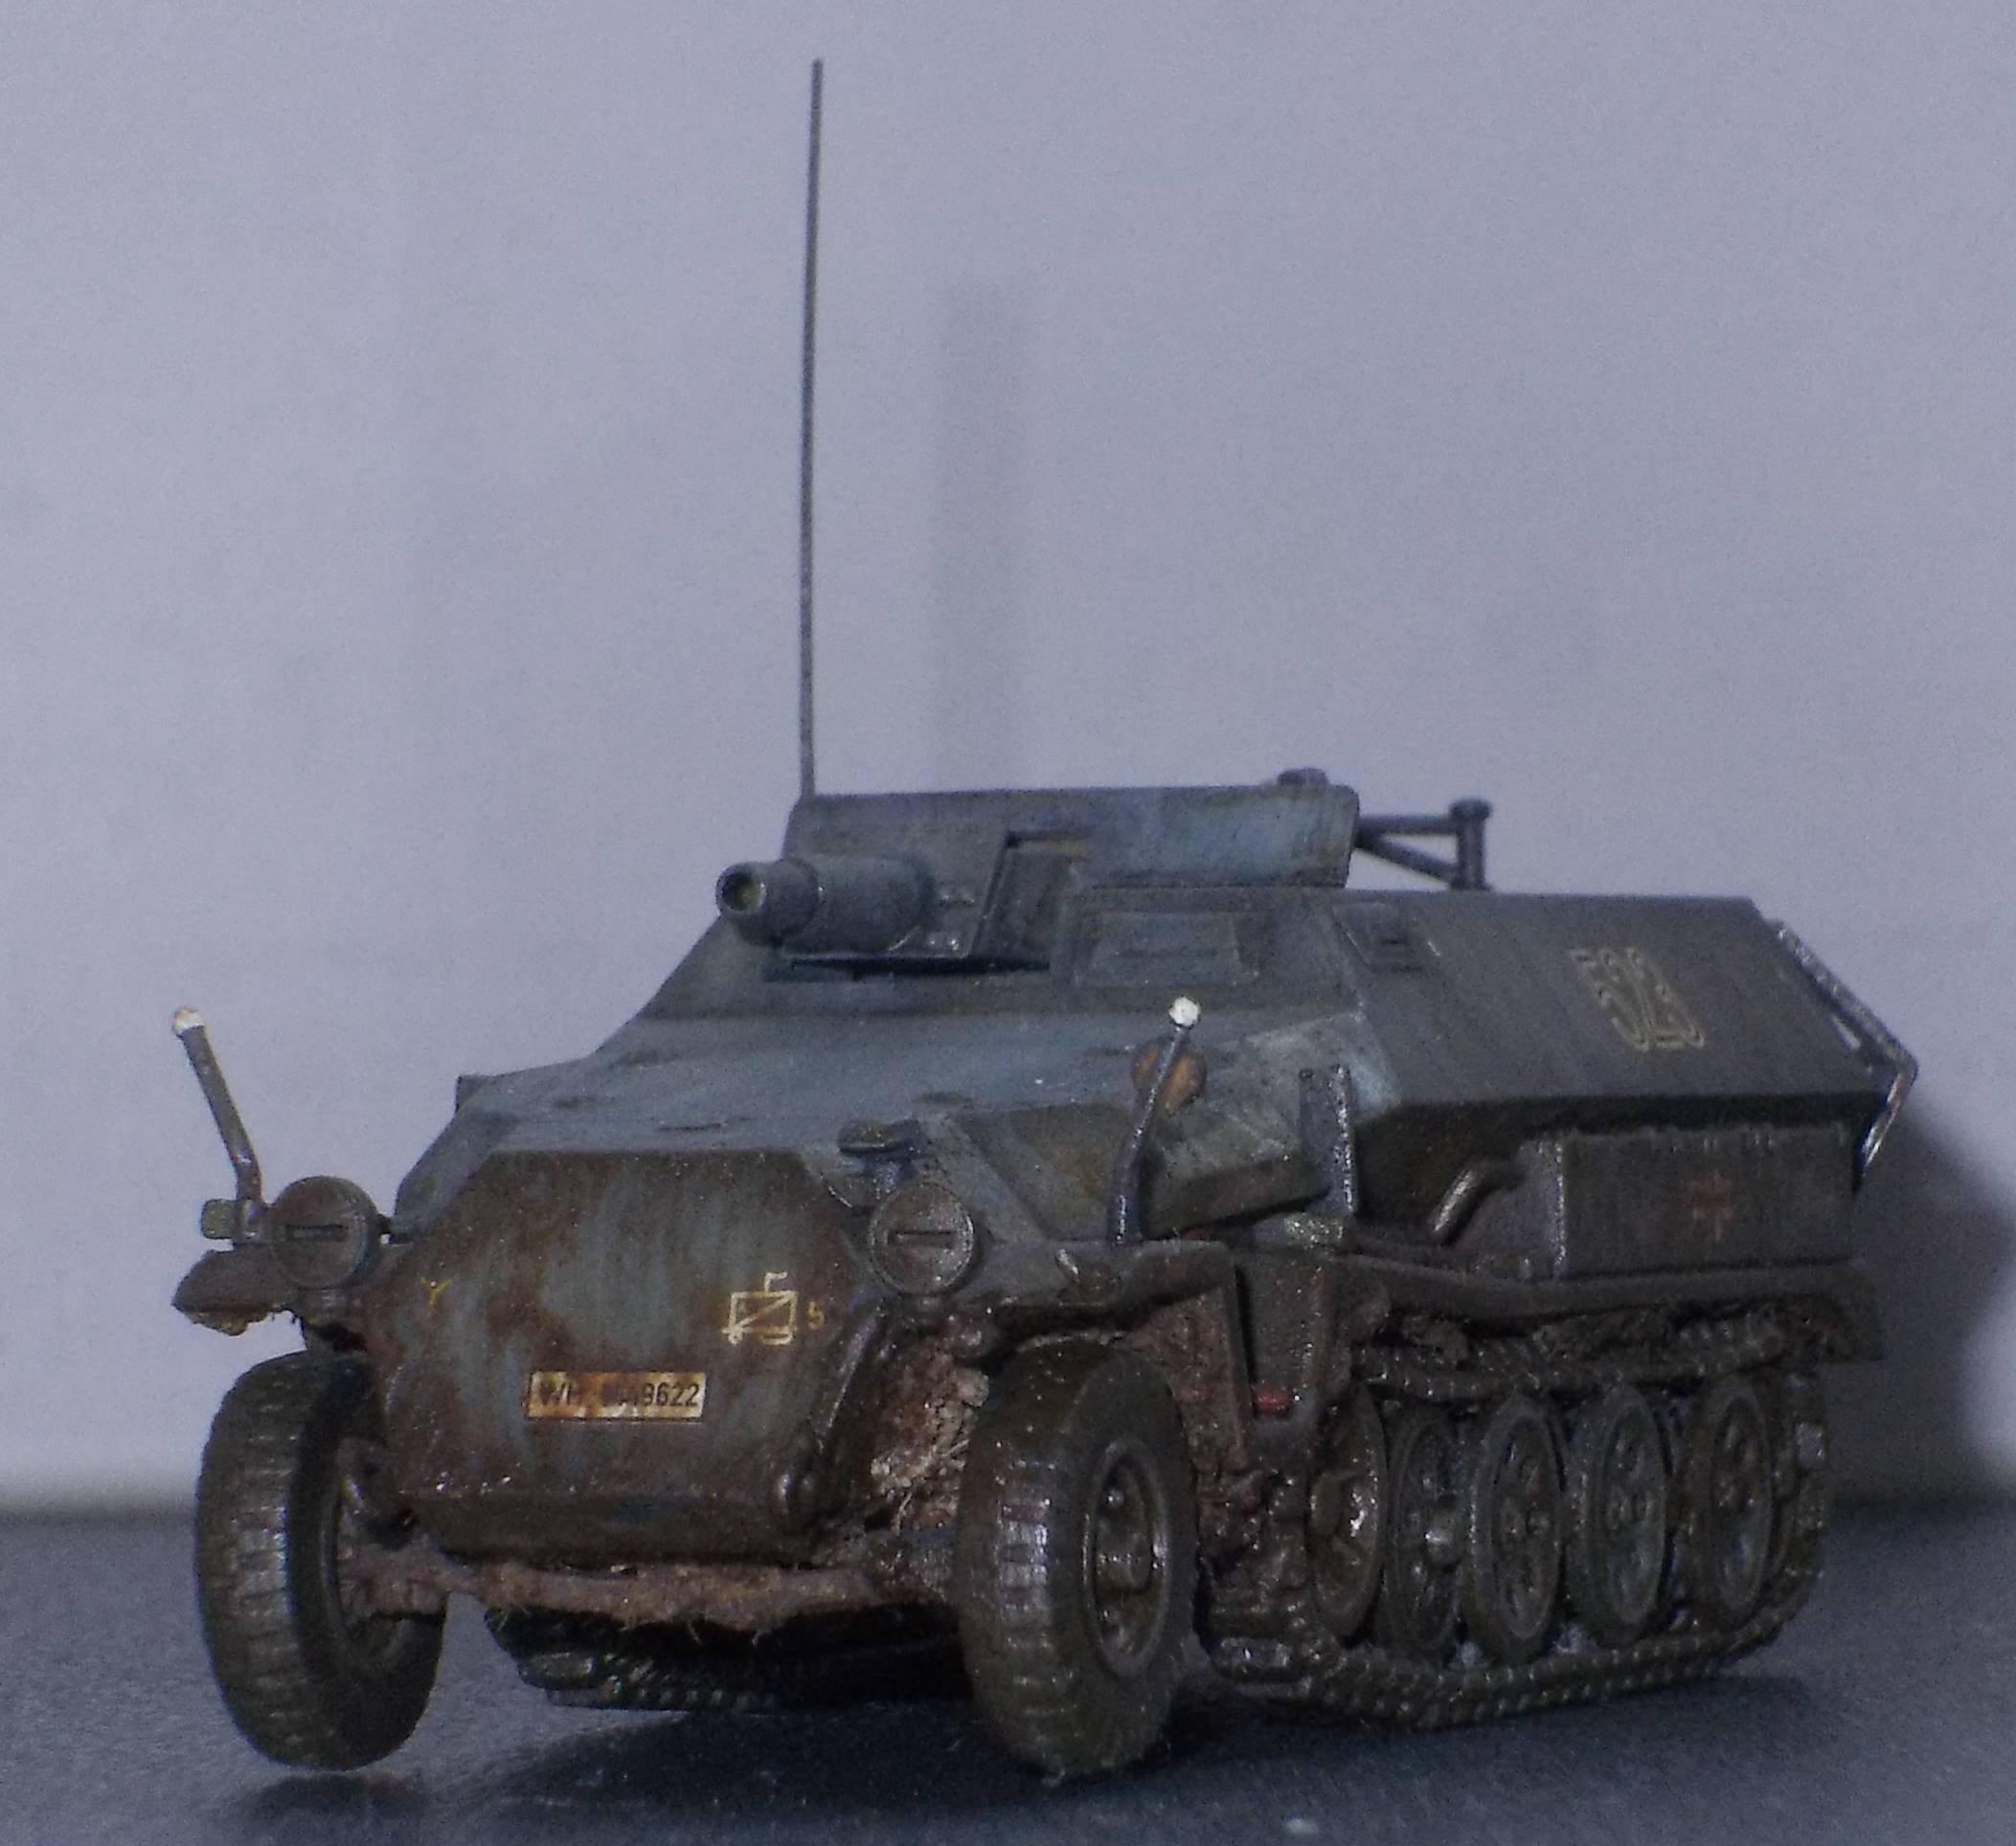
can eventually be used for 2Pz. Div.) The vehicle ended up with a liberal
coat of mud, as it would appear during the onset of the rasputitsa
in the fall of 1942. Only later on I discovered that 7th Panzer Division
wouldn't be toiling through the mud at that time as it was being refitted
in France, from May to December 1942. In January 1943 it was held
in reserve on the Eastern front and only saw action again in February
of that year.
5. References [1] Nuts and Bolts 21, Kanonenwagen Sd.Kfz.251/9 "Stummel", D. terlisten [2] Panzer Tracts 15-2 and 15-3, Sd.Kfz.251, T.L.Jentz & H.L. Doyle [3] Lexicon der Wehrmacht: http://www.lexikon-der-wehrmacht.de/Gliederungen/Panzerdivisionen/7PD.htm [4] Wikipedia: http://en.wikipedia.org/wiki/7th_Panzer_Division_(Germany) |
| Back to Revell Kit List | Back to Home Page |
Article Last Updated: 28 April 2011 |
Back to Kit Reviews |