|
Revell
|
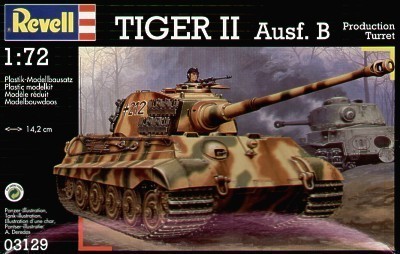
Tiger II Ausf.B Production Turret |
|||
| Kit #: 03129 | Review by Ian Cowley - cowleyi(at)internode(dot)on(dot)net | |||
|
Revell
|
Tiger II Ausf.B Production Turret |
|||
| Kit #: 03129 | Review by Ian Cowley - cowleyi(at)internode(dot)on(dot)net | |||
 |
|
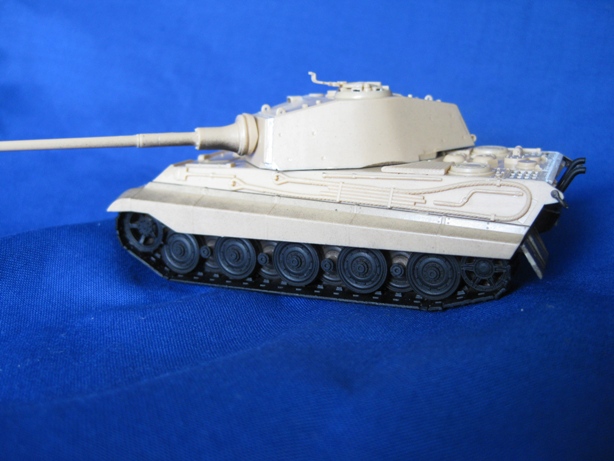
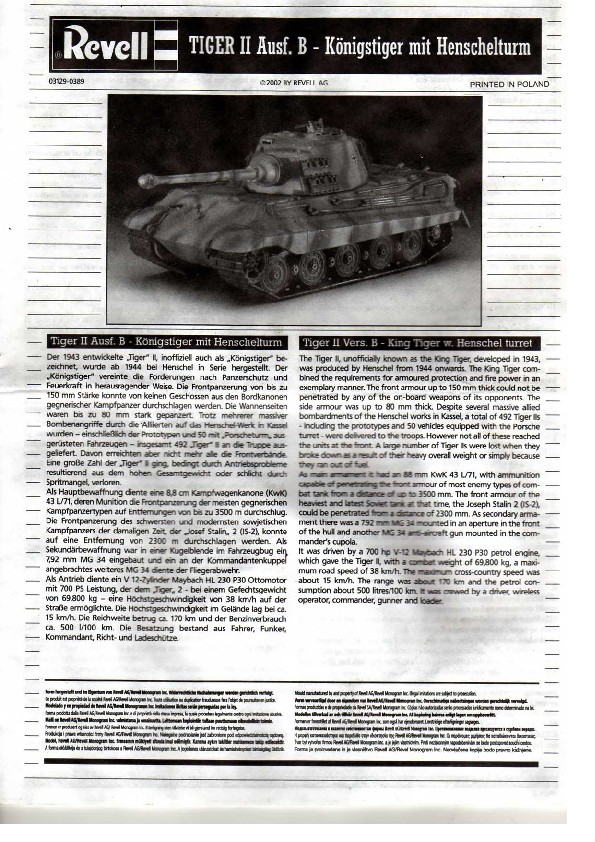
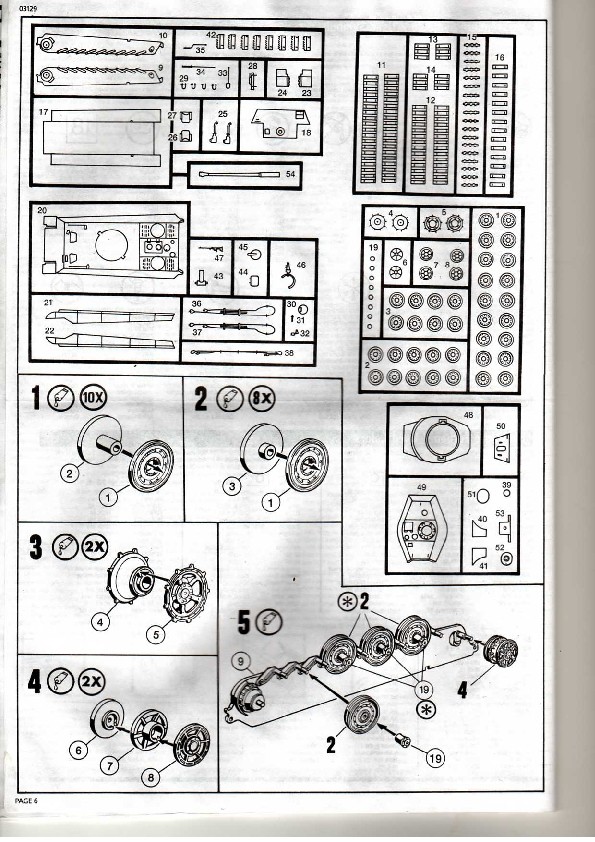
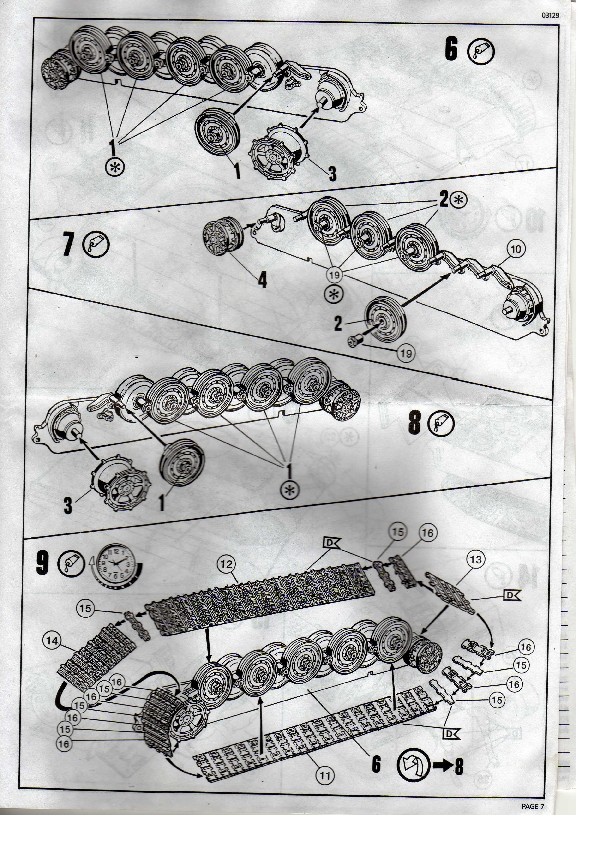
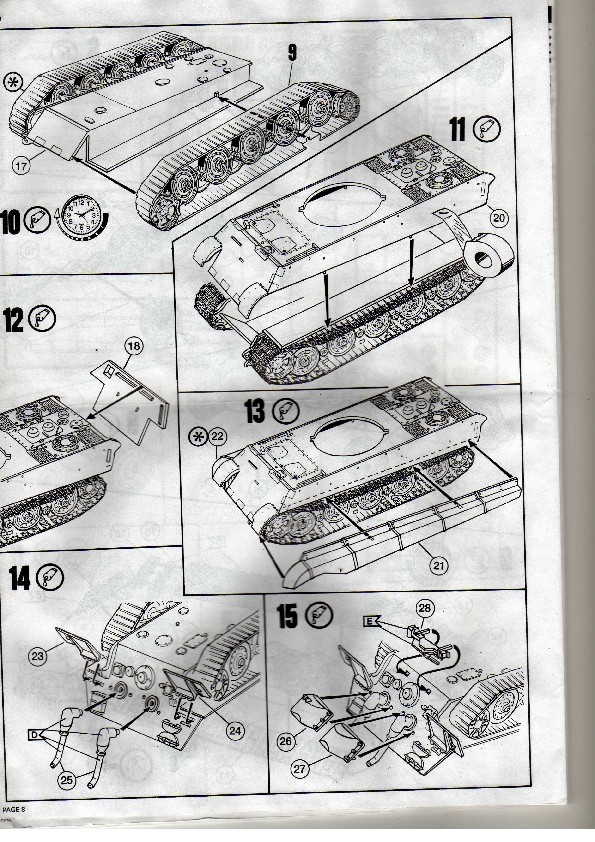
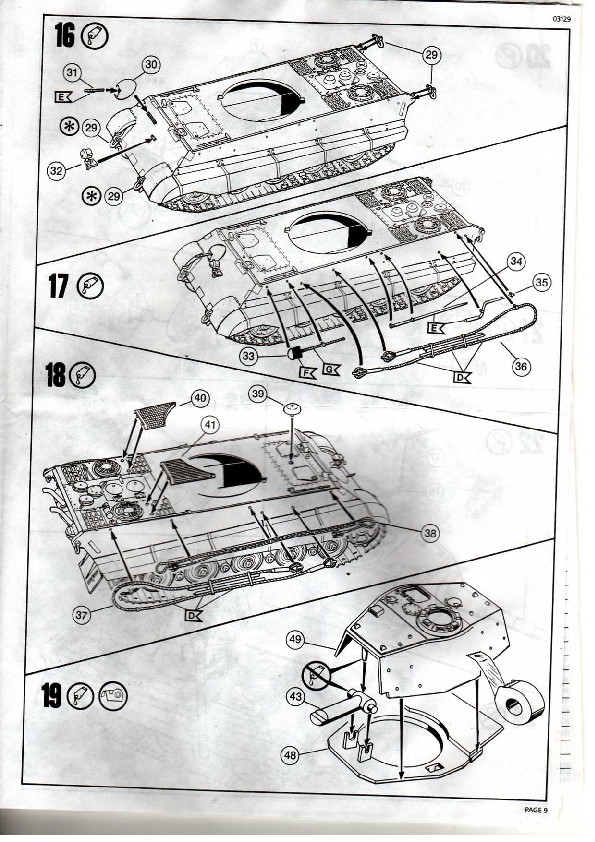
I have built one of these kits back in 2005 when I was starting to get back into the hobby. I have learnt a lot since then. So it's time to have a go at another one. This is my take on this kit, so down to business. I'll leave the history and specs of the King Tiger to the real experts. There are plenty of good info out there in cyberspace and a lot of rubbish so be selective and check that your references are from reputable sources. So what's in the box? Well we have 5 sprues of dark yellow plastic. The sprues are all well moulded with minimal flash (on the jack) and the sink marks and extractor pin marks are tolerable. A first look reveals that the kit appears to be well engineered. We will see if the appearance translates into an easy build. Construction Right, so I think I'll bend the rules a bit and build the turret first (the instructions request you start on the wheels and tracks). The only issue encountered with turret construction is that the front part of the turret that fits on to the turret proper is not quite the same size at the turret. It is slightly larger. A bit of sanding will fix that. The bottom part of the turret doesn't quite match up either but that can be filled as well. So far, all rather minor really. Be careful with the turret Ack-Ack Machine gun ring as it's pretty small and breaks easily. Be careful as well when fitting the rear hatch to the turret, there is a lot of give in the pin and if you are not careful you will glue the hatch in an offset position and not straight (like me). The gun barrel has a slight mould line down the barrel and needs to be drilled out. The line can be removed easily with the back of a blade and a small drill bit or a fine scalpel blade can be used to open the barrel aperture. Ok, now to the wheels, well, it's a King Tiger so there are lots of them. Spend a little time in cleaning up after removing the wheels from the sprue and they will look pretty good. There are a number of sink holes on the inside of the wheels but they don't need filling as they are hidden by the other half of the wheel. I personally find this rather tedious work but essential. Rest when you are not motivated or tired as it is easy to try to rush this part and it is almost guaranteed you will make an error. I have made so many mistakes when trying to rush through things. Wheels and tracks can be tough work, so go slow and steady. Wheels assembled pretty well and the fit to the main bogies is also good. We are ready to add the moulded tracks. I have left off the drive sprockets in an attempt to get the alignment right. Generally it has been difficult to get the tracks to line up completely. My fault generally in not getting everything to match and this is a learning curve so I am trying a slightly different approach, let's hope this works. The largest upper section of track will tolerate some minor bending to simulate the track weight and its appropriate sag. This will get covered up by the fenders though, so it's not essential.
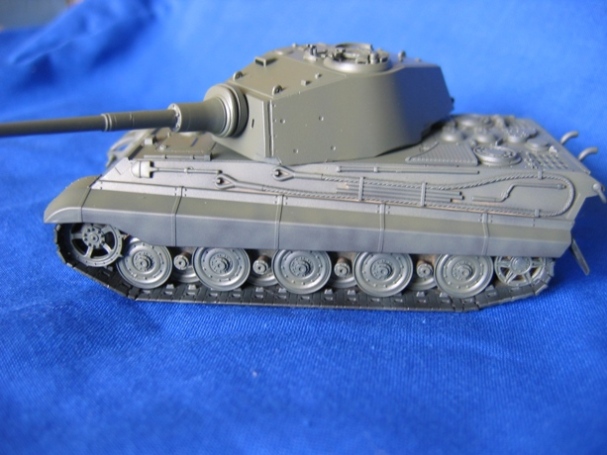
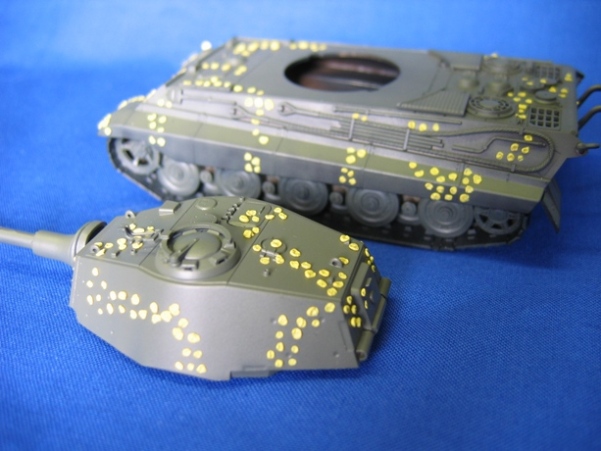
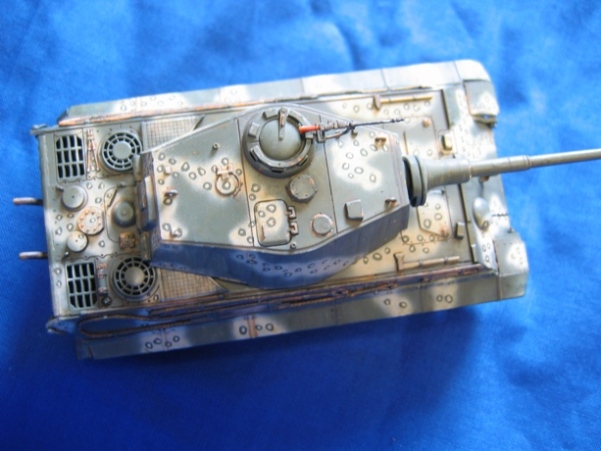
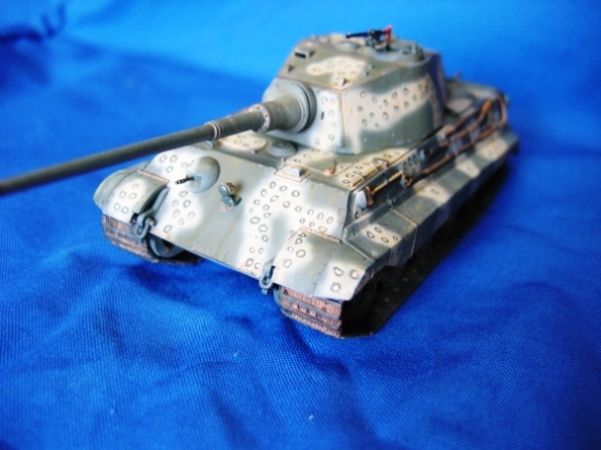
Painting and Weathering I have seen a photo of one of the last batches of King Tigers produced. Apparently the photo is of one of approximately seven or eight machines that were produced in April 1945. One tank ended up in Pz. Abt. 511 near Kassel. The camouflage is somewhat controversial with a degree of vigorous debate regarding colours. It is supposedly finished in the 'octopus' scheme - either olive green or dark green with a dark yellow. The dark yellow areas have green octopus spots giving the appearance of octopus limb suction cups. Part of the debate rages around wether this was a one off or were all the vehicles painted the same. The picture shows the tank abandoned and shod in transport tracks. I am going to give myself a little artistic licence and paint in a similar scheme with 'normal' tracks in place. Given that no other pictures of the photographed tanks siblings apparently exist I think I can get away with it. After all, this is a hobby and the kit is not being built as a historical museum piece (and anyway we don't know if any other 'octopus' camouflaged machines existed). In the absence of other evidence I'm happy to run with this 'what if' Given the state of production in April 1945, no extra tracks will be attached to the turret. OK, this is my little recipe for paint work. Firstly an overall coat of Tamiya flat black straight from the can. I'll let that dry overnight then fire up the airbrush with a light coat of green ...hmmm, which green. I'll make that decision at the workbench tomorrow I think.
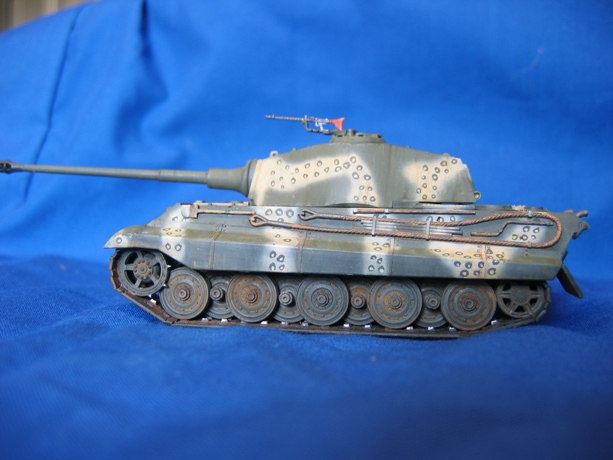
The kit was washed with a dilute solution of Naples Yellow followed by a Mig pigment Tan pre-mixed wash. Once this had dried an oil dot technique was applied utilizing raw sienna, terre verte, spectrum light green, yellow ochre and raw umber. This will need to dry for a day or two then we can think about final assembly and some weak chipping. Then it's time to add some rust to the tow cables and metal tools. An interesting observation is the speed with which tracks rust. Having worked in the construction industry it only took overnight rain to bring out quite a bright sheen of rust on heavy machinery tracks. A final wash for the running gear with ground down chalk pastel in some white spirit and then I think it's time to stop. Well what do I think? This particular Revell kit is really, really good. They are a quantum leap from the poor old Airfix kits I used to build as a child and so they should be. This is not the 60's anymore. Mould and injection technology has well and truly advanced and this kit shows it. Any errors in the kit are most likely mine and not manufacturing issues. All in all, a good kit to build that should sit well in any diorama or on the shelf.
|
| Back to Revell AG Kit List | Back to Construction Reviews |
Article Last Updated: 25 November 2009 |
Back to Home Page |