|
Material:
Resin & Photo-Etch
Quality:
Detail is a bit soft and the photo-etch is used for some surface
details. Large plugs/runners of resin need to be carefully removed
from all the parts.
Parts:
Resin (46); Photo-Etch (25).
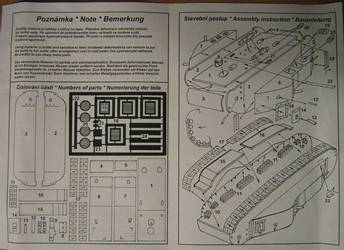
Instructions:
Exploded diagram, parts numbering and paint/decals scheme.
Packaging:
Cardboard box and heat-sealed plastic bags.
Additional:
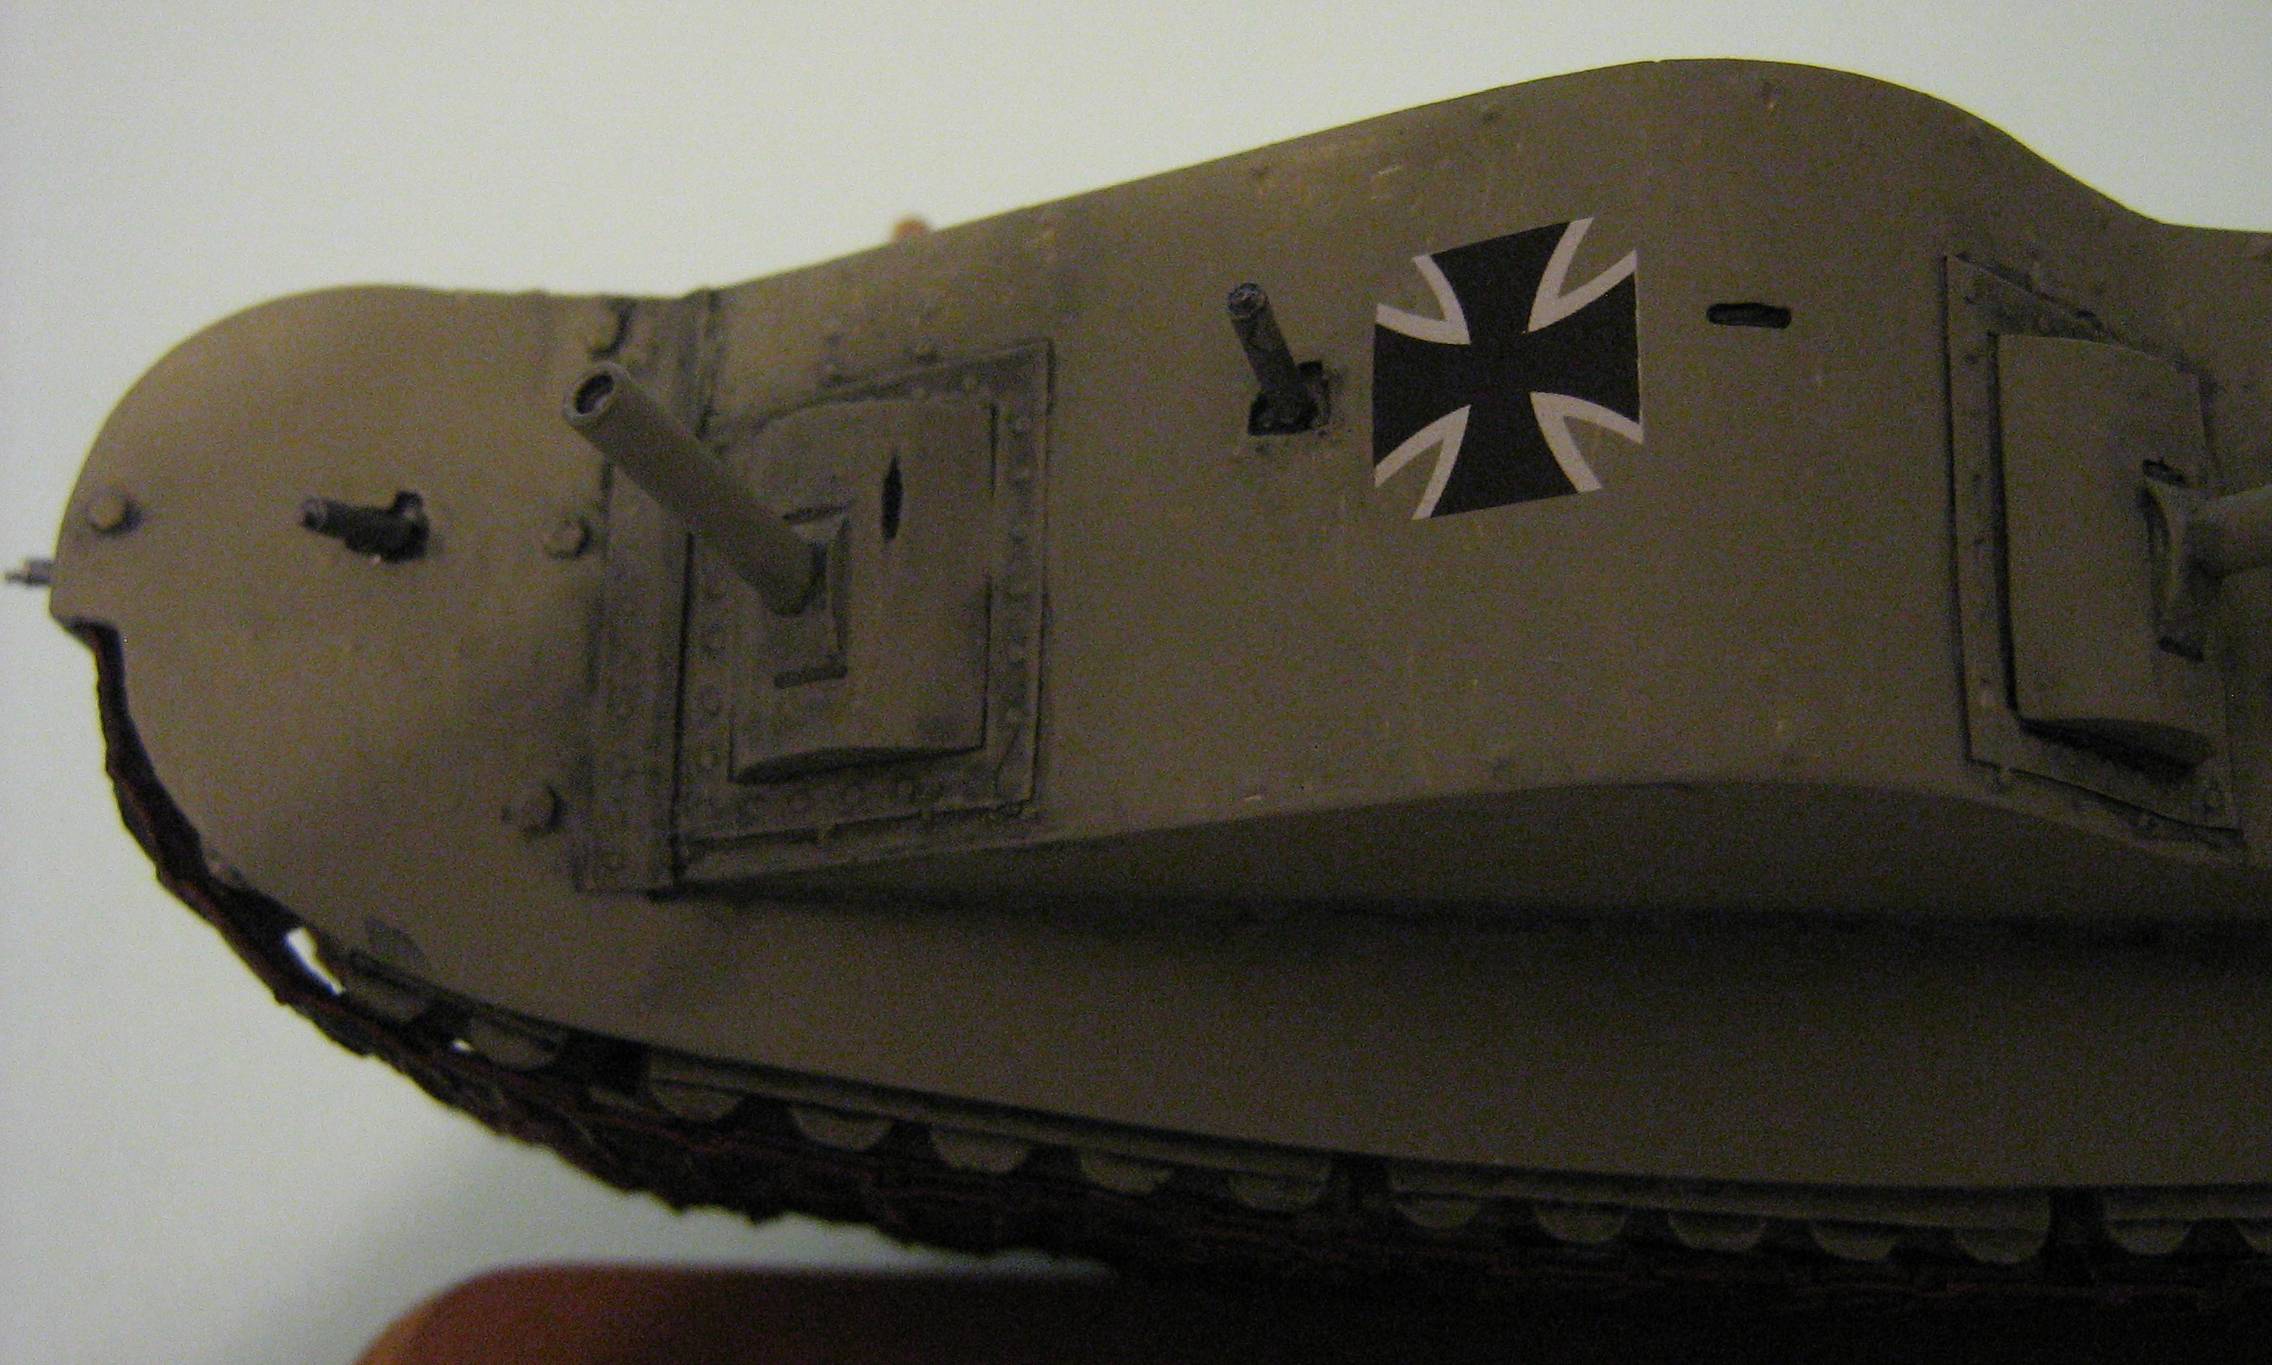
The front hull plate is lacking the following:
1. driver's vision slit,
2. front gunner's firing hole with vision slit
3. front gunner's MG.
The commander's cupola hatch is molded
shut, and there are no crew doors molded on the sponsons. The hull
bottom is a true problem. You have to carefully glue the bogies
to the inside of the hull that has a taper to it, and they are only
held on by one side. The hull bottom plate comes in 2 pieces and
is not wide enough to touch each bogie's inside. Also there are
no supports for any of these pieces, no locating holes, no tabs,
nothing, only a very finely scratched line to help align the bogies.
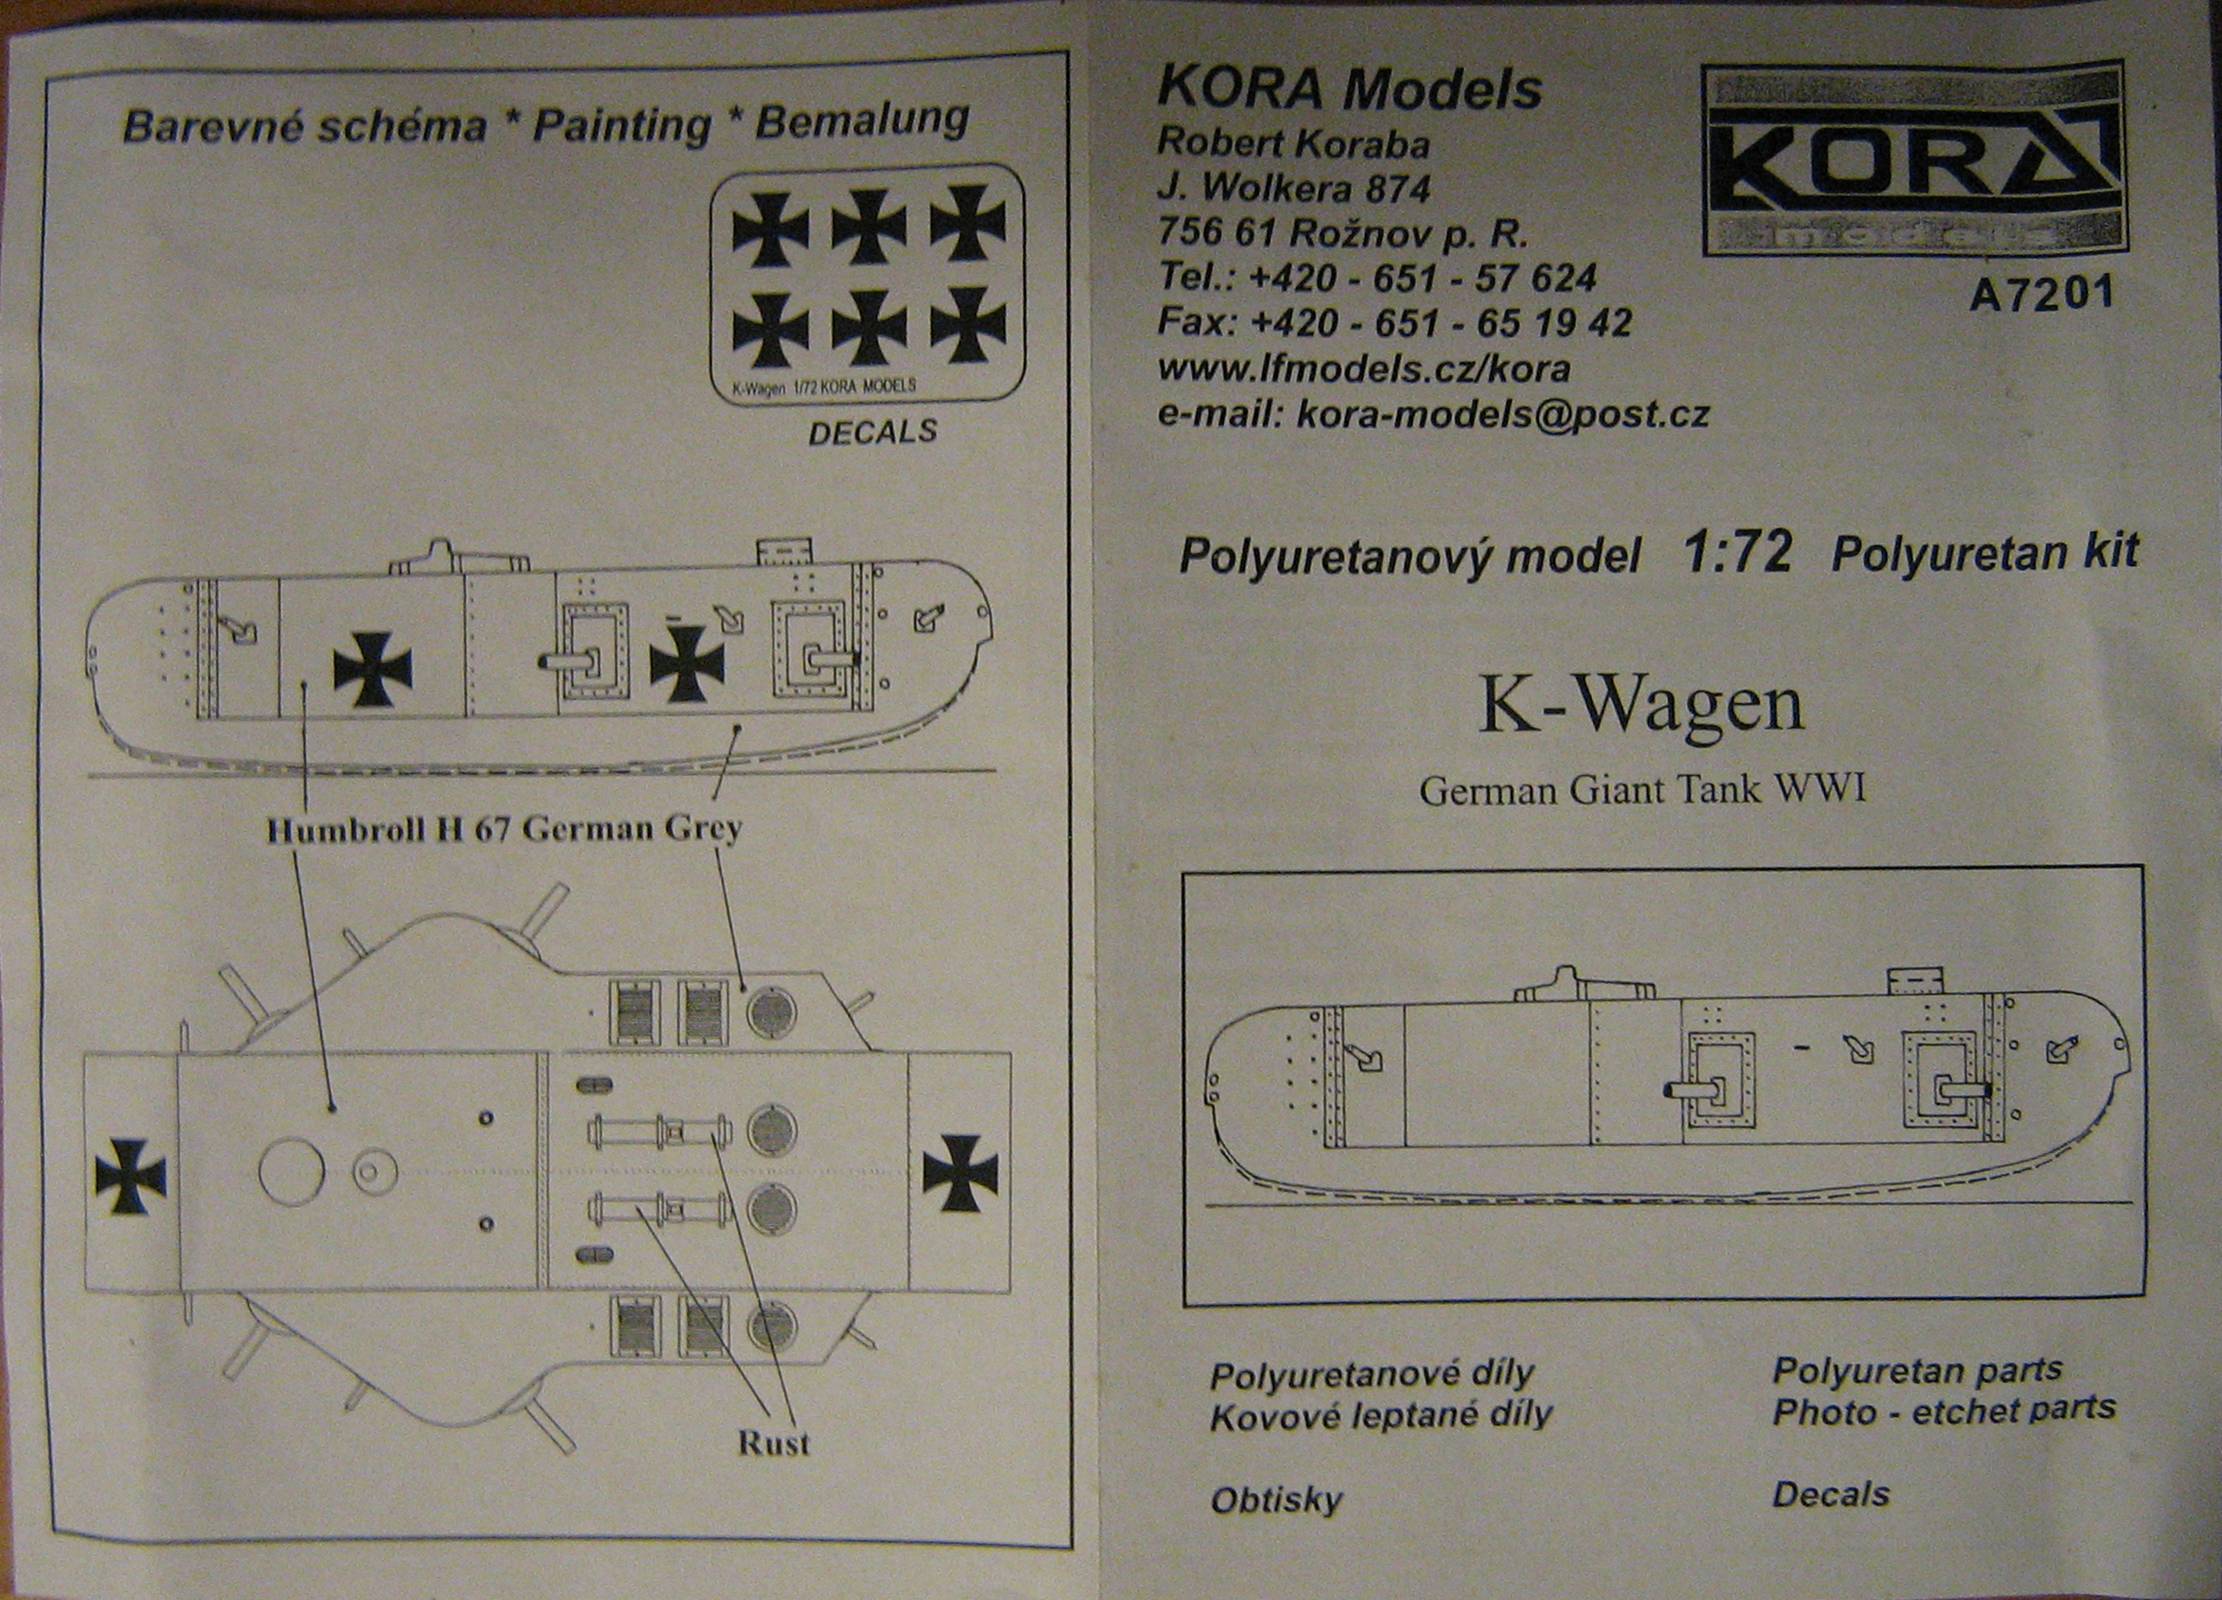
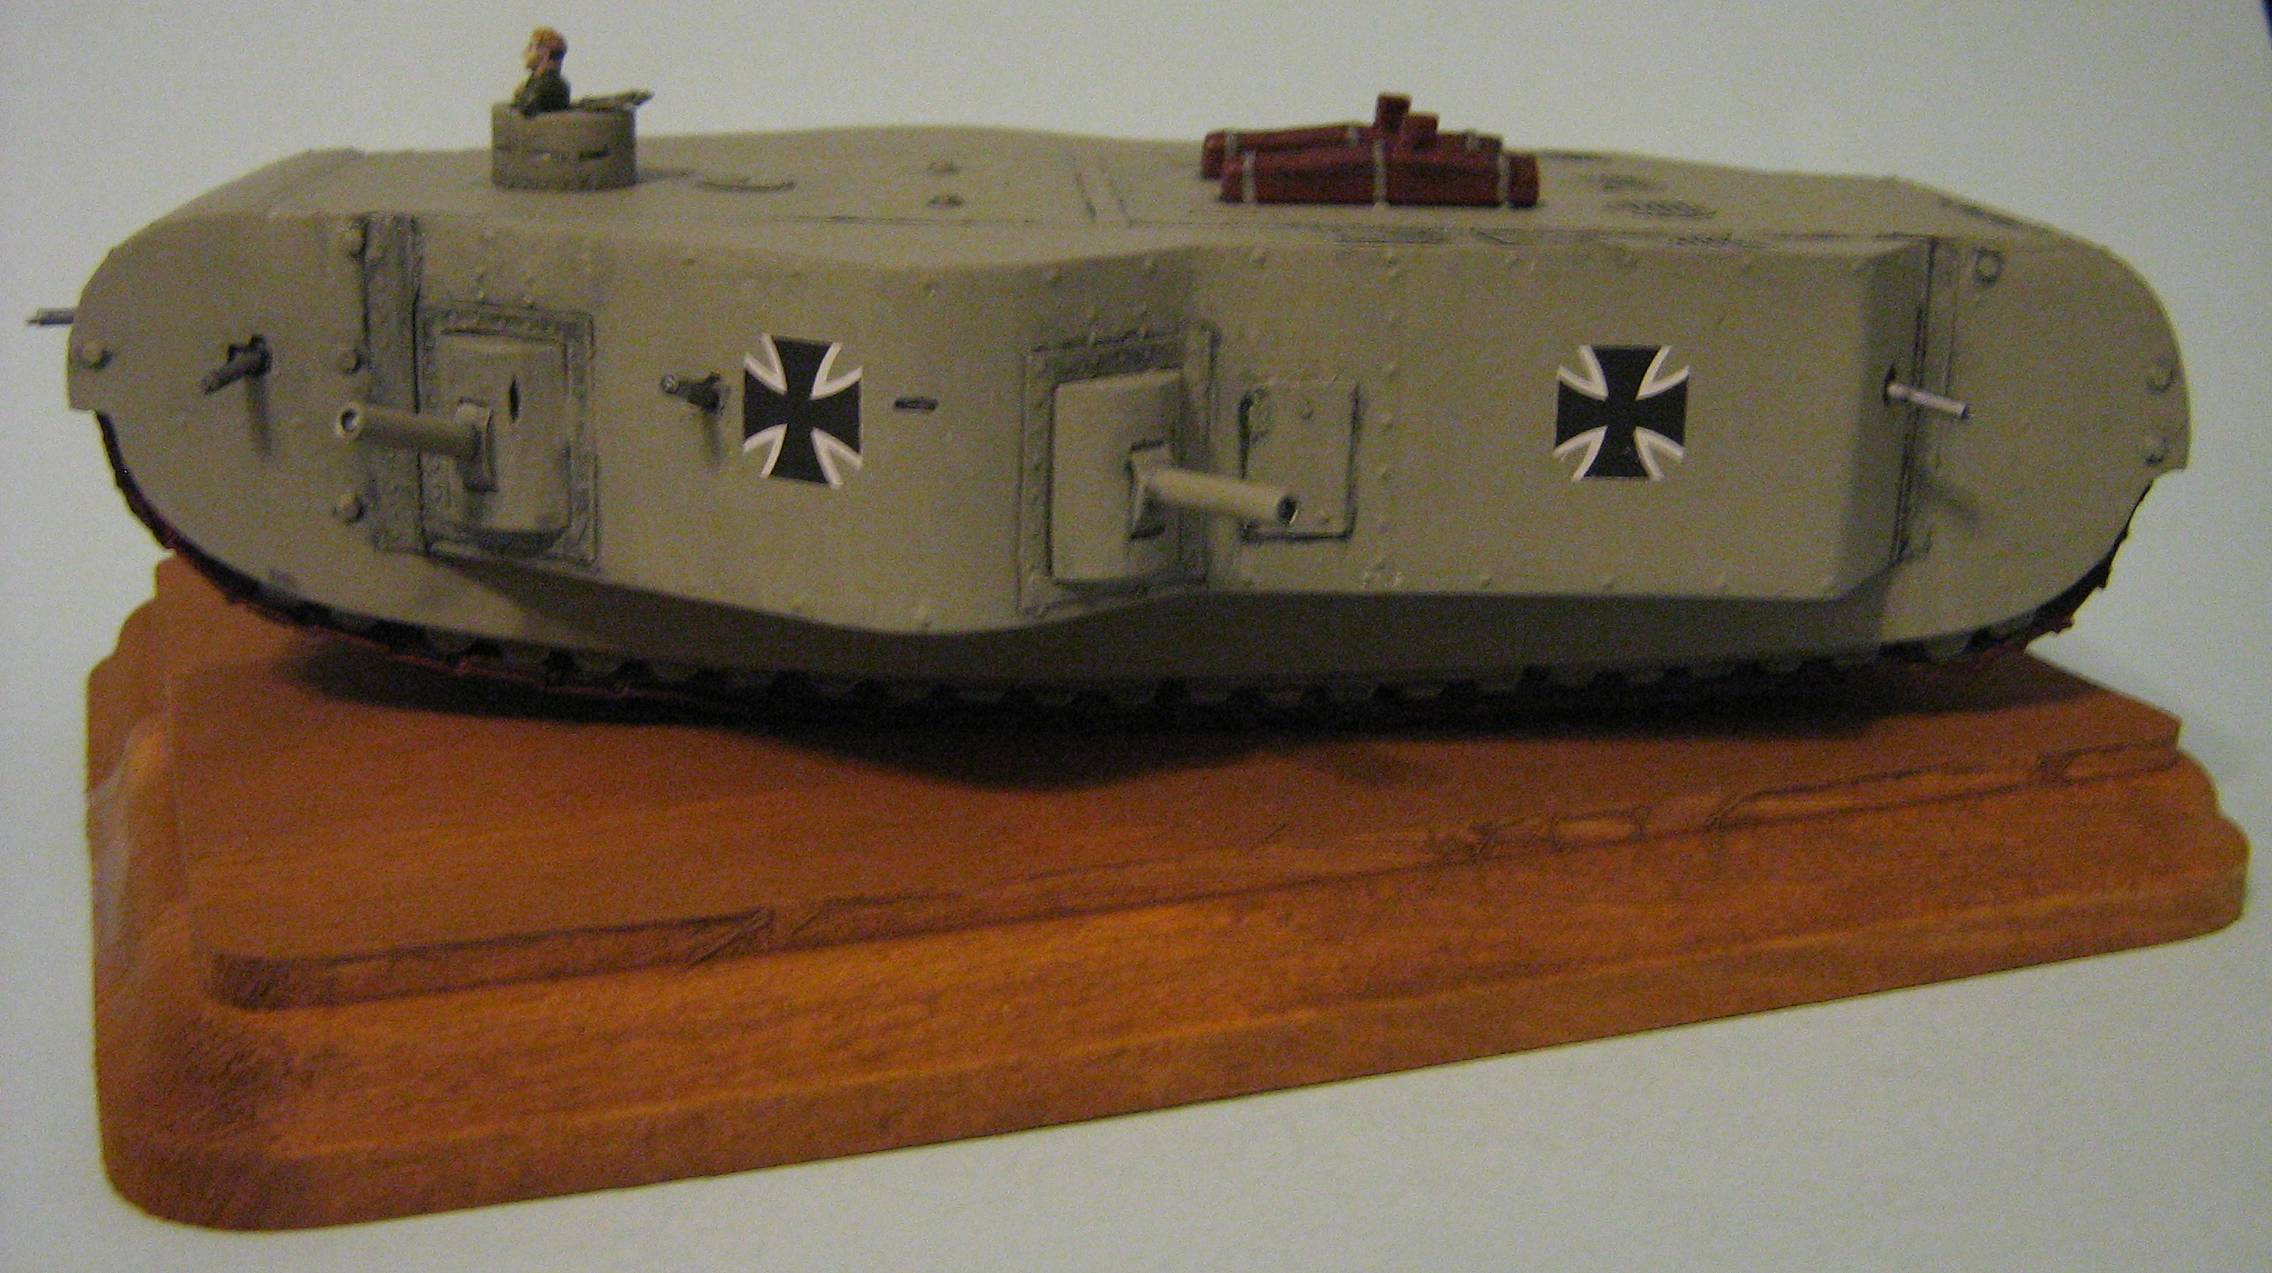
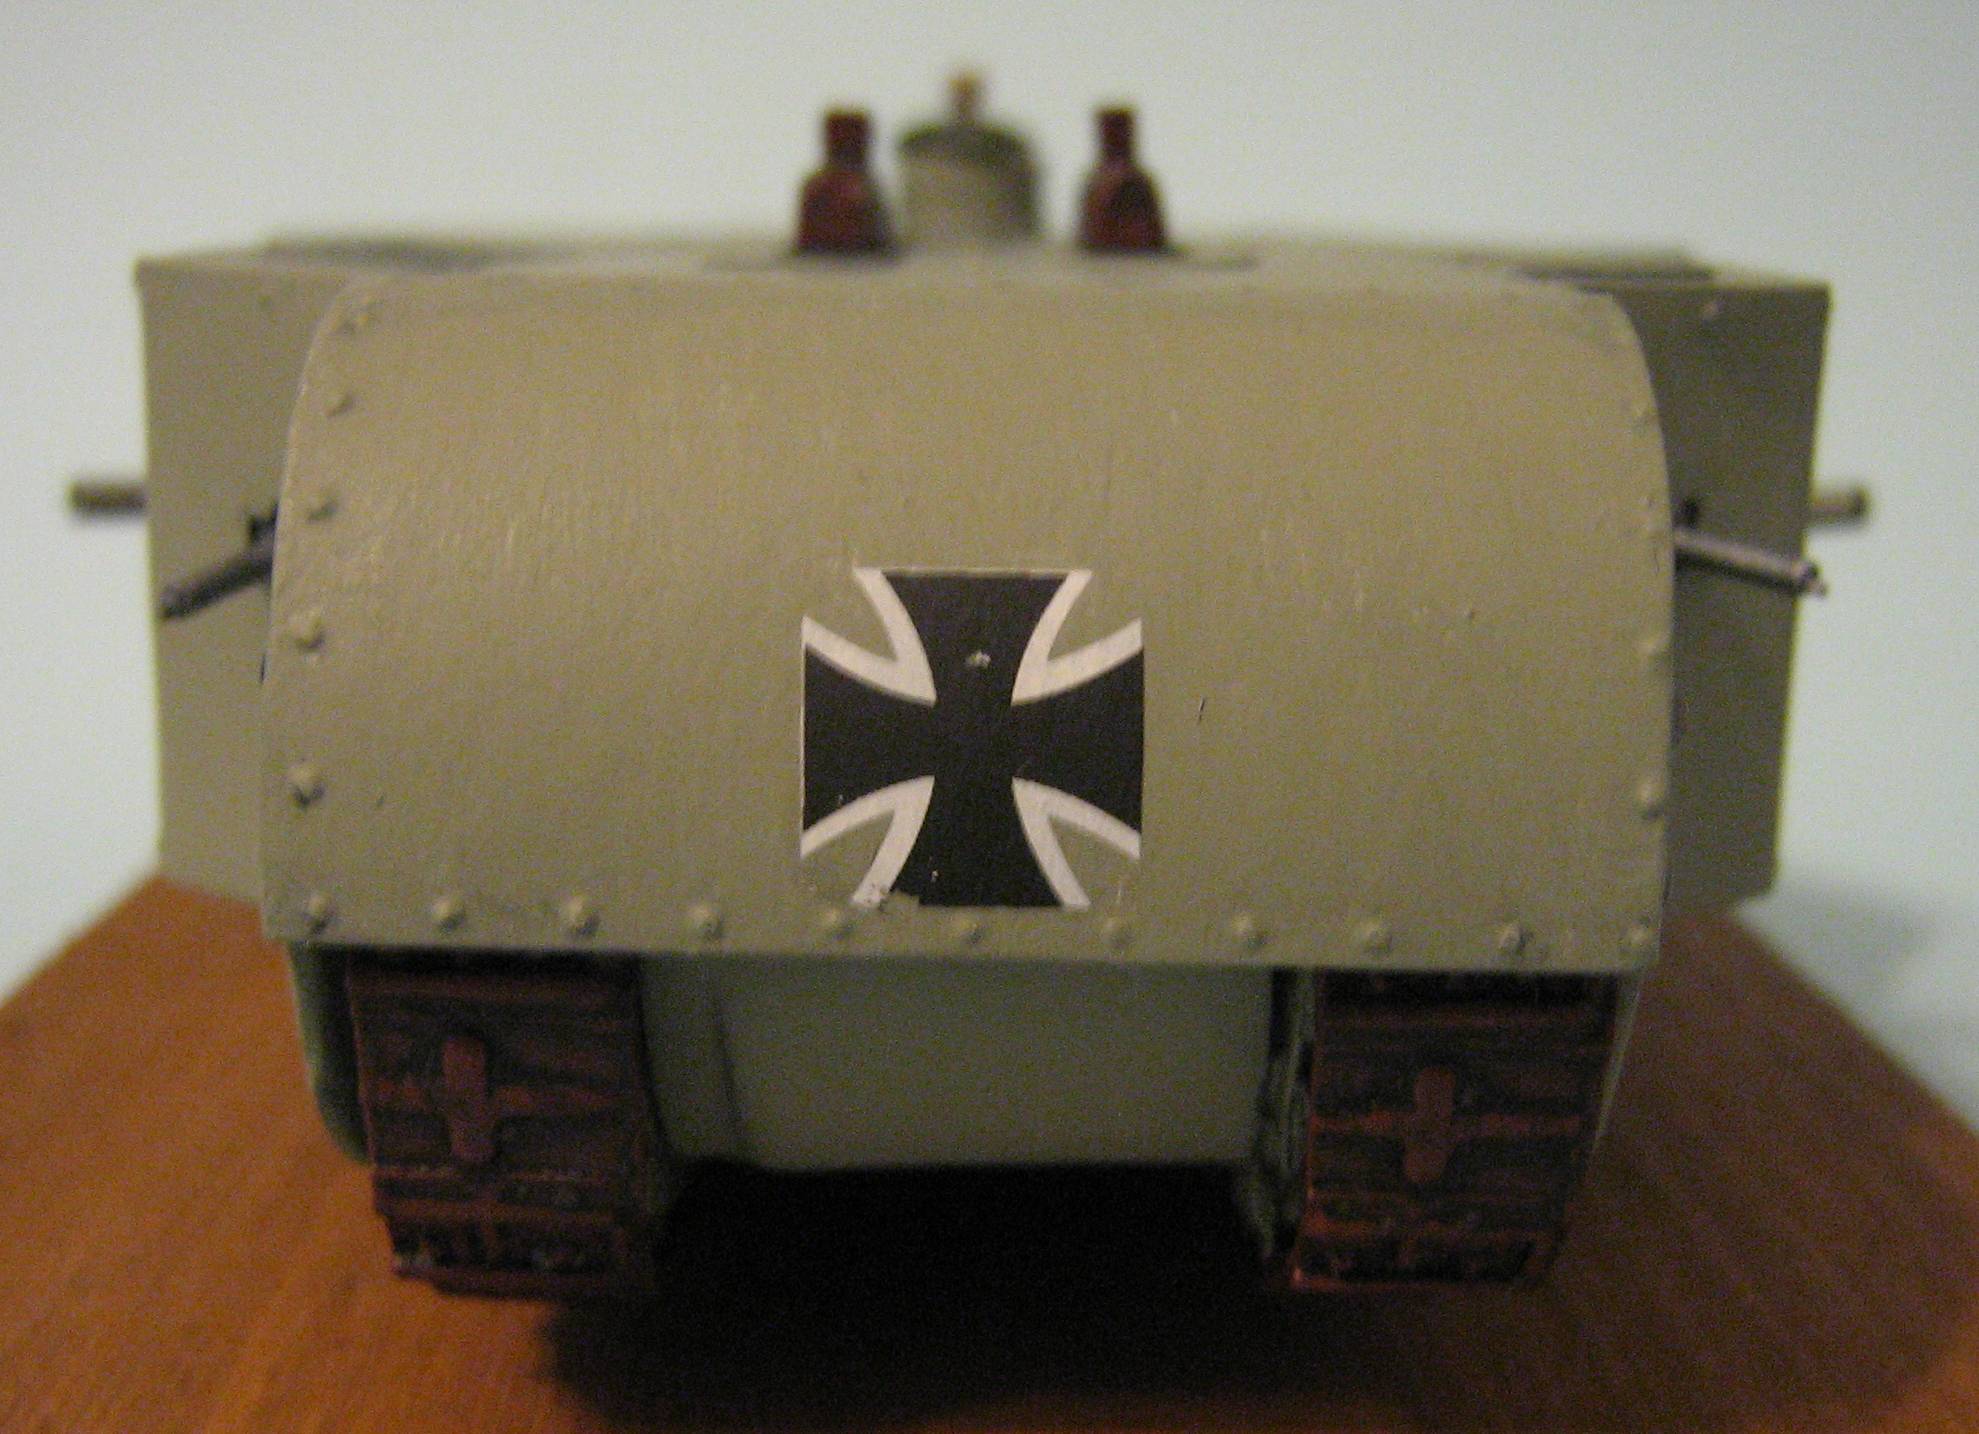
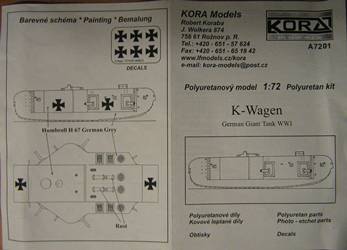
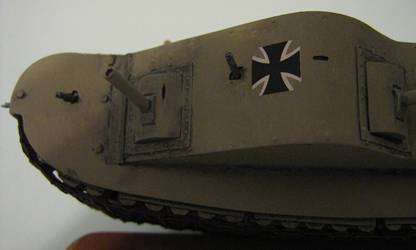
Decals are included, but since the K-Wagen was a 'late war' panzer,
the Germans were beginning to use the "Balken" Cross on
their tanks in 1918, so the "Maltese Cross" is probably
wrong for this. The color scheme is also incorrect. There is no
verification that the Germans were using this shade of gray in WW1.
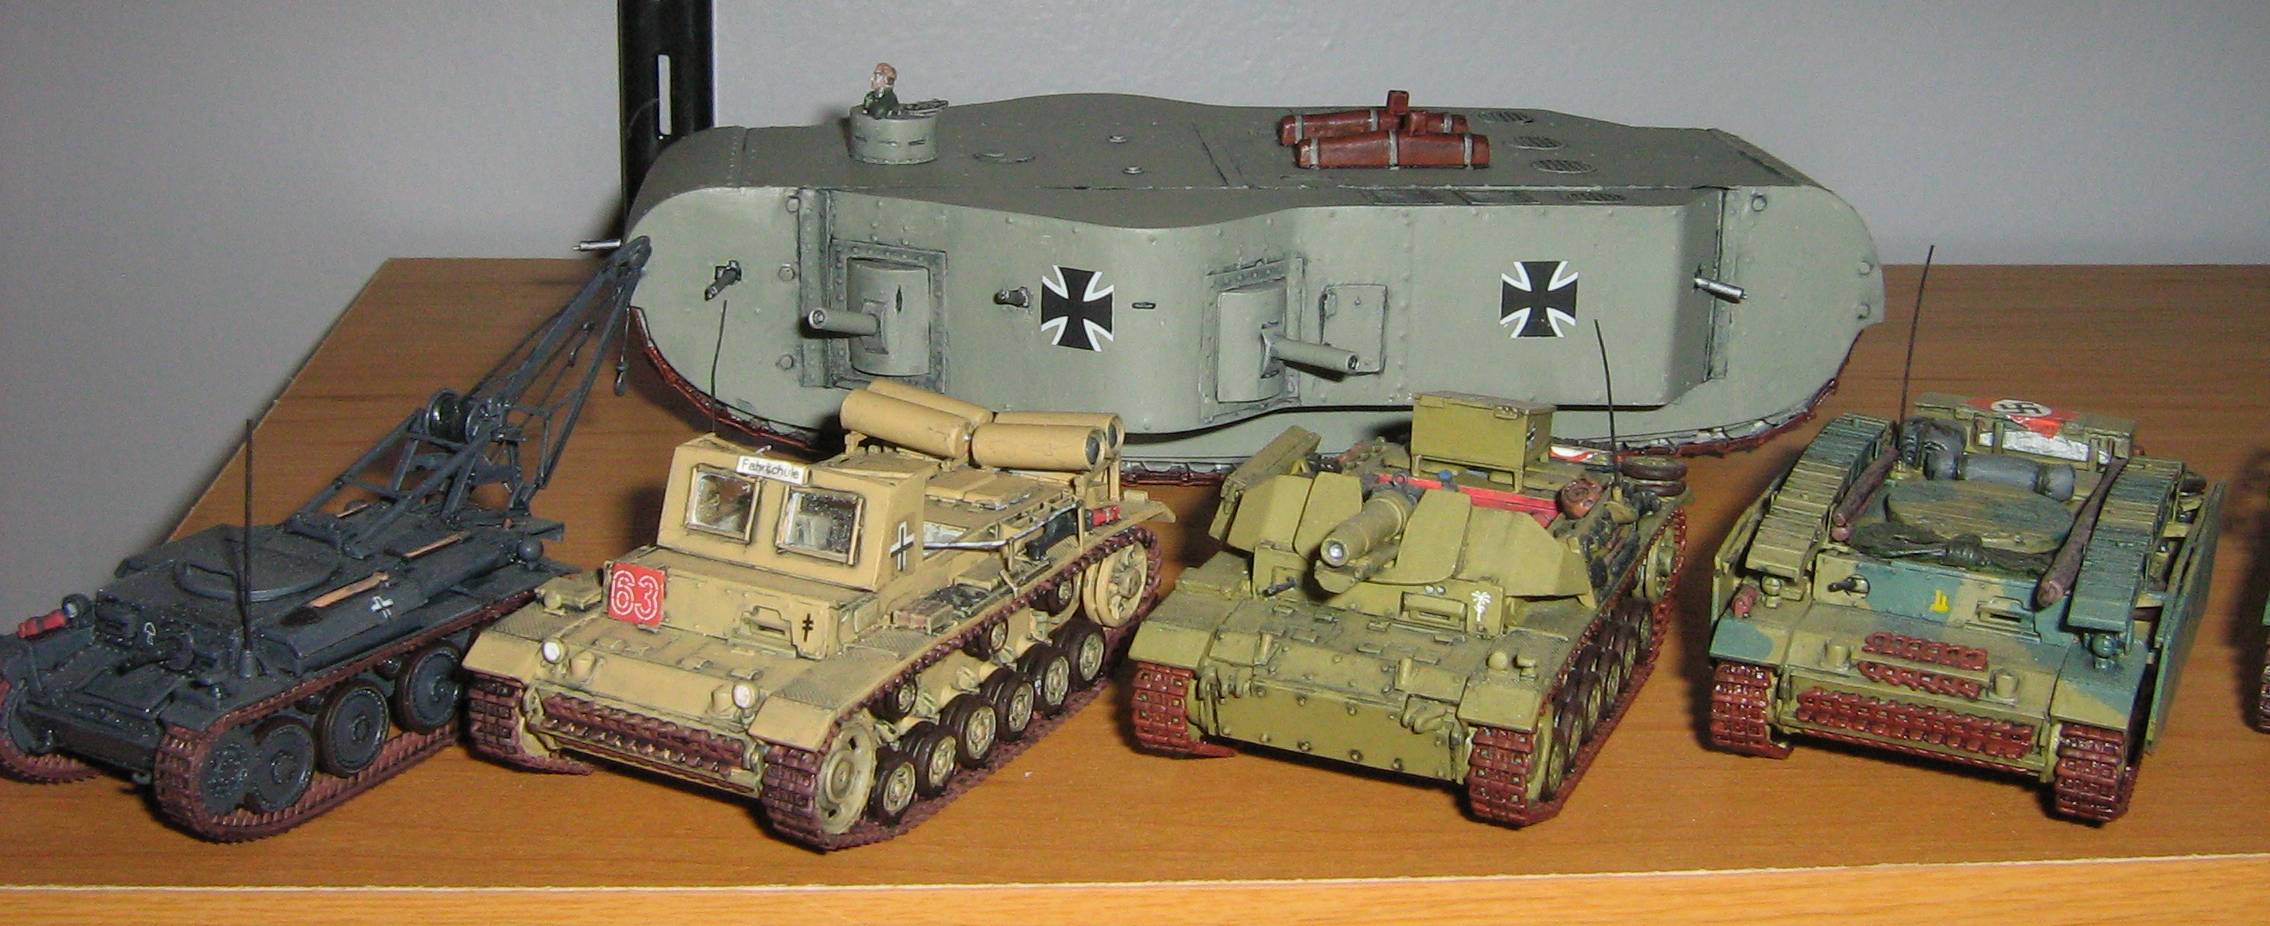
This is the first kit of the German
WW1 K-Wagen in any scale.
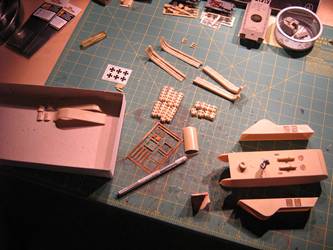
BUILD
I am excited to have this resin kit in my arsenal. However, it is
not for beginners! You need a lot of time for sawing and sanding
the resin plugs and runners from the kit pieces. In addition, I
advise many, many dry-fit runs before gluing it together. I hope
that my photos and notes will help someone to avoid the same mistakes
that I made with this kit. In the end, I am sure we will enjoy the
resulting K-Wagen!
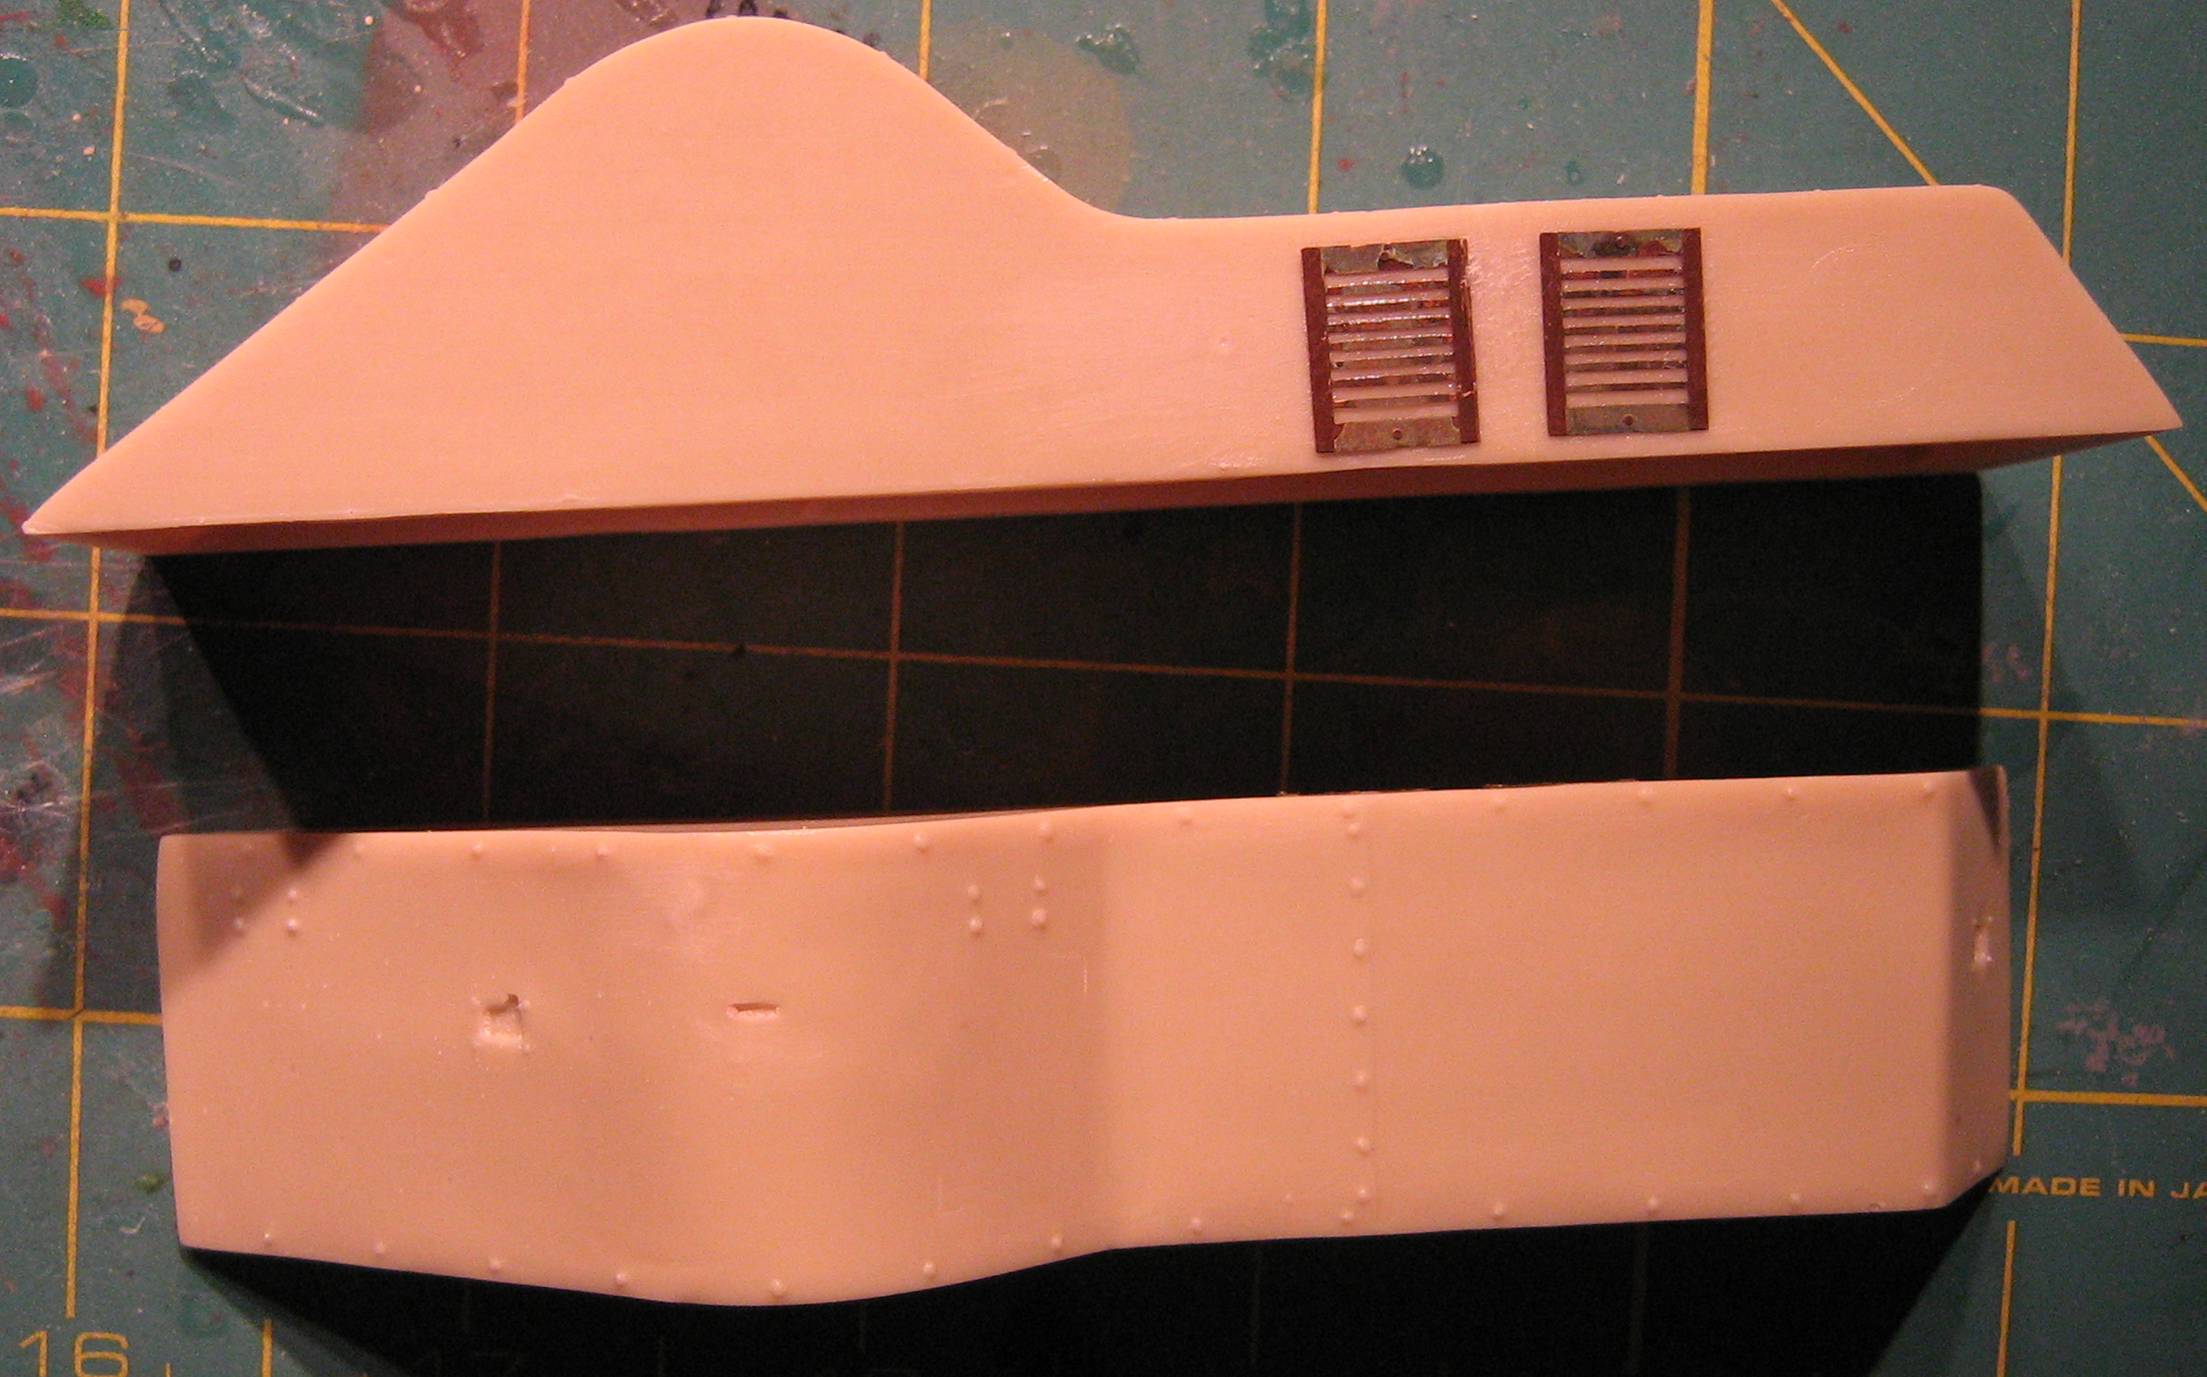
Sub-Assembly 1: Sponsons
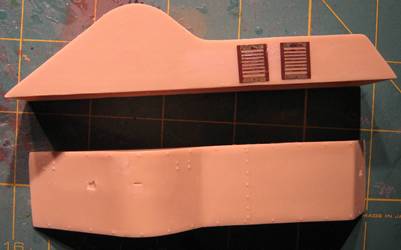
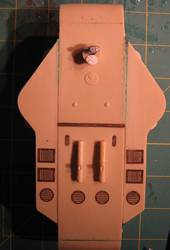
Above Photo: these are the left and right sponsons which
hold the armament (cannon and MG as well as the gunners, ammo, etc).
As you can see there are no doors to get into the sponsons! You
will have to scratch build the doors.
Each sponson has a dimple on the top just forward of where the PE
vents go. I saw no reason for the dimples, so I filled them in.
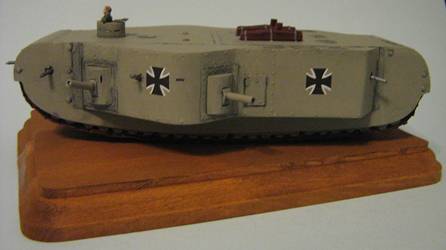
Above Photo: (finished model) I have scratch built doors for
each sponson .
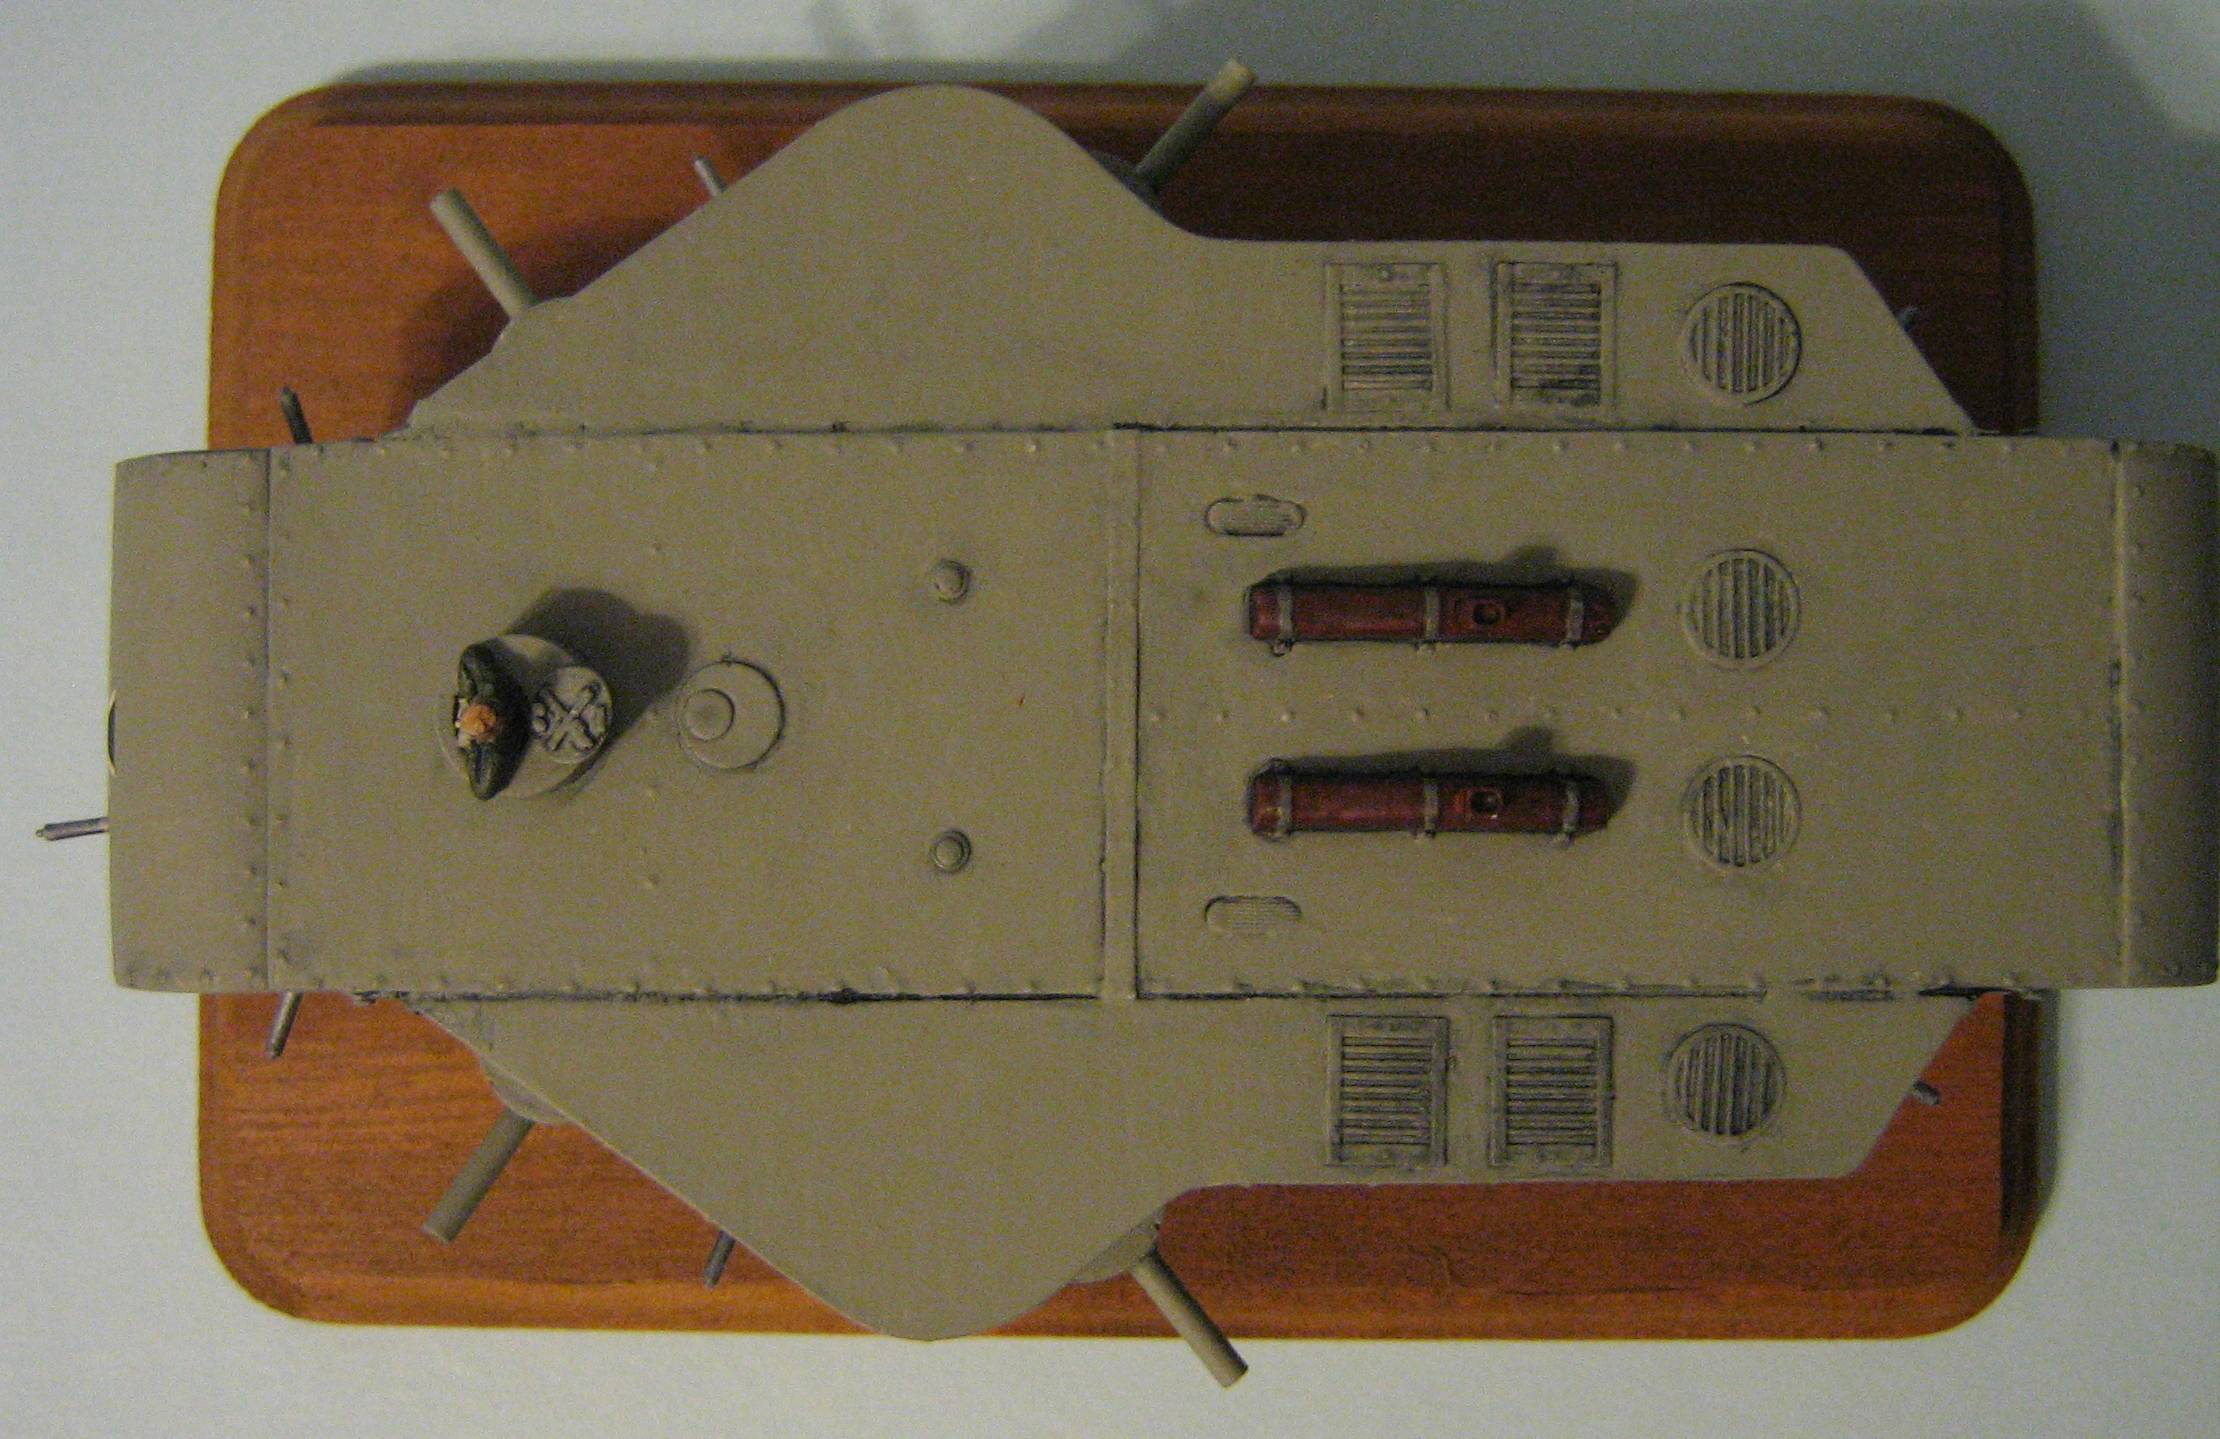
Sub-Assembly 2: Hull / Sponsons
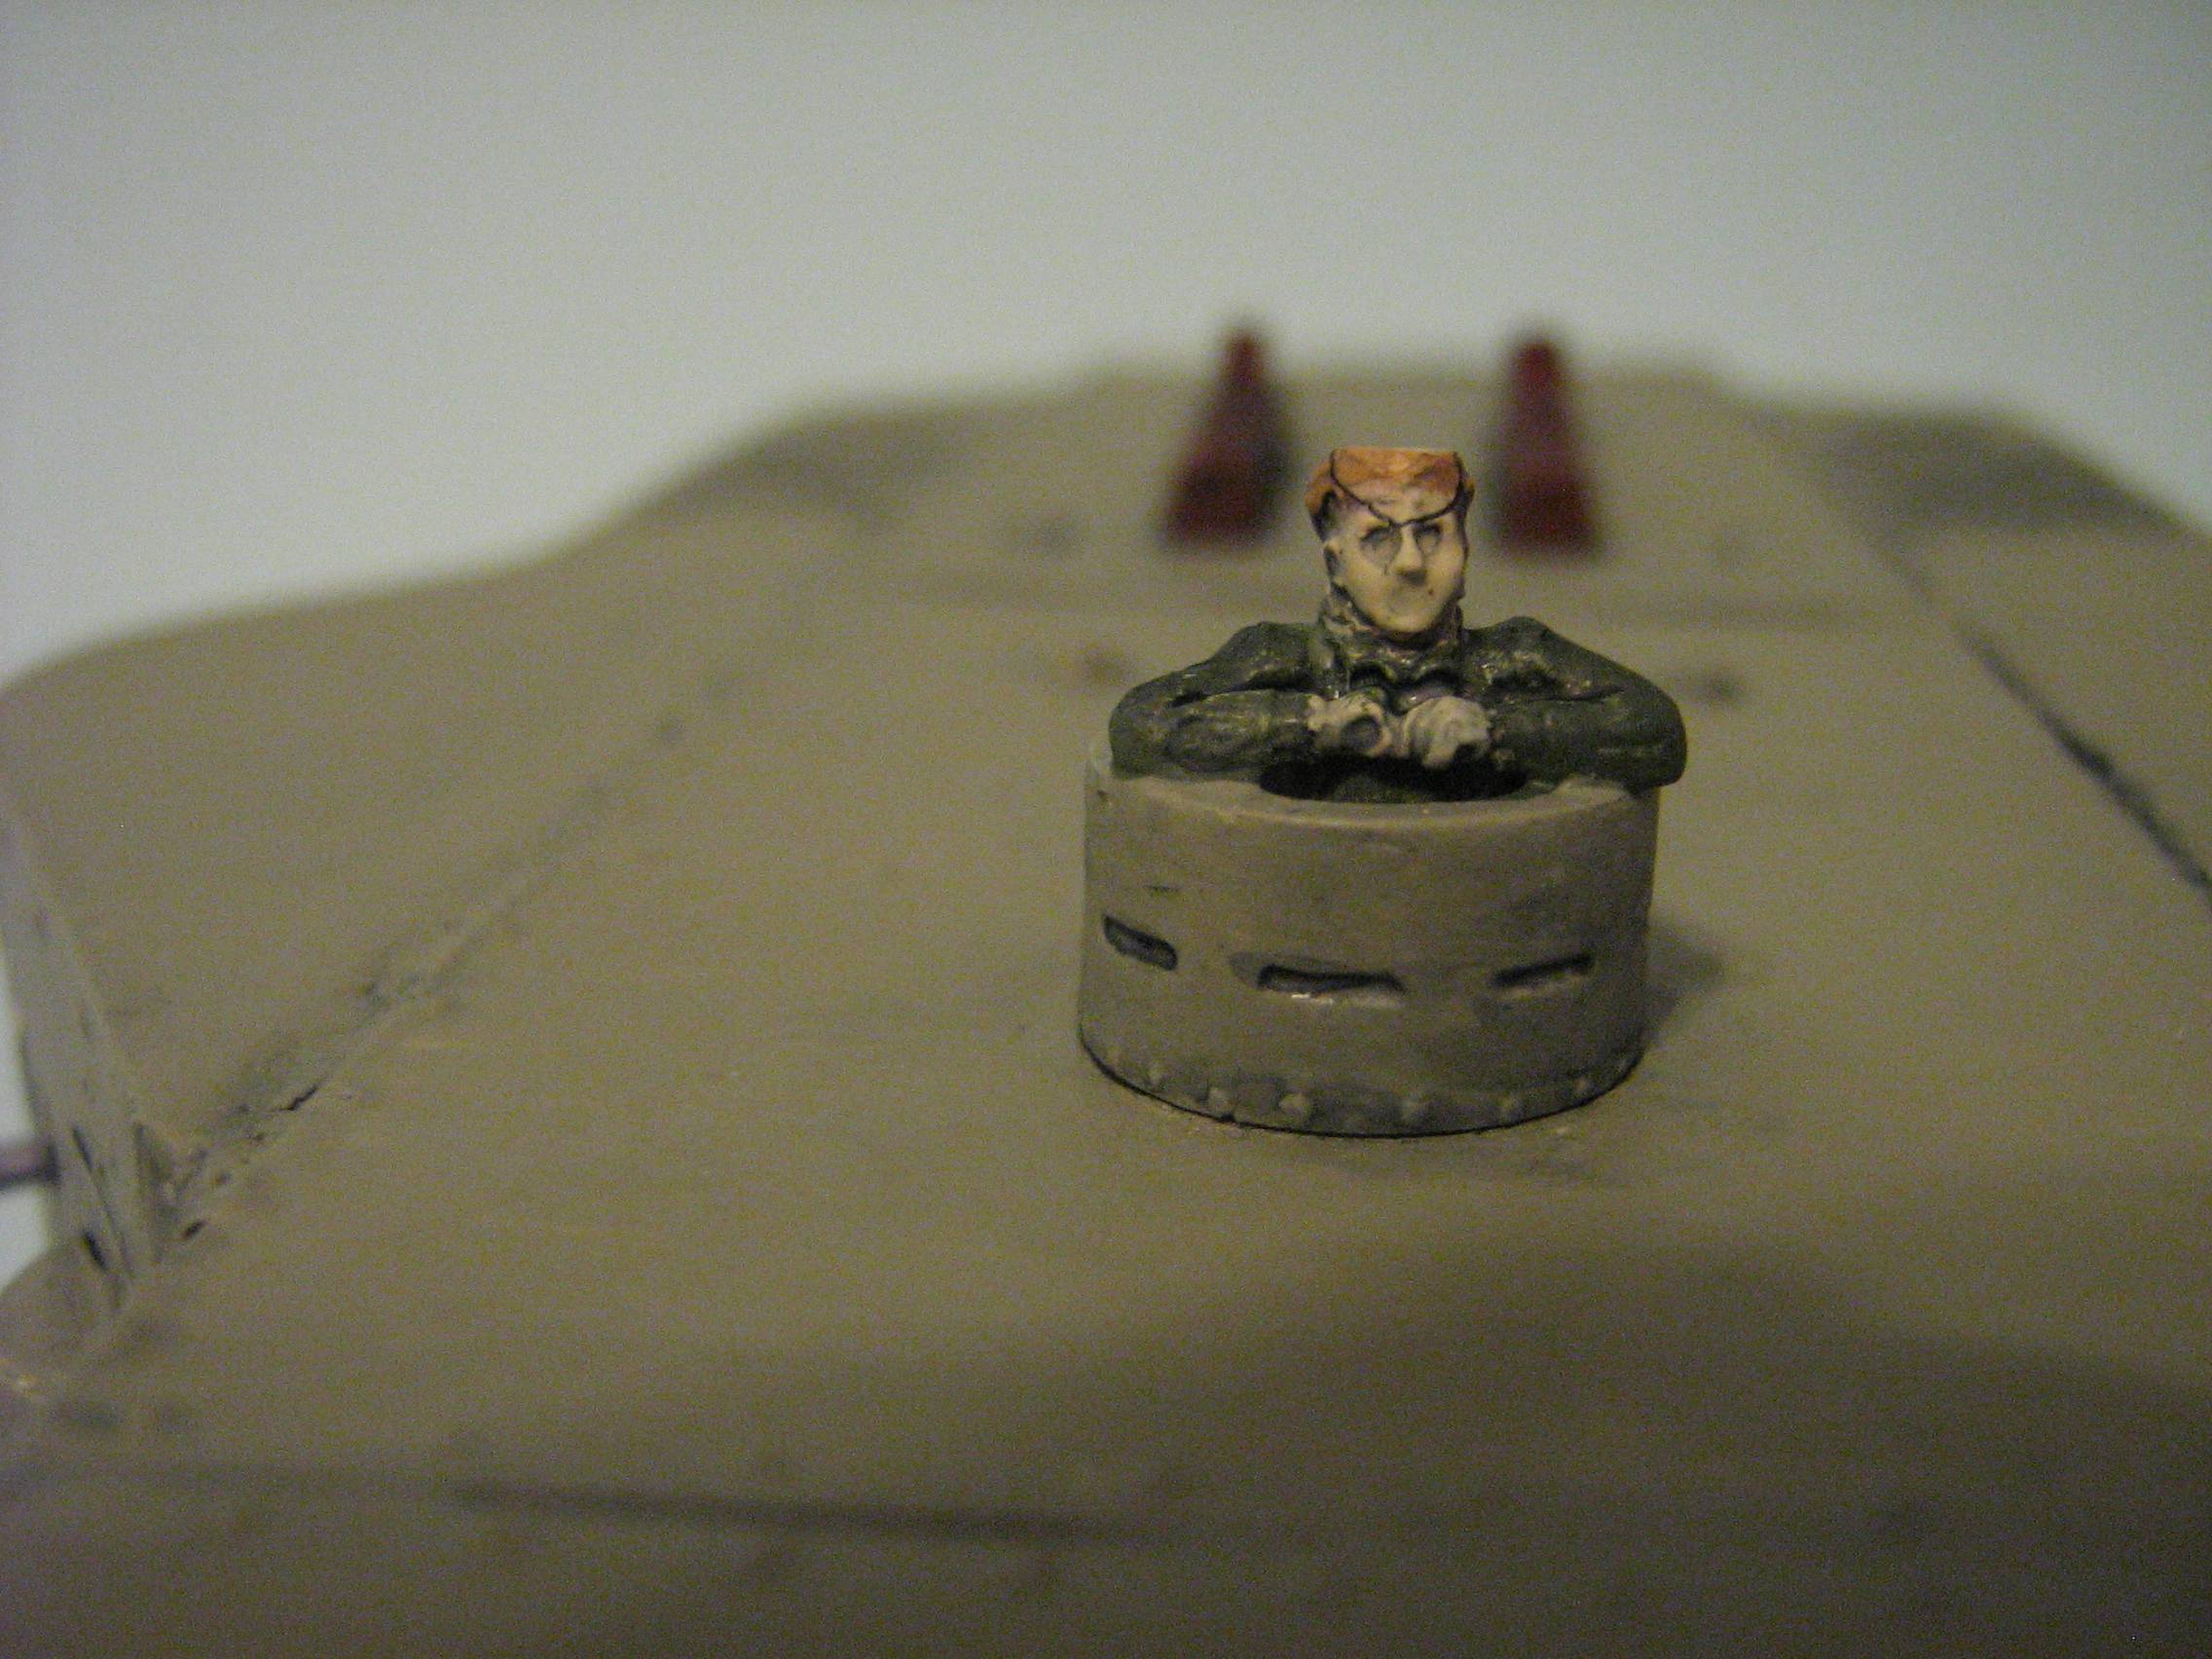
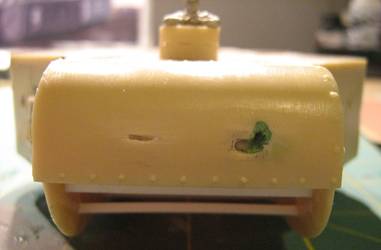
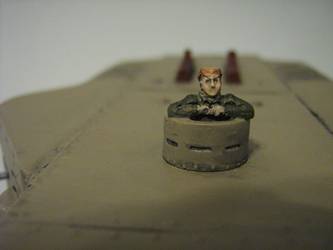
Left Photo: I wanted to open
up the cupola to place a half-figure into it to help show the vehicle's
size. I used my Dremel tool and a router to bore the hole into the
cupola (this will later receive a half-figure). I added the photo-etch
details pieces, exhausts and cupola to the hull top and glued the
hull sides on at this time.
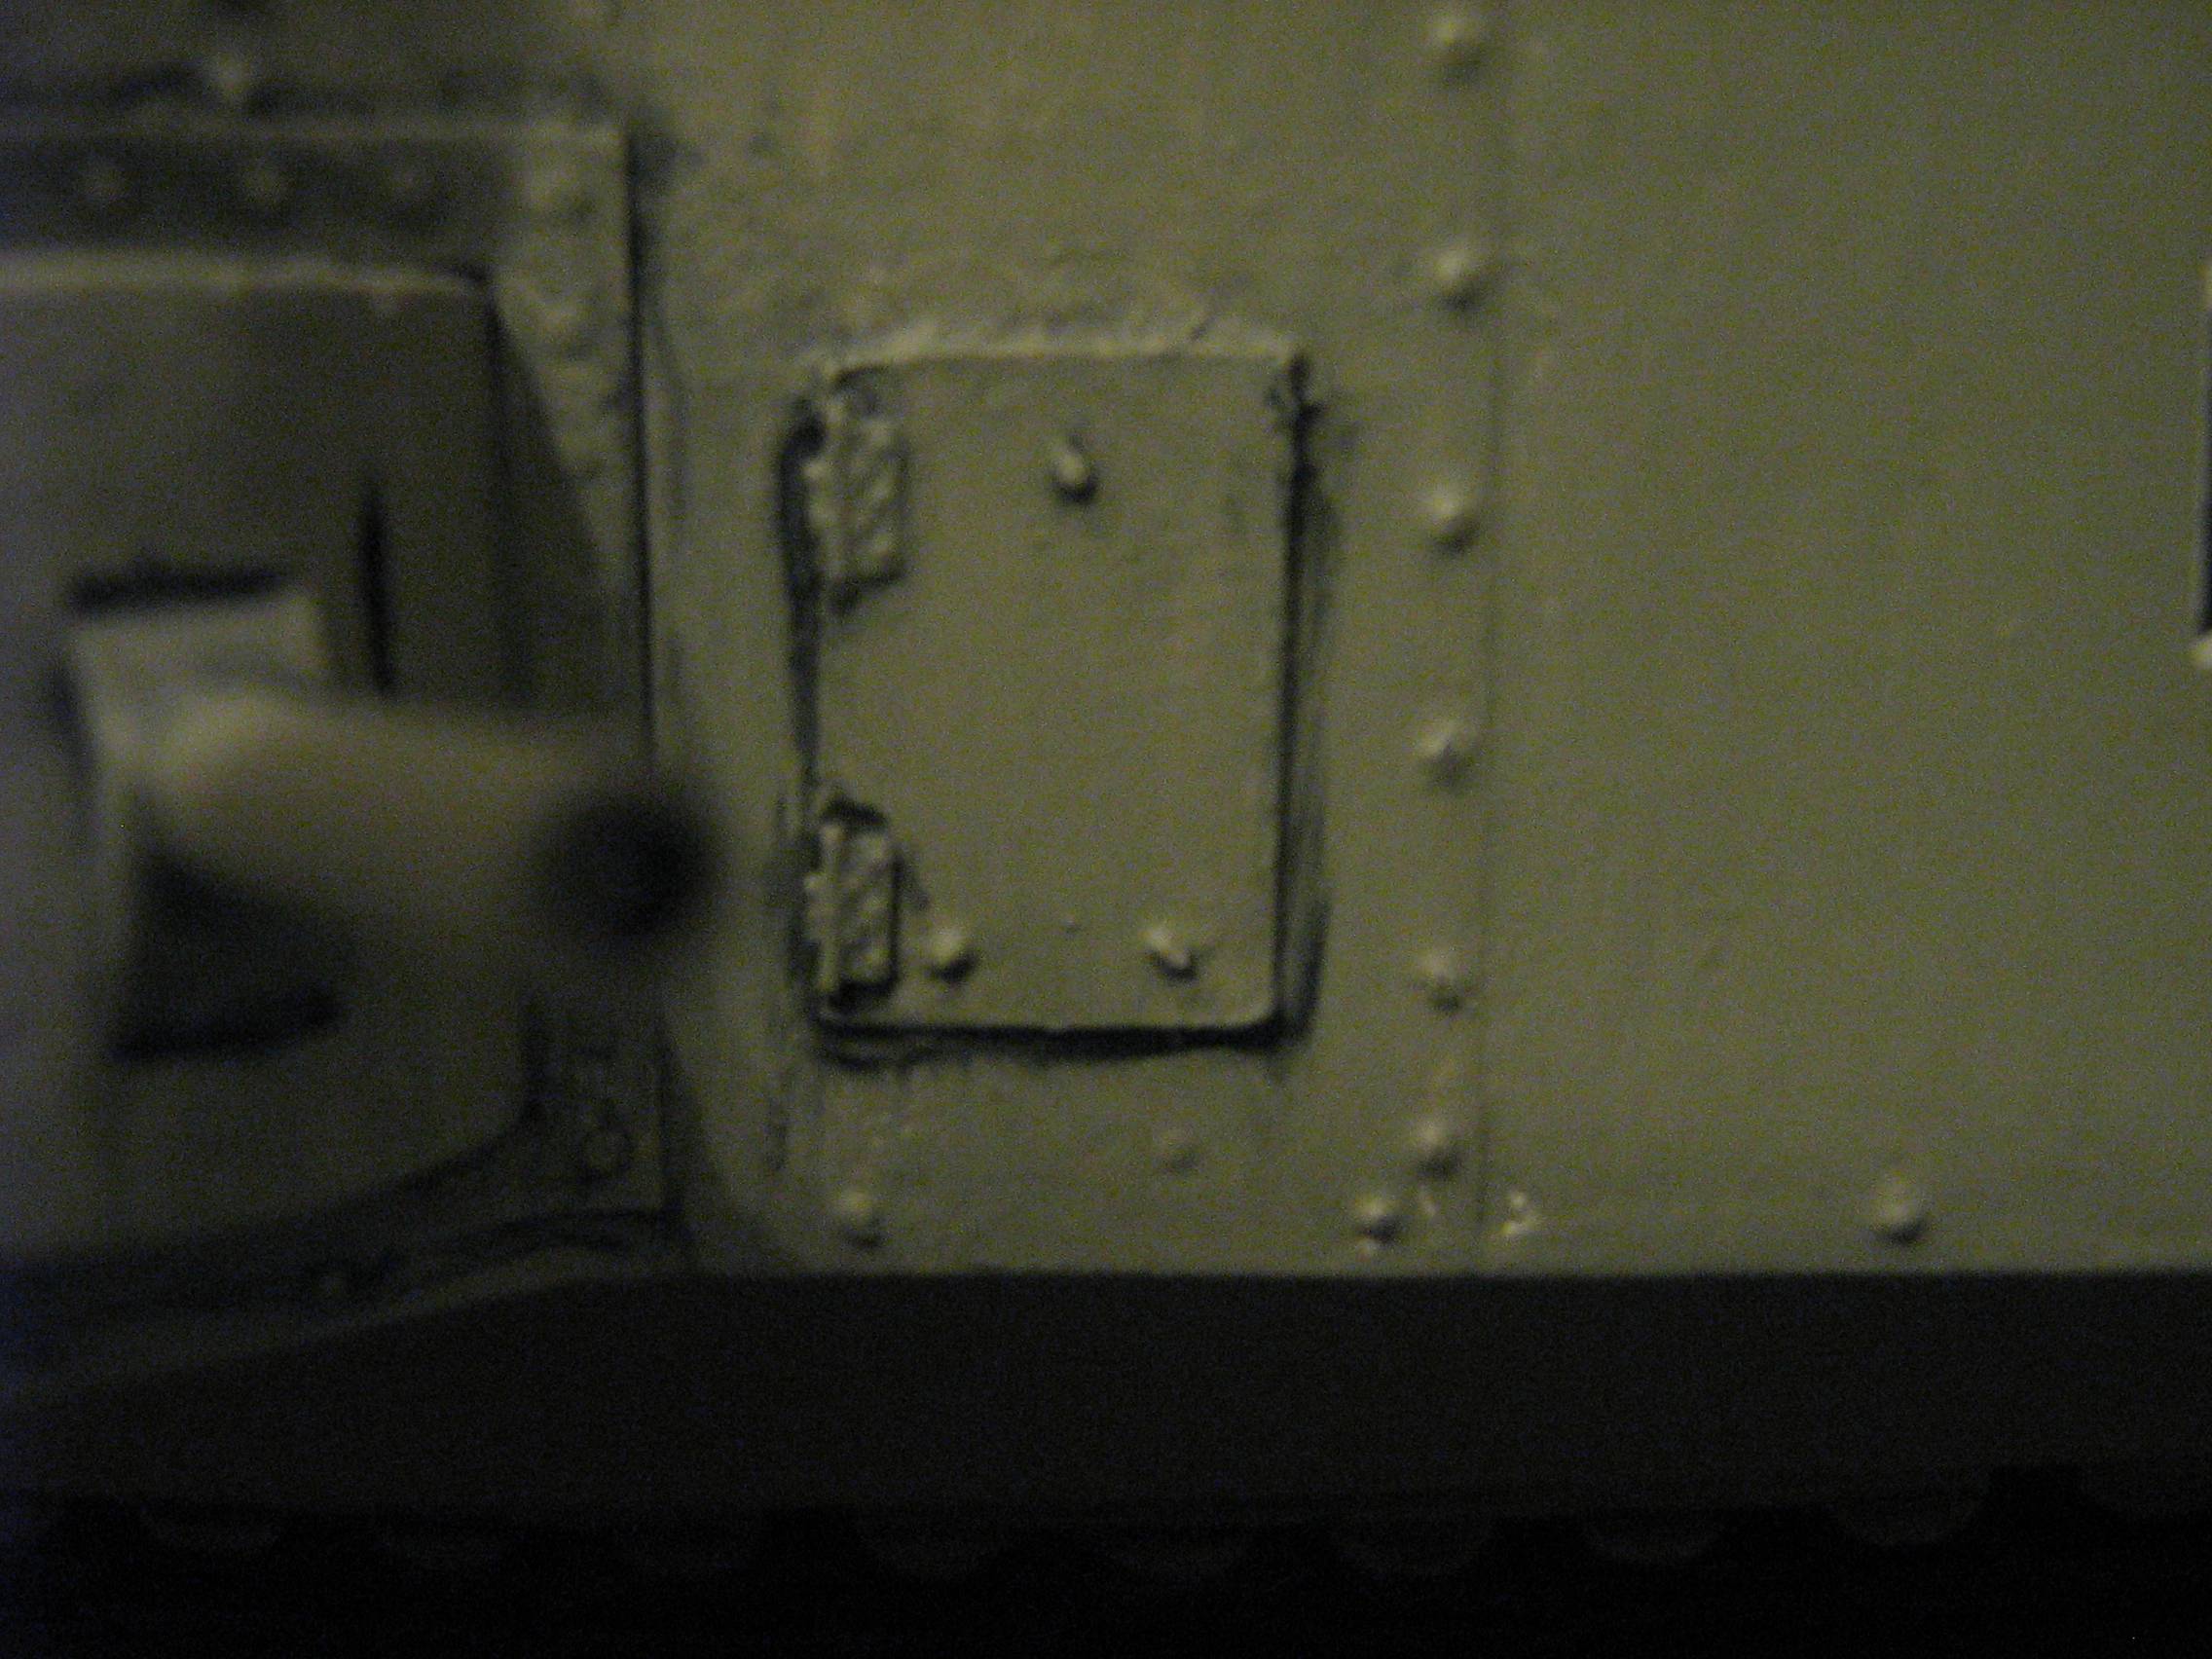
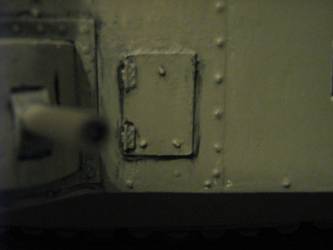
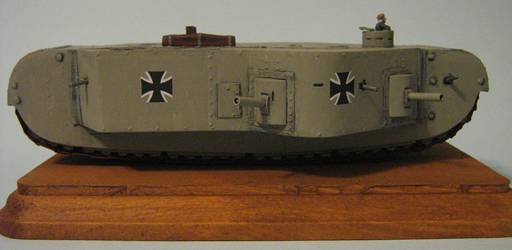
Right Photo: Scratch-built hatch with handle, hinge bolts
and locking mechanism. As you can see, I have large gaps between
the sponsons and the hull sides. This is due to the inside molded
'guide' for the side pieces. I didn't catch it when I glued the
hull sides on, they became uneven at the front, and so I sanded
the front left and right hull tops to blend to the hull sides. When
I placed the sponsons on, I realized my error! I suggest that you
glue the sponsons on to each hull side first, this will give you
a much better alignment and less filling to be done later.
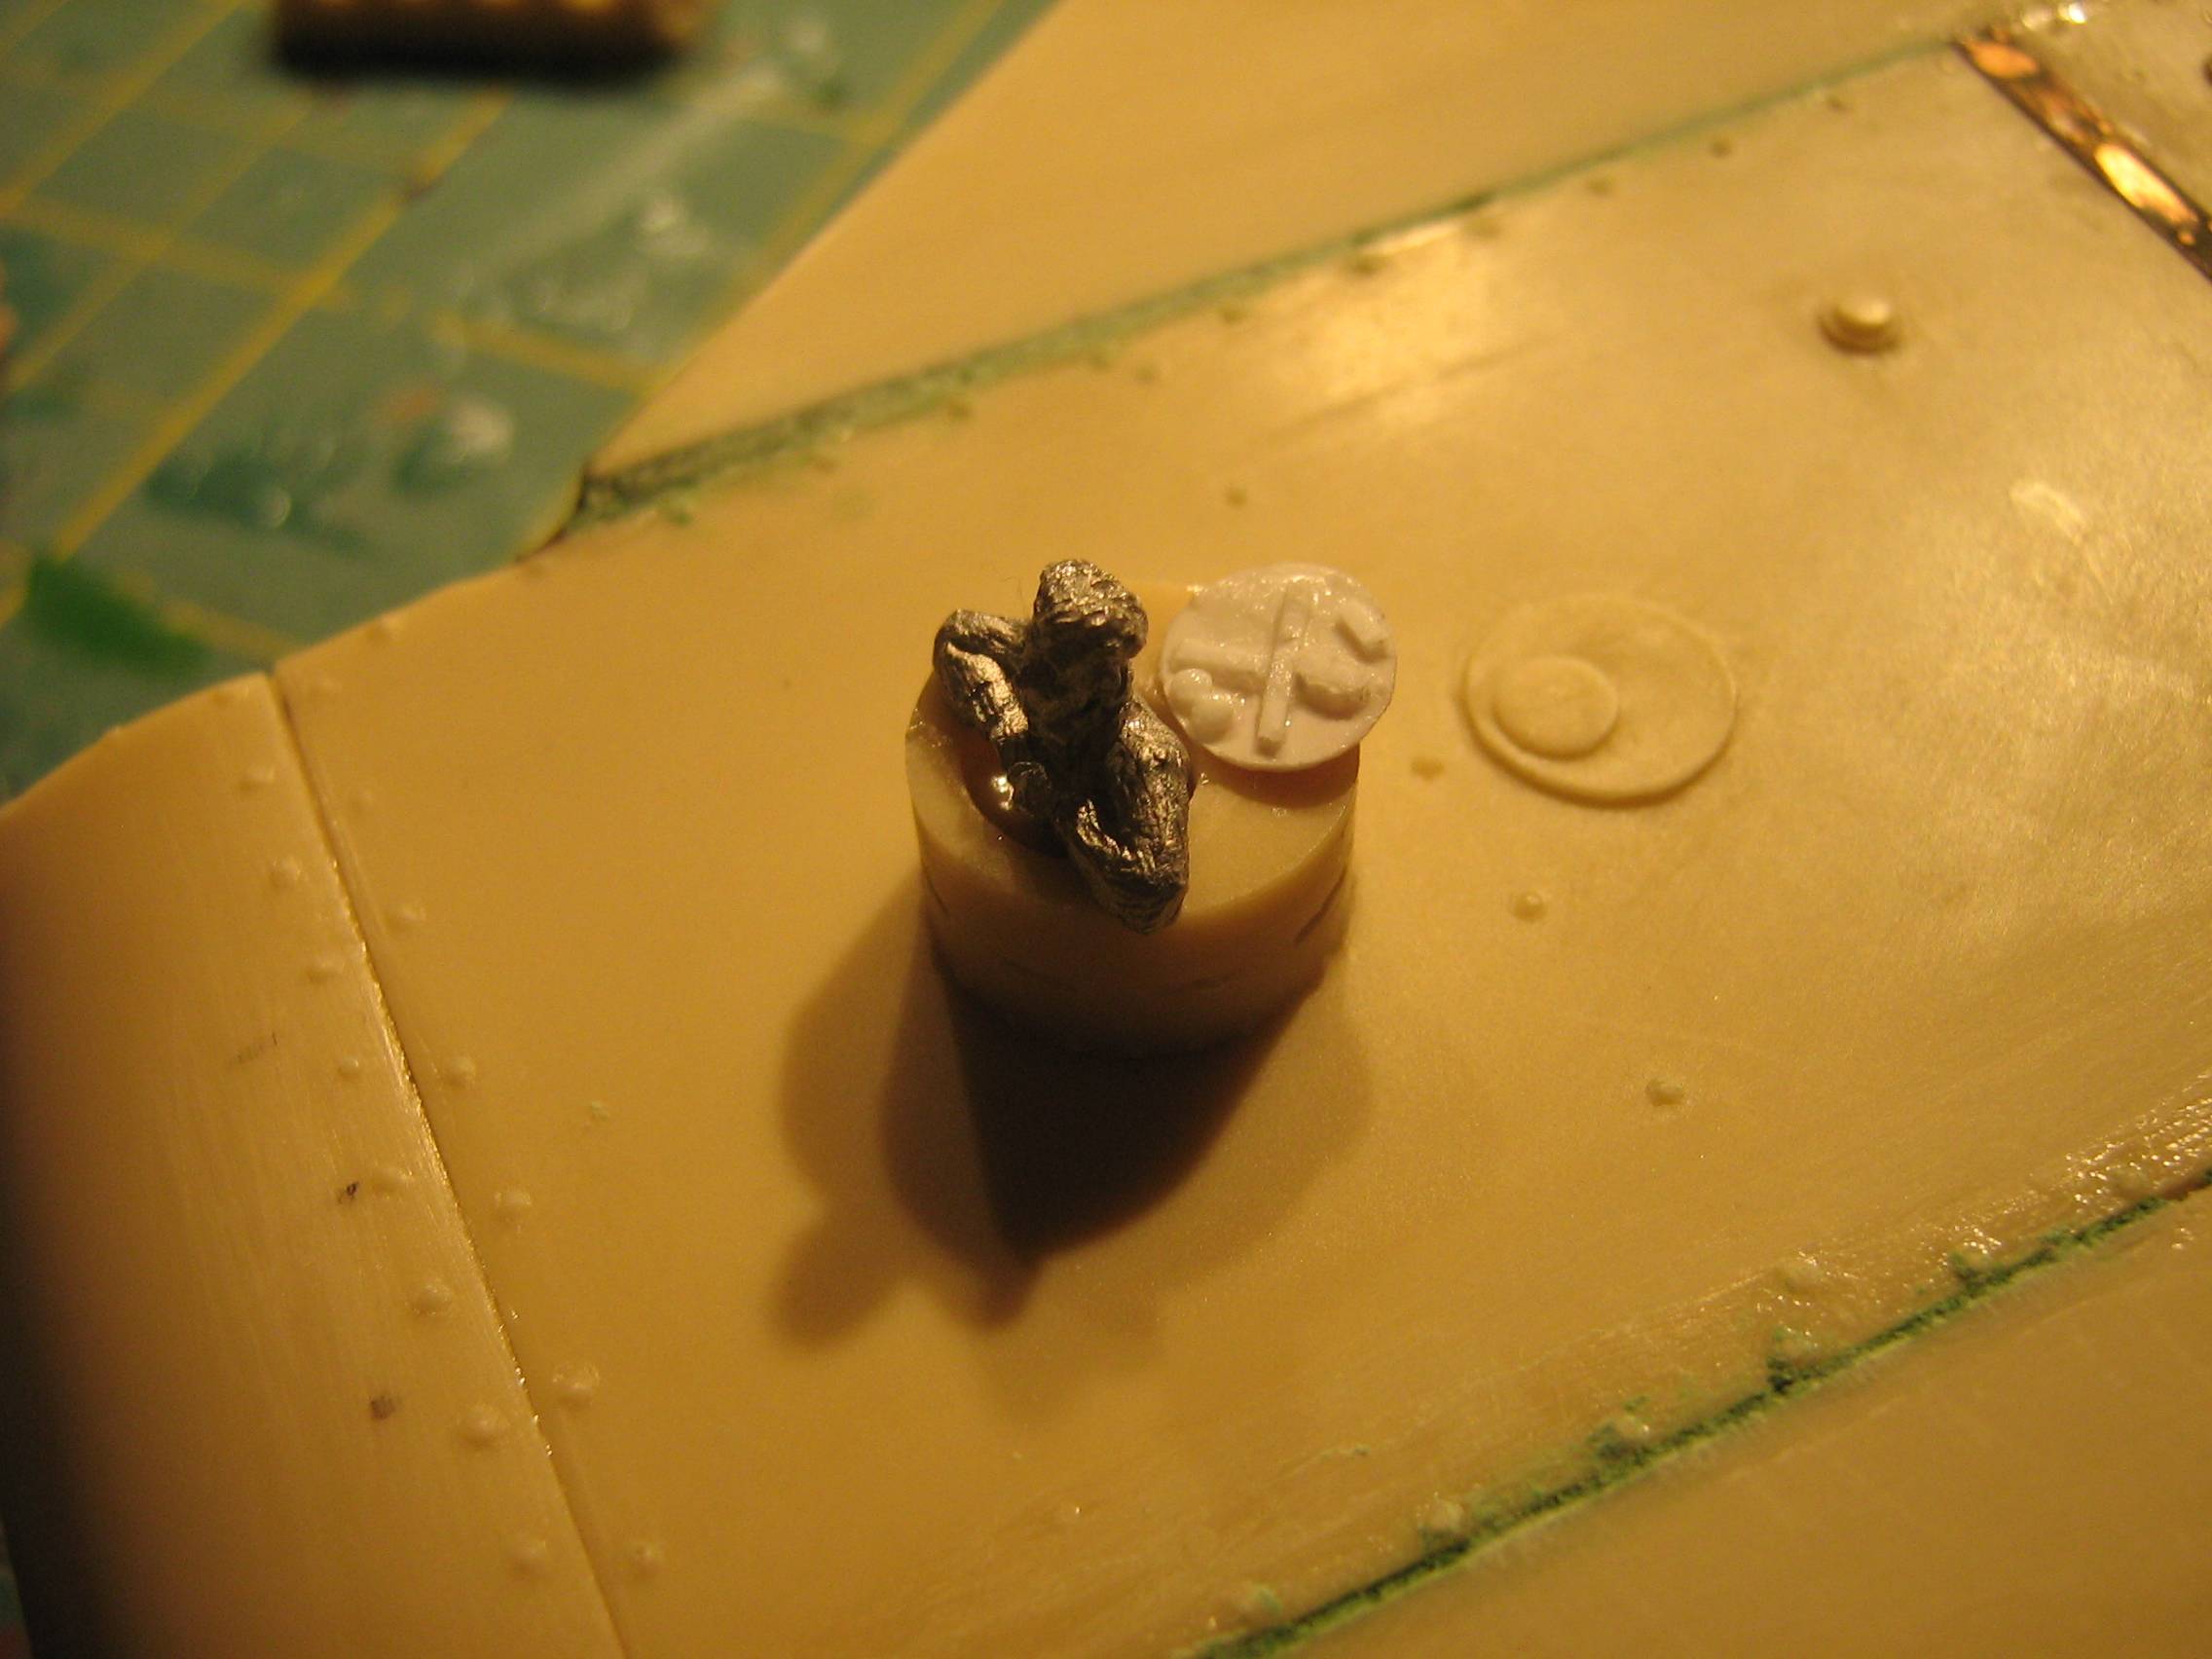
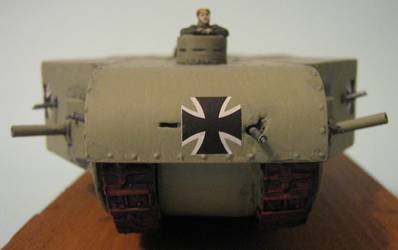
Sub-Assembly 3: Cupola and Front MG Port
Left Photo: Close-up of the half figure (from the spares
box) and the scratch-built hatch.
Right Photo: The hull front plate is lacking a driver's
vision slit and gunners MG opening, so I drilled them out. The gunner's
slot will be cleaned up better (I made it too large).
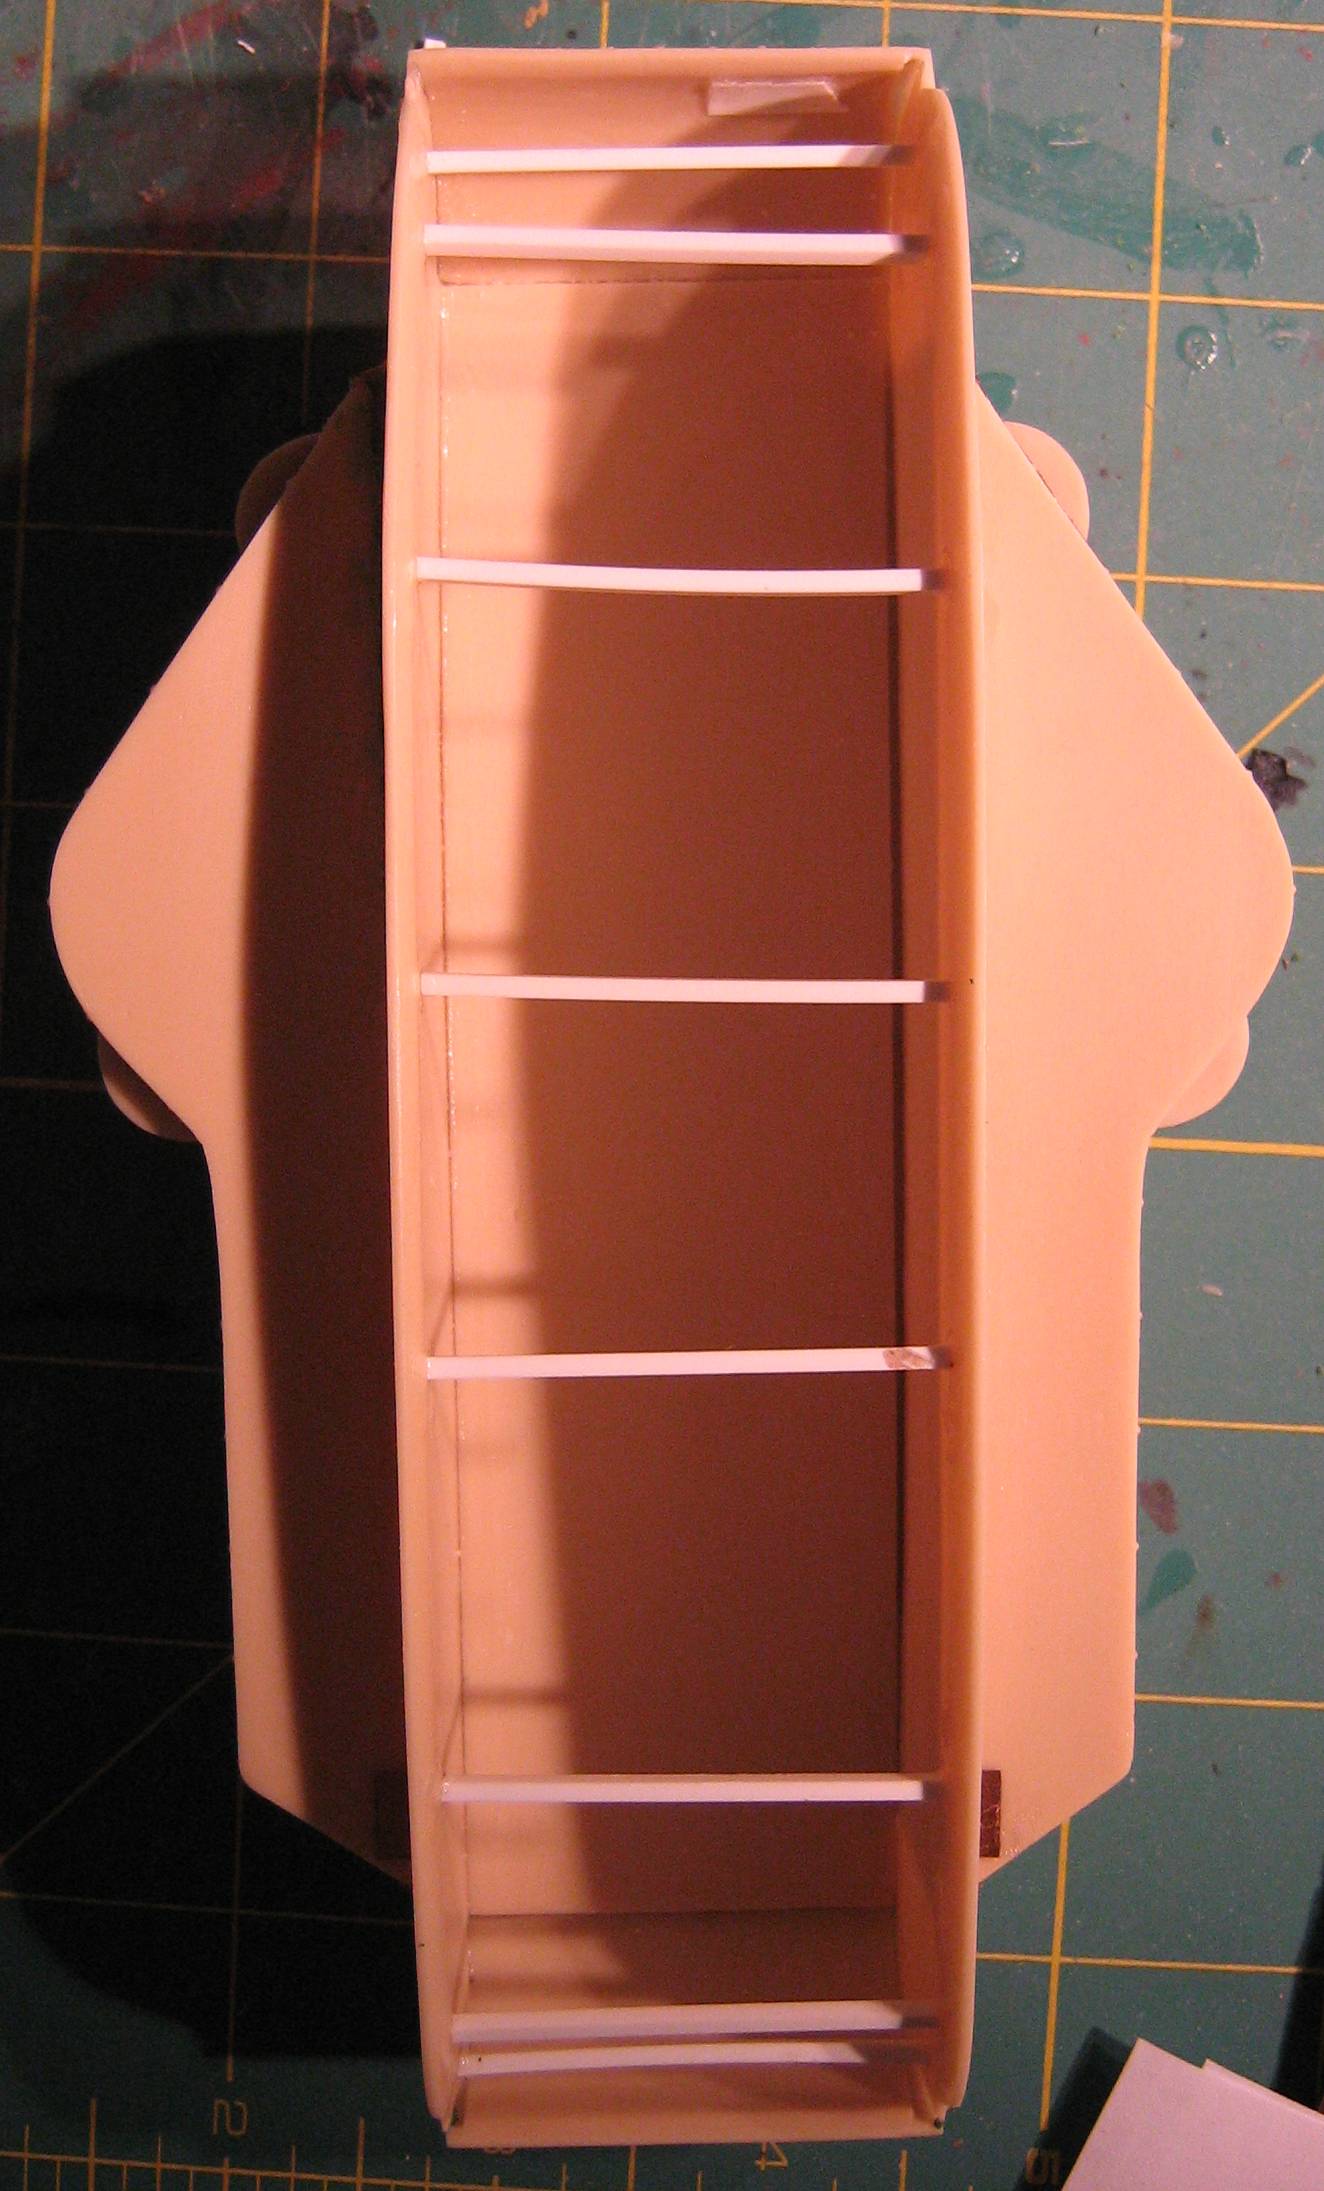
Sub-Assembly 4: Hull Bottom
/ Track Assembly
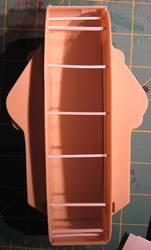 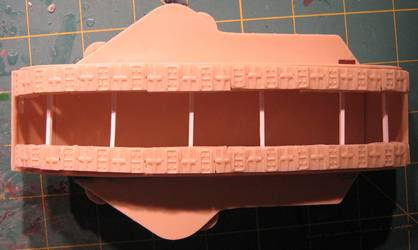
Left Photo: This is the real
problem area. Kora does not provide a proper hull bottom plate;
instead you get all the bogies and 2 hull bottom pieces, very little
alignment marks. On top of that, the hull bottom pieces are not
wide enough to hold them all together! I decided to use styrene
rods to help strengthen the kit, but more importantly, to give a
platform for the bogies and hull bottom plate to align with and
glue to.
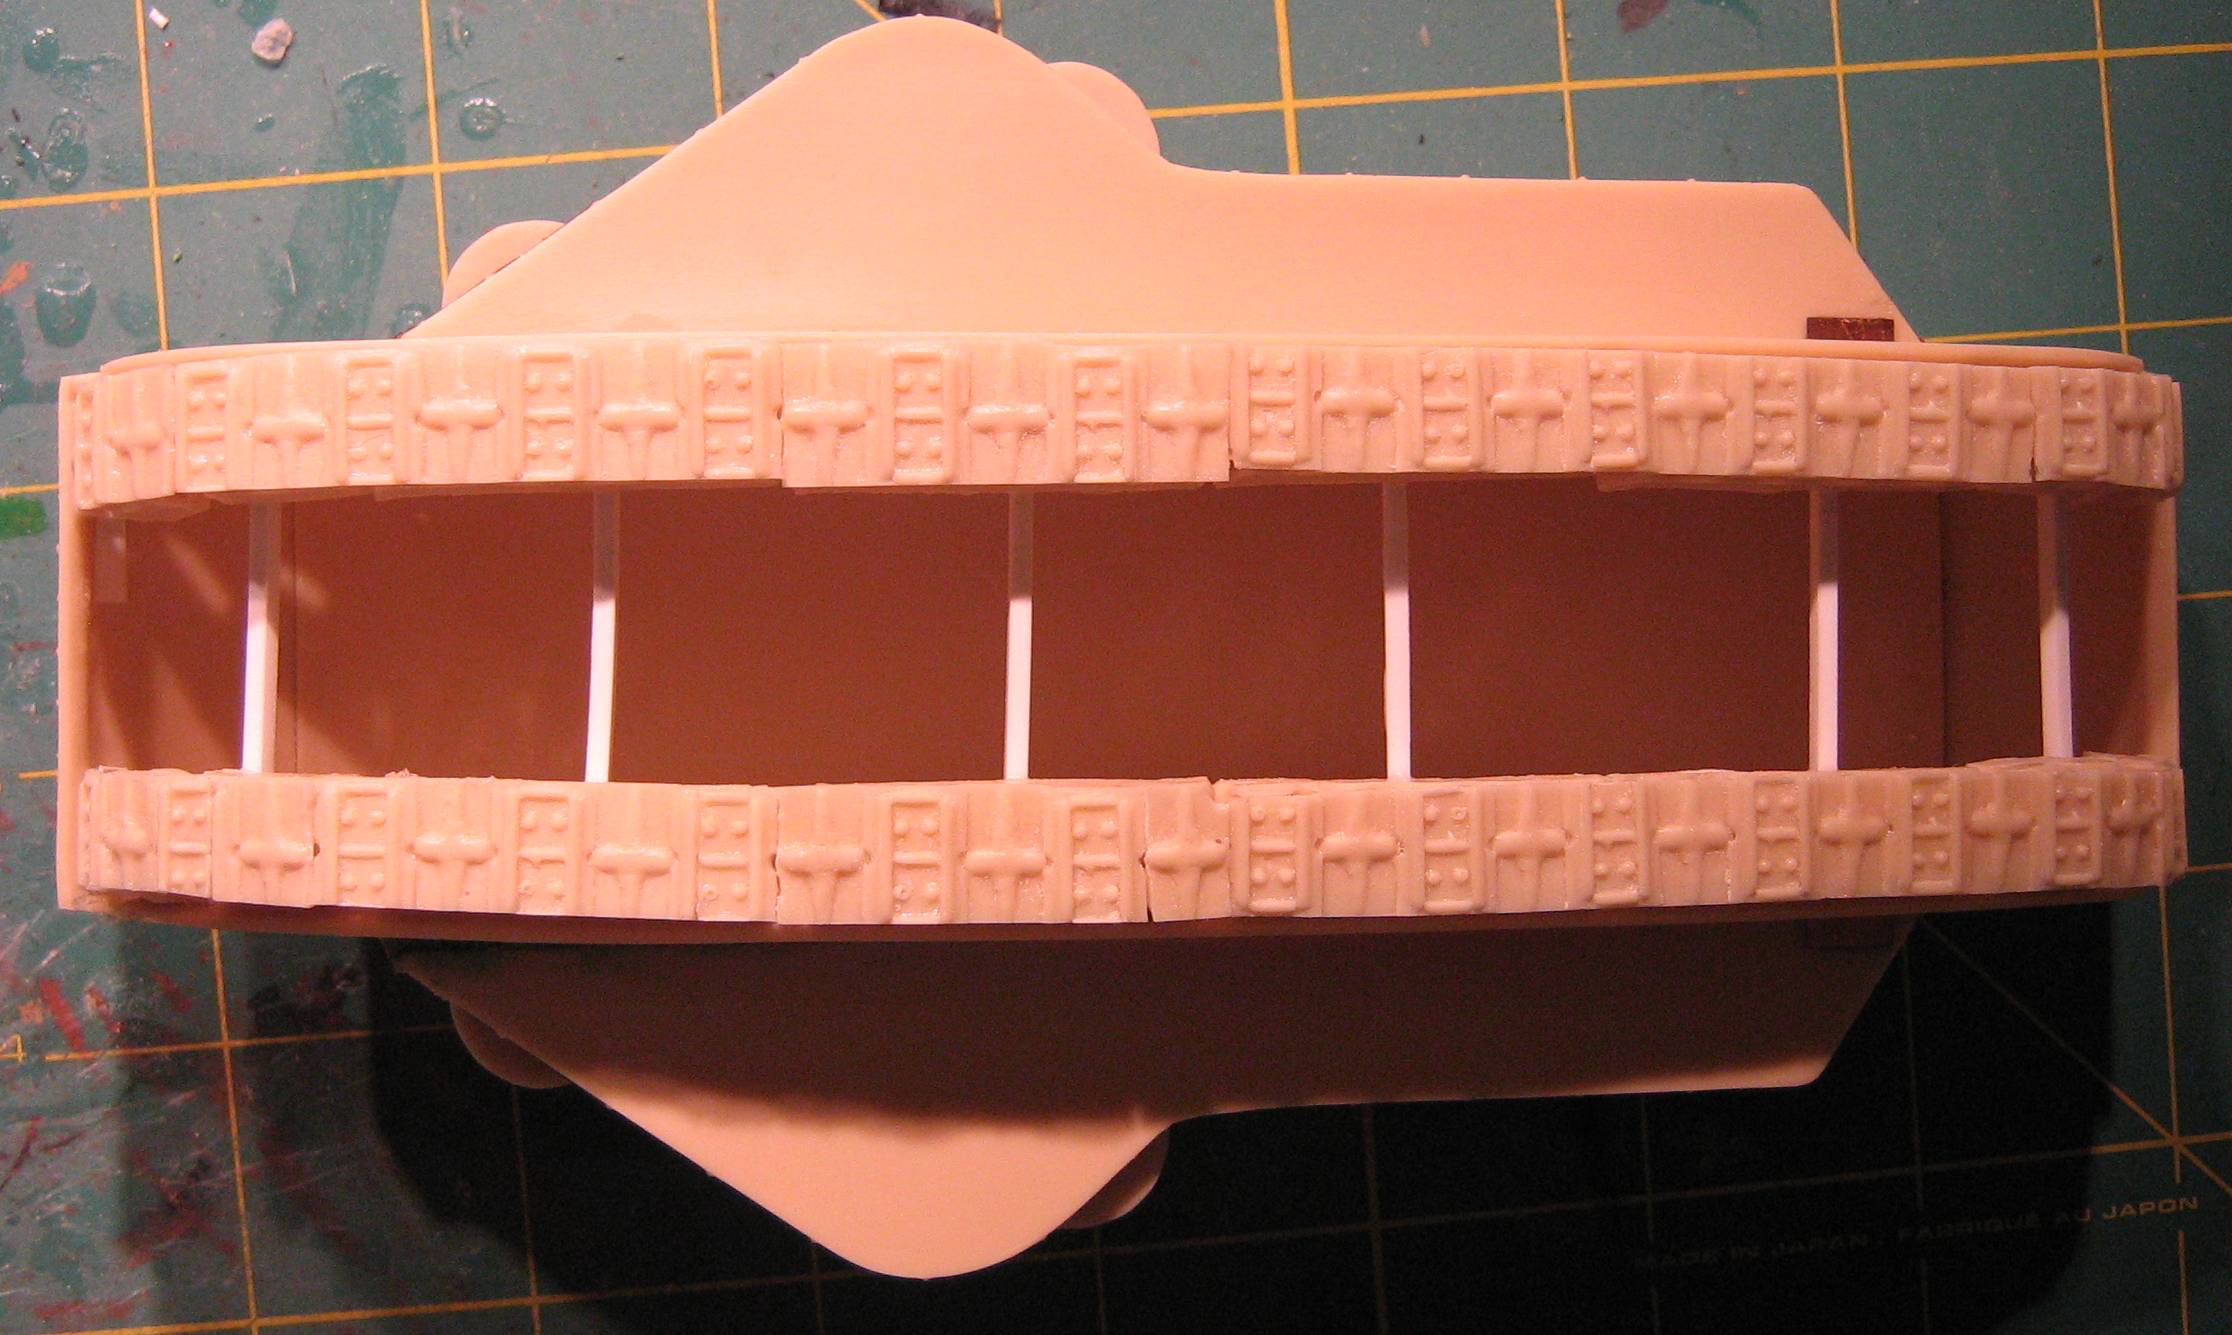
Right Photo: Bogies and tracks in place.

|