|
Italeri
|
Autoblinda AB 41 |
|||
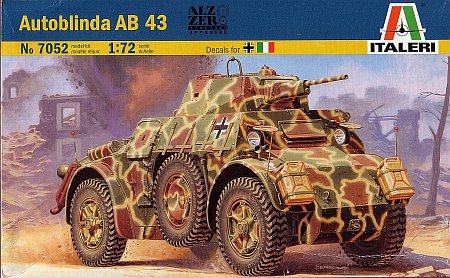
| Kit #: 7051 & 7052 |
Review by
- Al Magnus
|
|||
|
Italeri
|
Autoblinda AB 41 |
|||
| Kit #: 7051 & 7052 |
Review by
- Al Magnus
|
|||
|
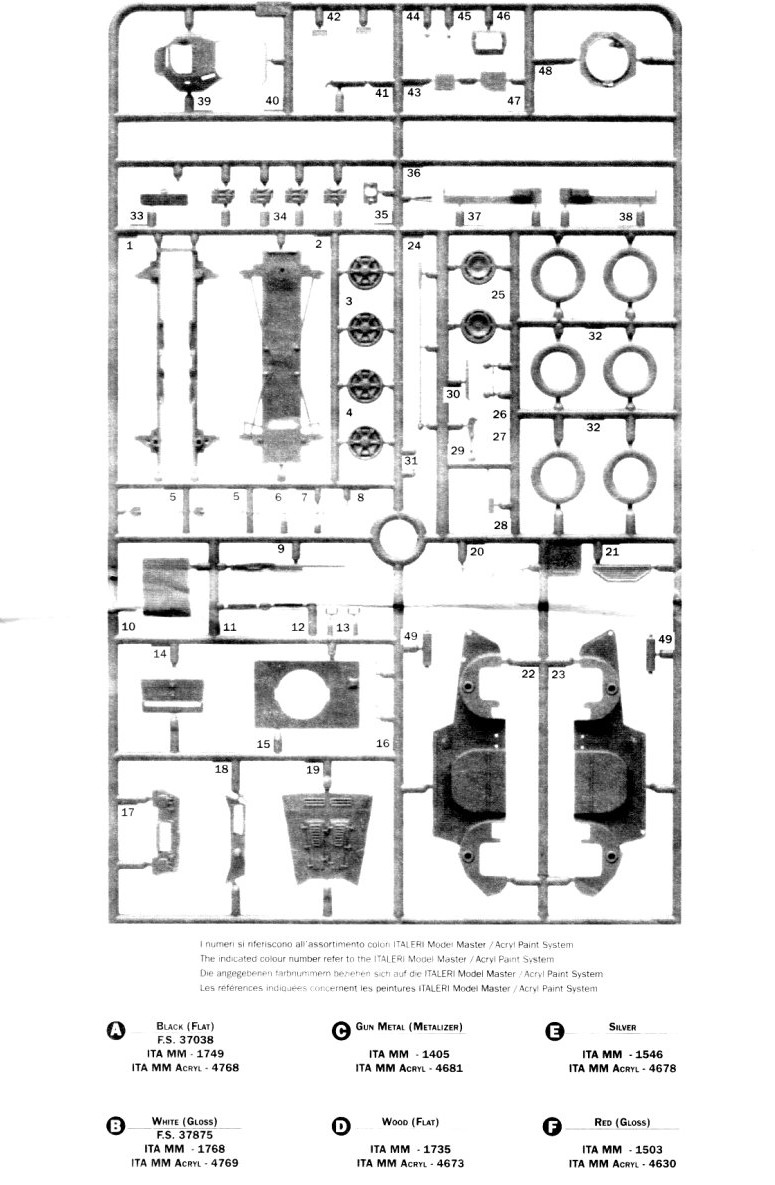
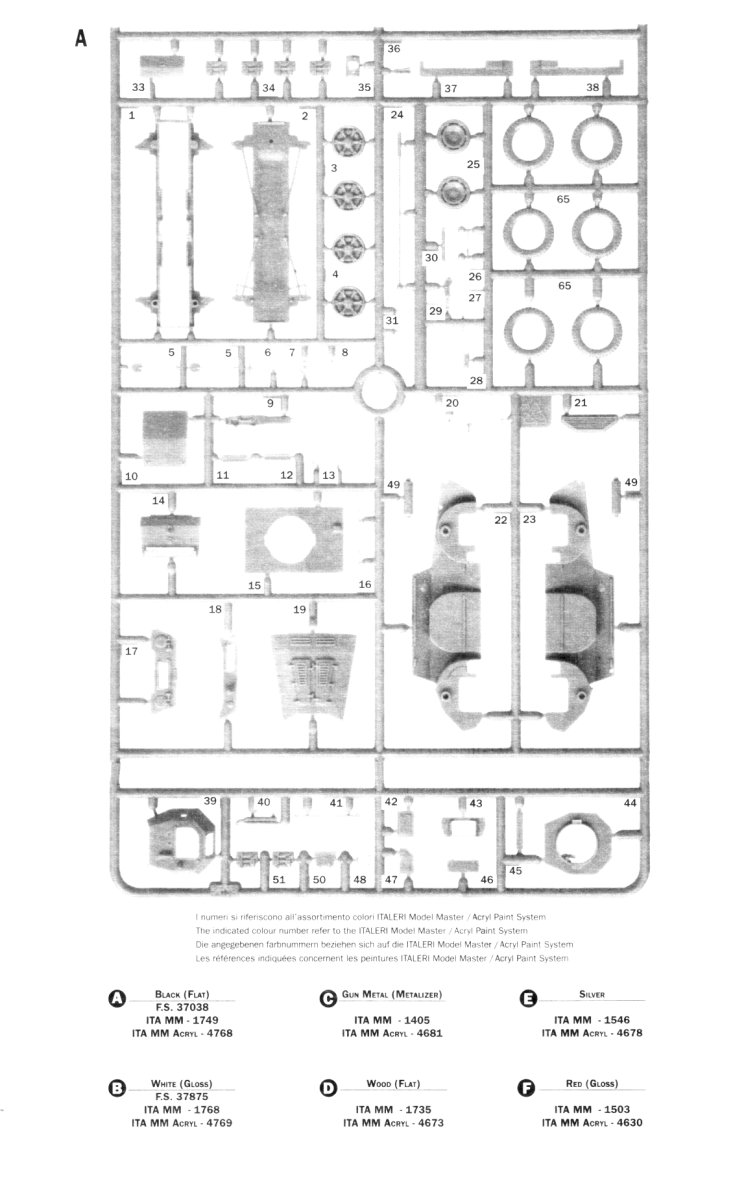
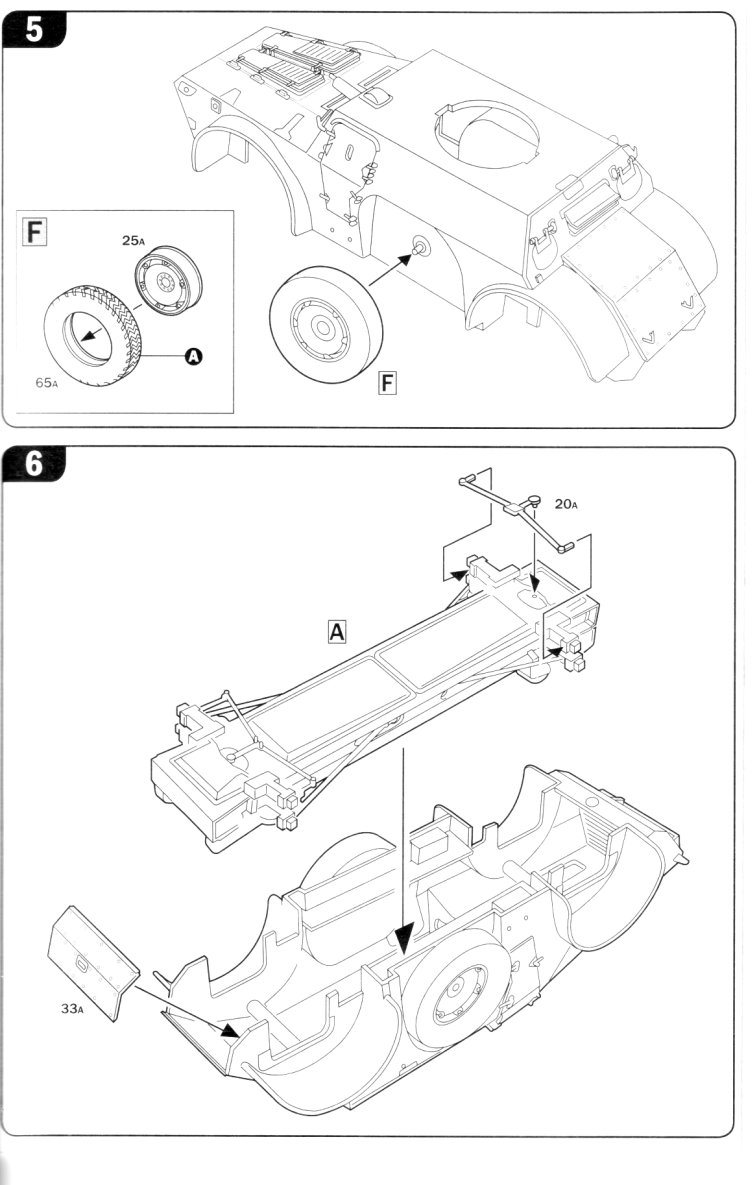
Kit Contents: Common Construction Points: For both kits, construction pretty much followed the steps outlined in the instructions. Fit was excellent throughout with only a few major issues to
be addressed. Injector pin marks are well placed for the most part. There is a set inside the wheel wells that are most difficult to get at.
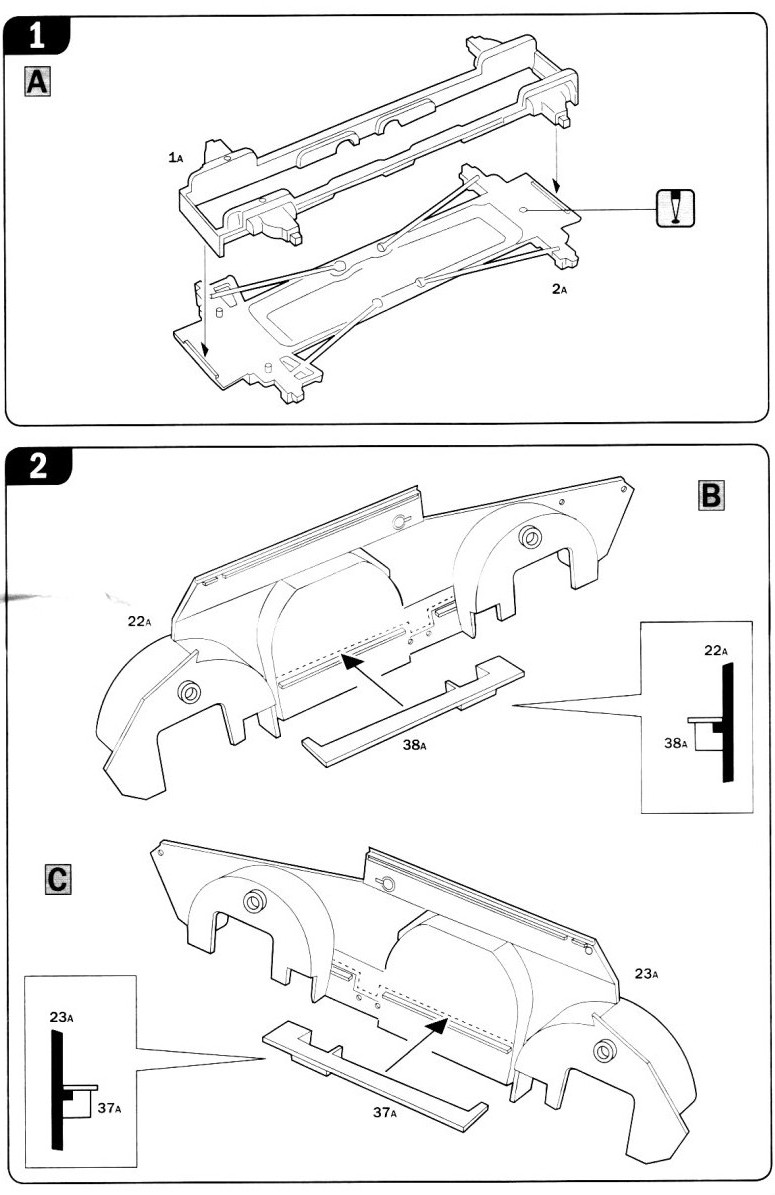
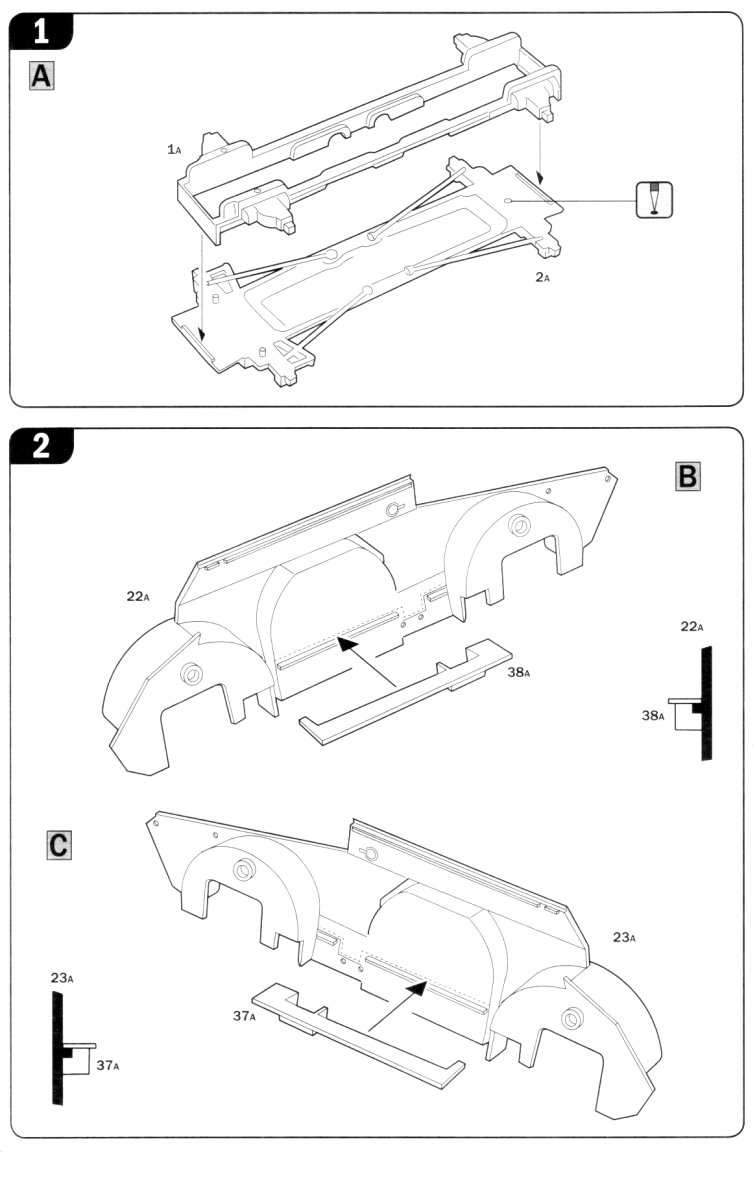
There is also a set of marks that sit proud of the frame and make adding the side panels a bit trying if they are not removed.
The rear sway bar is a separate piece but I can't figure out why the same was not done for the front sway bar. 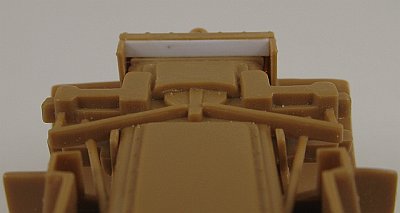
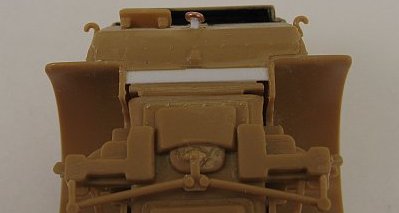
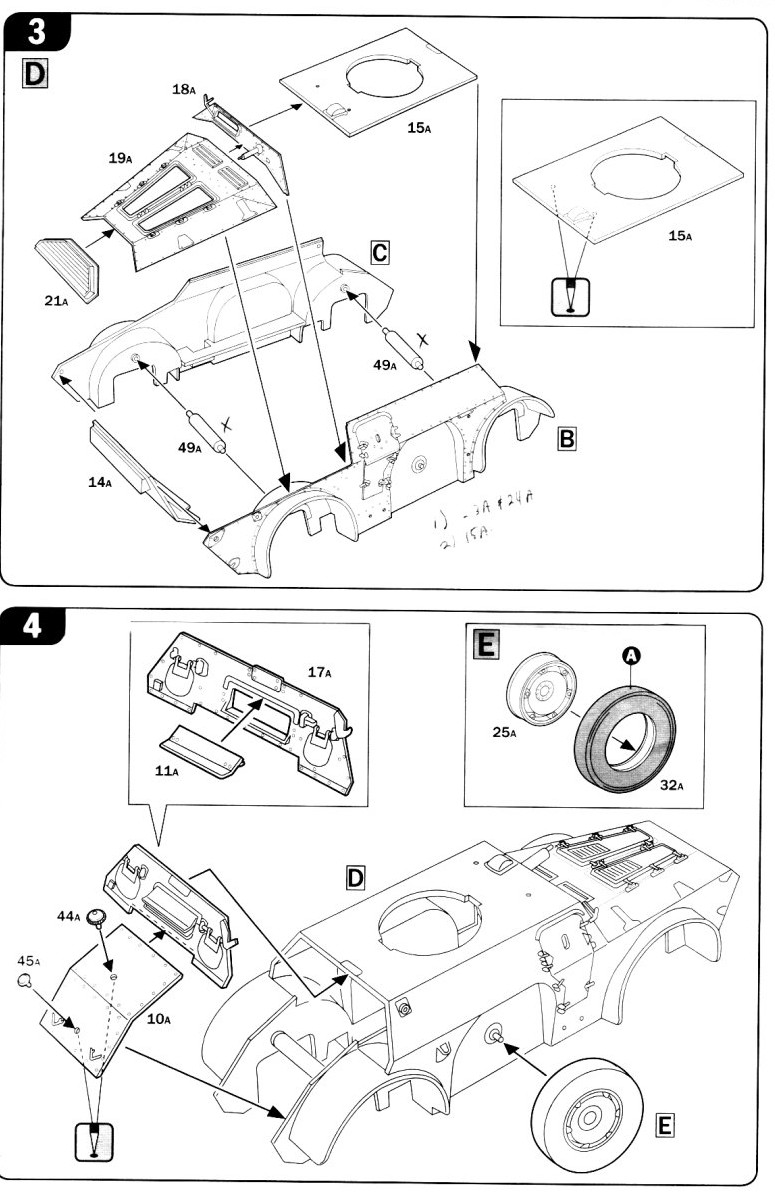
After placing the body on the frame I discovered there were gaps between the body and frame at each end. These were covered over with some sheet plastic. 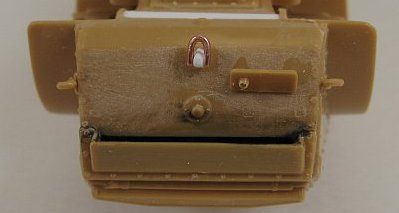
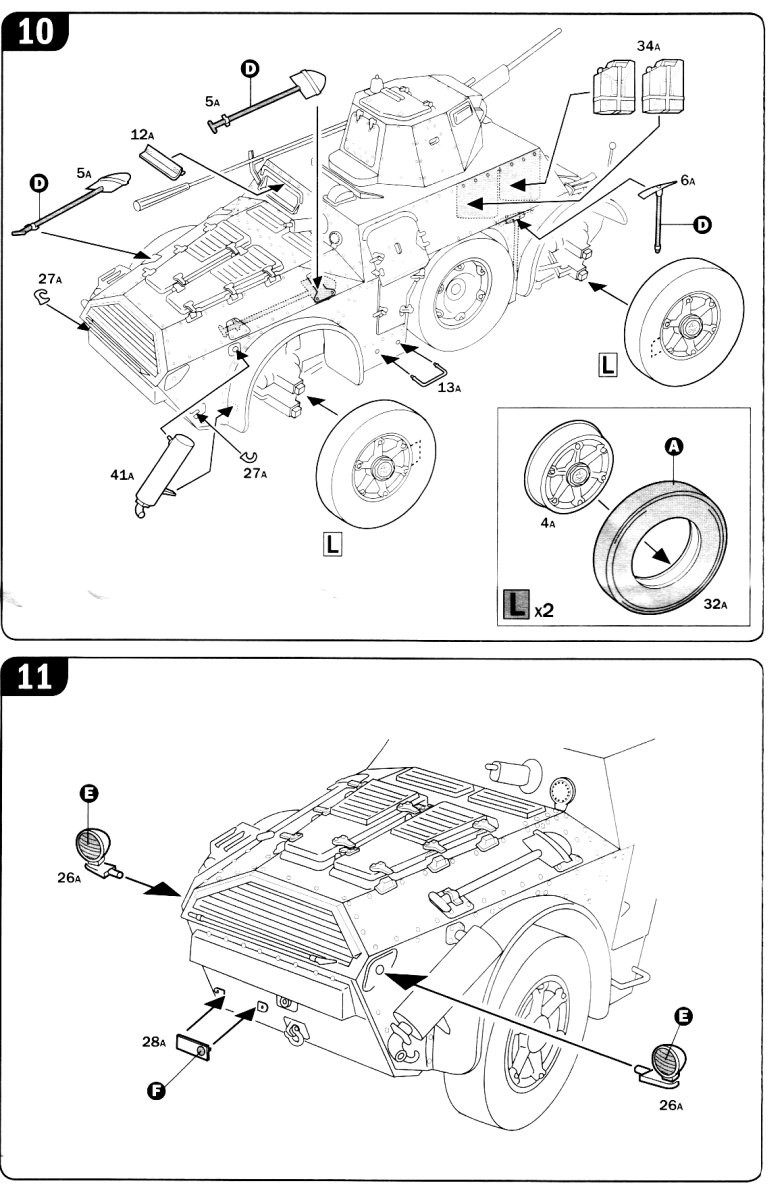
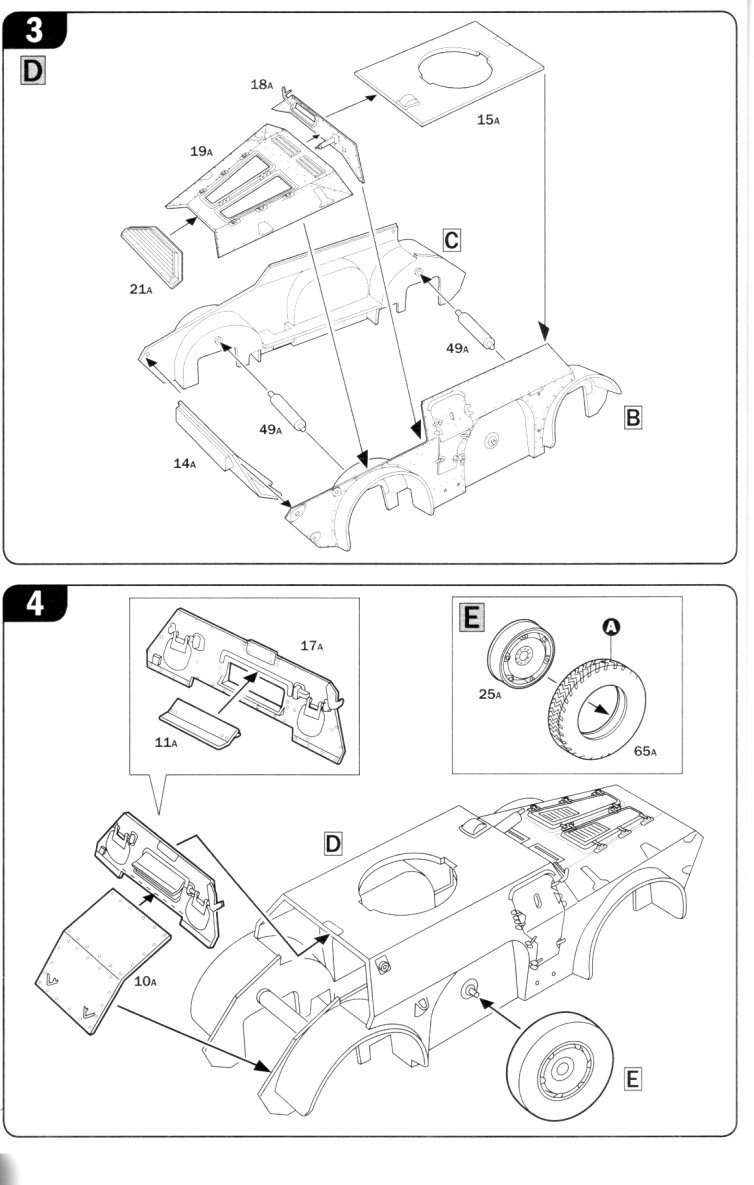
I replaced the molded on rear tow hook with a scratch built item made from some plastic for the mount and a loop made from some copper wire. I drilled out the opening for the exhaust pipe, turret gun barrel and the horns. The foot step rungs (part 13A) located below the rear doors just needed some thinning to look more acceptable. In my opinion Italeri are currently in the fore with regards to out of the box decals, and these are a prime example as to why I believe this, with all images being in register, opaque and very thin. I used the kit decals for both builds and they proved to be excellent as expected. A few applications with some decal solvent such as Microsol got them to conform nicely to the model while their opacity blocked any chance of bleed through of the colours underneath. |
|
|
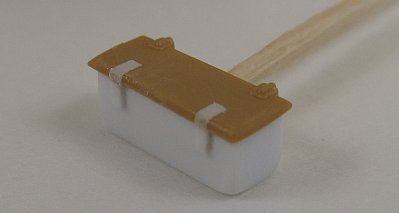
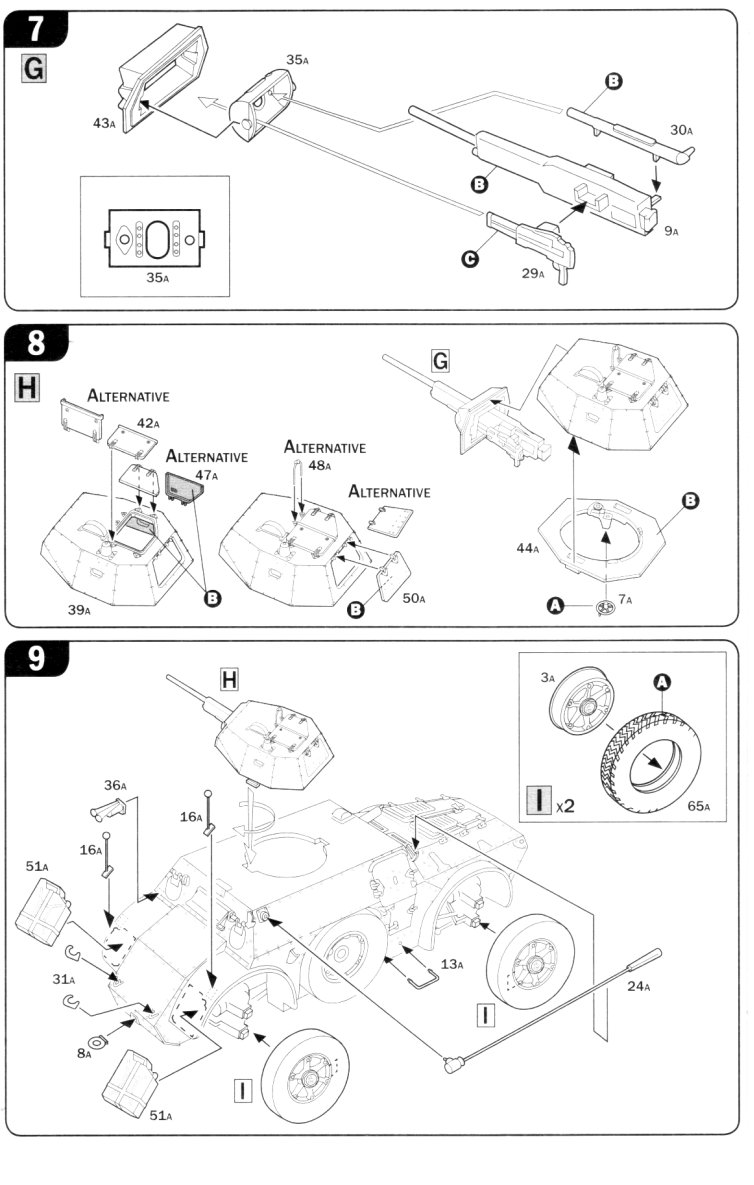
The only other major issue appeared during a test fit of the rear wheels. Here I discovered a problem concerning their location in the rear wheel well - they almost touched the front of the rear fenders. The cause was traced to the wheel hubs which have a pair of square shaped locators that are meant to fit onto a pair of square locating stubs on the end of the axles. This allows for a very sure fit when attaching the wheels but they also place the wheels too far forward in the well. My fix was to trim about half of the plastic from the front of the locating stubs on the axles. Doing this allowed me to shift the wheels about a millimetre or so to the aft, thus moving the wheels more to the middle of the wheel well. Not the most elegant solution but one that works (hopefully the crude diagram to the left provides a better idea of what I did to correct the wheels). |
 |
|
|
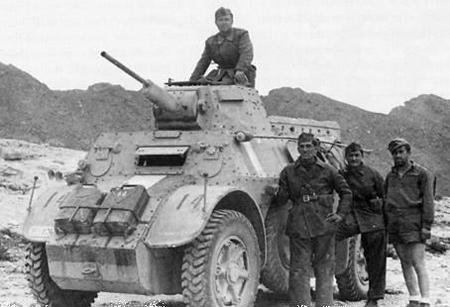
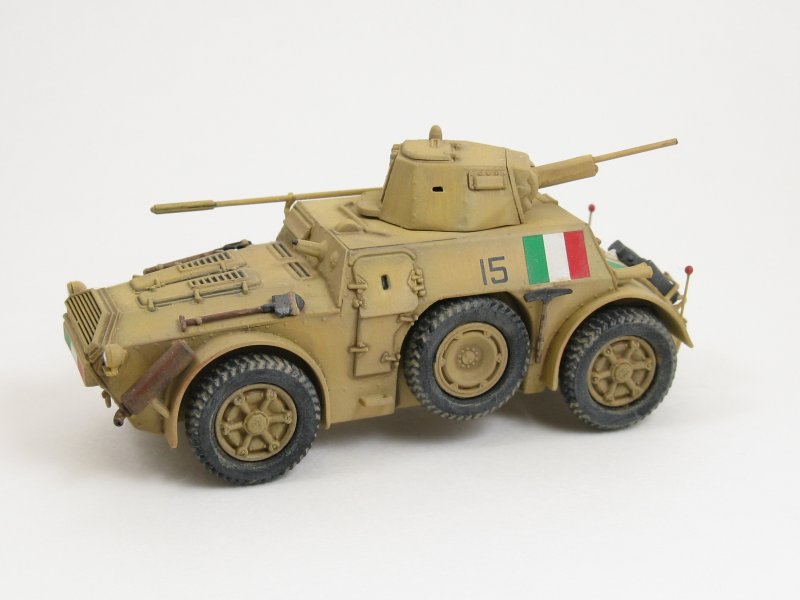
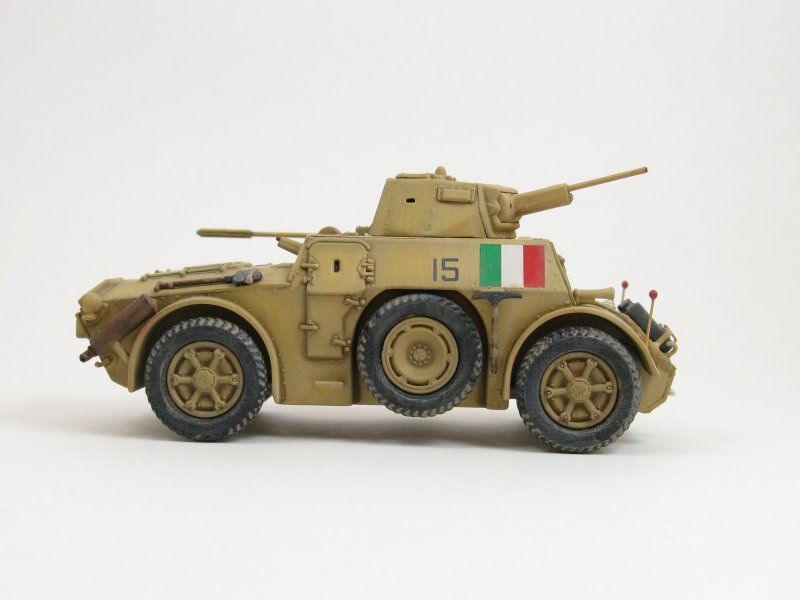
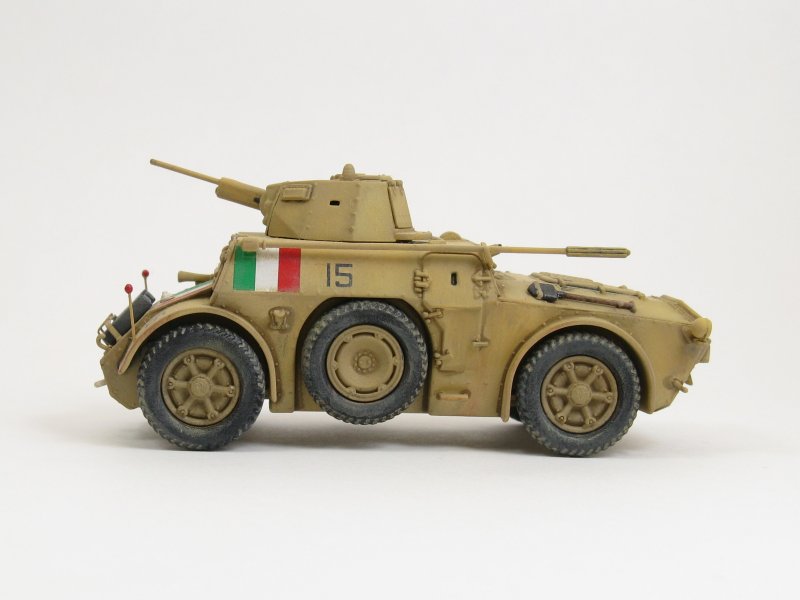
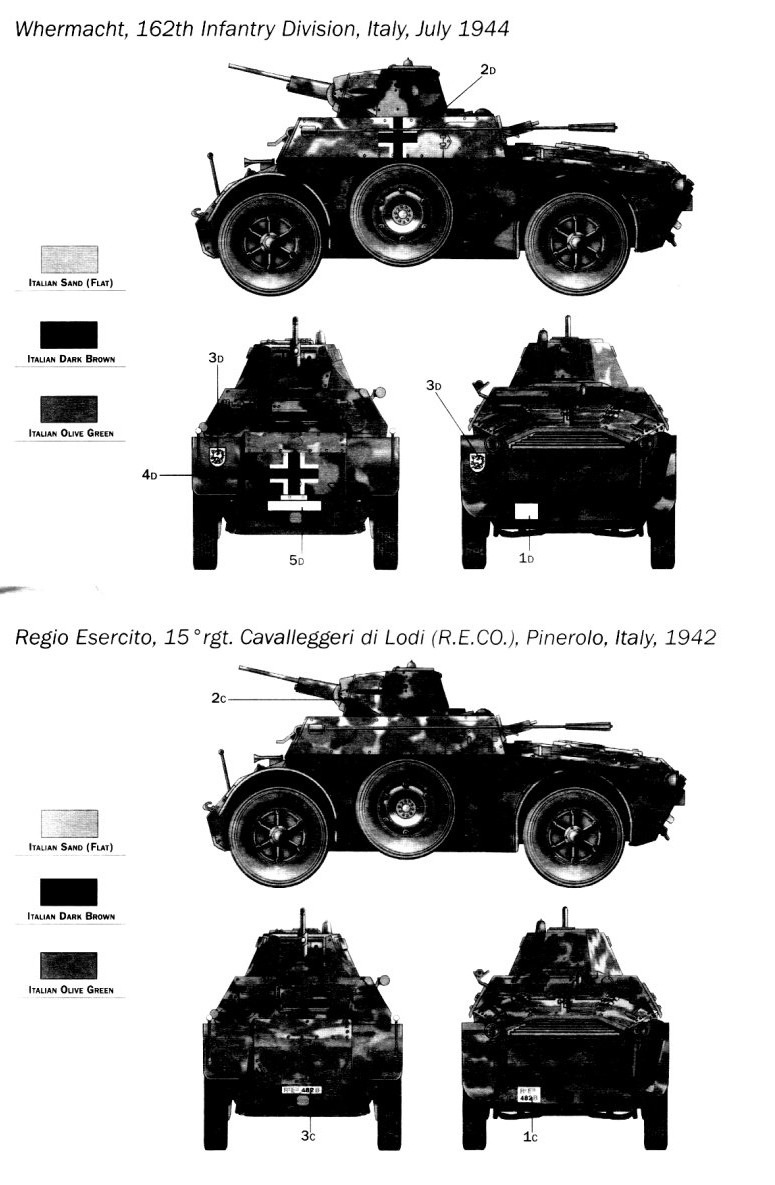
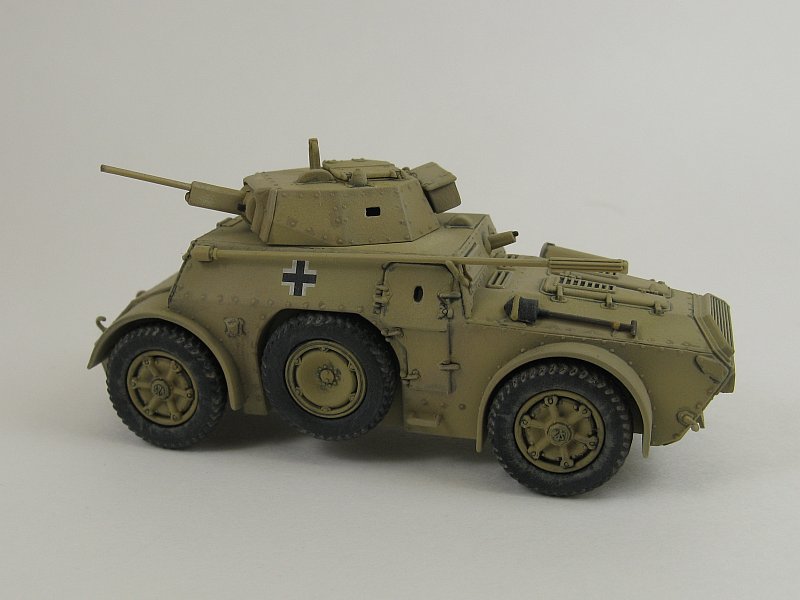
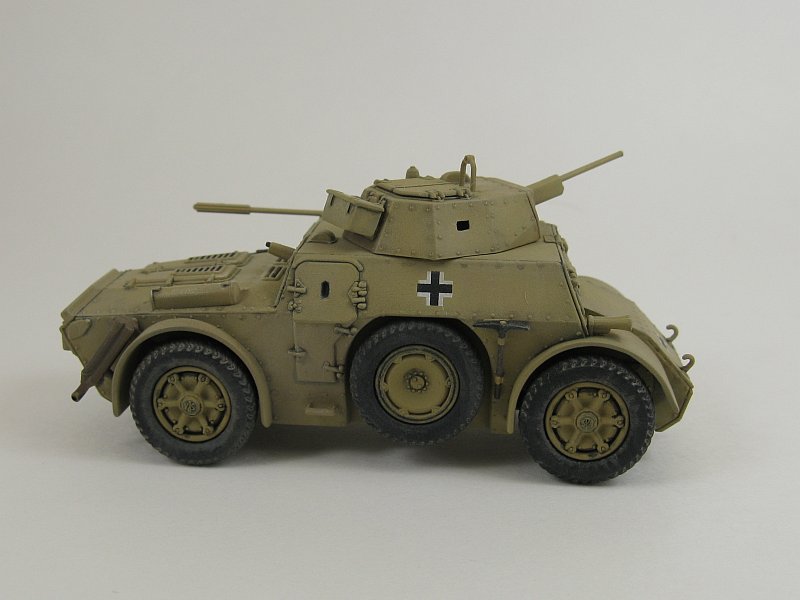
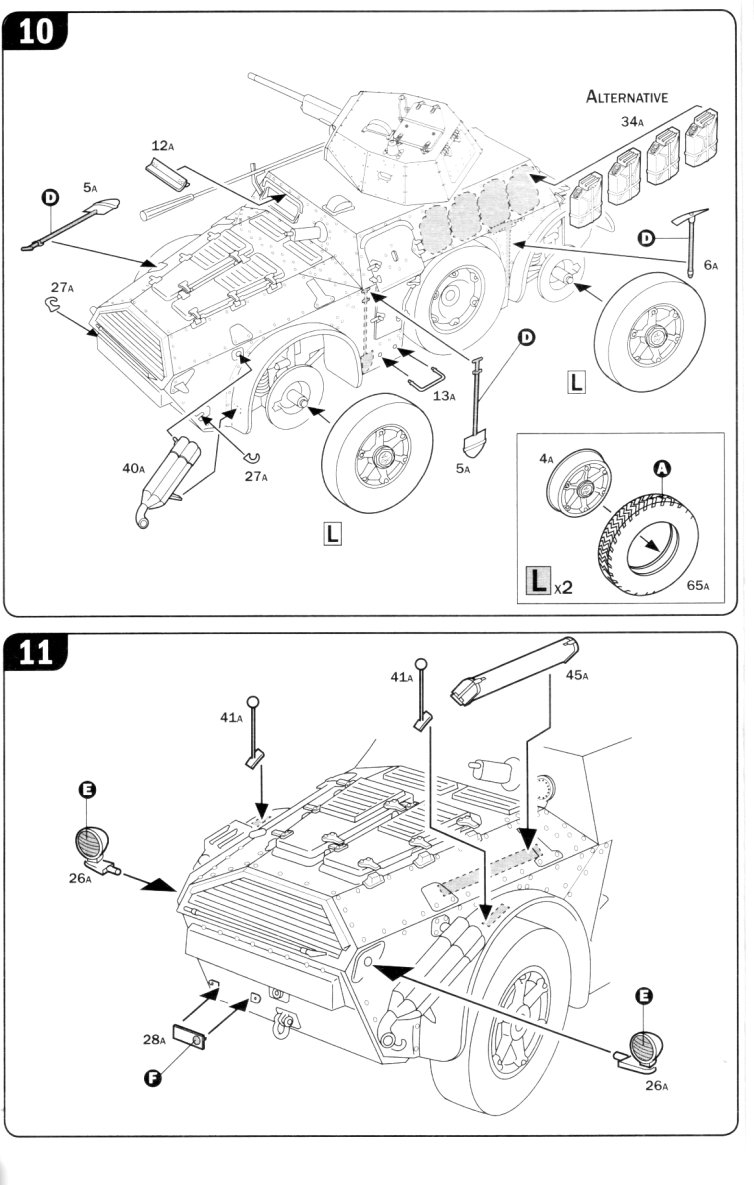
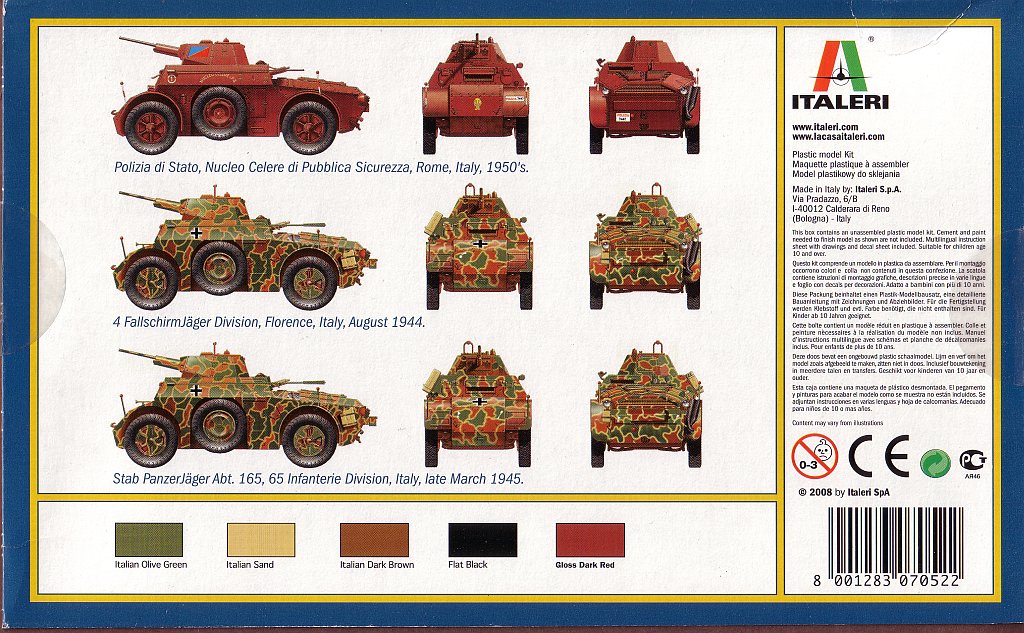
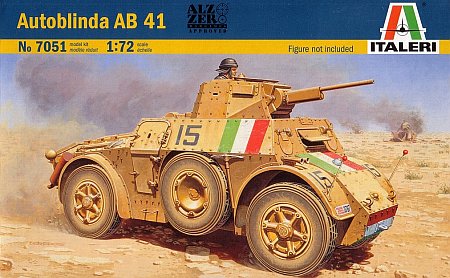
Autoblinda AB 41, kit no. 7051
I left off part 45A because it was going to go under a set of extra jerry cans that I added to the front glacis. The jerry cans came from the spares box, and the frame was fashioned from some left over brass strip. I also replaced the rather thick fender markers on the front fenders with a new pair manufactured from some guitar wire with the balls at the top fashioned from super glue and baking soda. I didn't bother adding any markers to the rear fenders as most AB-41 pictures I found on the web didn't have them.
| |||
 |
|
| Back to Italeri Kit List | Back to Construction Reviews |
Article Last Updated: 14 September 2013 |
Back to Home Page |