|
|
www.onthewaymodels.com | "Sophia's
Balcony"
| |||
| Kit #: FCH020 | Build
review by Alvin Perkins -
al(dot)perkins172(at)gmail(dot)com Edited by Marc Mercier |
||||
|
|
www.onthewaymodels.com | "Sophia's
Balcony"
| |||
| Kit #: FCH020 | Build
review by Alvin Perkins -
al(dot)perkins172(at)gmail(dot)com Edited by Marc Mercier |
||||
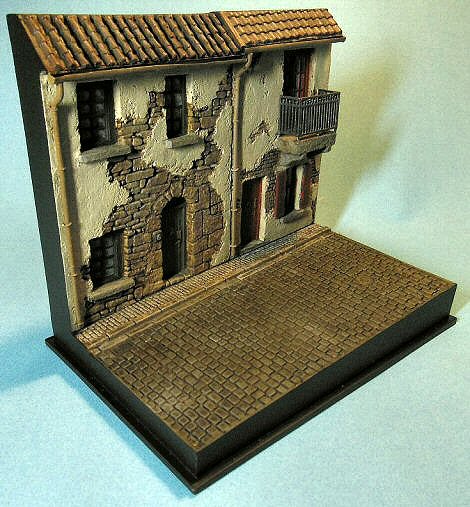 |
A preview of this kit can be found here PREPARATION Minimal work was required for cleanup and preparation : •
Washed parts in warm, soapy water
The
parts went together very well and the only gaps to be filled were
very small ones at grade level. Pin holes are non-existent. |
|
DETAIL PARTS This
is where the kit really sets itself apart from other offerings. The
inclusion of not only the detail parts, but rod to help shape the
gutters, as well as informative kit instructions, really made for
a very enjoyable build. PAINTING I sprayed two coats of primer. The first was a coat of Tamiya grey Fine Surface Primer. After it dried I sprayed an overall coat of Tamiya NATO Black TS-63 to act as a pre-shade. When the pre-shade had dried, I airbrushed the model in Polly Scale and Vallejo acrylics. Next, the roof was painted in Polly Scale Roof Brown and highlighted with Polly Scale Panzer Red Brown. I used various shades of off-whites and tans/khakis for the building walls and several shades of grey for the cobblestone and sidewalk. When the stonework was dry, I gave it a liberal wash of Vallejo Sepia Shade Wash. Next, the street and sidewalk got a filter of Tamiya Khaki-drab FX-51 and Black XF-1 in Tamiya thinner. Once that was dry, I airbrushed the whole thing with a thinned mix of Tamiya Buff XF-57 and Deck Tan XF-55 to soften the colors a bit. |
 |
|
|
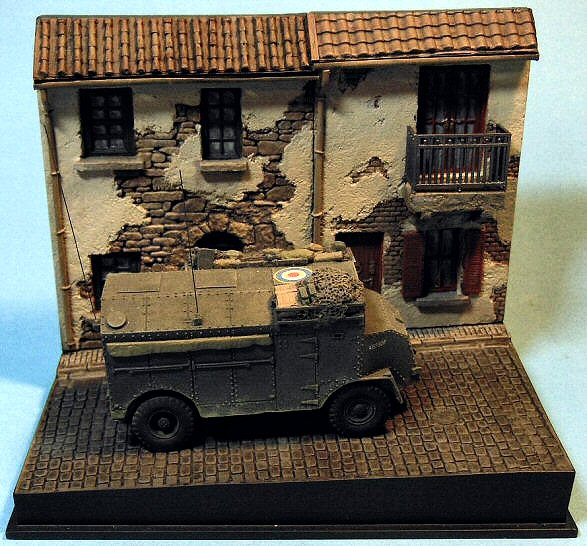
THE
WINDOWS
The biggest challenge for me was how to make solid
resin look like glass. After perusing the internet for different techniques
I found a style that I was pretty happy with. With the windows already
pre-shaded, I painted a thin coat of dark sea grey in the lower left
corner, then worked my way to the upper right using thinned coats
of medium sea grey, sky blue and finally pale blue. I tried to make
the transition as subtle as possible. After picking out the window
frames in Polly Scale acrylics, I added several coats of gloss varnish
to the window panes. When that was complete I masked the windows and
gave the whole model an overspray of Tamiya Flat Clear TS-80. At that point all that was left to do was add the railing and block in the sides and back of the display with another coat of Tamiya NATO Black. |
|
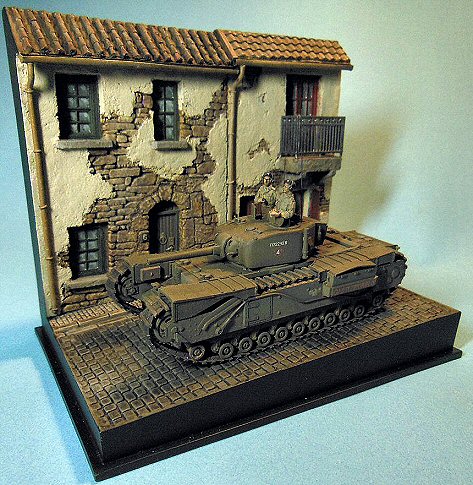
| CONCLUSION
I have to say that overall I’m very pleased with this kit. It went together without a hitch and it was a nice departure from things painted in various shades of olive and khaki drab. It’s clear that Mr. Gurinskas at Full Circle Hobbies has put a lot of thought and energy into his product |
||
Highly recommended. Review sample provided by David Gurinskas of Full Circle Hobbies.
|
||
| Back to Full Circle Hobbies List | Back to Home Page |
Review Last Updated: 1 June 2013 |