|
M13/40 |
|||
Kit # |
Construction Review by Rob Haelterman - heman_148(at)hotmail(dot)com |
|||
|
M13/40 |
|||
Kit # |
Construction Review by Rob Haelterman - heman_148(at)hotmail(dot)com |
|||
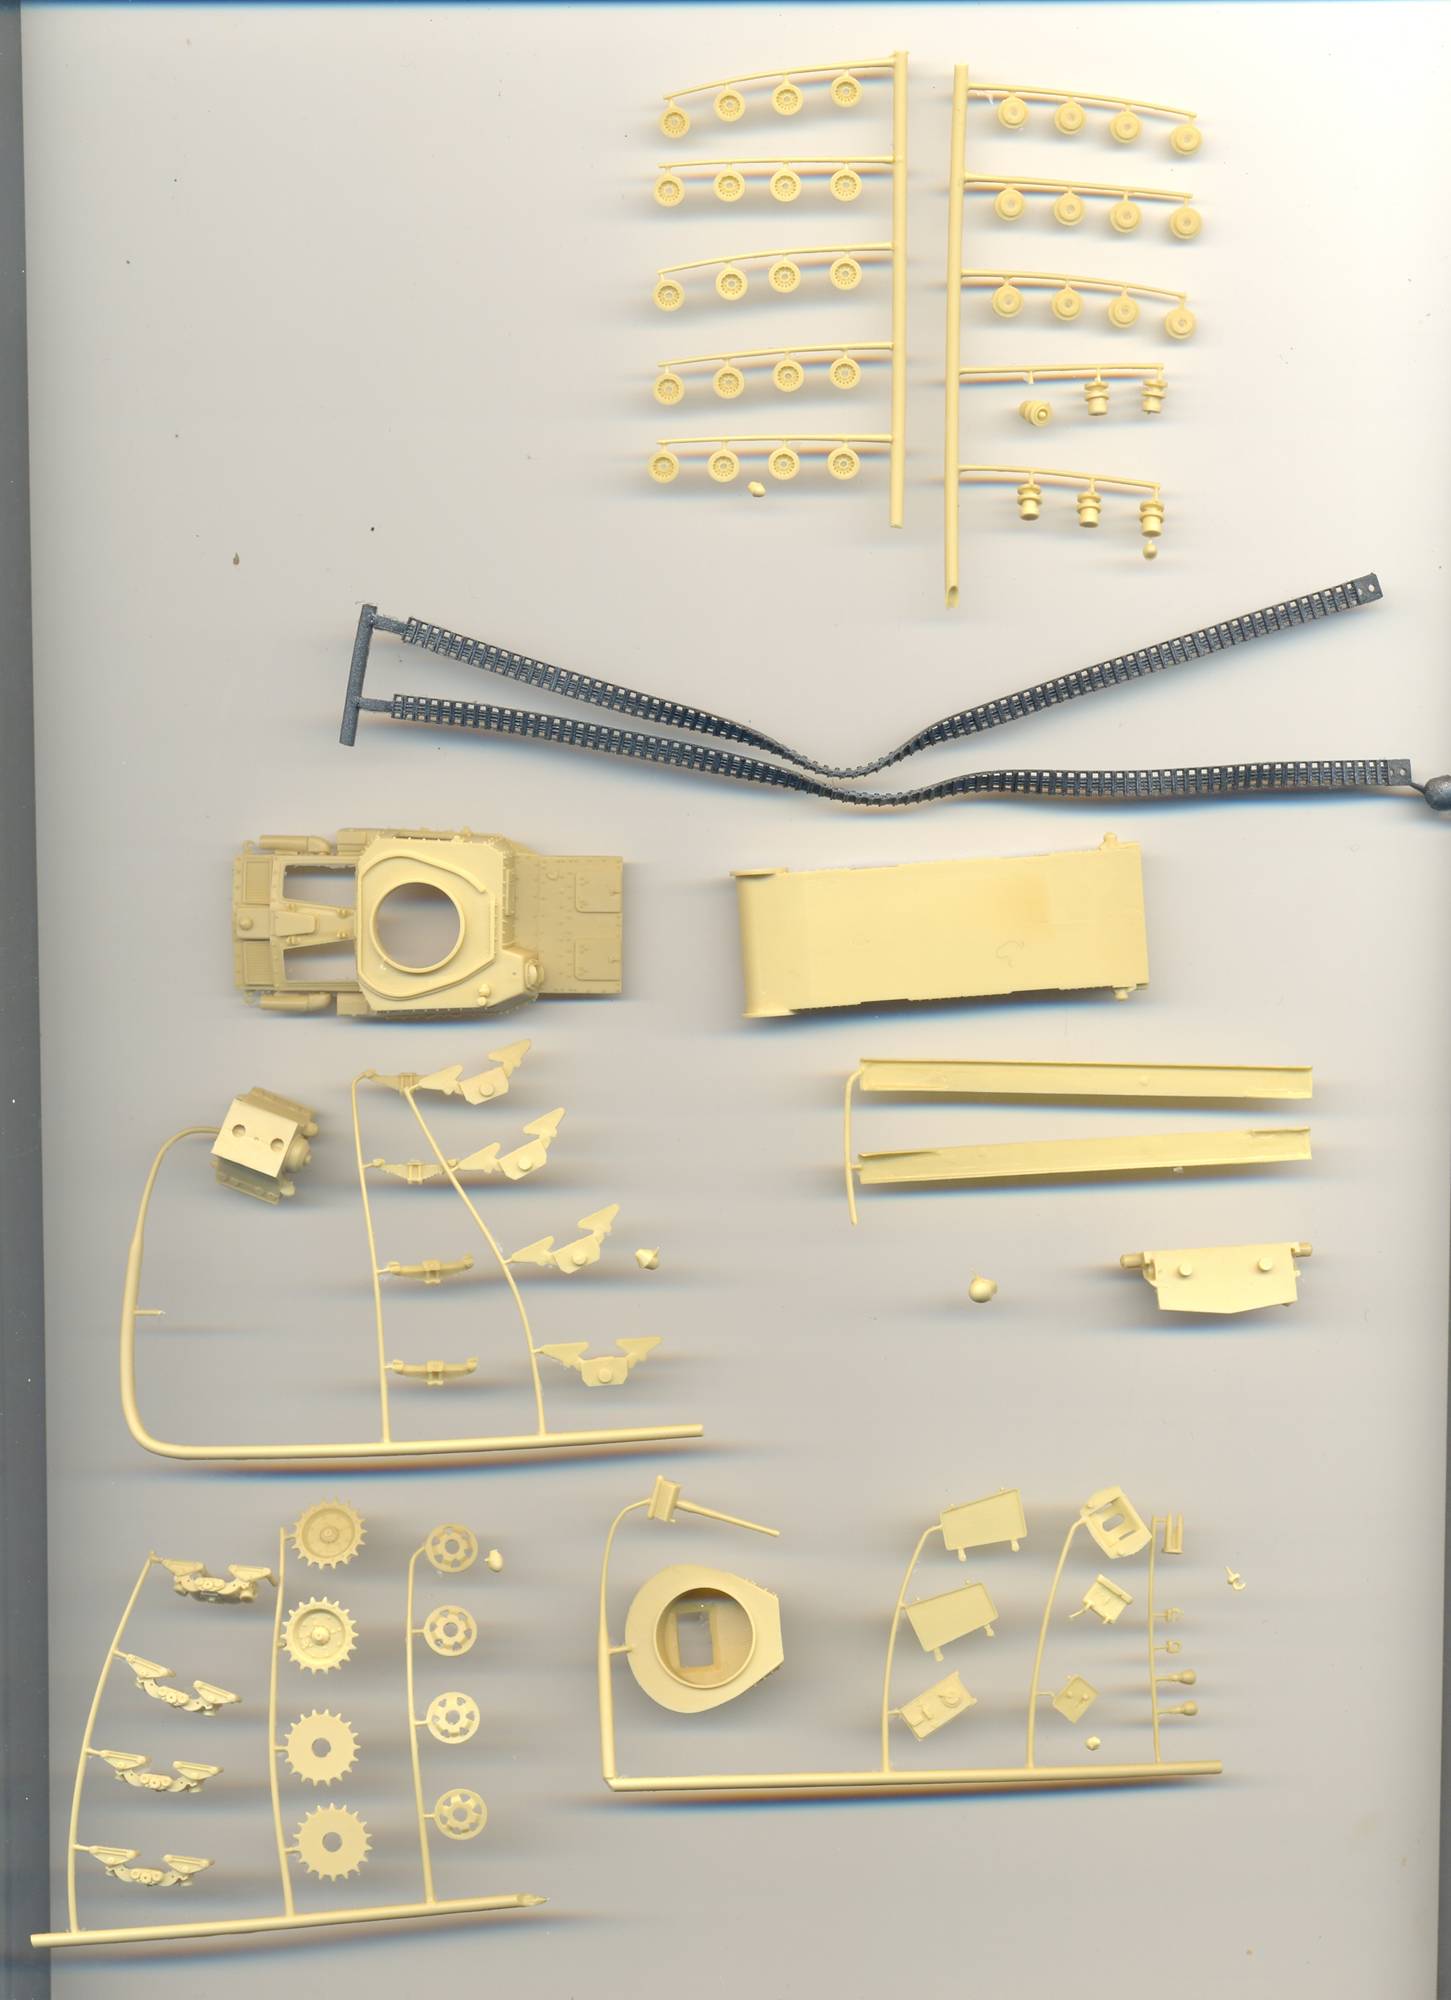
| Phase I: gazing at the contents Until recently, I had never heard of
this brand. Upon looking at this kit, I immediately realized that
this is a shame.
The hull is a two part affair, with two locating pegs, and (just as the turret) completely hollow with thin walls. Almost all hatches can be opened. An engine block is provided, but no interior for the turret or hull is included. A dry fit quickly showed that the parts literally fall together, with no sanding, putty or other extra work required. Indeed, fit is so good, that almost no glue is required. The engine hatches for instance can be positioned and re-positioned as the modeler likes, just by friction.
Phase II: construction As there is no manual, I had to use
my references quite a bit, but I think that in the end, everything
is where it should be.
Construction starts with placement of the engine, at least if one goes for open engine hatches. Then the lower and upper hull can be joined using the locating pins. Only a very little amount of glue is needed, to make sure the joints don't show any gaps. If done sparingly, no sanding is needed. The same goes for the rear hull plate which can just be attached with a little drop of cyano-acrylate. The turret is even simpler. Just place the gun mount into the recess in the turret, without glue, and glue the mantlet in place. This will ensure the gun can move in elevation after assembly. The gun barrel needed very little sanding at the seams. The turret, by the way, can also be made to rotate, just by putting it atop the hull. If you wonder why there is a gap in the turret splash guard, well, this was done to allow the driver's periscope (installed in the roof) to be raised or lowered.
The running gear demands most work, as there are eight wheels on each side, composed of two halves, which makes for eight times two times .... erm, a lot of wheel halves. (I never really mastered non-linear partial differential equations.) The gun bogies each are composed of two parts and all bits and pieces that make up the running gear have locating pegs and/or recesses that are fool-proof. The only annoying bit, which I noticed too late, is that the holes in the wheel halves (where the axles will go) are not 100% centered. If you line up the holes of each wheel halve with each other, this will be very difficult to spot, if you don't (like me), than the wheels will sit at an angle with respect to the axles. Luckily the wheels are very small, and mostly hidden by the bogie trucks. These bogie trucks can be glued to the hull with a slight tilt, by the way, to represent the articulation of the suspension. It is not 100% how the real thing worked, but it does the job.
I fitted the fenders last, to allow me to check how the tracks would go around the sprocket, idler and return rollers. After checking, I believe I will be able to install them after fitting the fenders. Had I known earlier I would have installed the fenders just after mating the hull halves. It would have bee so much easier. It seems the locating pegs for the fenders don't line up completely with the recesses on the underside of the upper hull, but by shaving off the rear peg this can be solved. Note that there is still a slight gap inside the hull where the fenders go, so you can see through the hull. I think I will add a slice of plasticard, painted black to make sure. At this point, the only things that needs to be added are the tracks and hatches (which are now held in place with some white glue for painting purposes). Very unusually, to me at least, the construction took only two days of modeling.
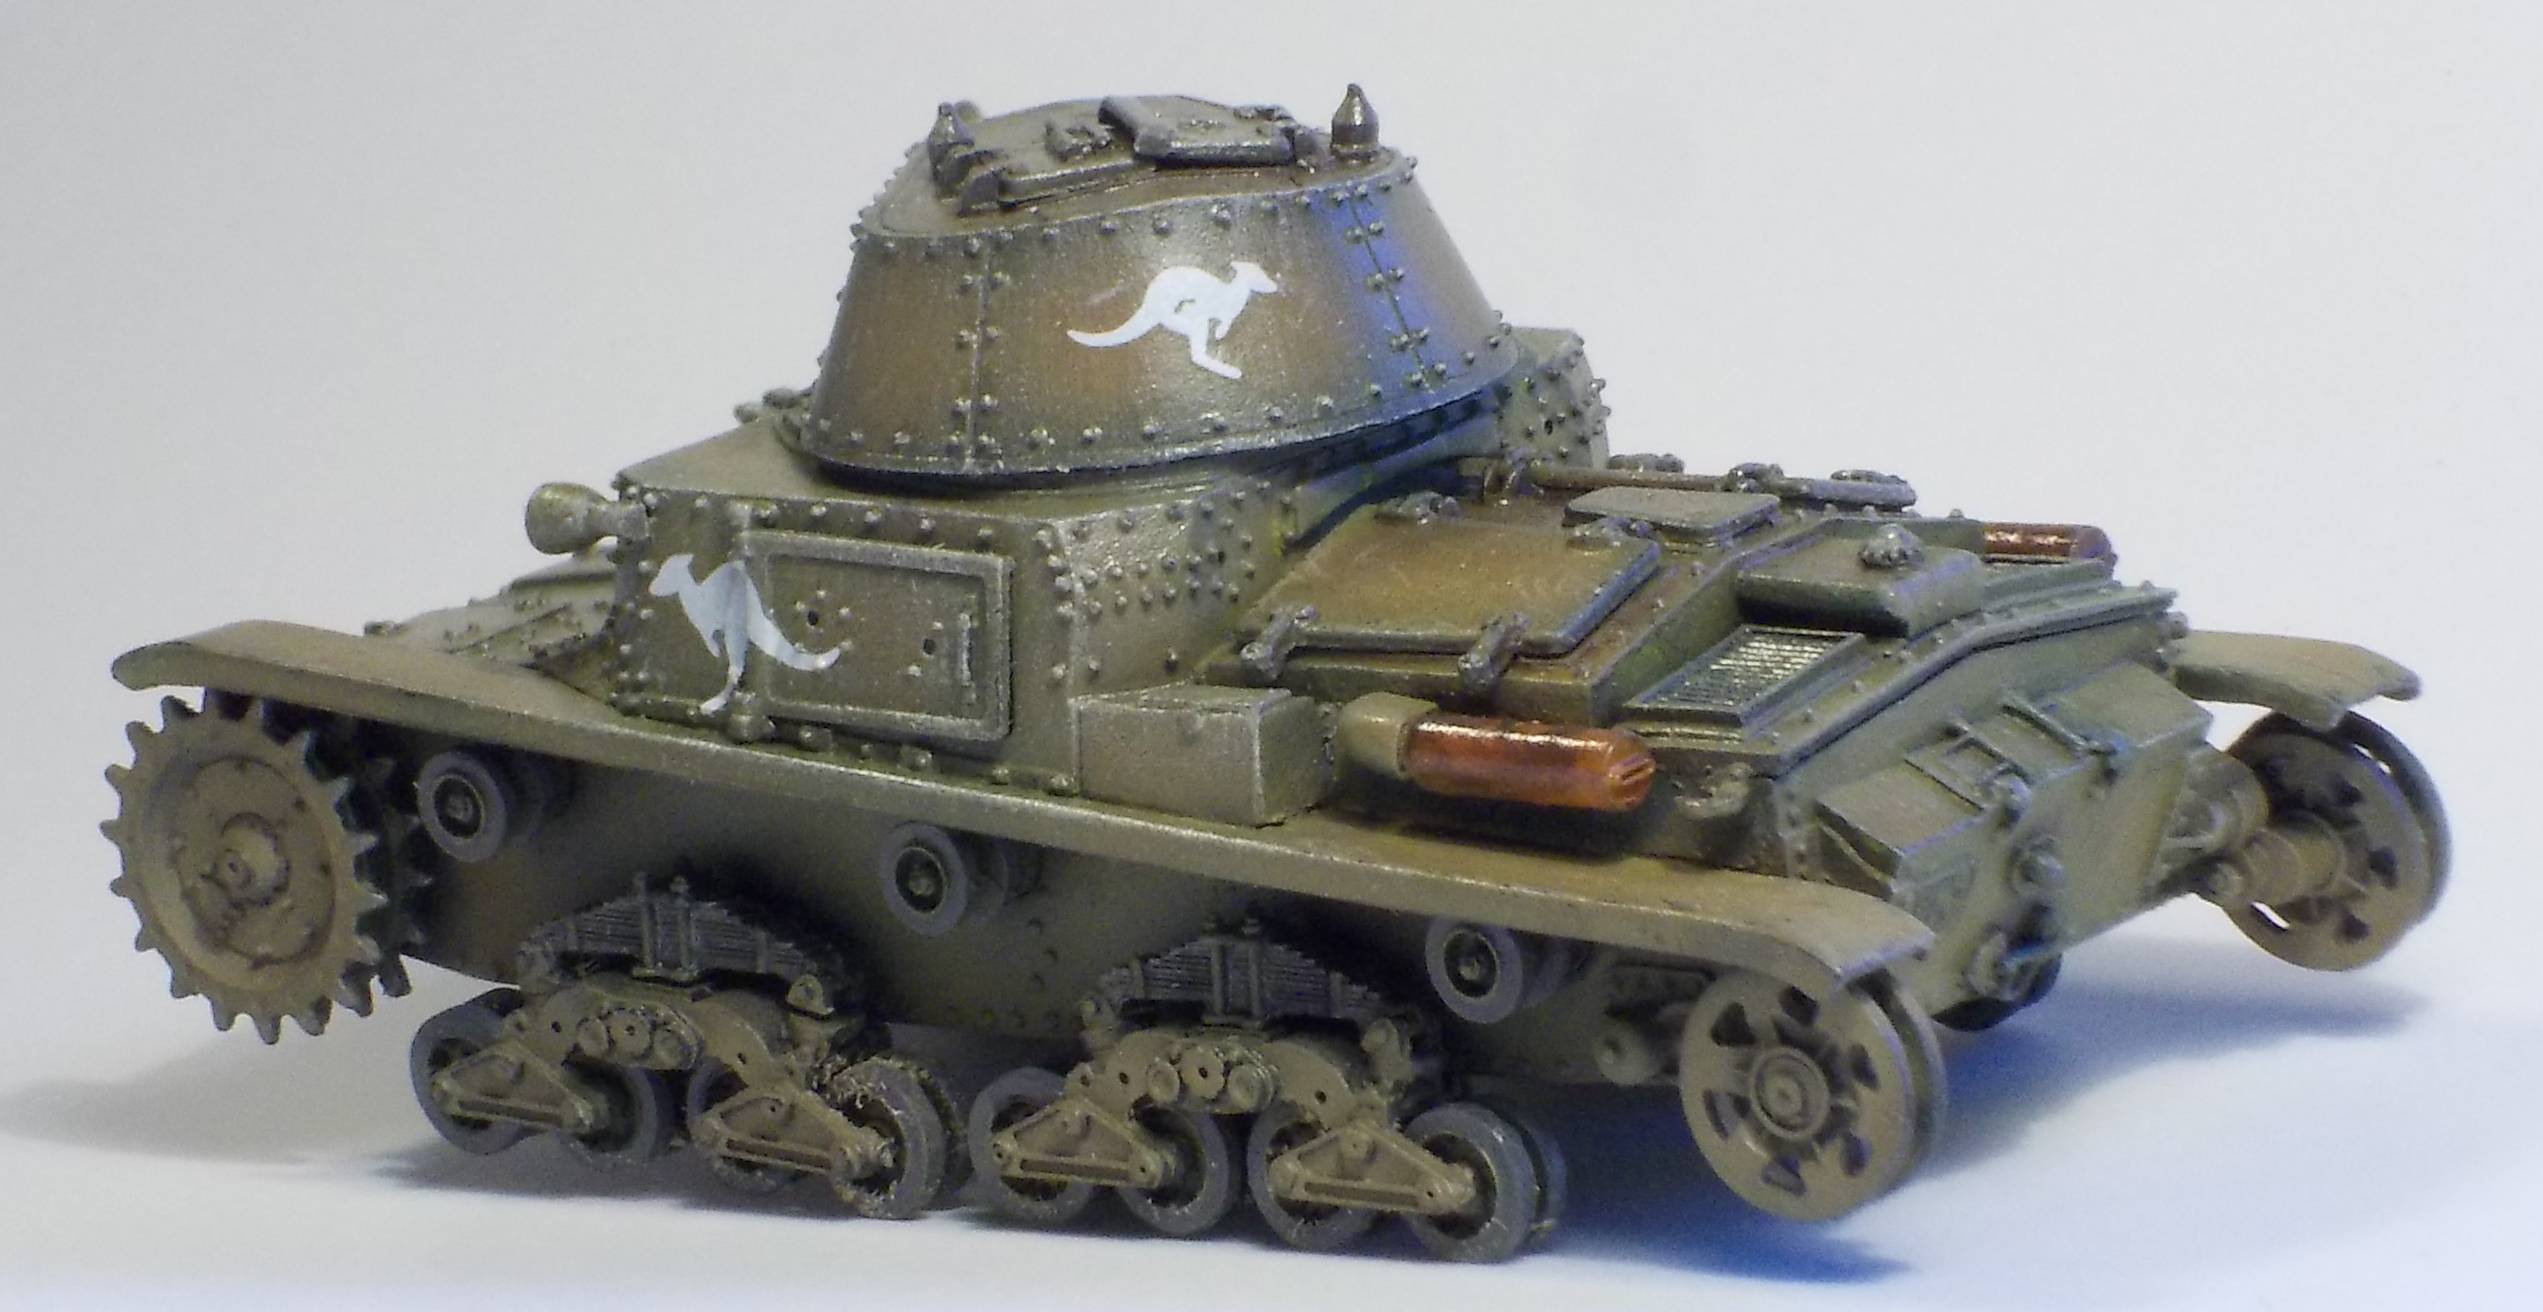
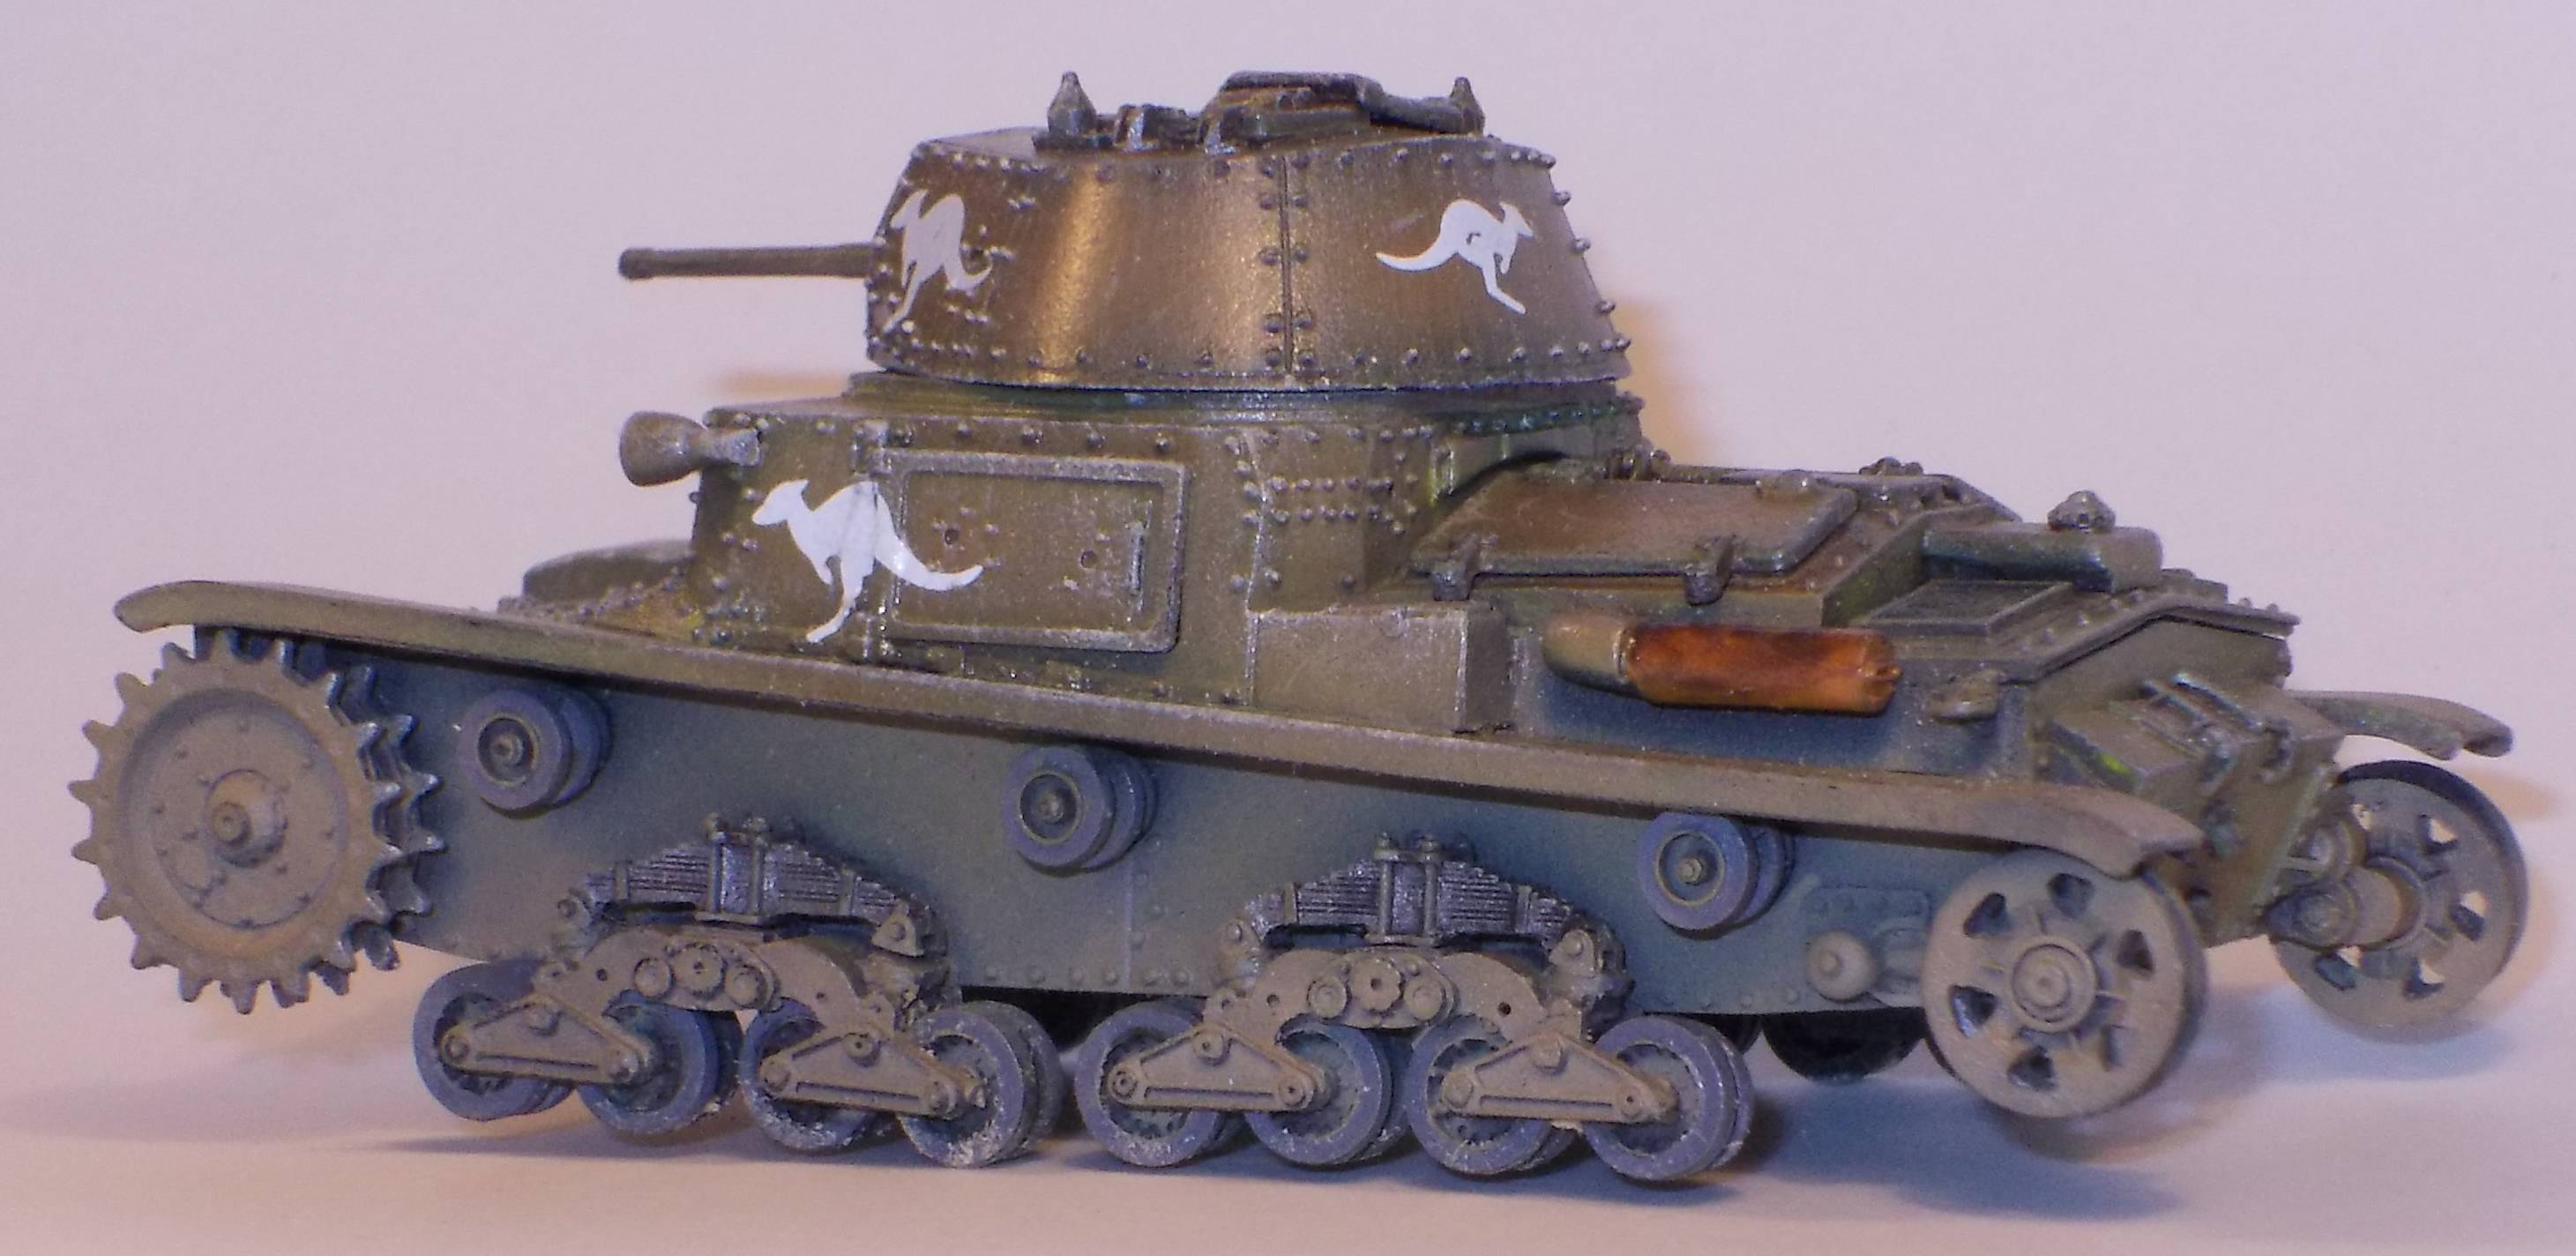
Phase III: first paint At this point some Polly S "Mud"
(acrylic paint) was sprayed on to see where I am going. I decided
to paint the model in Australian markings as the Kangaroo markings
look cool in my eyes. It seems quite a number of Italian tanks ended
their careers with these marsupials painted on their armor, the first
probably around February 1941.
Phase IV: accuracy and version My library is rather limited when it
comes to Italian vehicles, so I cannot tell much. (This has the added
advantage that I can only build the model OOB, which helps to bring
my stress-levels down.) By the way, the kit lacks the footstep
that was typically fitted underneath the hull door on the left. Other bits of information that might
be interesting is that the headlights were often removed in combat
and that from mid 1941 a licence plate was painted on the nose of
the tank, whereas earlier on only the stamped licence plate at the
back was used. The crew consisted of four men.
At this point,
all that was left to be done was the installation of the tracks and
touching up the paintwork. So there you have it. I am quite pleased with the result, and I am anxious to find out if I can get the same result from the venerable Esci/Italeri kit. I am afraid that the rigid vinyl tracks of that kit will spoil the final result, though. This means that the First Air kit is a very serious competitor, although it will have to rely on third party decals.
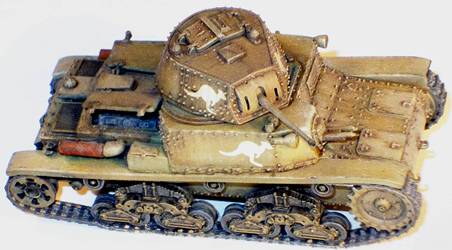
The tank was put in a diorama with
References [1] M13/40 Armour in profile 14, Military
zone
Thanks to Gunji Ueda of First Air for the review sample. |
| Back to First Air Kit List | Back to Construction Reviews |
Article Last Updated: 11 February 2012 |
Back to Home Page |

.JPG)
.JPG)
.JPG)
.JPG)
.JPG)
.JPG)
.JPG)
.JPG)
.JPG)
.JPG)
.JPG)
.JPG)
.JPG)
.JPG)
.JPG)
.JPG)
.JPG)
.JPG)
.JPG)
.JPG)
.JPG)
.JPG)