|
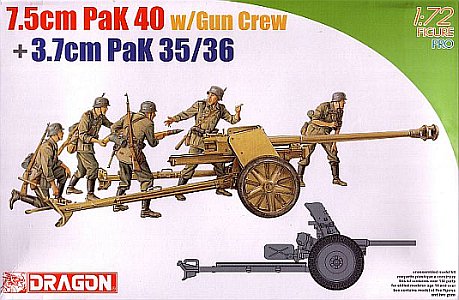
Brief Overview
The 3.7cm Pak 36 (Panzerabwehrkanone 36) was the main German anti-tank
weapon until mid-1941. Giving acceptable results during the invasion of Poland in 1939, it was soon found to be inadequate during the invasion of France a year later, and
completely useless against the thick armour of the Soviet tanks in 1941. It was followed in this role by the more capable 5cm Pak 38 gun and later the even more powerful
7.5cm PaK 40. Even though not longer a useful gun in the anti-tank role the PaK 36 did get a new lease on life as a small support gun usually mounted on half-tracks like the
SdKfz. 251. The PaK 40 remained a potent weapon up to the end of the war. Being designed from the start to also be used on vehicles it was
adapted for use on a variety of self-propeller tank hunters such as the Marder III and the SdKfz. 234/4.
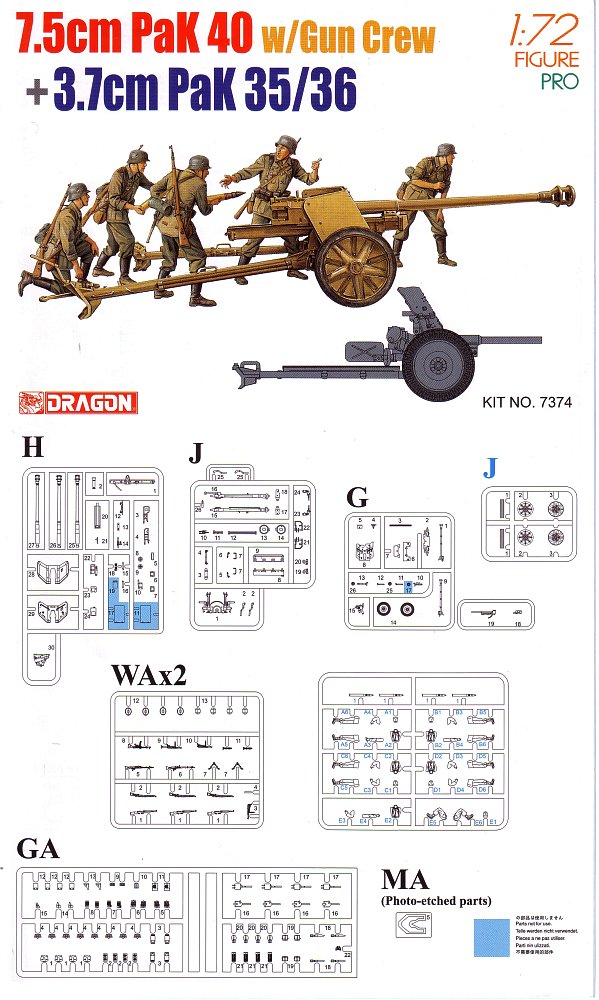
Kit contents
The parts are molded in a medium grey hard styrene like plastic. There are a total of 9 sprues:
- G (x2): parts for the PaK 35/36 (18 parts + 2 parts respectively) Note: Instructions indicate part G17 is not used, but there is no G17 on the sprue!
- H: parts for the PaK 40 (30 parts)
- J (x2): parts for the PaK 40 (29 parts + 6 parts respectively)
- GA (x2): gear for the crew figures (67 parts each) Note: Instructions only list one sprue
- WA (x2): light weapons & helmets for the crew figures (25 parts each)
- unidentified: crew figures & PaK40 ammunition (34 parts)
To round out the contents there is a tiny photo-etched fret with a single part for the fillet for the gun's shield, a small decal sheet with kill rings and ammunition stencils, and
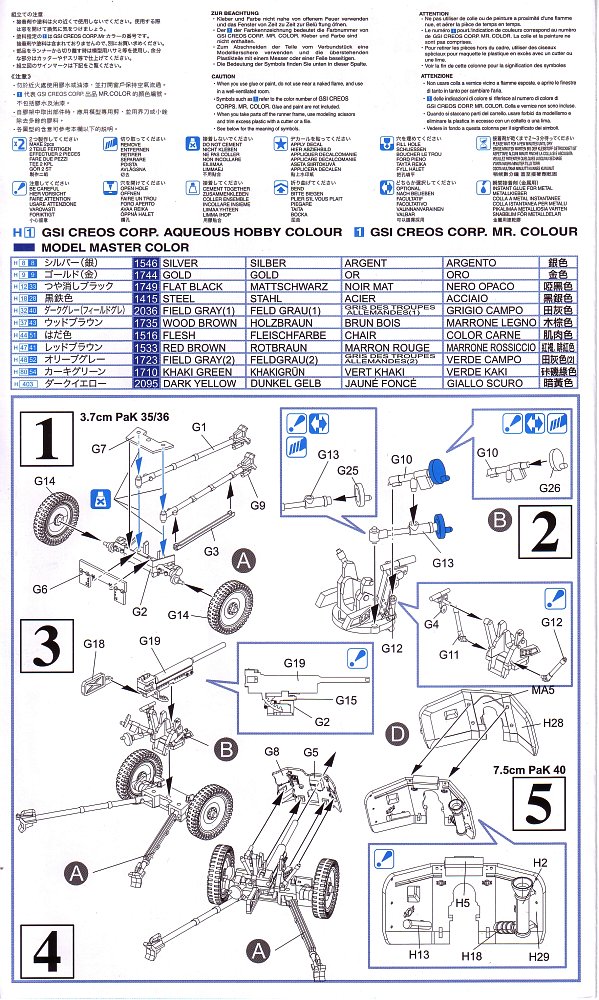
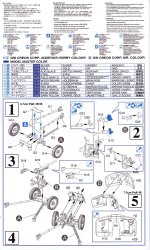
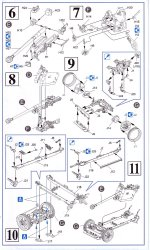
finally a four page instruction sheet. The assembly sequence is divided into 10 steps (4 steps for the PaK35/36, 7 steps for the PaK40), all in the typical
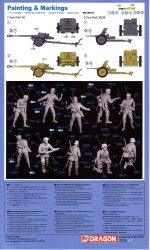
exploded diagram format. The last page has a simple colouring guide with a grey & tan camouflage option for each gun and a photographic style guide for assembling
the crew figures. It's nice that there PaK40 ammunition is included, though it would have been nice to see some Pak35/36 rounds included as well.
Detail on the parts is excellent though my sample did display fine seam lines on most of the parts as well as some flash here and there.
I found that on the whole, parts fit was not bad. Some mold shift was present.
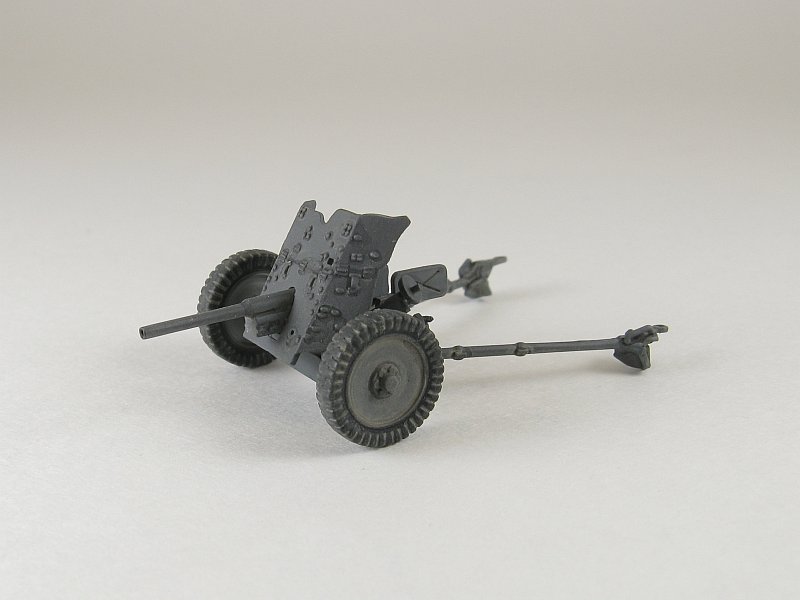
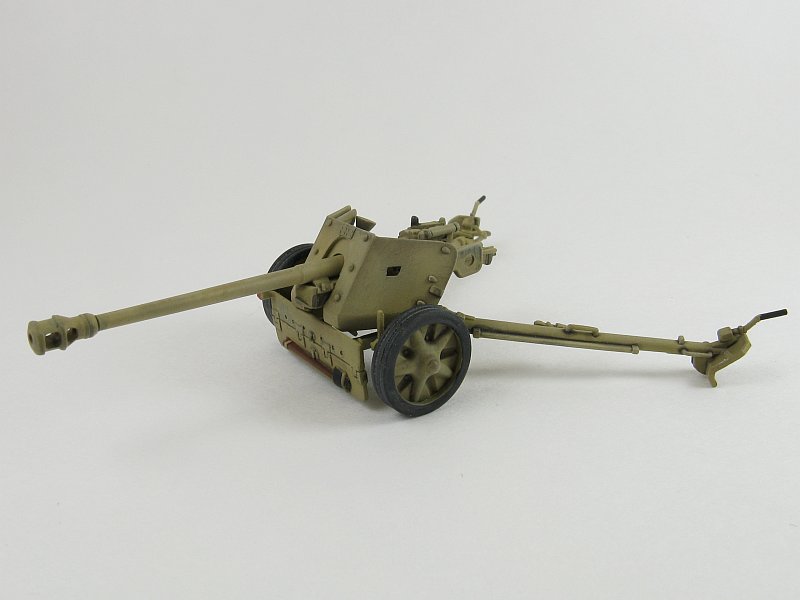
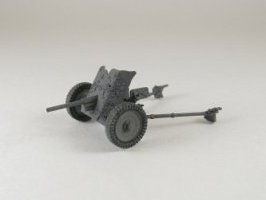
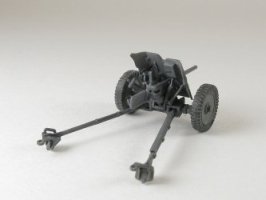
PaK 35/36
This is a small gun that comes on a couple of equally small sprues. As to be expected with injected plastic the shield is a bit thick at the edges. Some scraping with
a hobby knife thinned them some to remove the clunkiness.
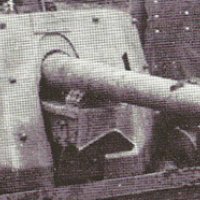
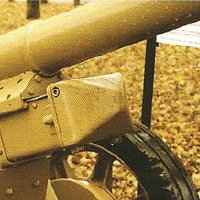
Dragon provides the barrel with the end already opened up. I deepened the opening to give it a more realistic appearance. The barrel is the stepped style as seen below.
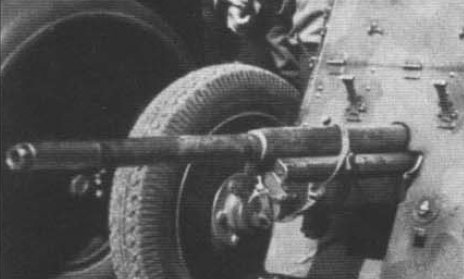
stepped barrel |
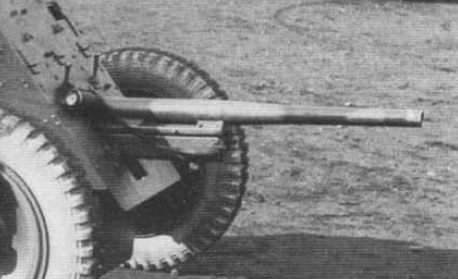
tapered barrel |
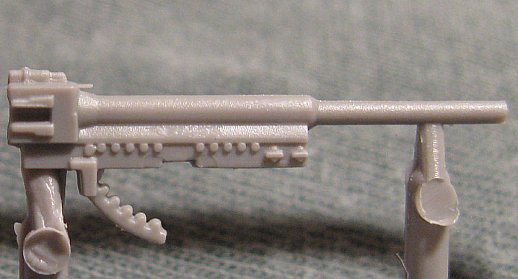
kit barrel |
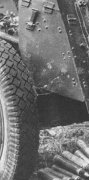
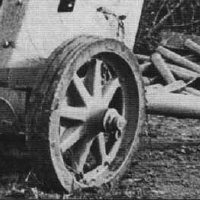
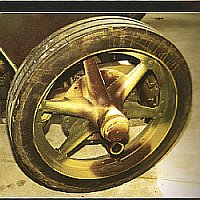
Dragon offers the alternating lug tires on the wheels (see below) which seems to be the most common type I've found in period photos in my references. The tread is done very well for
this scale.
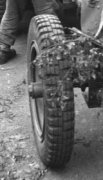
alternating lug tire |
chevron tire |
centre line grooved tire |
herringbone rib
with diamonds tire |
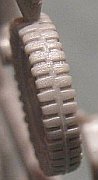
kit tire |
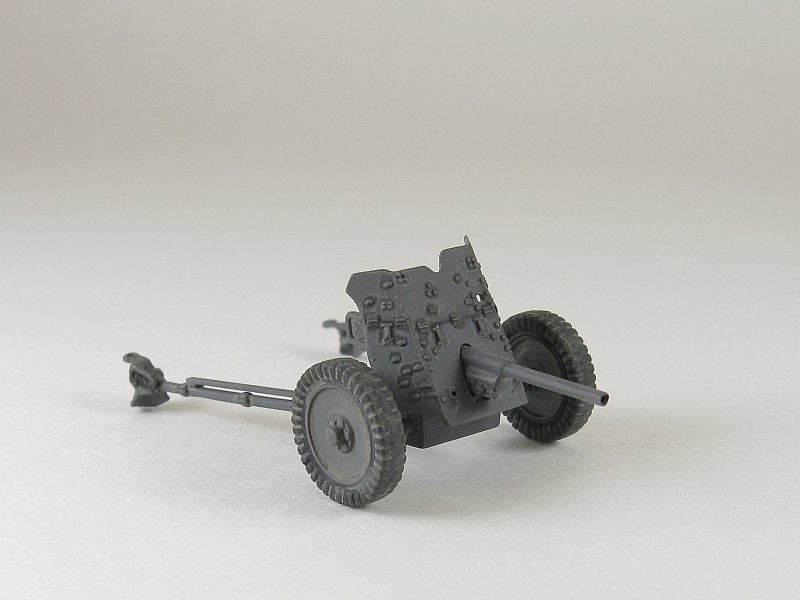
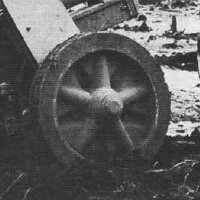
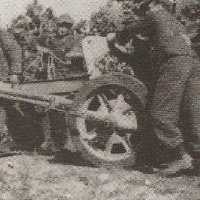
All of the above is nice and expected from Dragon. What is surprising is their poor rendition of the trail spades. They are rectangular shaped, much too narrow
widthwise and miss the prominent
towing eye and twin support fillets seen on the real spades. They do at least come with the handles molded on. Some work will be needed to make these somewhat
accurate. Refer to the following photographs
which illustrate what I mean.

spade support fillets & triangular top plate |
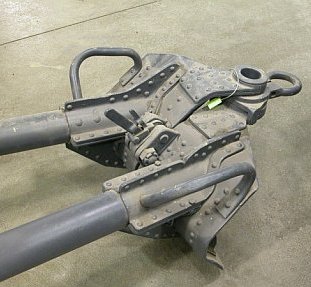
top view showing towing eye |
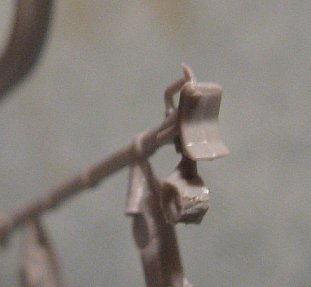
kit spade |
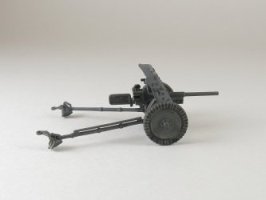
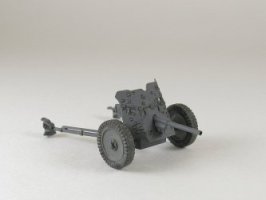
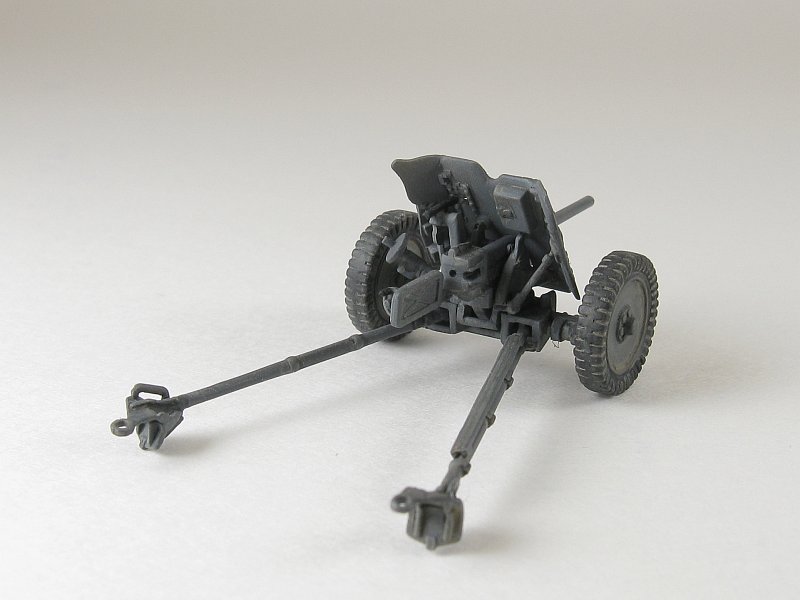
Construction is quite straight forward with few vices. Fit is good though the small size of the gun will require some
dexterity on the part of the modeller. An interesting construction point comes with the traverse and elevation wheel/shafts. Each is molded as a
single piece, shaft and wheel combined, but Dragon includes a
separate set of wheels, for use in Step 2. Here the modeller is directed to cut the molded on wheels from the shafts and replace them with the substitute
wheels. A tricky operation at best with the small contact point for glueing. I proceeded to lose one of the replacement wheels while removing it from the sprue
which forced me to use the original part.
As you can see my finished model has better looking spades. These were grafted to the ends of the Dragon trails from an ICM PaK35/36 kit that had met an unfortunate end
while being transported for a show.
Conversion Possibilities
The Germans used the PaK 35/36 carriage extensively for a number of other weapons. This kit would be a good candidate for a few conversions, such as
a 4.2cm PaK 41 or leIG37.
Conclusion
A good kit from Dragon but not one of their best efforts. I have built three PaK 35/36 kits from different vendors (Dragon, ICM & Esci/Italeri), and
would have to say that the ICM version comes out slightly ahead of the Dragon kit for overall accuracy. The old Esci/Italeri kit is dated and
not worthy for consideration as a displayable PaK 35/36.
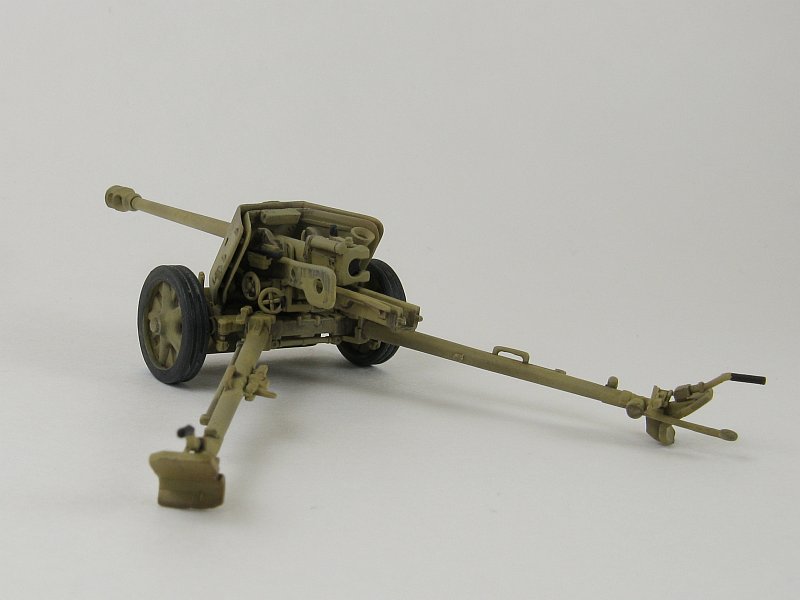
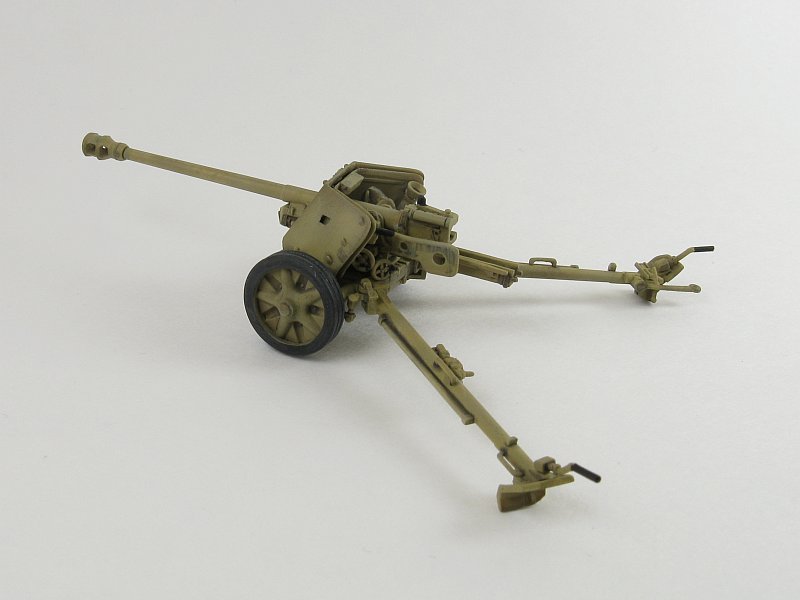
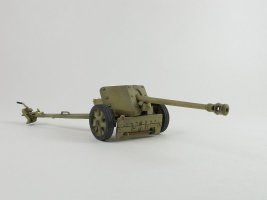
PaK 40
The mold shift mentioned above did affect the gun barrels, making them out of round and distinctly oval in cross section.
I replaced the barrel with an RB Model turned part, item no. 72B05. The replacement barrel is metal and an unfortunate side effect of it's weight is how it
affects the center of gravity, causing the gun to tip forward onto the barrel. My pictures below of the completed model don't show this as I stuck down the trail
with a small piece of blue sticky tack hidden under one of the spades.
Dragon gives the modeller some options regarding construction.
- Three gun barrels each with a different recoil baffle
- front baffle oval-ish & rear baffle round (part H25). According to reference [1], this is the most common type used.
- front & rear baffles both round (part H26)
- front & rear baffles both oval-ish (part H27)
- Early (part H7) versus late (part H6) recuperator cover end caps
early recuperator cover |
late recuperator cover |
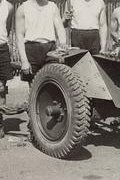
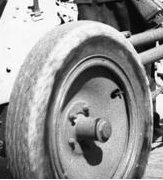
- 8-spoked wheels with convex spokes (part J2) versus 10-spoked wheels with alternating convex/concave spokes on a solid disk (part J3). There are at least two other
wheel styles that could have been supplied in the kit.
8 convex spokes |
10 alternating convex/concave
spokes on a solid disk |
8 alternating convex/concave
spokes |
6 convex spokes |
A nice feature has the tires, complete with grooves, as separate pieces (part J1).
This was obviously done to accommodate the wheel options and it gives the added bonus of easing the painting of the tires.
- Lower shield molded in two parts which allows it to be extended for firing or folded for towing
- Positionable trails for either firing or towing modes
- Not listed as an option, but one that is available, is to add or delete the rear light (part J8)
Unfortunately the shovel on the lower shield is molded on, which doesn't look too bad as is, but a separate part for the
shovel would have looked so much better.
Construction was straight forward. The plethora of parts do force the modeller to pay close attention to ensure pieces are not missed and put in the correct places.
I did encounter some interference between the shield and the carriage which forced me to aim the gun ever so slightly to the left. I
added the outer edge shield spacers found between the two shield parts with thin slices of plastic rod. The insides of the shield are
chamfered slightly to make them look thinner. I decided to increase the kit's chamfer some by scraping and extended the chamfer further inside to make the shields
look even thinner.
The instructions have you mount the trail lock (part J11) in the travel position, spanning the gap between the trails. It should be attached as thus if the gun
is being built for towing, otherwise the lock should be mounted parallel to the trail leg and pointing forward. The handles on the spades can be configured
for the firing position (2 x part J2) or the travel position (2 x part J25), though the instructions don't really spell this out very well.
The towing eye is molded directly to the trail in the travel position, but I have seen pictures of the gun in firing position with this extended, so
leaving the eye extend is not a problem. For those wanting to change this, the eye would need to be cut off and mounted so it points to the front of the gun.
I didn't bother doing this.
There is a mix up in the instructions regarding the travel lock, which should go on trail leg J16 and not
on J15 as illustrated. The demolition charge (Spengpatrone Z 72, part H2) mounted to the back of the shield and used in case the gun had to be abandoned can be an optional
part as far as I can tell. Period photos show guns with and without it mounted.
Conversion Possibilities
This kit would be the best candidate to make a late war FK 7M59 field gun. Scale drawings of this gun's slightly different shield can be found in reference [1].
Also check out Stephen Brezinski's conversion of a Roden PaK40 into an FK 7M59
here. His changes to the shield would also be relevant to converting the Dragon kit as well.
A walkaround of the FK 7M59 can be found here. The page identifies
it as a PaK40 but as can be seen the shield and other minor detail deifferences indicate that it is an FK 7M59 as per reference [1].
Conclusion
This is probably the best PaK40 out there, though I have to admit that I have not seen any other of the competitors other than the old Esci/Italeri kit,
which is not even close to the quality of this Dragon kit.
Figures
I'm not a real expert on figures so I can only offer my inexperienced view regarding the quality of the Dragon figures. To my eye
these look to be excellent. Facial features are great for 1/72 scale. Clothing looks nice and creases are not overdone. I can only assume that
the uniforms are correct. Instructions are just part numbers with lines pointing to the parts on pictures of built figures.
Uniform colours are call outs pointing to body areas of the figures.
Dragon does supply a full set of gear as separate pieces, two helmet options plus a plethora of personal weapons.
References
[1] German 7,5cm Anti-Tank Gun Pak 40, Armor Photo Gallery 18, Jan Coen Wijnstok, Model Centrum Progres, Warsaw, Poland 2007 ISBN 978-83-60672-04-4
[2] German Anti-Tank Guns 1939-1945, T.J.Gander, Almark Publications, New Malden, England 1973 ISBN: 0 85524 142 X
[3] Antitank Artillery of the Wehrmacht 1939-45, Maxim Kolomiets, MK Strategy, Moscow, Russia 2006 ISBN: 5-901266-01-3
[4] wikipedia (PaK 40)
[5] wikipedia (PaK 36)
[6] primeportal.net (PaK 36 walk around)
Review sample purchased by the author.


|