|
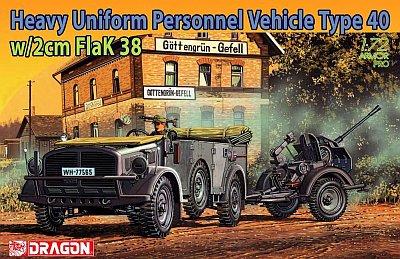
This review only covers the 20mm FlaK 38 gun which unfortunately is not available as a separate kit from Dragon.
I'm not going to go into too much history on this gun. It, along with its older sibling the 20cm FlaK 30, were the most numerically produced light calibre anti-aircraft
cannons of the German forces in World War Two. Production of the 2cm FlaK 38 commenced in 1939 and continued throughout the war. It was adapted to a variety of special made self-propelled vehicles
as well as being used in a variety of ad hoc mountings on automobiles and truck beds. A quad mounted version, the 2cm Flakvierling 38 proved to be a highly successful weapon.
An experimental weapon based on the FlaK38 carriage, the 3cm Flak 103/38 "Jaboschreck", was built but never entered production due to recoil vibration issues with the larger calibre gun.
The Kit:
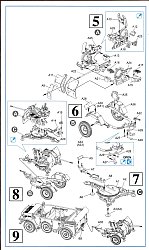 |
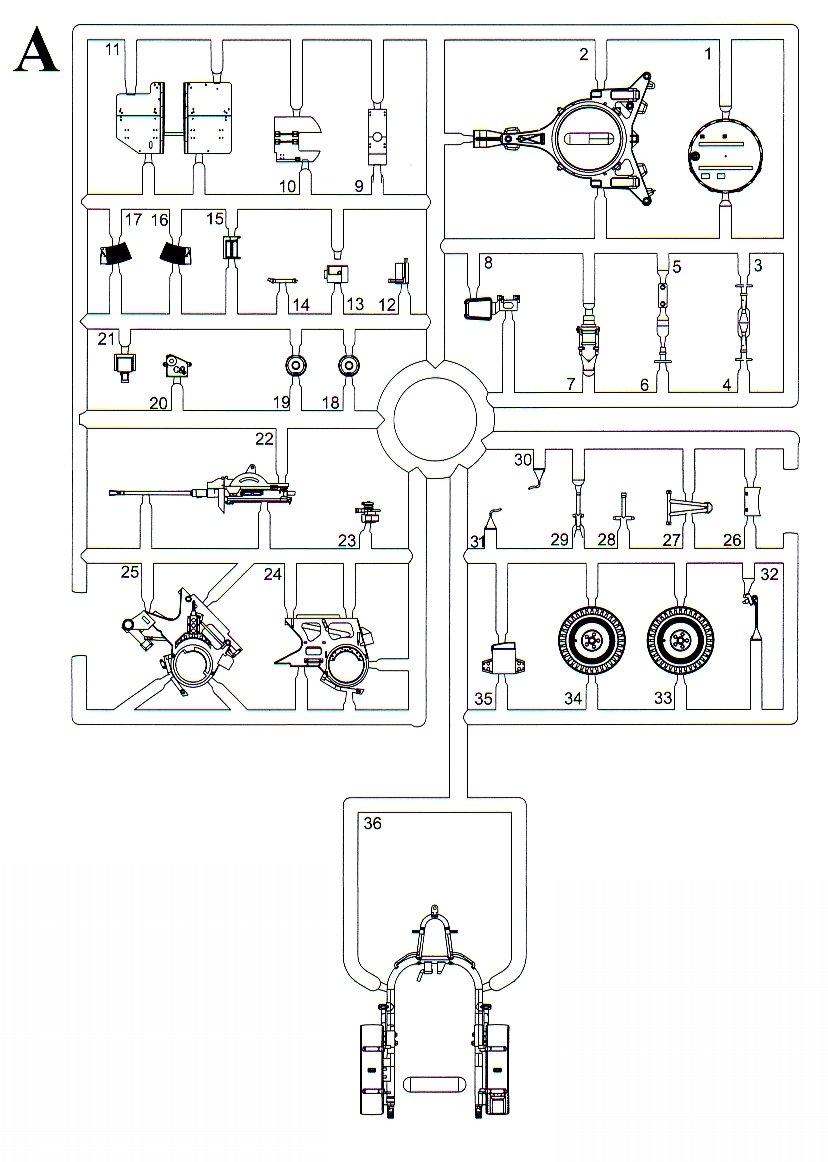
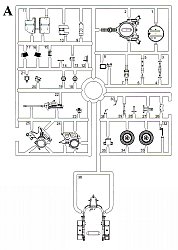
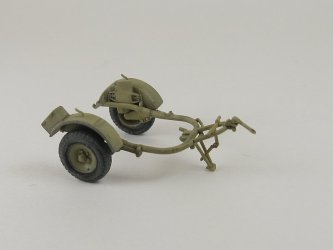
The gun is part of a two kit set containing Dragon's previously released Horch and a new sprue (A) for the 2cm FlaK 38 and its Sd.Ah. 51 trailer. Parts count is 36. This is a typical Dragon
kit - injected hard styrene plastic in a light to medium grey colour. Little flash or seams were evident. Overall the detail is outstanding. The Sd.Ah.51 transport trailer is especially nice,
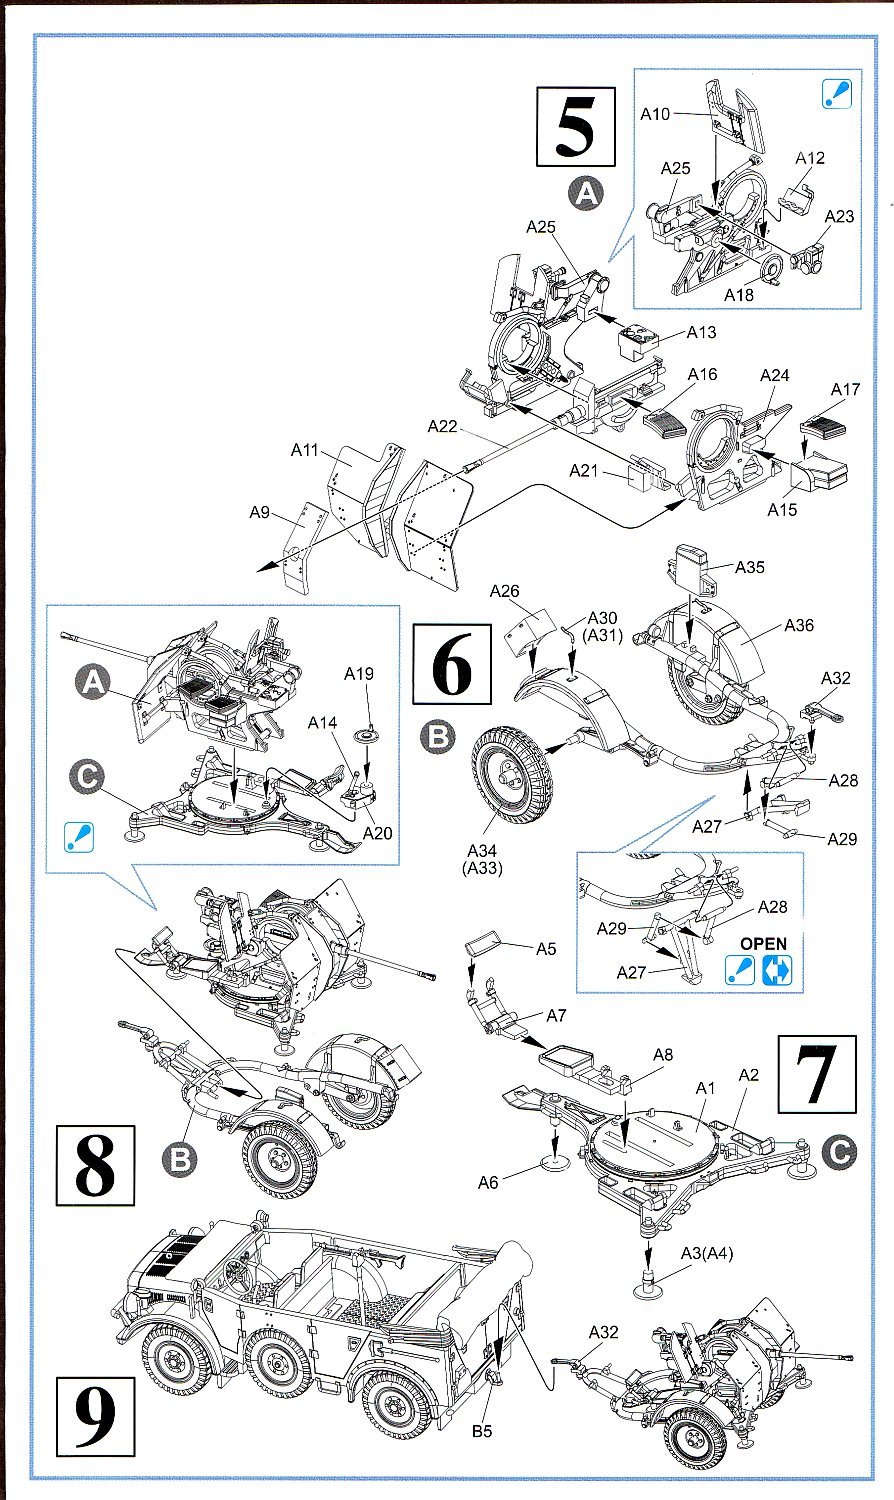
with the frame molded as beautiful single piece unit. Construction is done over 5 steps (Steps 5 through 7). No decals for the gun are included.
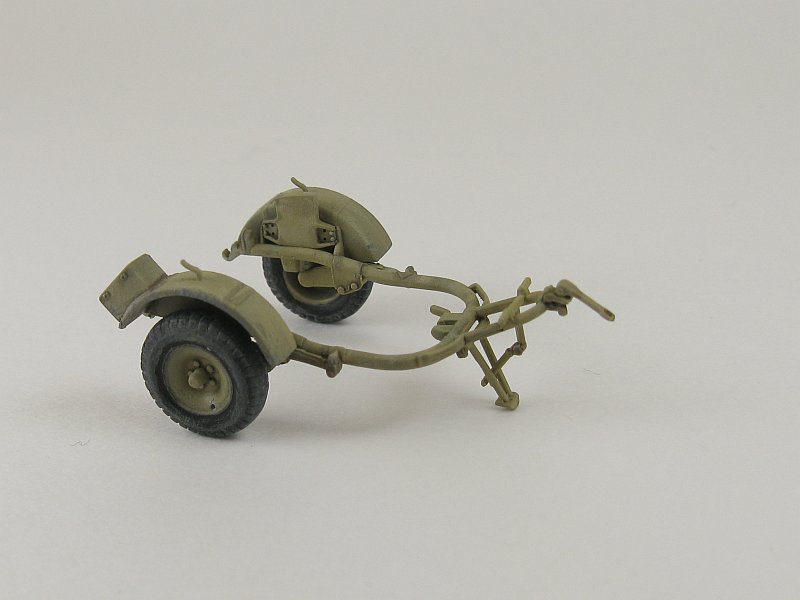
Dragon provides two build options -
having the trailer in towed configuration with the support leg folded or have it in rest mode with the support leg extended (my chosen option), and to have the gun mounted on the
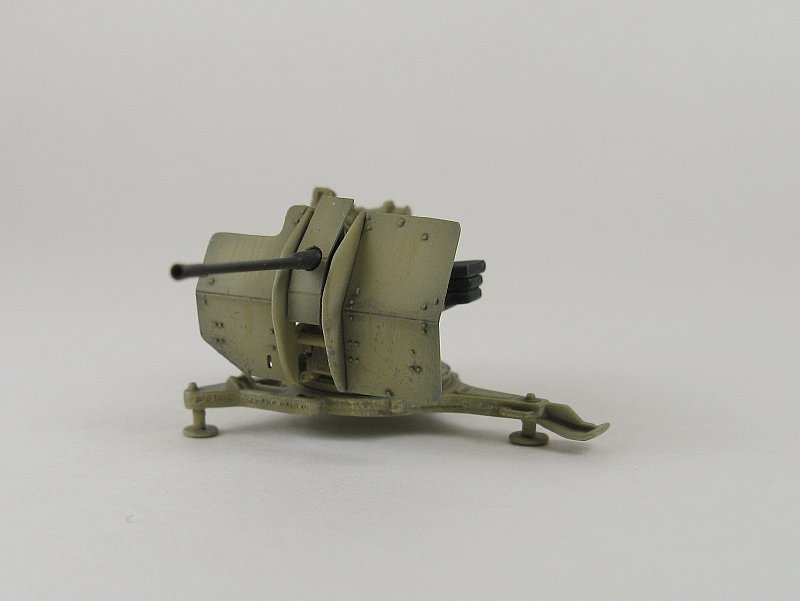
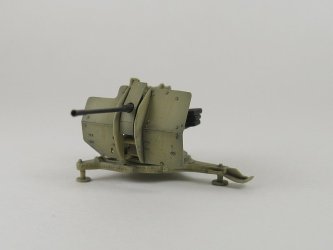
trailer or to have it and trailer standing separate from each other (this is the option I chose). Also, Dragon would have you install both of the protective shields but these can be
deleted partially or completely depending upon the modeller's wishes. For my build I mounted the large shield and left off the gunner's shield. If the large shield is not mounted
both the lower tabs and the upper mounts moulded to the gun frame (parts A24 & A25) should be removed.
Both of the gun shields are a tad thick. On the main shield I scraped the edges some to reduce their thickness and make them look thinner
when viewed edge on.
|
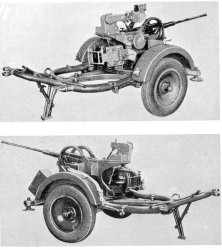 |
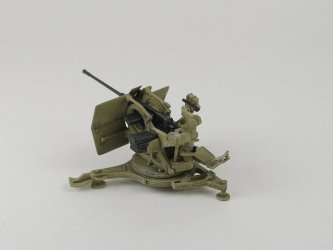
According to [4], if you mount the gun on the trailer the seat will need to be folded with the back support tilted inward toward the gun breech.
(See reference picture to the left.)
I also didn't try mounting the gun on the trailer so I can't make any comment as to how well these two pieces fit together.
|
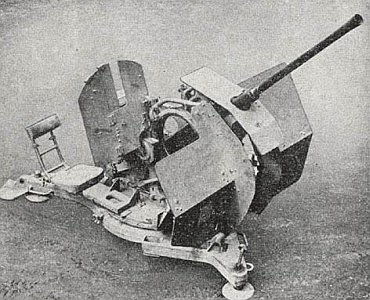
early seat back
late seat back |
According to [1], the seat back has the early style twin supports versus the later single support. It should be a simple conversion to change the kit's seat to a
later version. (See reference pictures to the left.)
|
I'm somewhat disappointed by the ammo magazines. Two are molded directly to the ammo tray (part A15) and exhibit no detail whatsoever. There are two separate magazines (part A17)
which have very nice detail. One of these is to go on top of the magazines molded to the tray but it doesn't
fit very well nor does it completely cover the magazines below. The other magazine mounts onto the gun. The wheels are another minor disappointment. Tire detail is acceptable but the rims have
no edge detail with the tires which makes for a very difficult time painting anything close to a round margin.
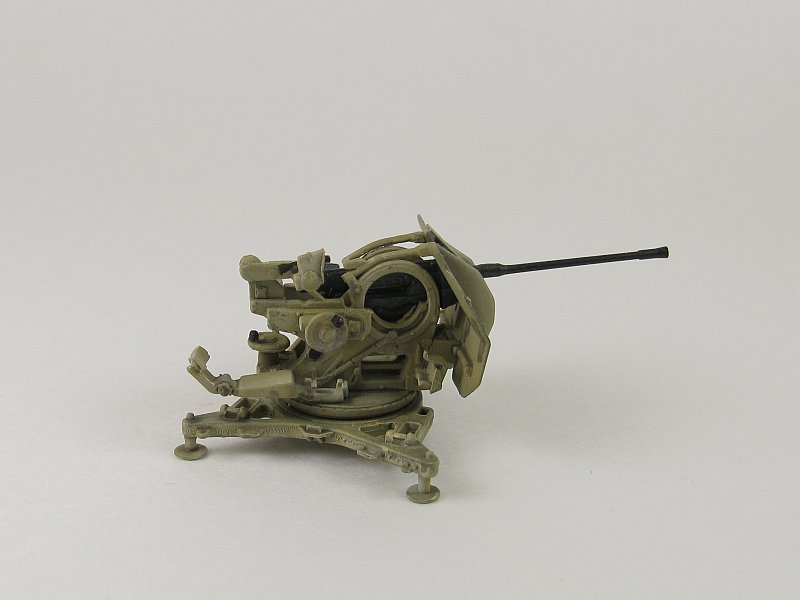
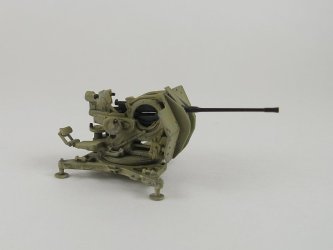
The sights (part A23) have both a telescope sight as well as the Flakvisier 38 sight. The biggest issue with the kit is the inability to pose the gun with an elevated barrel.
The arm that supports the sights is molded directly to the frame (part A25), so if you want to align the barrel in a position other than horizontal to the ground, then
the arm needs to be cut from the frame and the elevating arm replaced with a longer version.
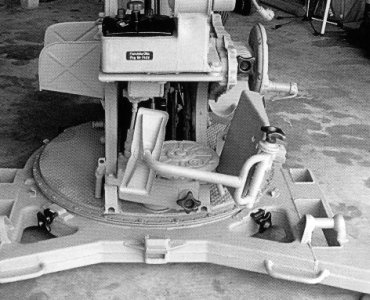
Don't remove the seam along the vertical face of the base (part A2) as this is a welded joint on the real gun. I used it as a guide to add some
thin sprue and then shaped the sprue into a weld seam by applying liquid glue and using a sharp knife blade to add texture.
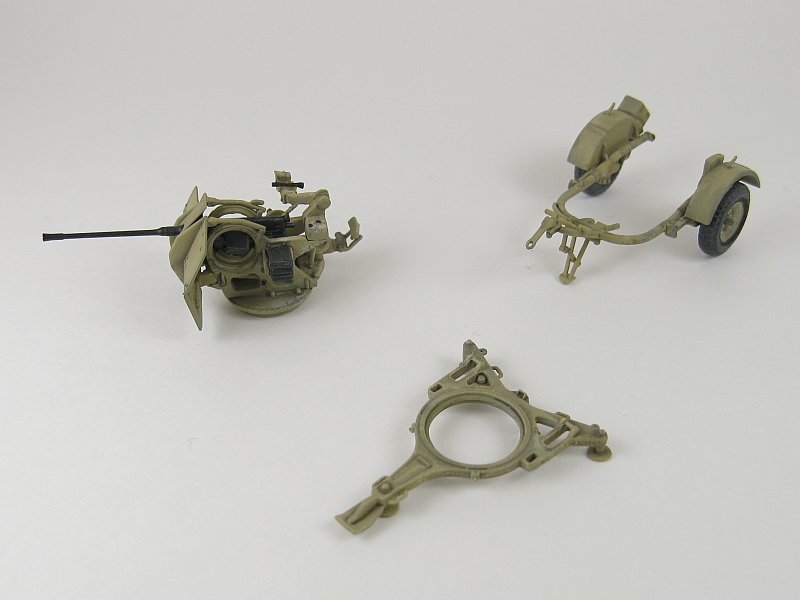
I found that leaving the barrel as a separate assembly allowed me to slot it into place after painting
the other assemblies (wheels, trailer, shields and carriage).
The kit's barrel is nice but slightly oversize. It was replaced with an RB Model brass barrel from their Flakvierling set (kit no. 72B14) which is much finer in detail.
The center shield was replaced with a brass version liberated from a Mac version of the gun.
There are no figures included for either the Horch or the FlaK 38 which isn't a big deal as far as I'm concerned, but it would have been nice if Dragon had included a few more
spare ammo magazines and maybe a storage box or two.
Conclusion:
Build wise kits don't come much easier than this. Fit was excellent for the most part. The only difficulties come with some of the small parts being easily knocked off, or worse yet possibly
flying off into oblivion. Once built though, you'll have a very nice replica of this very important gun.
References:
[1] Allied-Axis: The Photo Journal of the Second World War, issue 27, Ampersand Publishing, Delray Beach 2012
[2] German Artillery at War 1939-45 Vol.1, Frank V. De Sisto, Concord Publications, Hong Kong 2007 ISBN: 962-361-143-9
[3] German Artillery at War 1939-45 Vol.2, Frank V. De Sisto, Concord Publications, Hong Kong 2008 ISBN: 962-361-144-7
[4] German Medium Flak in Combat, Werner Müller, Schiffer Military History, Westchester 1991 ISBN: 0-88740-351-4
[5] Wikipedia
[6] Primeportal
[7] Toadman's Tank Pictures
Review sample purchased by the author.


|