| Crosshair Models
|
www.onthewaymodels.com | BMP-1 | |||
| Kit #: 72001 | Review
by Francesco Giovagnorio
|
||||
| Crosshair Models
|
www.onthewaymodels.com | BMP-1 | |||
| Kit #: 72001 | Review
by Francesco Giovagnorio
|
||||
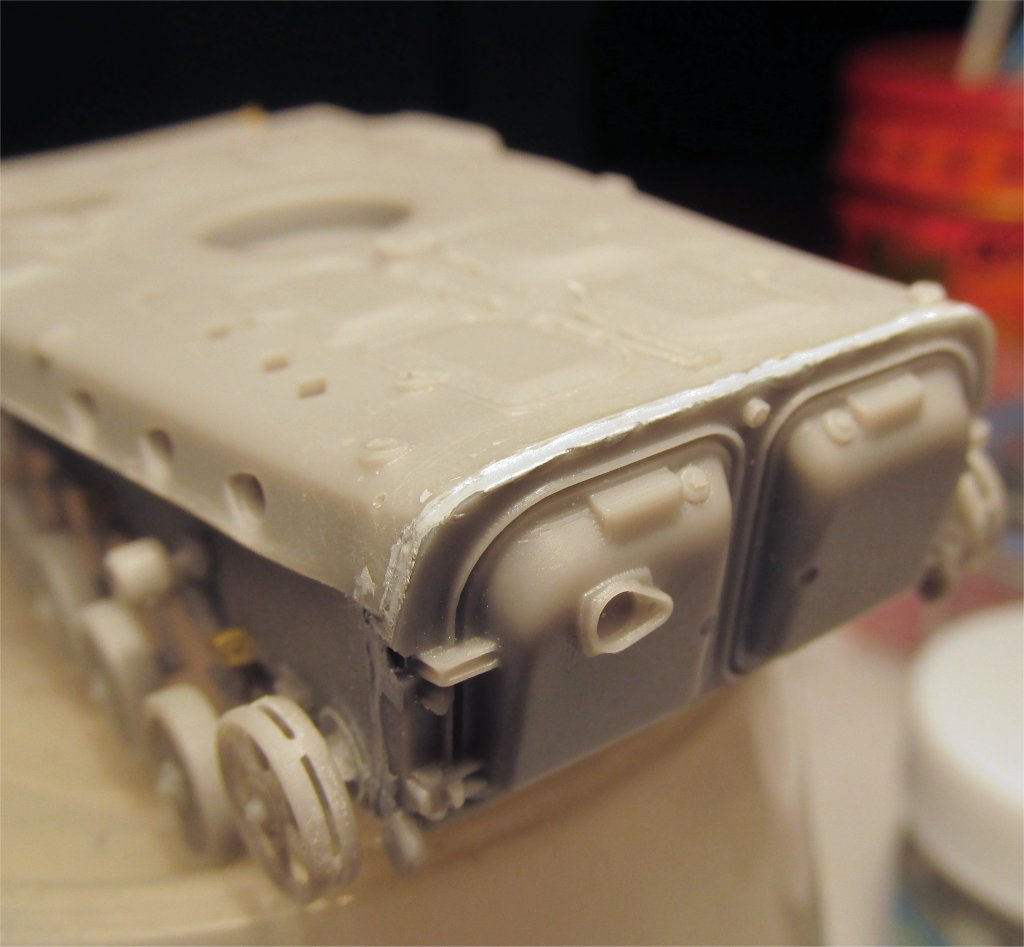
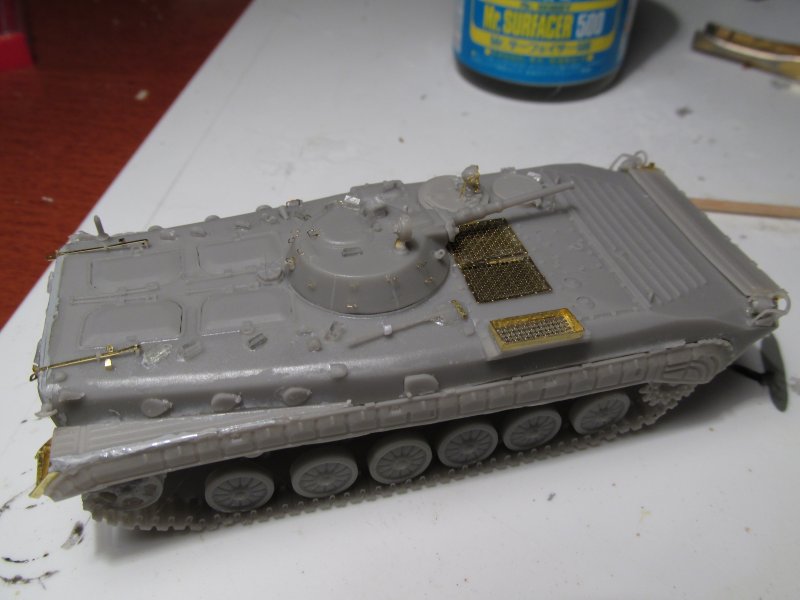
The kit As I wrote in my preview, building this kit will take much time, and it certainly did. Although the level of engineering largely surpasses that of most, if not all, 1/72 resin models on the market, it does not equal that of the best plastic kits (while arriving close), more because of the intrinsic limitations of resin technology than because of a producer's fault. Many pieces are certainly a work of art, because they are both extremely detailed and perfectly on scale; however, being in scale, they are so thin to be practically transparent (the lateral skirts come to mind), which means that they are prone to break very easily (and this is a resin fault) and quite difficult to repair without loosing precious details. Breaking pieces happens easily because you need to manipulate parts somehow, while detaching them from casting blocks or during cleaning. You can easily imagine that breaking a suspension arm would make the stability of the corresponding wheel very hard to achieve. Finally, with so many incredibly small pieces, prepare yourself with a desperate fight against your personal carpet monster: should you win, prepare yourself to re-attach at least one piece any time you manipulate the model during assembling, painting and weathering. If you have read up to this point, you might come to think that this is a model to avoid. Nothing would be more wrong. I just wanted to warn interested people that the journey will be long, difficult and sometimes tedious, but will bring them to discover a new world. That is, IF you are equipped with a magnifying lens and a good set of extra fine tweezers, IF you are able to send the carpet monster and your cat on vacation, IF you are able to collect all your patience and modelling skills. I could, so it is not that difficult to achieve. As a reward, I was able to see the limit where 1/72 surpasses 1/35 in terms of details. First things first: detach the hull from its HUGE connection to the casting block. This will require some time and hard work; I used a small saw and an heated knife, and ended up with a deep cut on my thumb. Well, I knew it was not going to be easy. The hull tub and the superstructure come in a single piece; the rear wall must be glued separately, and here you will encounter some problems if you did not detach the hull from the block carefully.
|
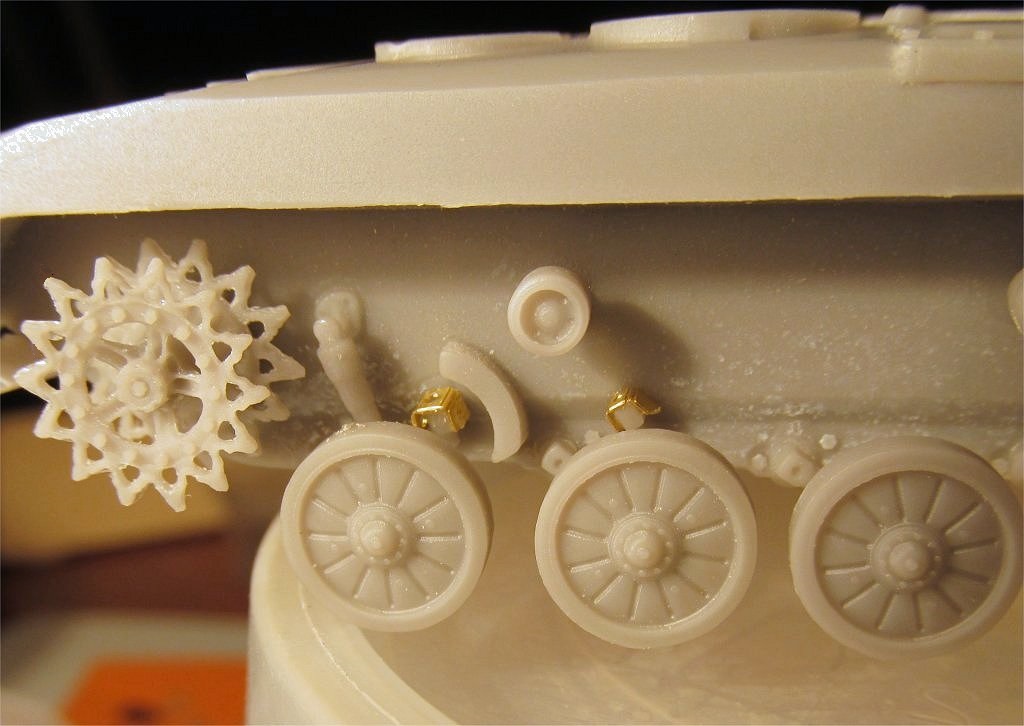
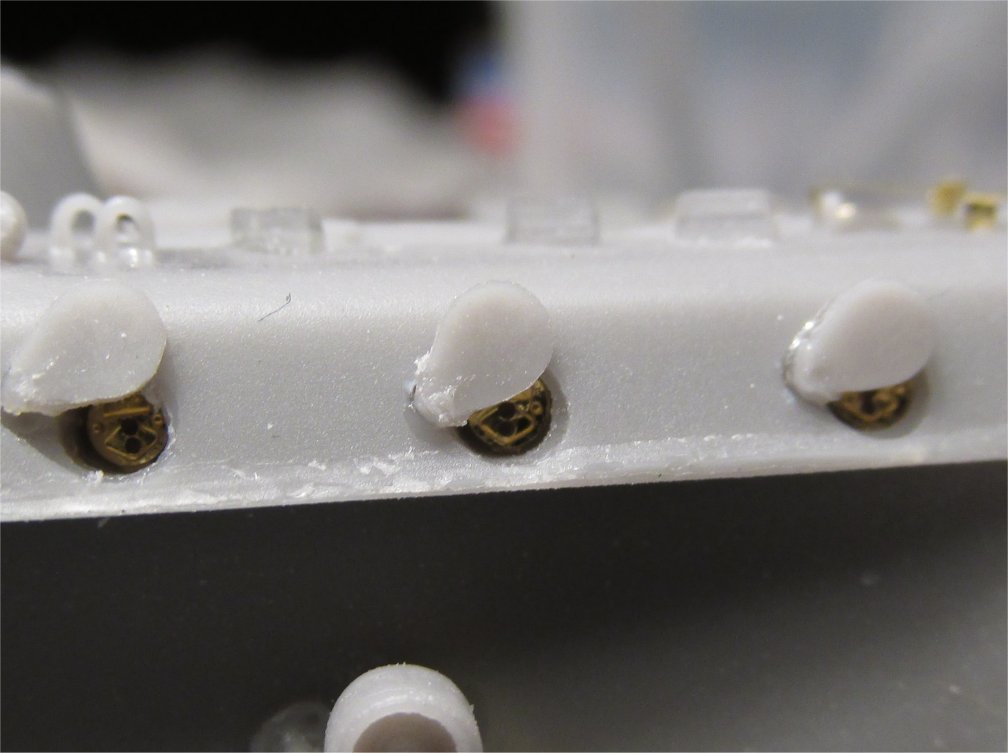
The running gear Sprocket wheels (1-2) are two-part assemblies (as are the idlers) and are extremely accurate, but also extremely delicate and thin: you have to pay some extra care when removing flash from their openings. I had the impression that, if you mount them as suggested, they tend to stick out a bit too much, giving you some troubles in positioning the lateral skirts (124-125) much later on. Suspension arms can be positioned as desired, so that you can assemble the vehicle as if moving on rugged terrain. On the other hand, positioning the arms with the correct angle, depending on the vehicle weight, and lining up them all require some patience and some pics of the real vehicle. Tracks are of link-and-length type, very accurate and well engineered; single links can be assembled in long tracts without much work on each of them. Longer pieces have a thick connection to the casting block, so that removing them usually causes them to break into smaller pieces. Also, detail on the lateral side of the piece which connects to the block is ruined and should be manually restored (almost impossible to do). Better to place that side towards the inside.
|
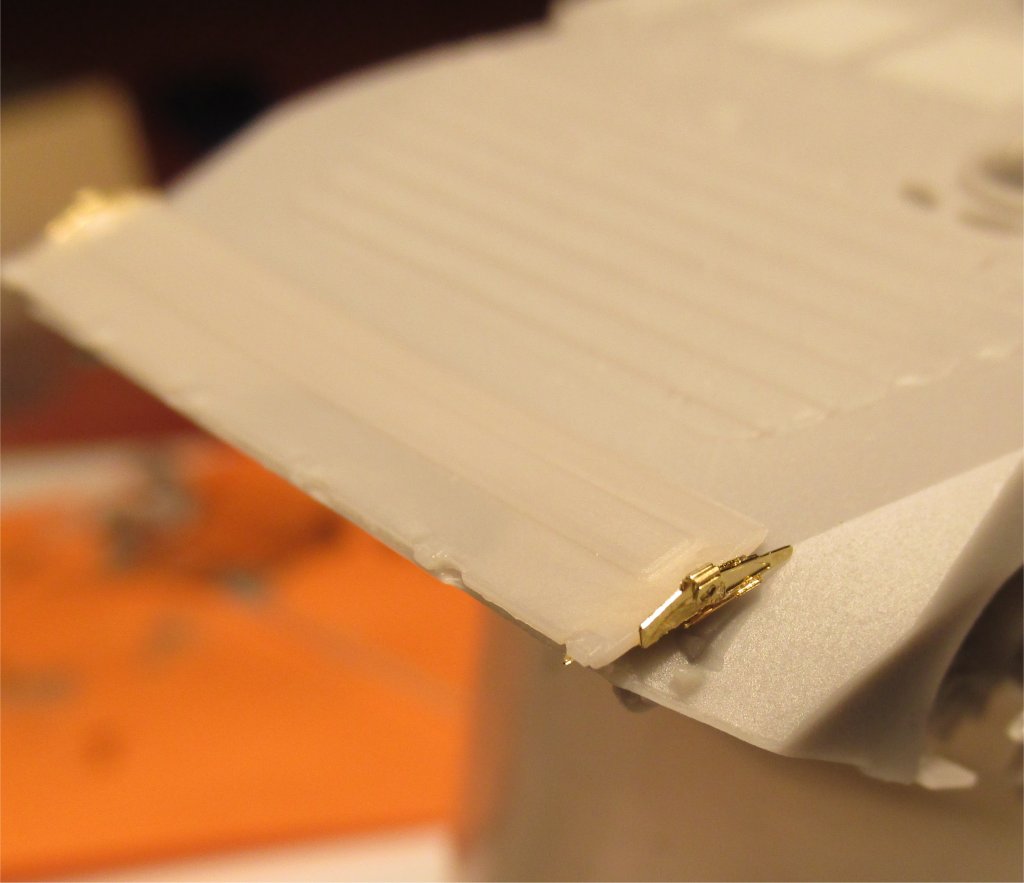
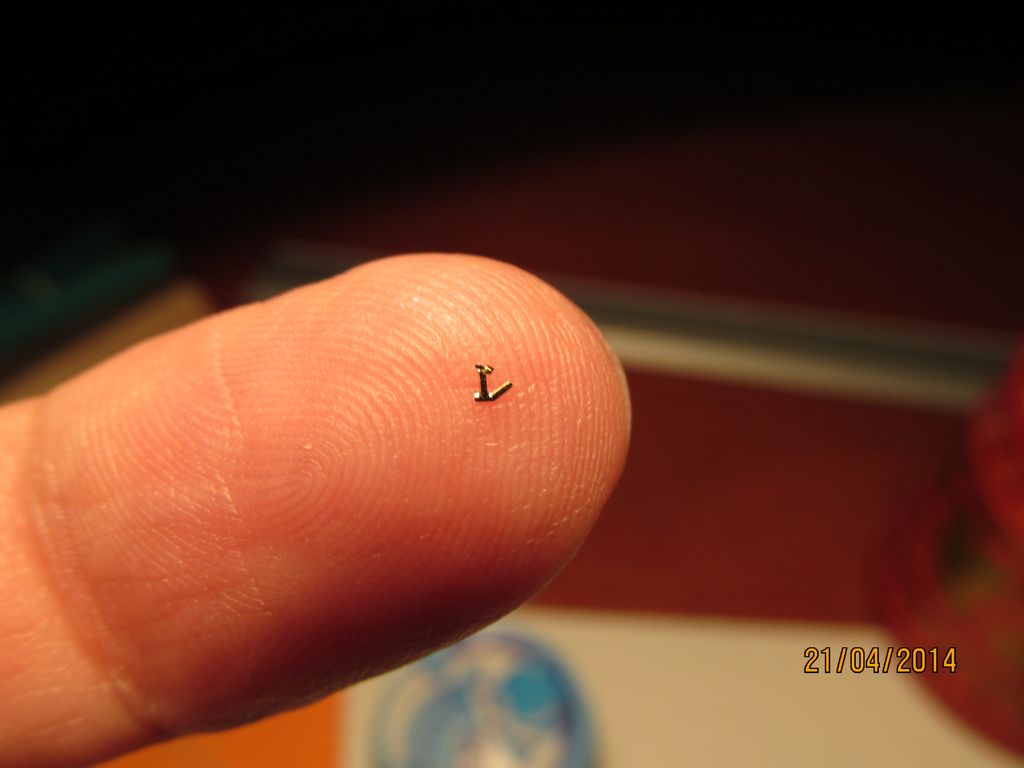
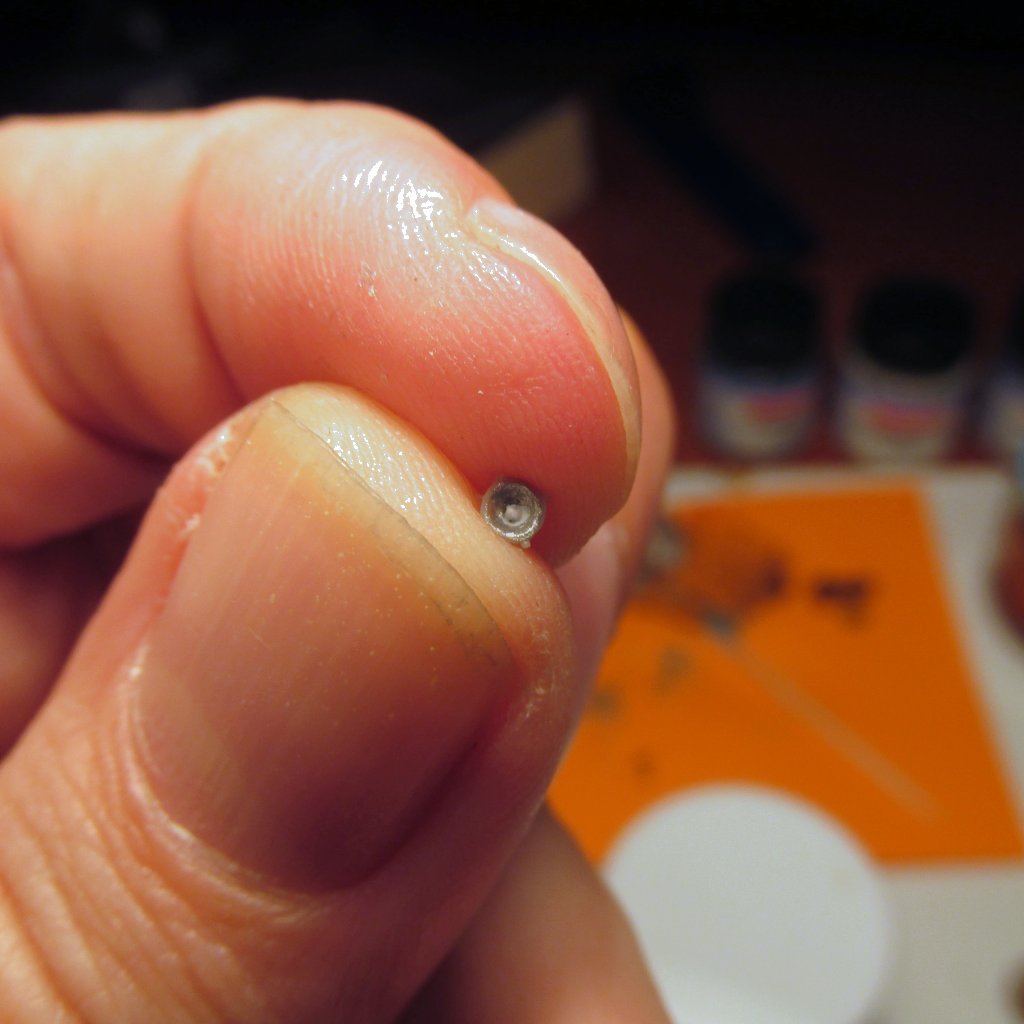
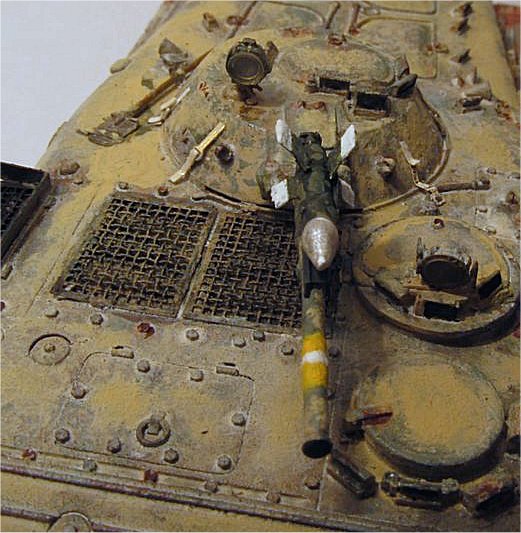
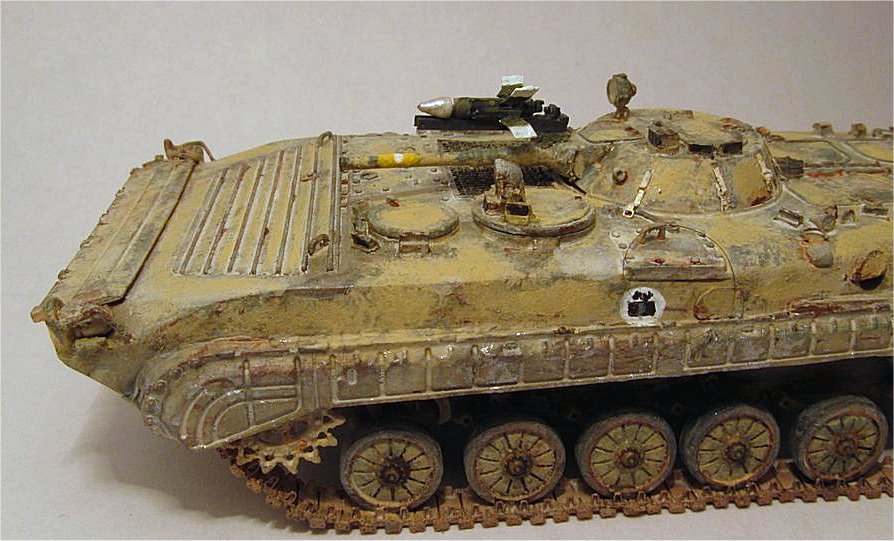
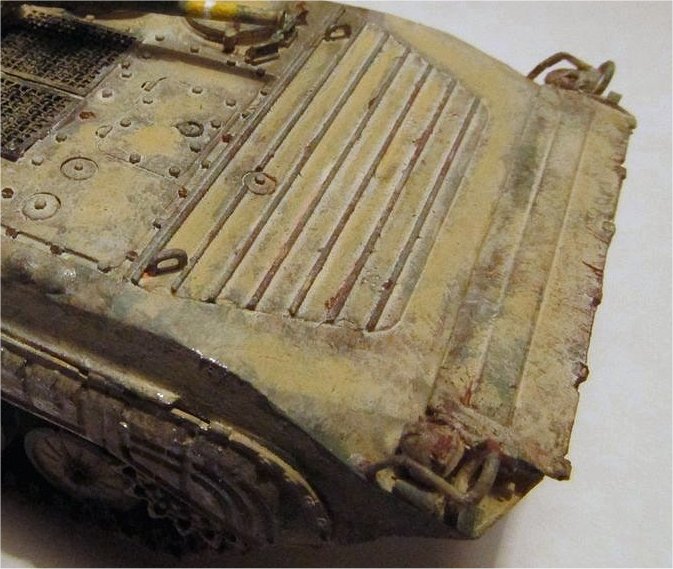
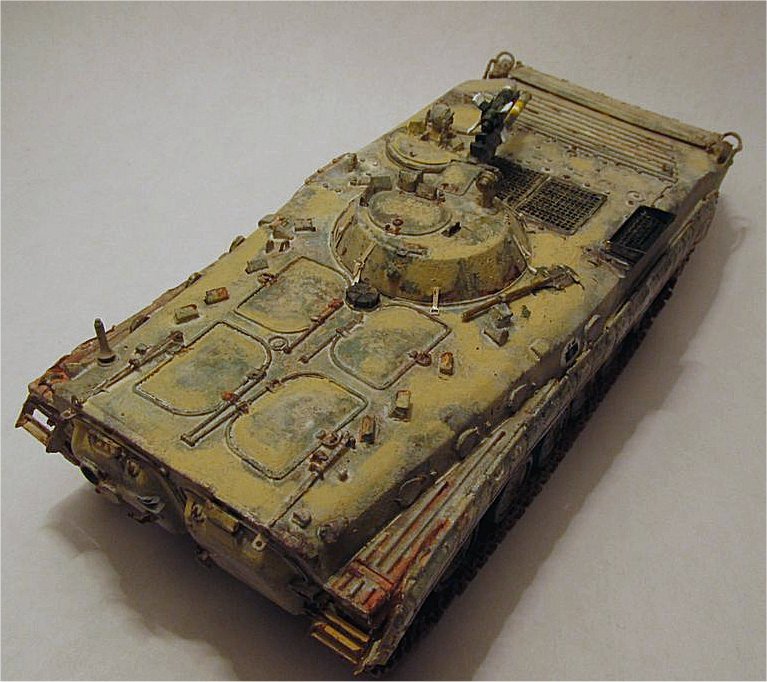
The hull You start by assembling the anterior wave deflector (36), which can be mounted open or closed (travel position); the lateral moving arms are three PE parts each (37-41), one of which (37 - left, 38 - right) needing a rather complex folding. Assembling the anterior headlights should be the next step, but since they are made into many delicate resin, transparent and PE parts (42-50) I would leave those last as you would surely have to re-glue them many times. Next, assemble the driver's hatch (it can be mounted open or closed, but, since there are no interiors, closed is better). TNPO-170 periscope vision-blocks are transparent parts, which should fit the corresponding holes in the hull (frequently they do not, so some sanding is required). You also get some sticky pre-cut masks to avoid painting the glass part of the block. You can cover the cooling vents on the upper hull either with the PE grilles or the steel mesh provided in the box. As reported elsewhere, the two vents should have the same width, while in the kit the external one is smaller (different design in some local version of the vehicle ?). Next comes the commander's hatch, with its infrared searchlight which is probably the most difficult assembly of the whole kit. Six PE parts (62, 64, 2x 67, 68 and 72) support the main resin part (63) with its transparent lens (65) and optional cover (66). While trying to assemble it, I seriously considered to give up modelling and moving to floriculture, since some of the pieces are among the smallest I have ever seen (see pic below), while the searchlight itself has a recognizable lamp inside. Lateral firing ports can be mounted open or closed by deciding how to assemble the rotating covers (you can scratch the very tiny stops for each cover if you wish). In case you decide to mount them in open position, PE parts are provided for the gun mounts. The two posterior grills under the fenders are also multi-part PE assemblies (six pieces each) which are, in my opinion, the second most difficult step of the kit. Gluing each louvre in place making them parallel and equally spaced had me working for days, with barely acceptable results. Although towing hooks and tow cable eyelets are provided, no accurate instructions to build the towing cables are added. However, they are rarely visible on pics of the real vehicles, particularly on those with many years of service. For the sake of accuracy, you should also scratch the anterior-right vent which is missing.
|
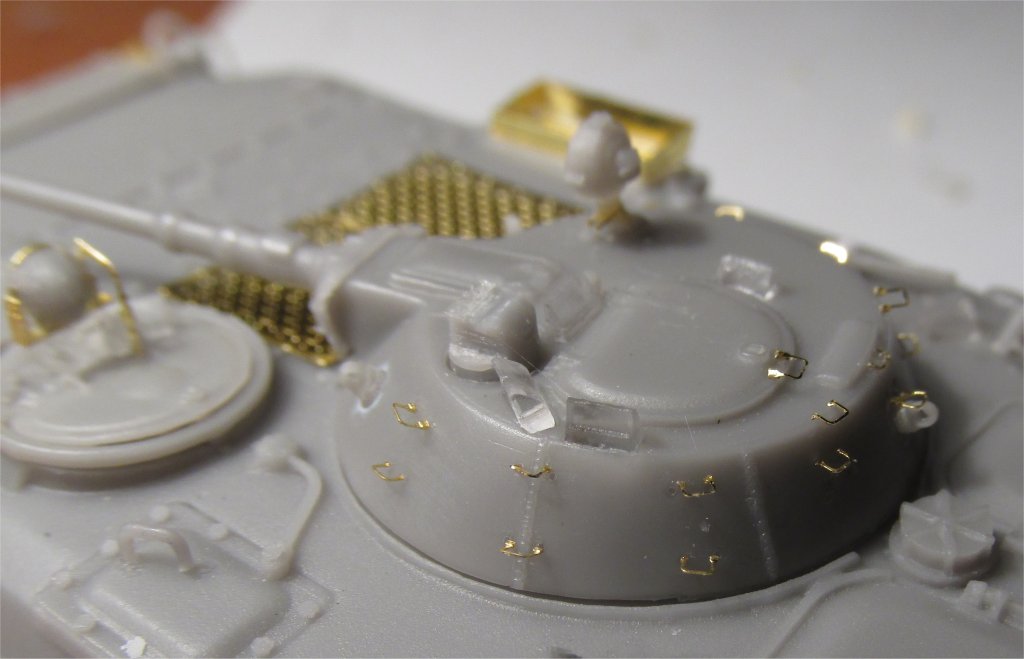
The turret No significant issued here. The gunner's sight cover and infrared searchlight are not as difficult to build as the commander's searchlight. Eighteen PE handles are provided to be positioned around the turret: they should support the straps (also provided as PE parts) which should hold a rolled tarpaulin in place (not provided, but very few vehicles show it). I did not mount the handles, because they are rather overscale (or better, I mounted and then removed them). The AT-3 Sagger / Malyutka is also provided and it is a beautiful sub-kit. You can decide whether to mount it or not, considering that the majority of vehicles do not seem to have it in place. Be very carefuk with the four PE fins: I had to re-position them three times before getting it right.
|
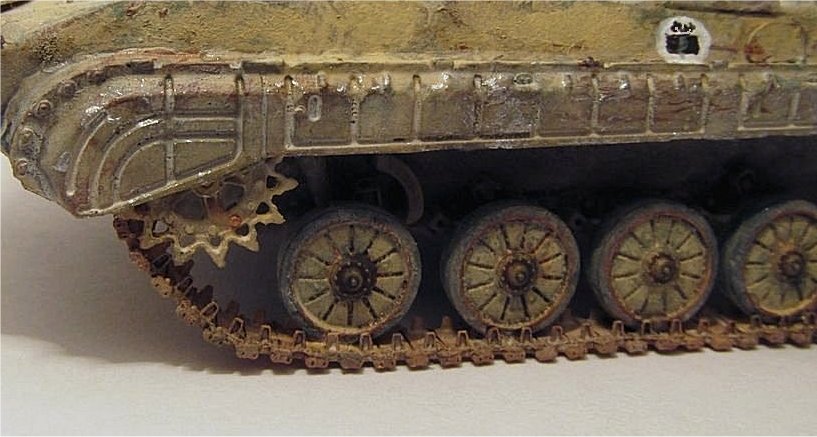
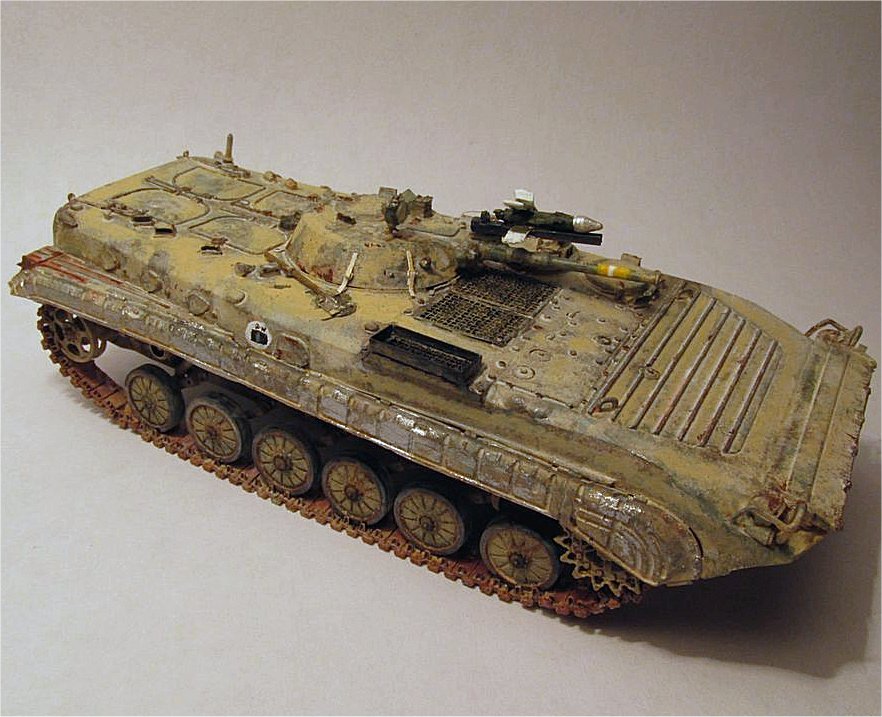
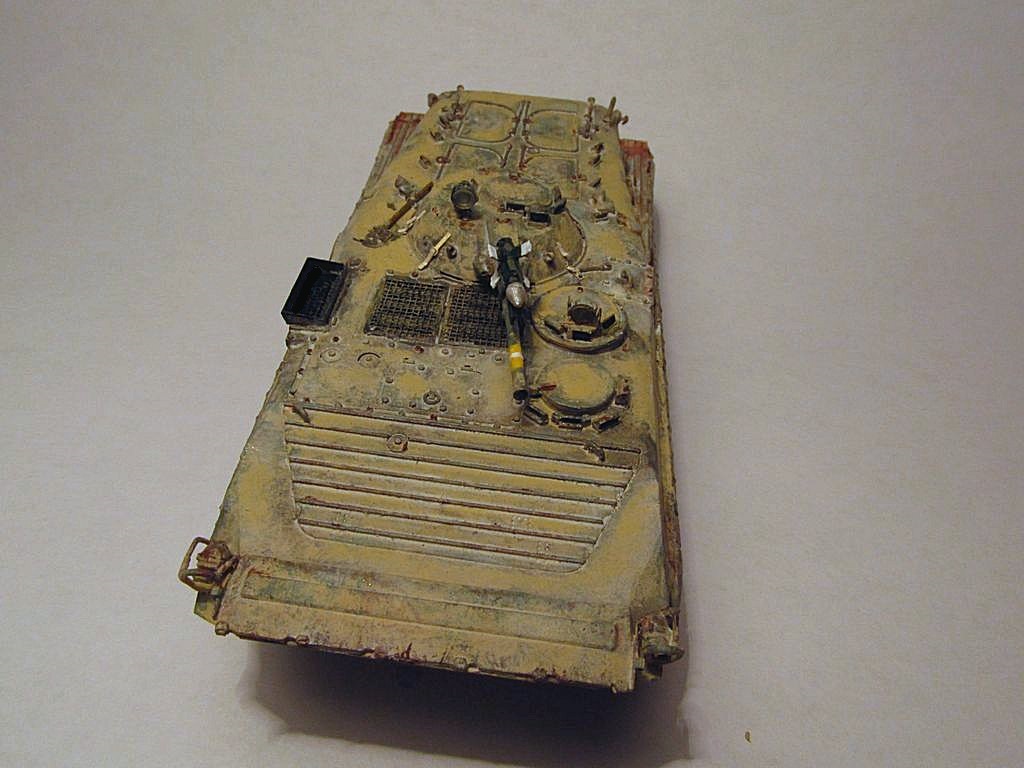
Painting and weathering A vehicle like the BMP-1, which served for 40 years in many different countries and fought in most of the conflicts during this enormous time span, certainly makes the modeler spoilt for choice. An "all-green" soviet one ? A 1973 Kippur War Syrian / Egypt "rather-new" vehicle ? An "all-sand" Iraqi one ? A contemporary "badly-worn-nearly-wrecked" Syrian one ? I went for an Iraqi one, taking the one at Bovington as a source of inspiration. Overall sand, with a lot of work to reproduce the original soviet green visible through scratches and crackings, plus a good amount of rust. Divisional markings (or what is visible of them) are hand-painted.
|
Conclusions If you have read my preview of this model and this review up to this point, then you will have guessed my opinion on this kit. If you reach the end without embracing floriculture instead, you will have in your hands a small masterpiece, which shows, in fact, more details than some 1/35 renditions of the same vehicle. Since Crosshair Models intend to reach even higher heights of detail with their next productions, fans of post-WW2 soviet vehicles will be busy for a long, long time. |
References
Sample kindly provided by Crosshair. |
| Back to Crosshair Models Kit List | Back to Construction Review Page |
Article Last Updated: 20 June 2014 |
Back to Home Page |