|
Archer Fine Transfers
|
Rivet Fastener Heads Rivets/Screws .011" (.28mm) diameter |
|||
| Kit #: AR88015 |
Review by
- Al Magnus
|
|||
|
Archer Fine Transfers
|
Rivet Fastener Heads Rivets/Screws .011" (.28mm) diameter |
|||
| Kit #: AR88015 |
Review by
- Al Magnus
|
|||
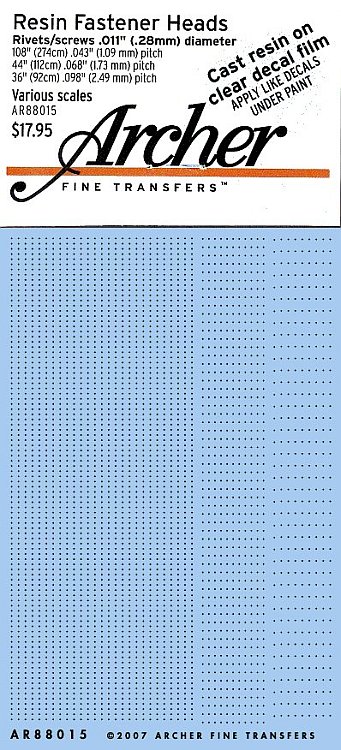 |
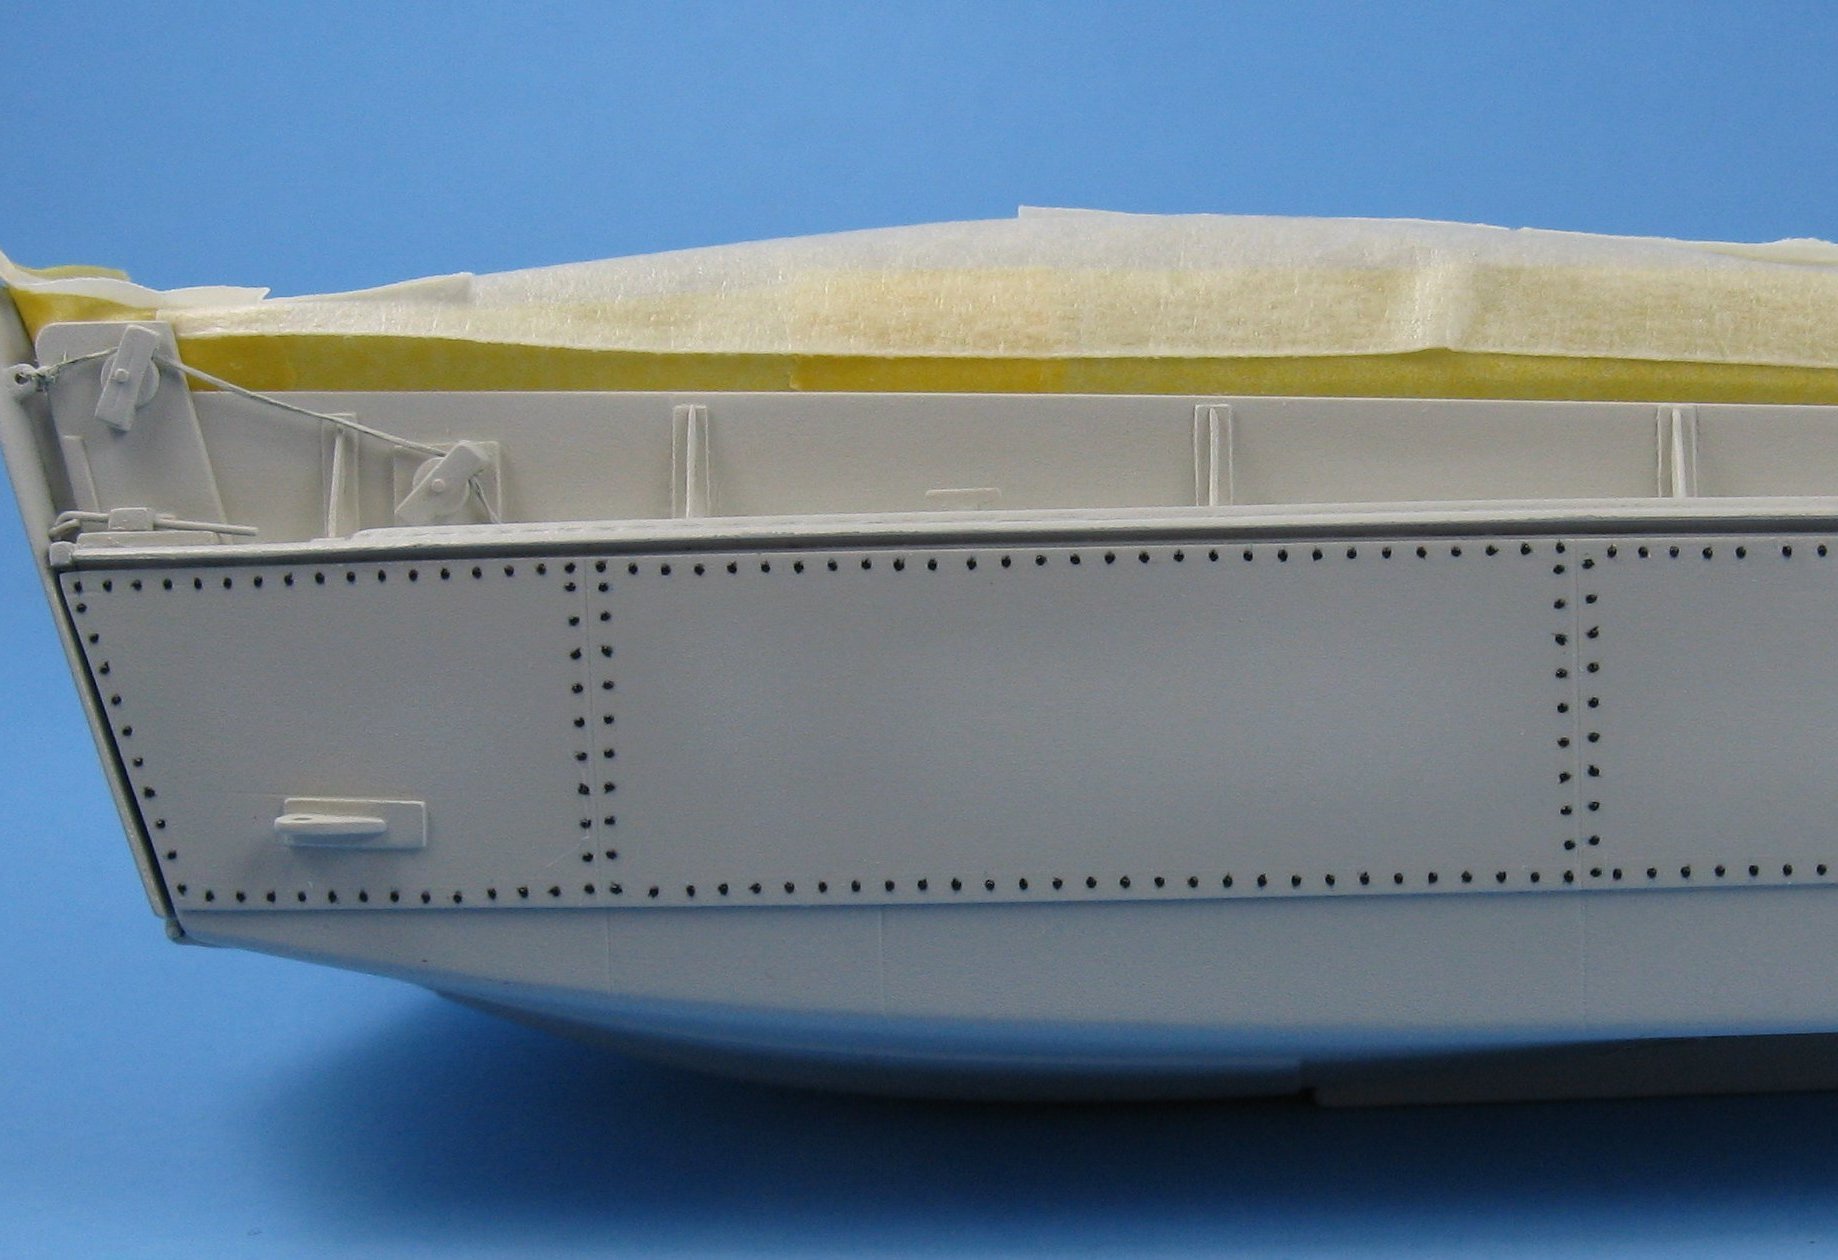
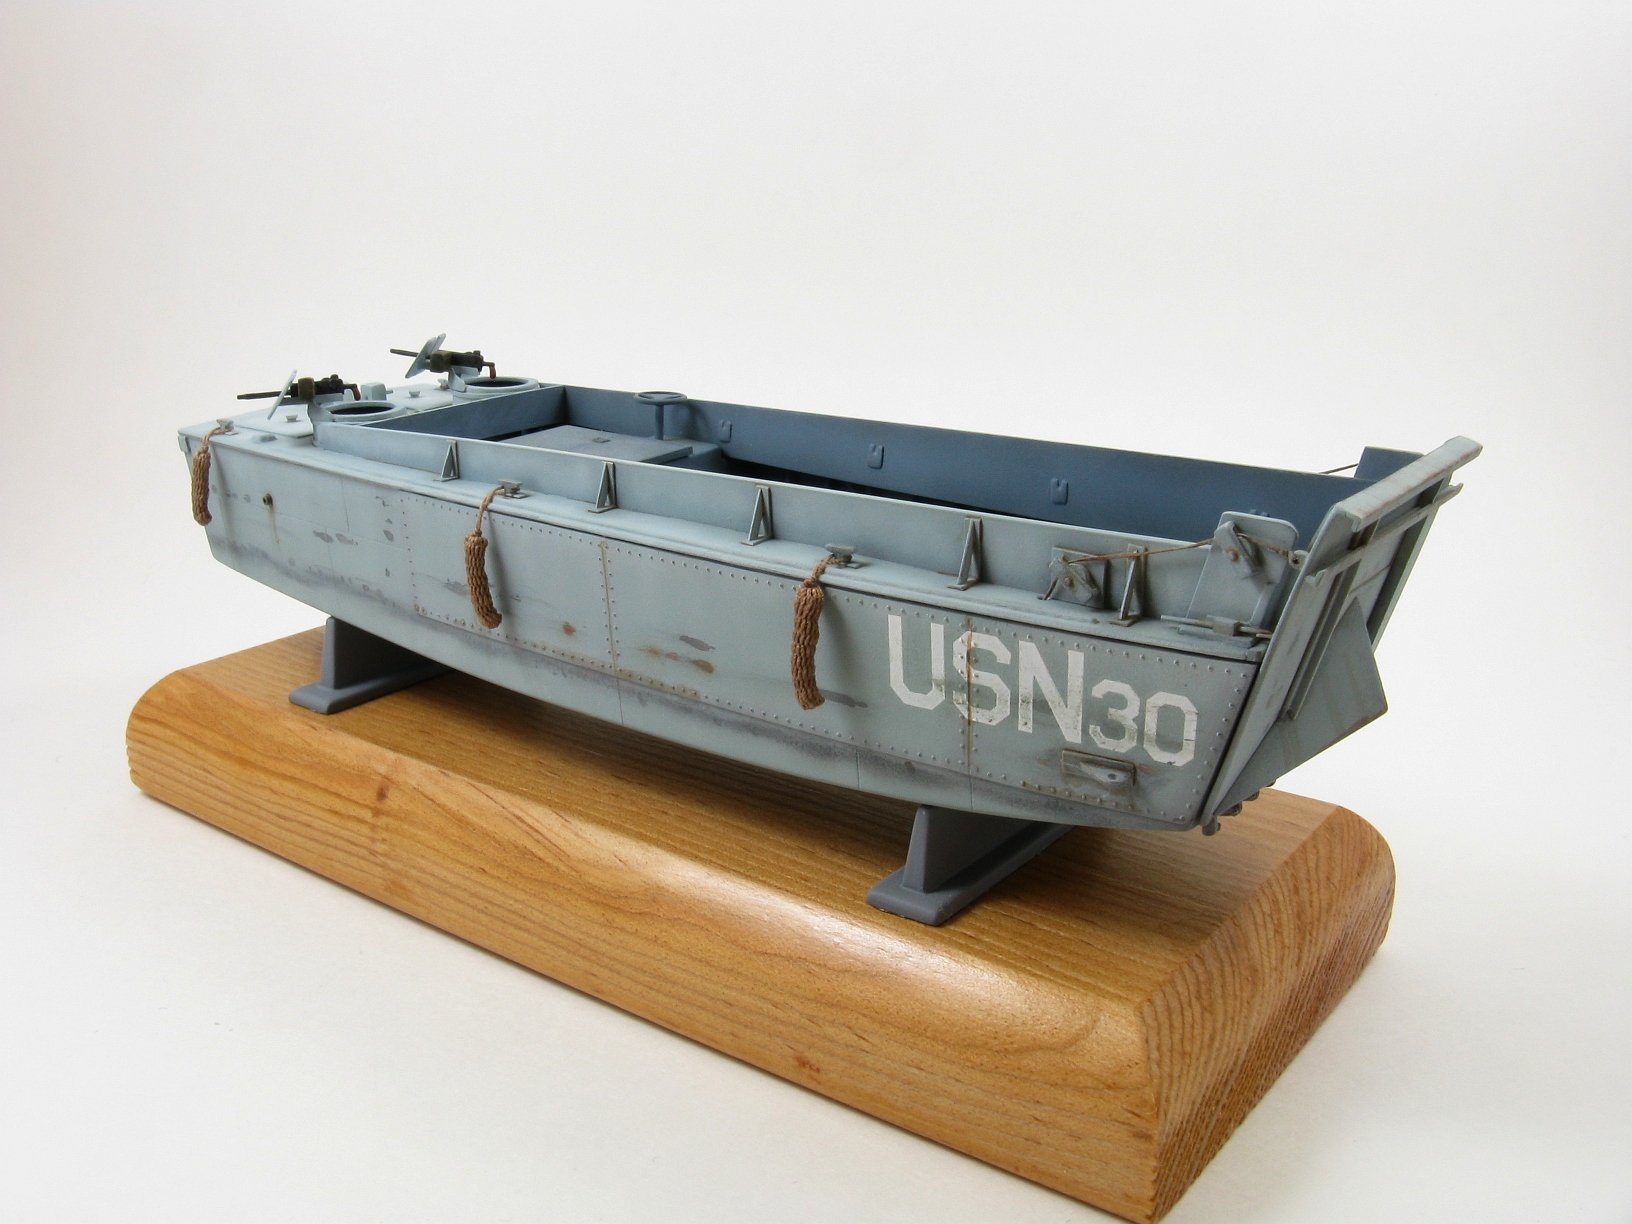
Almost every armour modeller has run into the problem of adding or replacing rivets on a model. Over the years many differing approaches to this problem have been used: using rivets excised from another kit, rivets punched from plastic using various methods, rivets cut from a piece of plastic rod or stretched sprue, are but a few of the many methods. Now there’s a new way to add rivets, and it is a pretty slick method in my opinion. Rivets made of black resin are printed as 3 dimensional dots printed on continuous film of standard water slide decal paper. They are to be applied like regular decals, except that instead of being applied over top of the paint, they are to be applied under the paint. This particular set contains dots of .28mm (.011in) diameter rivets. According to the header on the sheet there are 108 inches (274cm) at .043 inch (1.09mm) pitch, 44 inches (112cm) at .068 inch (1.73mm) pitch and 36 inches (92cm) at .098 inch (2.49 mm) pitch (pitch = spacing between dots). A small instruction sheet is included outlining how the decals are to be applied. I assume that the dot spacing as stated by Archer refers to their spacing when cutting the rivets out along the short edge, but the spacing is different between the dots when cutting along the long edge, so you have in reality two pitch options for long runs of dots. Even though the rivets are printed in lines there is no reason one can not cut individual dots from the sheets if needed. I used this set to replicate the rivets found on the appliqué armour applied to the sides of US LCVPs. Application was straight forward and the instruction sheet is very informative. My past experience in applying decals has shown that decals are best applied to a glossy surface, so once I had applied my primer coat I applied another coat of Testors Glosscote clear gloss lacquer only in the places where I planned to apply my strips. Once the paint and gloss coat were completely dry, strips of dots were cut from the sheet using a new sharp blade in my hobby knife. I made the cuts as close as possible to the dots to reduce the amount of carrier film. The decals came off the paper backing within seconds of being dipped in warm water making their application quick work. I removed them from the paper as per the Archer instructions, sliding the decals from the backing paper lengthwise. This proved to be a delicate operation at times for the decals desperately wanted to curl up on themselves or follow paths I didn't want them to. With care they can be manoeuvred into position with a toothpick or paint brush. Individual dots were cut and applied to spots where needed. Many liberal coats of Microsol setting solution made all the dots snug down nice and tight, and I didn't have one dot or strip come loose from the kit during all the handling I did over the course of painting. If you look closely at the pictures below of the model with the strips in place, but before the paint, you can barely make out the carrier film. The film pretty much disappears under a coat of paint. The black resin actual made weathering easier as I was able to lightly wipe some of the paint from the tip of the dots while the paint was still soft and expose the black underneath. Paint and washes did not lift the decals at all, nor did they affect the resin as far as I can tell. These new resin dots from Archer are an excellent method to add rivet detail to your modelling projects. Review sample purchased by the author. |
|
|
|
| Back to Archer Fine Transfers Kit List | Back to Construction Reviews |
Article Last Updated: 06 March 2012 |
Back to Home Page |