|
|
PARM 1 |
|||
| KIT number
7207 |
Review
by Erwin Bovyn - erwin(dot)bovyn(at)telenet(dot)be Edited by Rob Haelterman |
|||
|
|
PARM 1 |
|||
| KIT number
7207 |
Review
by Erwin Bovyn - erwin(dot)bovyn(at)telenet(dot)be Edited by Rob Haelterman |
|||
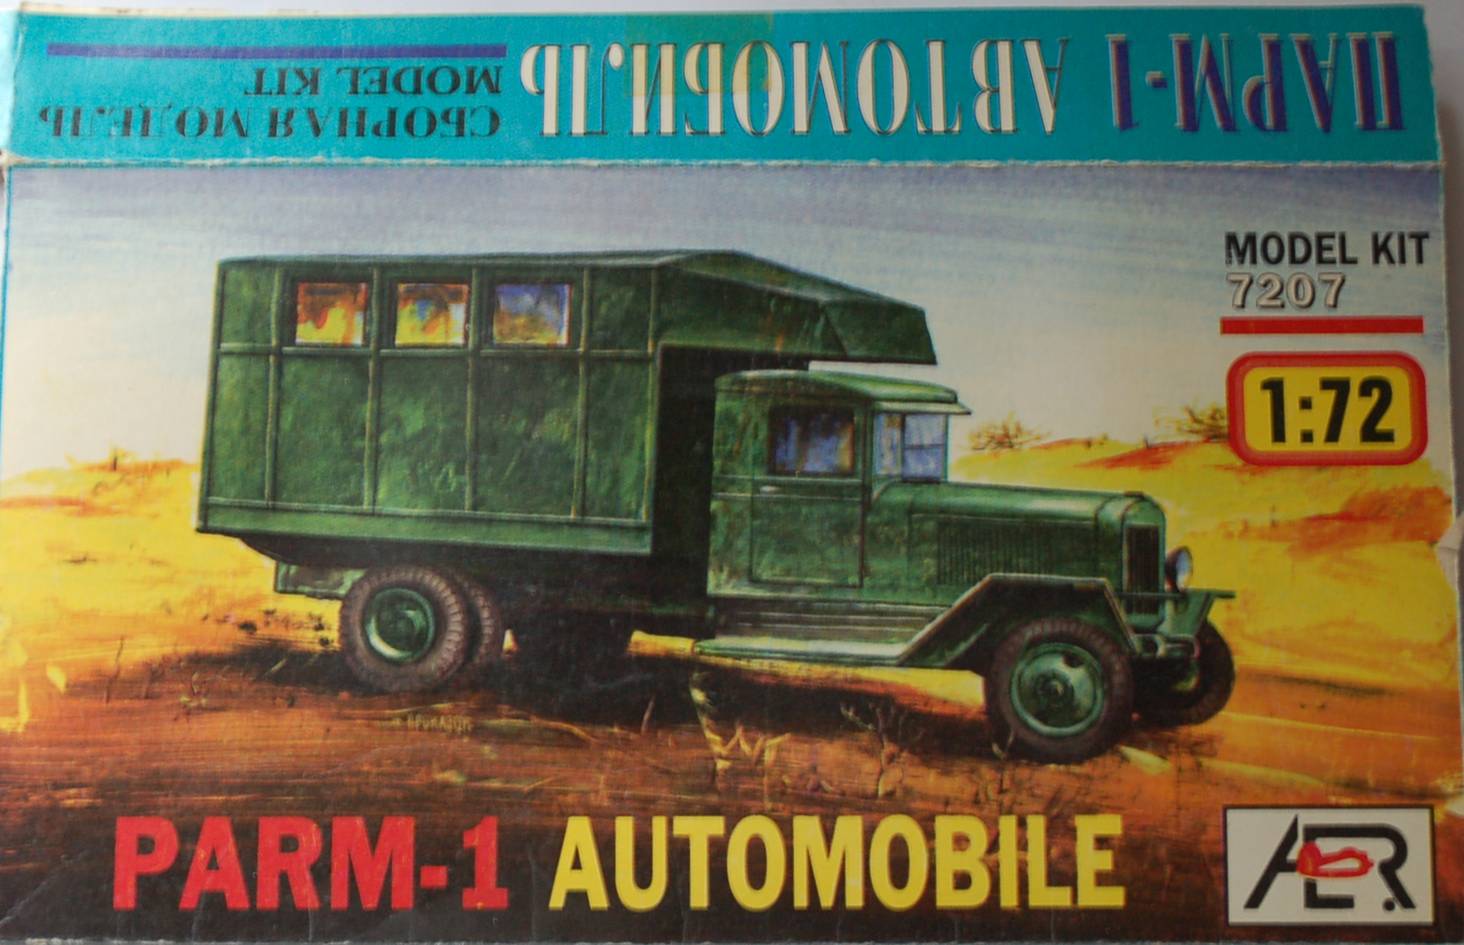 |
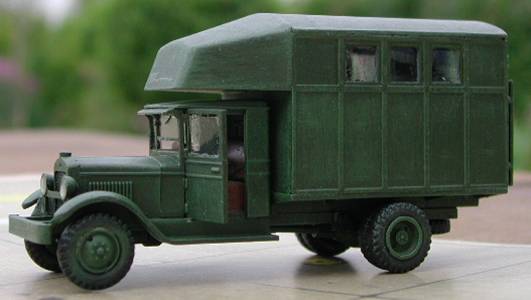
| The Parm 1 kit is
one of those kits depicting Russian WWII armour which have been overwhelming
us lately. Unfortunately there is not much reference material to check
out the correctness of the model but it sure looks good on opening the
box. You can see that the contents mainly concern a basic sprue which
is ready to receive a lot of additional sets to make different versions
of the main truck. Well thought through. There already exists a version of the Parm 2 by the same company. Note that the figure behind "Parm" refers to the amount of rear axles: the Parm 1 had only one rear axle with double wheels and a box-like type of rear compartment with a cabin overhang. You can look at it as a forerunner of the shelters we know now of these days. Wood construction was used to save metal. The construction layout can be called very simple and it all starts with the construction of the axles. I started with the cleaning-up of the tyres and the separate rims. These are highly commended because it allows you to paint tyres and rims in a much cleaner way.
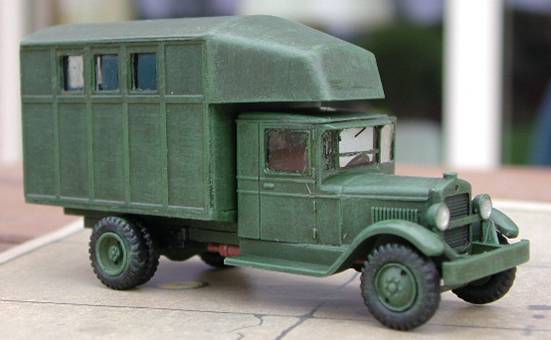
The axles are problematic. After being released from the sprue and after cleaning-up, I noticed that none of the 3 metal axles provided in the kit were long enough to be used with either the front or the rear axle. The rear axle also needs to be inserted through the differential gear and through both leaf spring axles before being able to accept both wheel rims. So, the provided metal axles needed to be replaced by other metal parts. It adds strength to the unit but requires some adjusting. The drive shaft between engine and differential was also replaced by a metal one. The exhaust was drilled out. Construction of the main body was simple and
very easy. Both rounded fenders only need minor cleaning-up and can’t
be misaligned with the chassis. Something to look at by many manufacturers.
The main body parts form one sprue; you only need to cut off parts, clean them up, glue them together and you are finished. I had no references regarding an interior, so this was omitted but I did fix some windows. The rear door received a door handle. The complete truck was painted Russian green followed by a dry brushing of the green with some white added. All this was followed by a coat of Klir (Future) and Clear Cote over the windows. Conclusion:
|
| Back to AER Kit List |
Back to Construction Reviews |
Article Last Updated: 19 November 2011 |
Back to Home Page |