|
A Brief History
Outside of North America, the Toyota Land Cruiser pickup truck is ubiquitous. Its toughness and durability has made it popular. That toughness also
endears it with para-military and rebel groups wishing to get some serious mobile firepower, wherein they can toss in something like a heavy machine gun, recoilless rifle
or rocket launcher in its bed. Such armed civilian vehicles are colloquially known as a "technical".
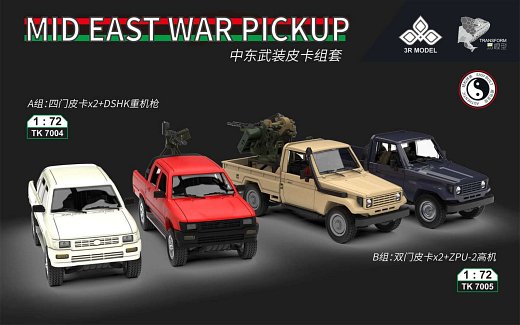
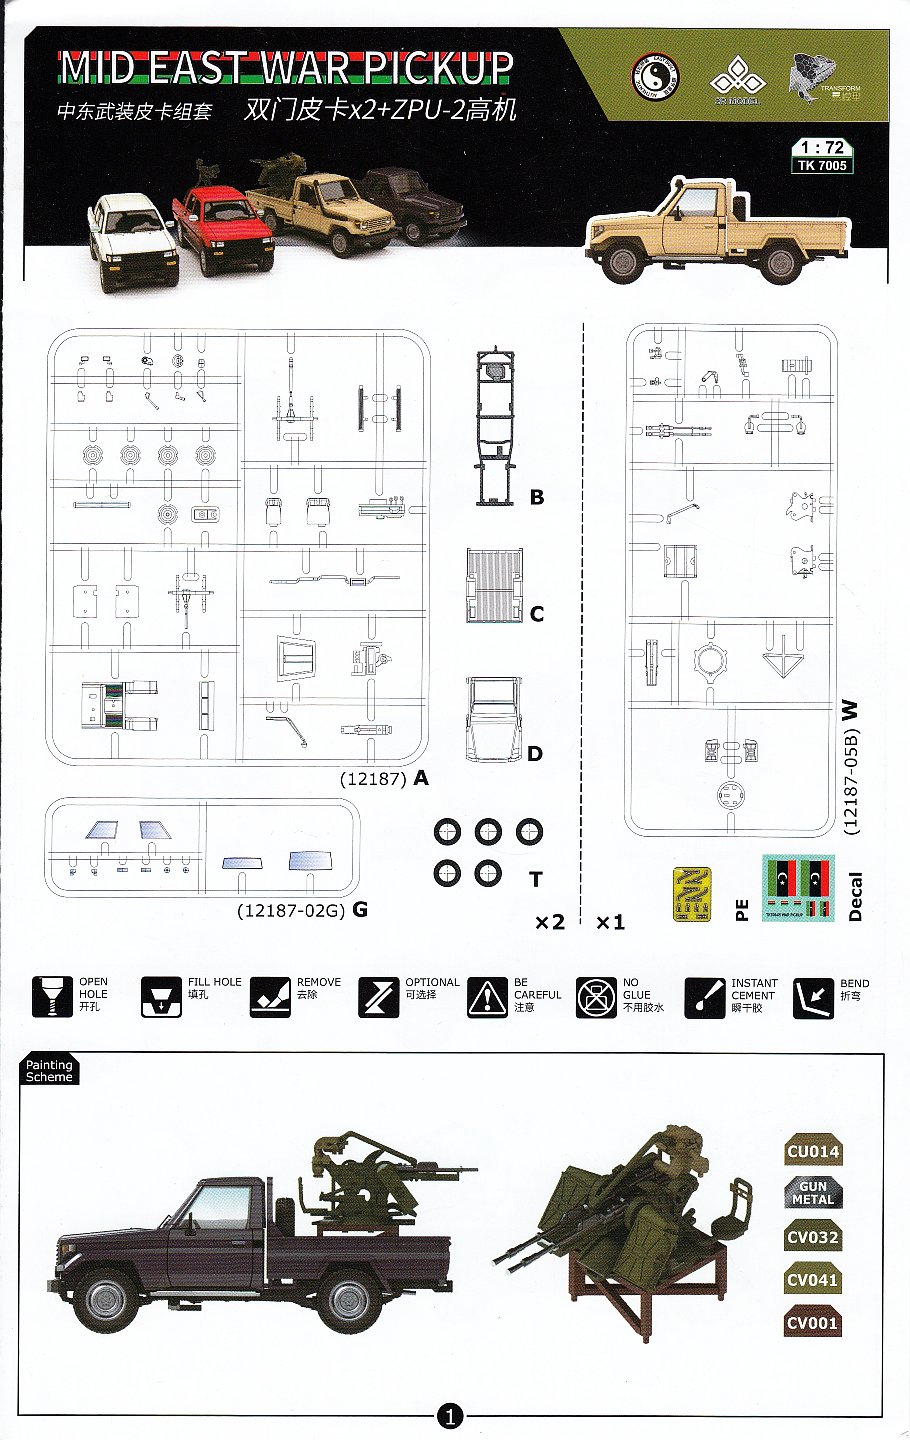
The Kit
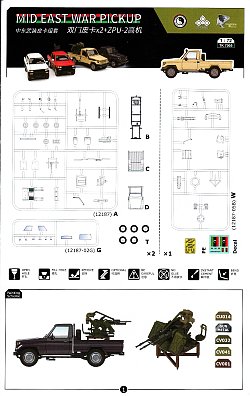
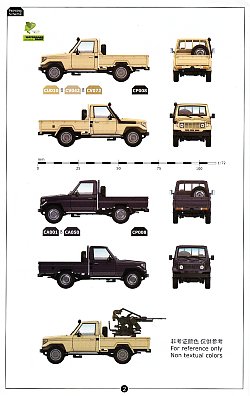
This truck appears to be a base model Toyota Land Cruiser J79L-TJ according to [1].
Included inside the top opening box are a pair of kits, with parts for one vehicle armed with a twin barrelled ZPU-2 cannon and another unarmed.
Each truck is built from 33 parts of injected light grey polystyrene plastic on a single sprue plus another 10 exceptionally clear parts for all the windows,
tail lights, marker lights and head lights. There is also a slide moulded cabin and pickup bed. Overall detail is quite nice.
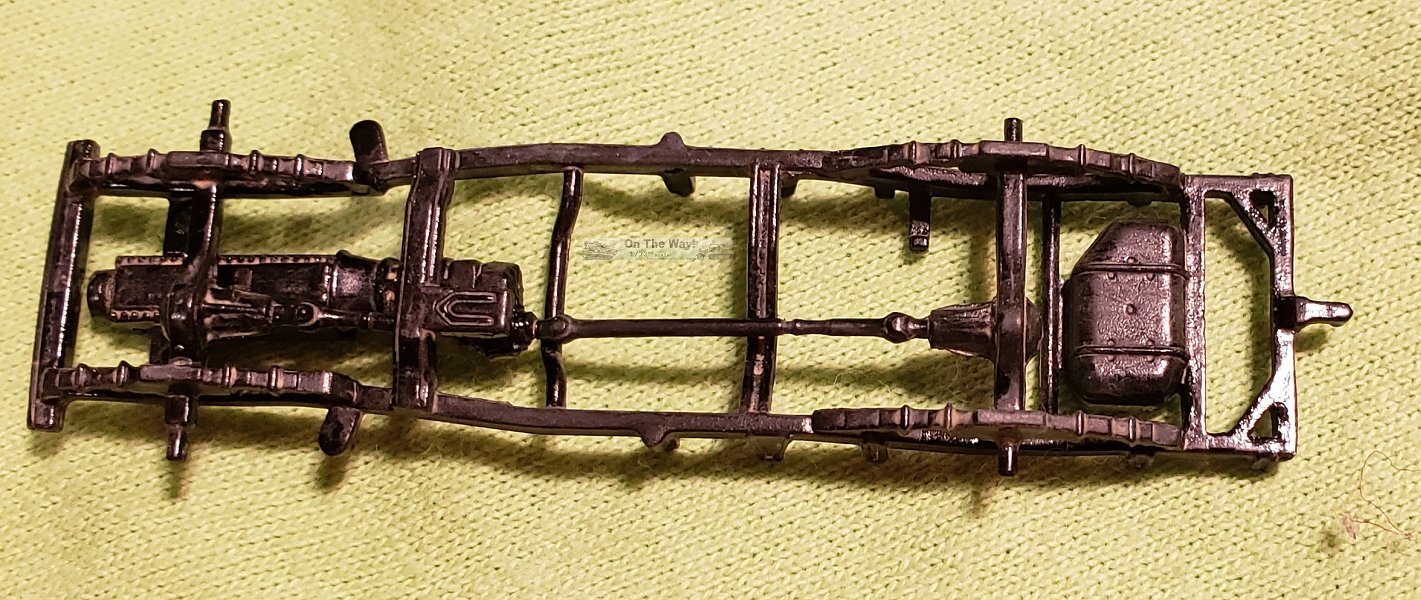
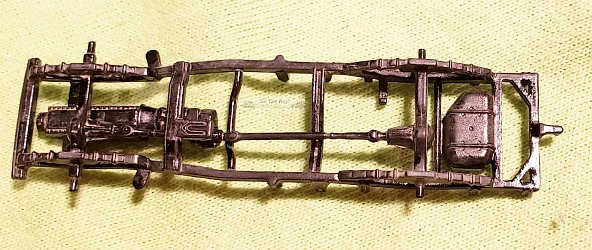
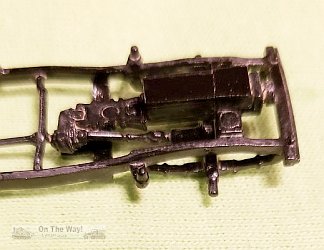
The chassis comes as cast metal. Tires are a hard rubber like material.
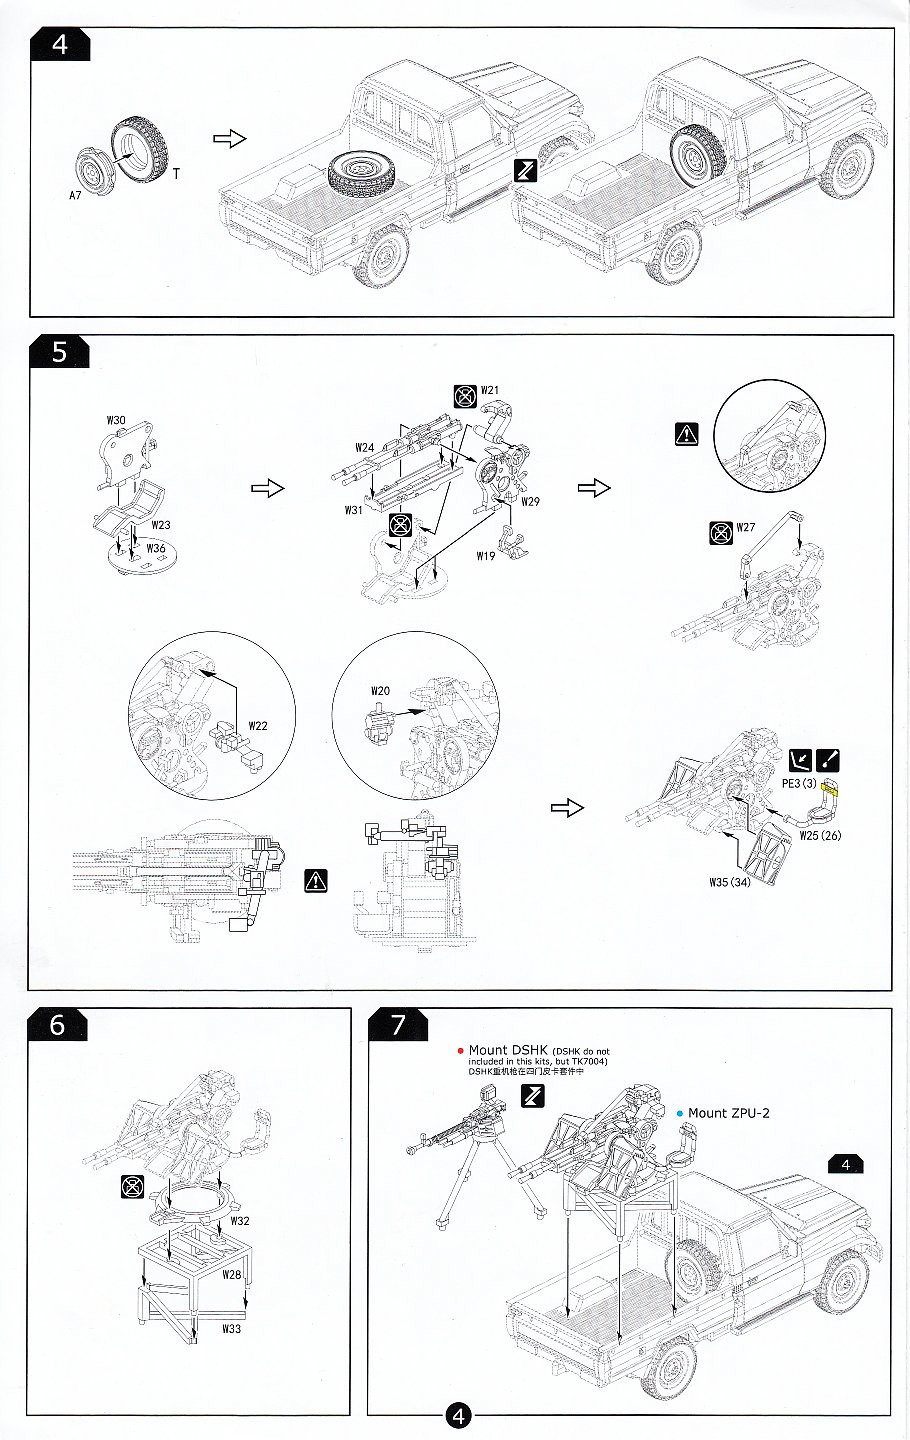
An additional sprue of 18 light grey polystyrene parts make up the ZPU-2 gun with its stand. I felt the ZPU parts were not quite as well cast as for the truck,
exhibiting a bit more flash around the pieces plus a rougher, more pebbly like texture. Detail is a bit more simplified, with such things as the
open the holes in the mount being depressions only, while the elevation control wheel is moulded directly to the left side wall, plus there is no traverse wheel included at all.
A photo-etched frame contains 4 windshield wipers and 4 seat back straps for the gun (though only two are needed).
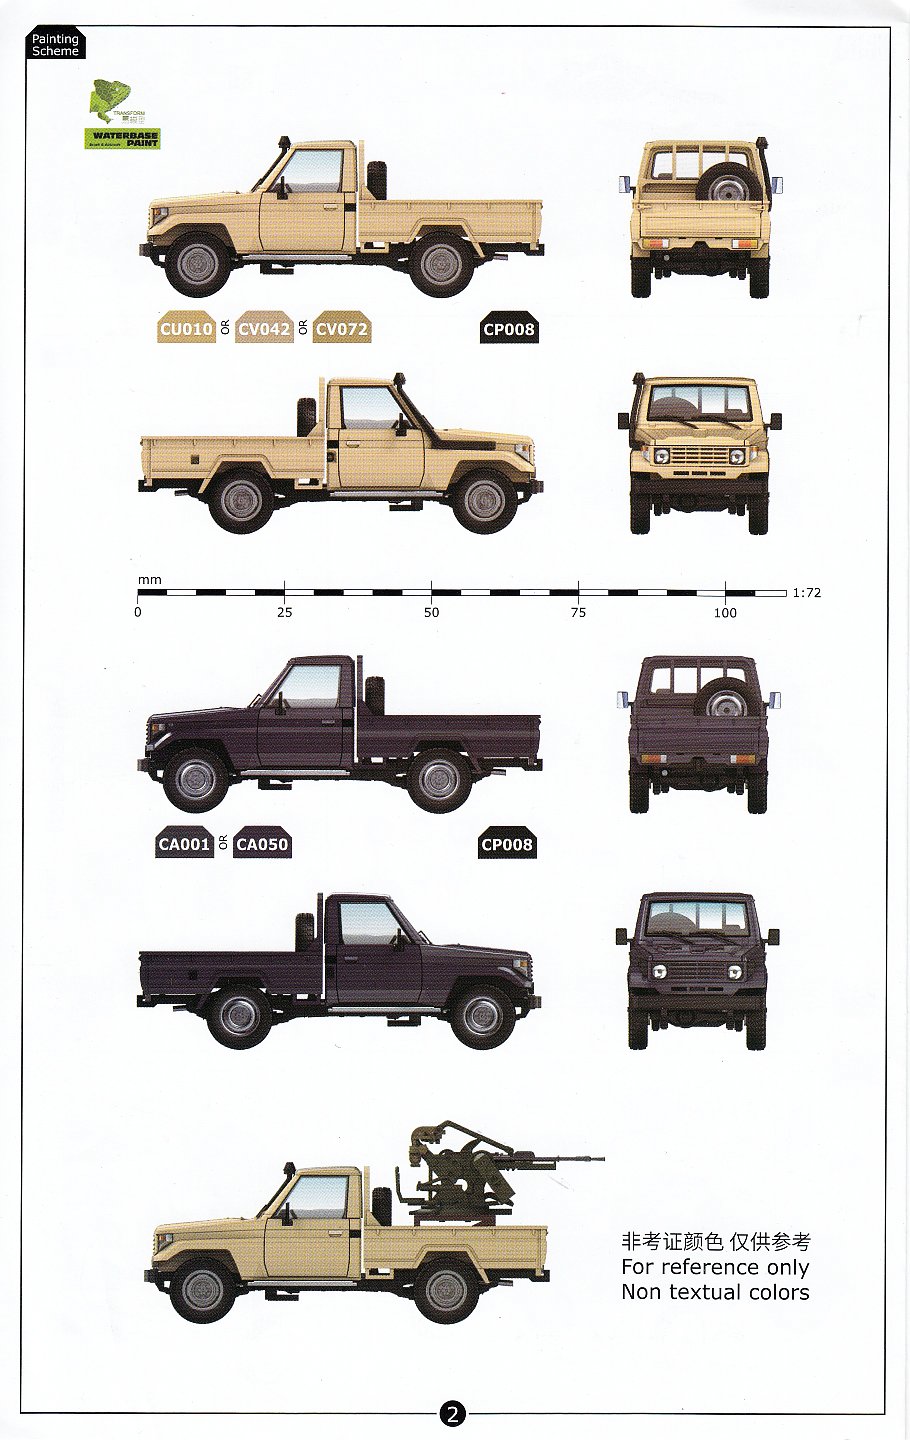
A small decal sheet supplies three different sizes of Libyan national flags. Unfortunately a real omission is the lack of decals for the instrument faces.
Sprue/PE/decal photos can be seen at Henk of Holland here.

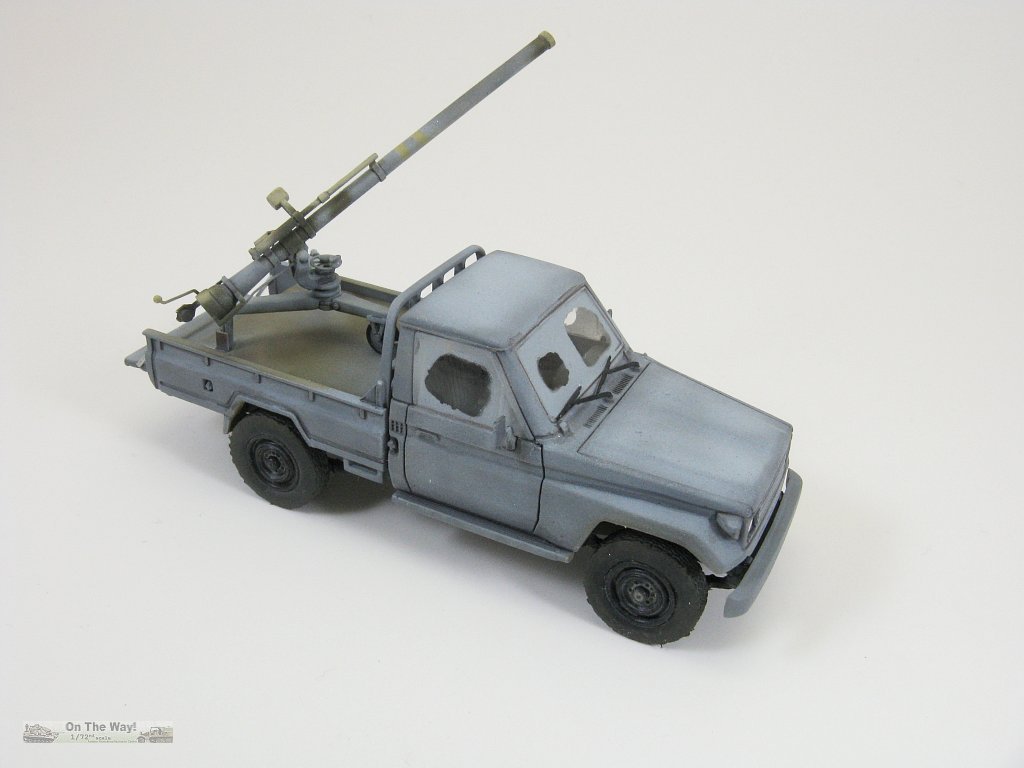
With two kits at my disposal I decided that the first truck would be a build to test overall fit, especially regarding the cabin interior and most crucially the
windows. Their fit would be the make or break decision on whether or not to build the second truck. To hedge my bets I also chose a paint scheme that gave me some leeway
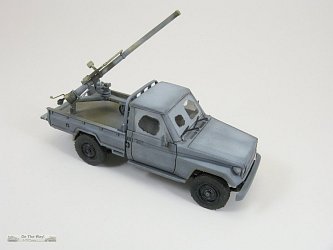
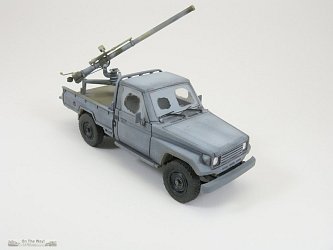
should the window fit prove to be atrocious. So I chose to toss the ZPU and build it sporting a recoilless rifle in its bed, and camouflage it in an overall
grey with painted over windows, similar to the reference photo below.

The Build
To ease painting much of the build was done as sub-assemblies, primarily the cabin & interior, pickup bed, and chassis. Smaller parts, like the tail & head lights,
wheel rims/tires and auxiliary fuel tank were put aside, to be added closer to the end.
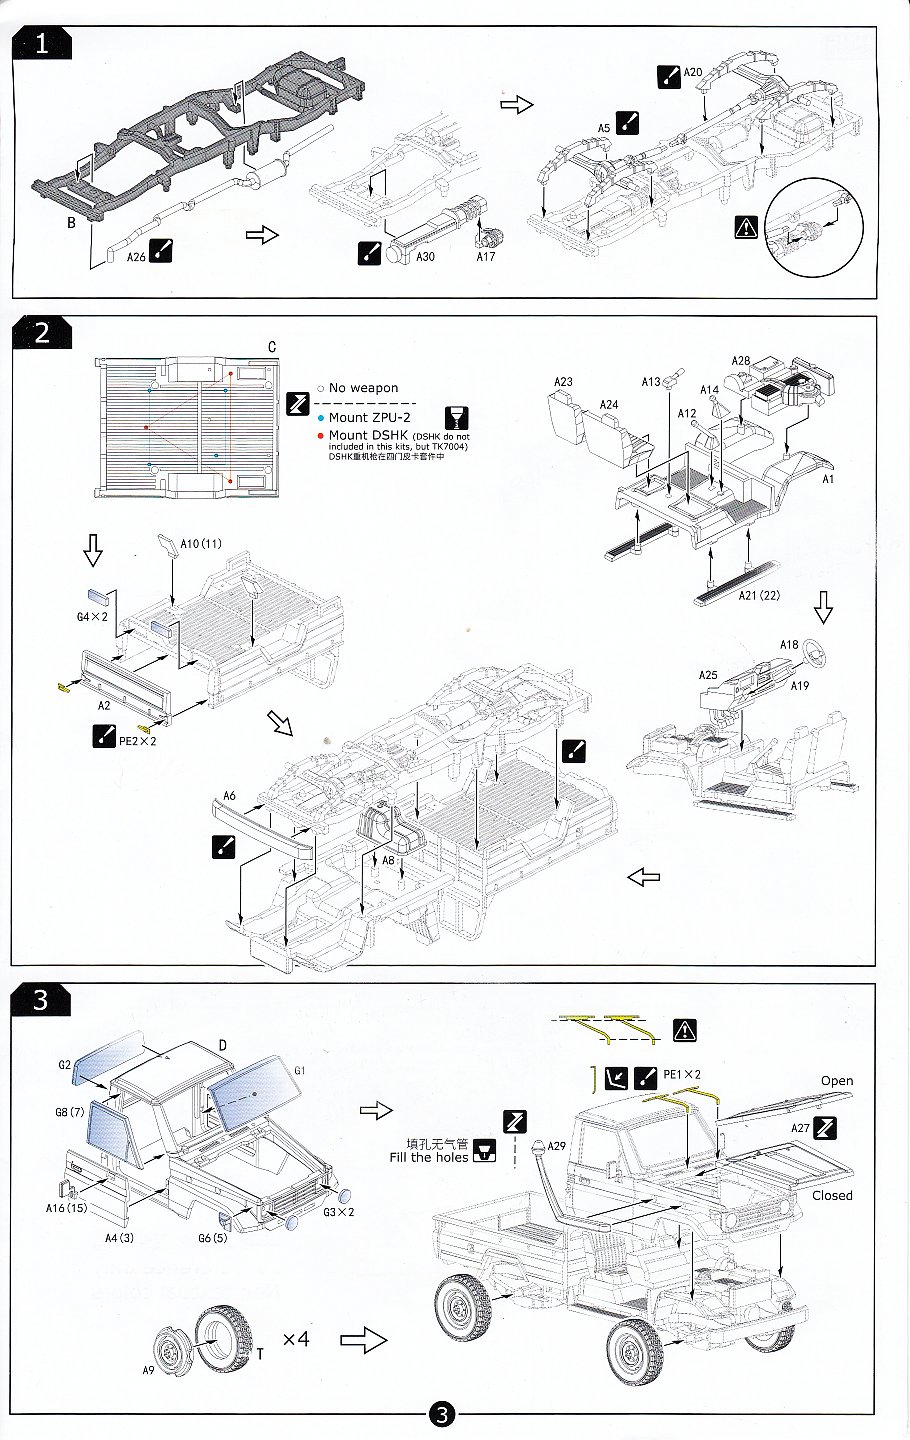
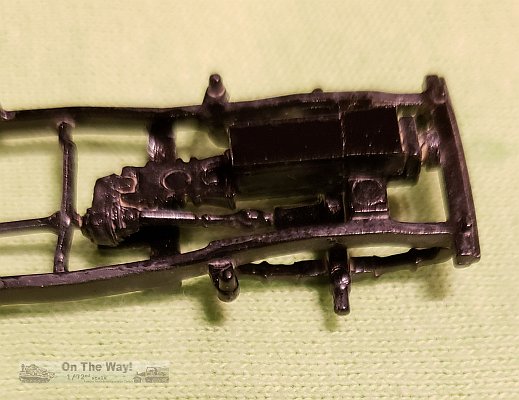
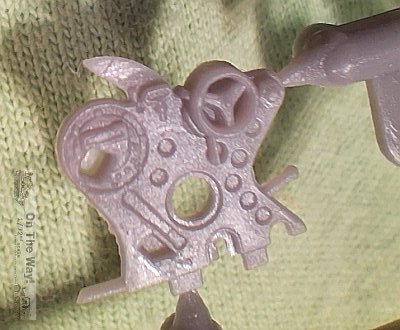
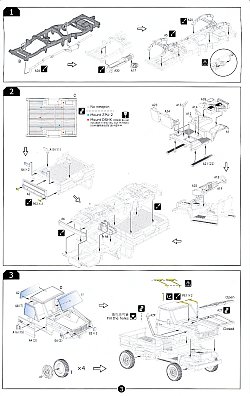
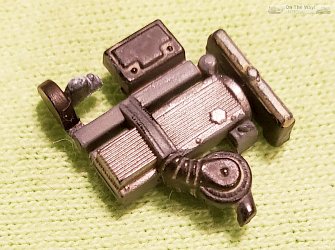
Constructions started at Step 1 with the chassis. This I found too be a bit rough, requiring sanding to smooth it out as much as possible. Instructions were a bit vague regarding
the placement of the trans-axles to the transmission. I did not add the exhaust system as directed. A test fit showed that I could add this later (though this would require
some tricky manoeuvring around the frame members). I also added a couple of pieces of plastic to represent an engine block.
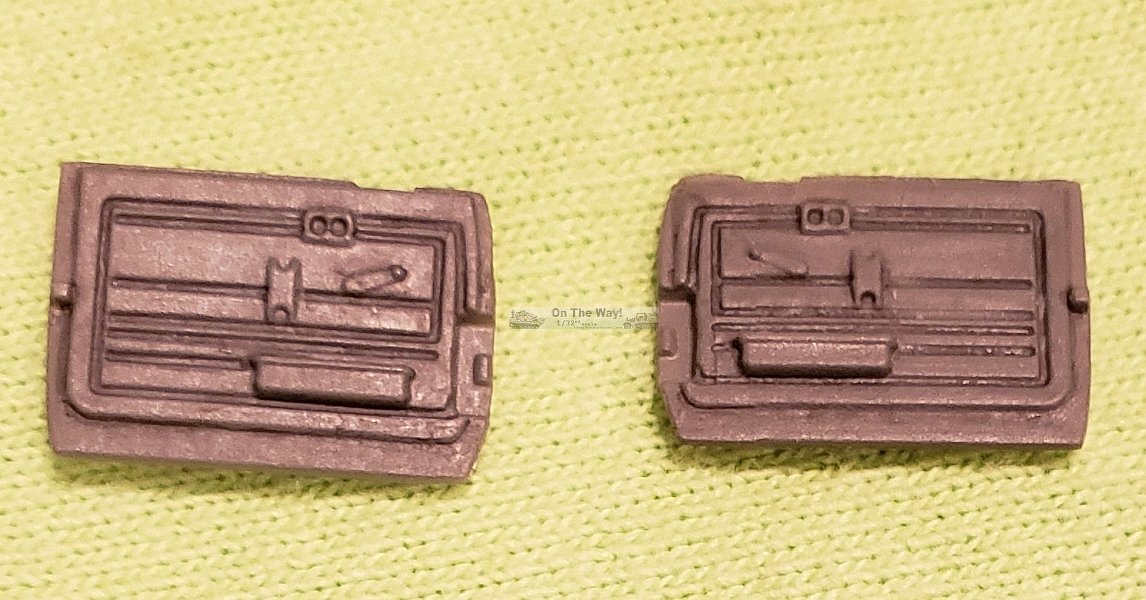
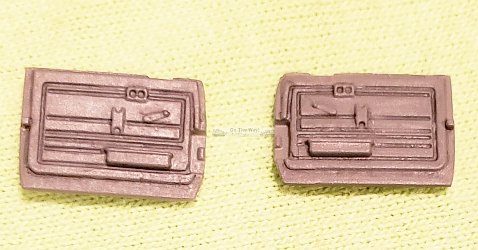
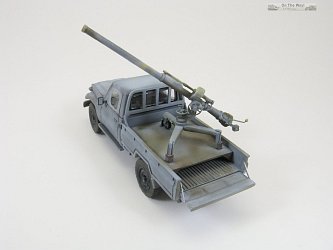
At Step 2 I chose to glue the tailgate open. Retraction arms were added later in the build.
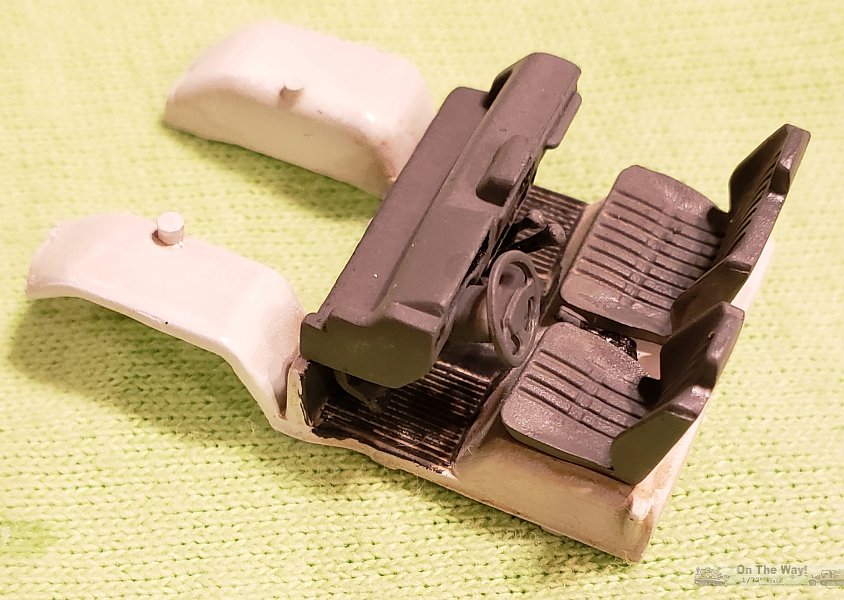
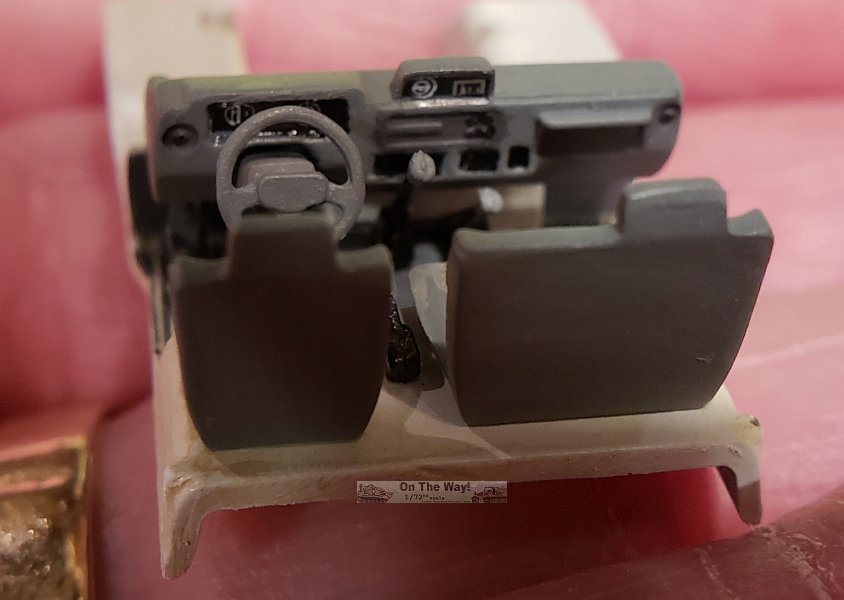
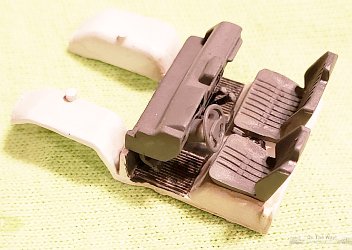
The interior is put together here as well. The kit supplies an acceptable though basic interior which does look good enough as is when viewed through the expansive,
clear windows. Since my build featured painted over windows, I left the interior as is save the addition of instrument face decals.
These were sourced
from a Mike Grant Decals set of aircraft dials (item no. CKP072). For those more adventurous builders wishing to open one or both doors, the
interior would benefit immensely from additional detailing such as:
- new shafts for the driver controls, as the kit supplied ones are quite thick
- seat belts
- replacing the moulded on grab handles
- windshield mounted rear view mirror
- instrument faces on the dash

On to Step 3. Here the instructions suggest an open or closed hood. I chose to have it closed. For the former option, some extra detailing inside the engine compartment,
such as battery cables and brake lines, might be of benefit.
I added all the clear windows parts, side markers and doors as suggested because they were to be painted over. I had no concerns
regarding their masking. Headlight lenses & windshield wipers were left off, to be added after painting. I deleted the wading snorkel and filled the holes.
As for the tires, removing their injection reliefs without marring the
sidewalls proved problematic. I used a sharp new hobby knife blade, but with hindsight, one of my homemade small saws might have worked better.
The tires are extremely difficult to stretch over the wheel rims. Any flaws were mounted facing inside.
I've never seen one of these trucks myself, so I'm uncertain the rims have the correct number of wheel bolts.
Step 4 tackles the spare tire location. This step was skipped as I was not using the spare tire.
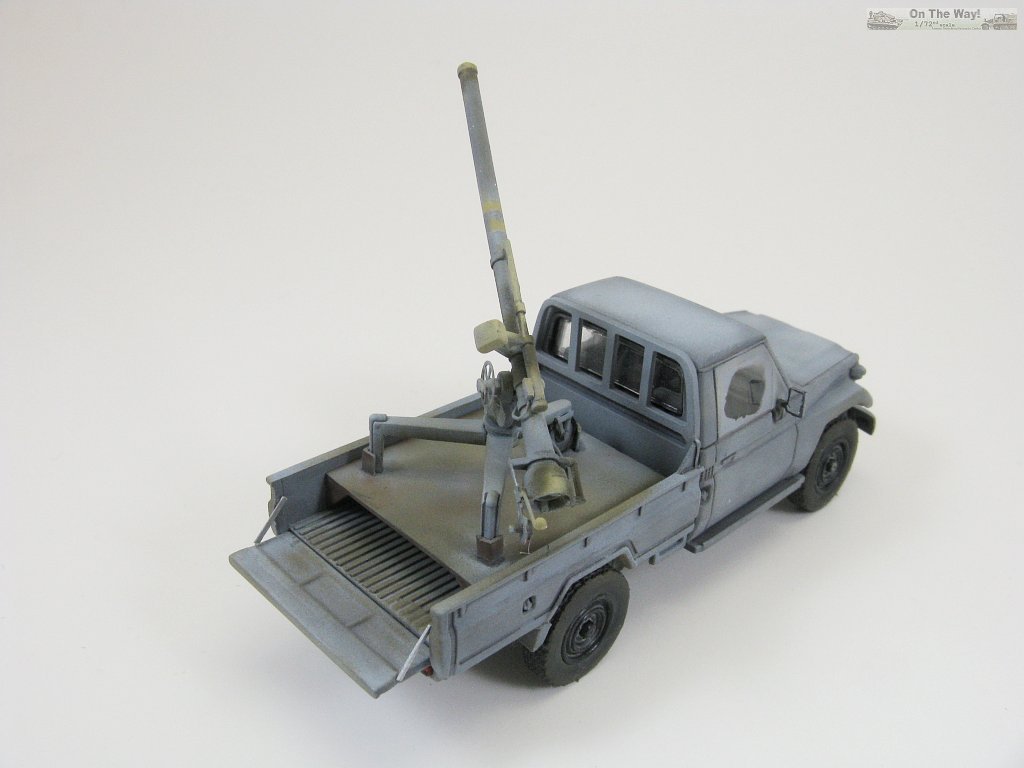
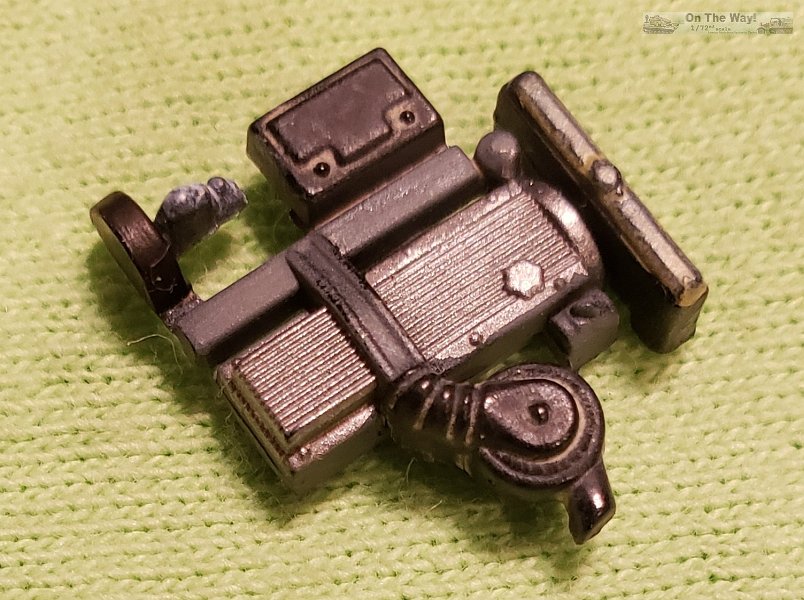
Steps 5-7 were also skipped since I was replacing the ZPU gun with an S-Model 106mm M40 recoilless rifle (reviewed here).
For this I built a platform from plastic strip and sheet.
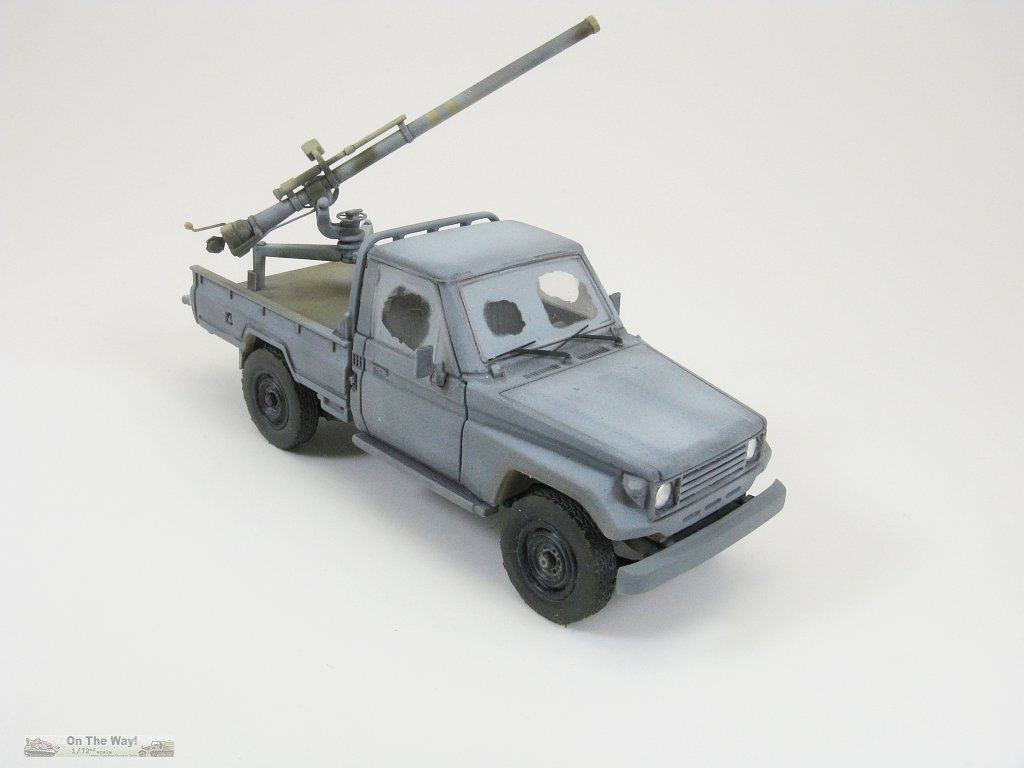
Painting was rather straight forward. The overall grey finish was done using Tamiya lacquers in the small glass jars, thinned with Mr. Color Leveling Thinner.
I started with Dark Ghost Grey, then added some German Panzer Grey to give a worn look. Panel lines, air inlet grilles, rivets, etc. were highlighted next. My preferred method
for this is applying some Rubber AK Interactive weathering pencil (10002), dissolved with Microsol, and applied with a very thin brush. I let it dry for about 5 minutes
and then remove any over application with a Tamiya Craft Cotton Swab (87107), or something similar, dipped in water, wiping away any excess moisture. I use this
style of swabs because their tip doesn't expand into the depression and wipe away the pencil pigment, giving a nice clean result. Flat coat is my go to of
Golden brand Hard MSA Varnish with UVLS (Matte) thinned with generic hardware store lacquer thinner.
Conclusion
A very nice kit for the most part. I was pleased with the fit in general, and with the windows specifically, but less impressed with the lack of instrument decals and
mediocre tires. They are hands down the worst part of this kit. It's too bad that 3R Model didn't use injected moulded or 3D printed items instead. It's highly
recommended to source wheel replacements if one can find them.
References
[1] tanks-encyclopedia.com
[2] armedconflicts.com (a few ZPU-2 pix)
[3] toadmanstankpictures (ZPU-2 walkaround)
[4] vodnick.net (ZPU-2 walkaround)
Review sample purchased by the author.


|