|
A preview of this kit by Stephen Brezinski can be found here.
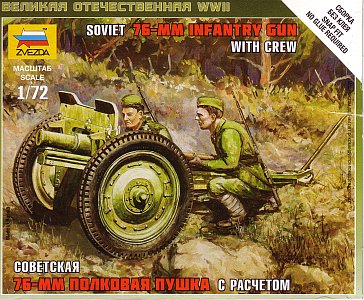
Brief History
From [4]:
"The 76 mm regimental gun M1927 was a Soviet infantry support gun. The gun was developed in 1927 by the design bureau of Orudiyno-Arsenalny Trest (OAT) and entered
production in 1928. A total of 16,482 pieces were built. On June 22, 1941 the Red Army had 4,708 of these guns. In 1943 the gun was replaced in production by the
76 mm regimental gun M1943, but remained in service until the end of the war. The Germans placed captured guns into service as the
7.62 cm Infanteriekanonehaubitze 290(r) (infantry gun-howitzer), while in the Finnish army they were known as 76 RK/27."
The Kit

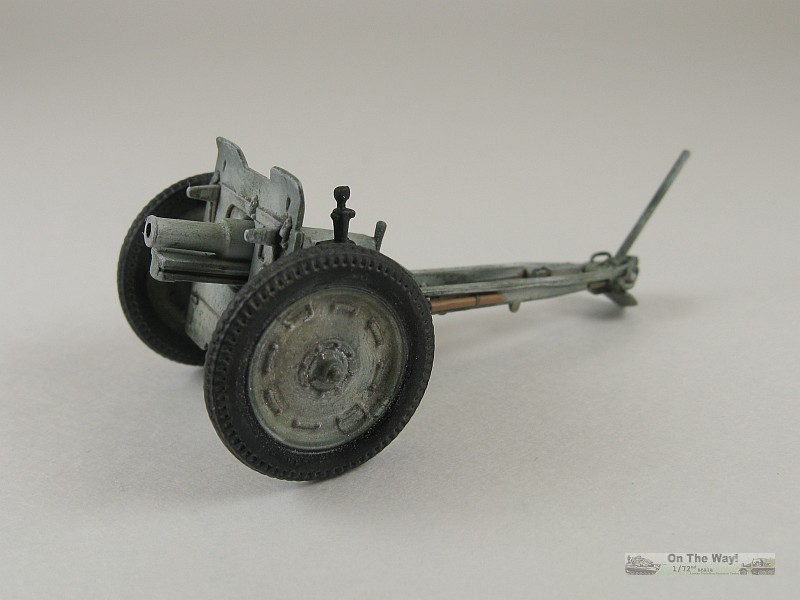
This is a war-gaming kit, designed to be quickly assembled by simply snapping the parts together without the need for glue.
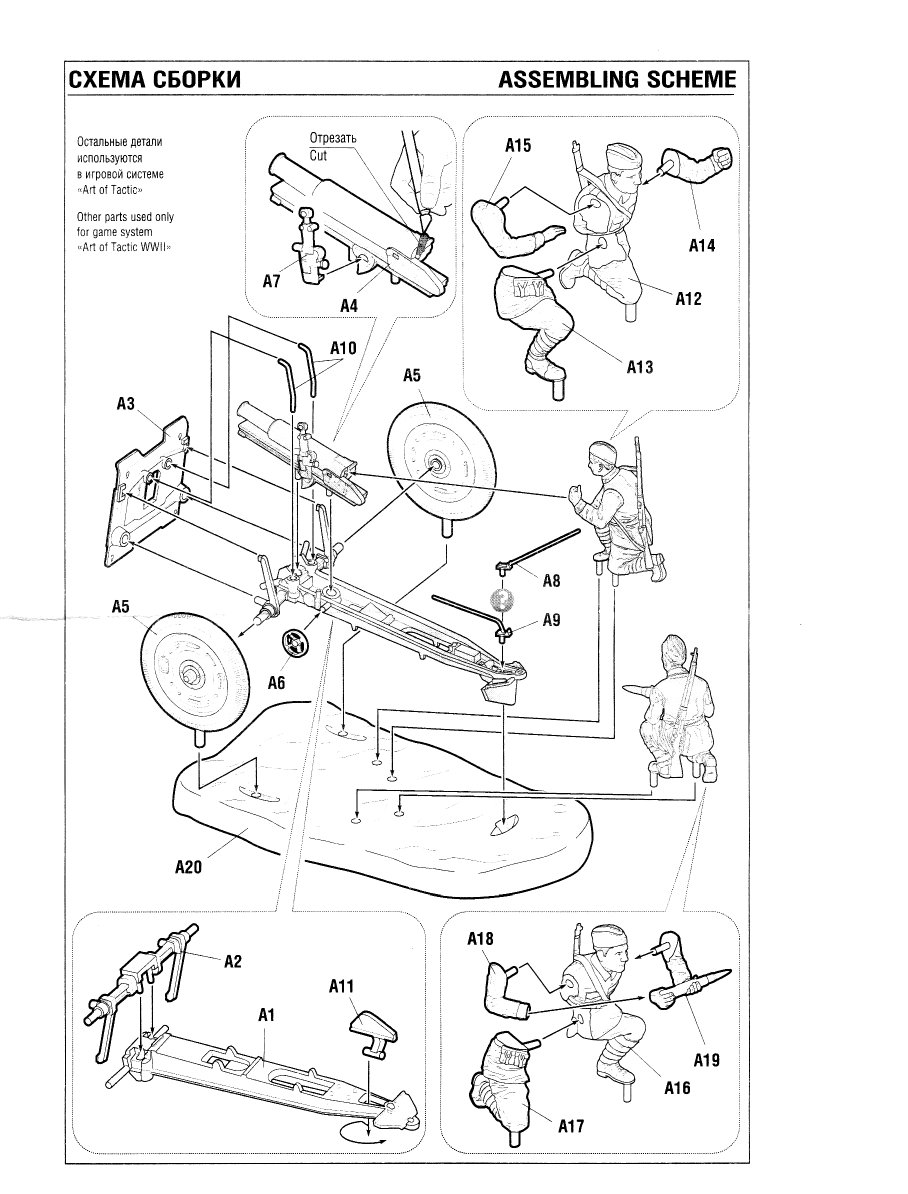
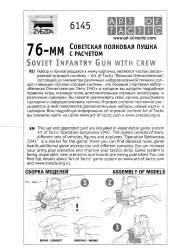
Inside the small end opening box are 2 sprues of fairly hard green plastic. Parts total 23: one sprue containing the base, figures and
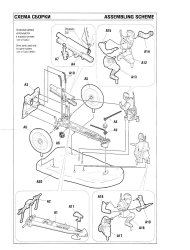
game flag, and the other sprue containing the gun parts. The instructions are a simple affair, outlining the assembly in the common exploded diagram format.
There are no decals supplied which is not surprising for a weapon that probably did not carry them anyway. No painting guide is supplied. The builder can
pretty much paint this in almost any appropriate camouflage desired; from Soviet Green camo, to German panzer grey, or whatever. I settled for Soviet Green with a
winter whitewash of worn white.
Parts are very well molded with little flash and excellent detail overall. The shield is a bit too thick like in the vast majority of artillery kits.
Construction
With so few parts construction is not a complicated affair. Test fitting showed the parts snap together quite well for the gun, and for an out-of-the-box build gluing
would be minimal, probably only necessary for the sights, lower part of the spade and the shield braces. I did not
assemble the crew figures so I can't make any statements as to the ease of their construction.
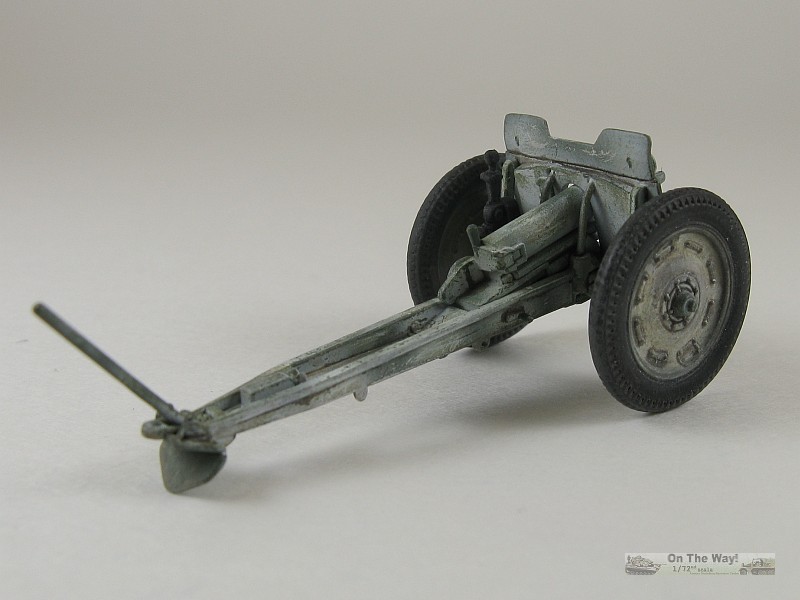
There are two parts (A8 & A9) supplied for optional positions for the
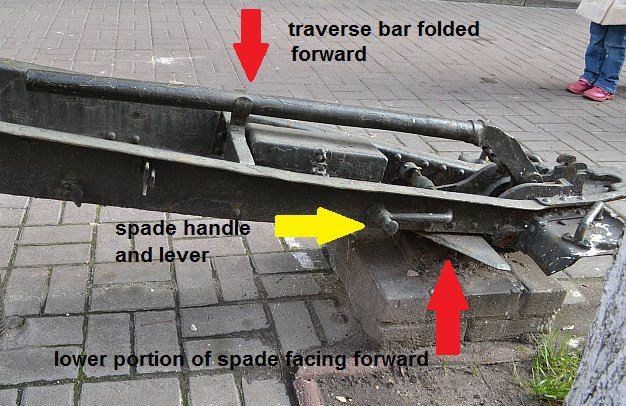
traversing stick. Part A8 is for the firing position and I assume that part A9 is for the travel position. What is not shown is that in the travel position the lower
part of the ground spade should be flipped to have the point facing forward (as shown below from reference [1]), requiring the builder to modify the part.
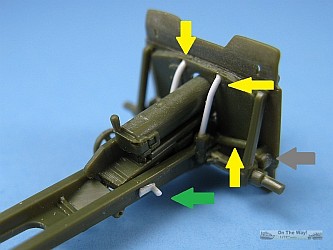
Also notice what appears to be a lever (yellow arrow) used for moving the lower portion of the spade. I assume that the lever's handle would face rearward when
the spade is deployed.
|
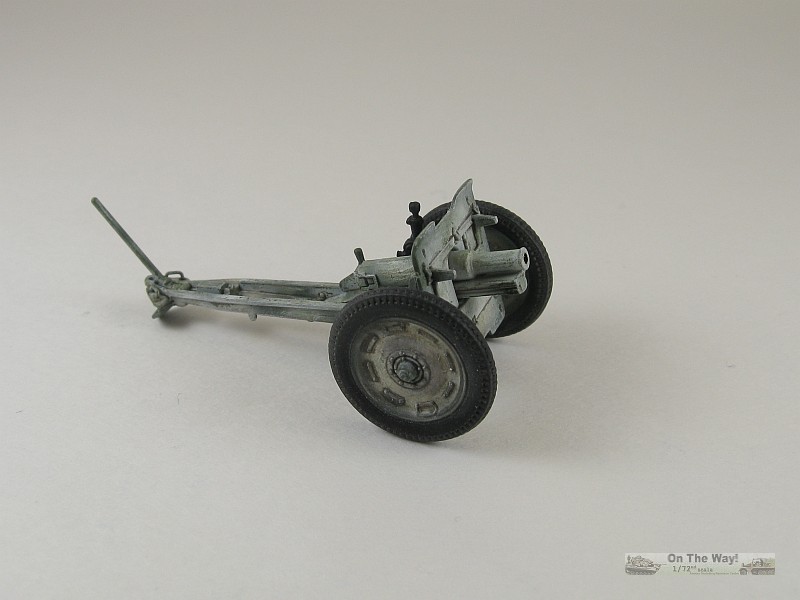
For those wishing to build this gun with a bit more detail, I'd suggest the following modifications:
- Thin the edges of the shield and spade.
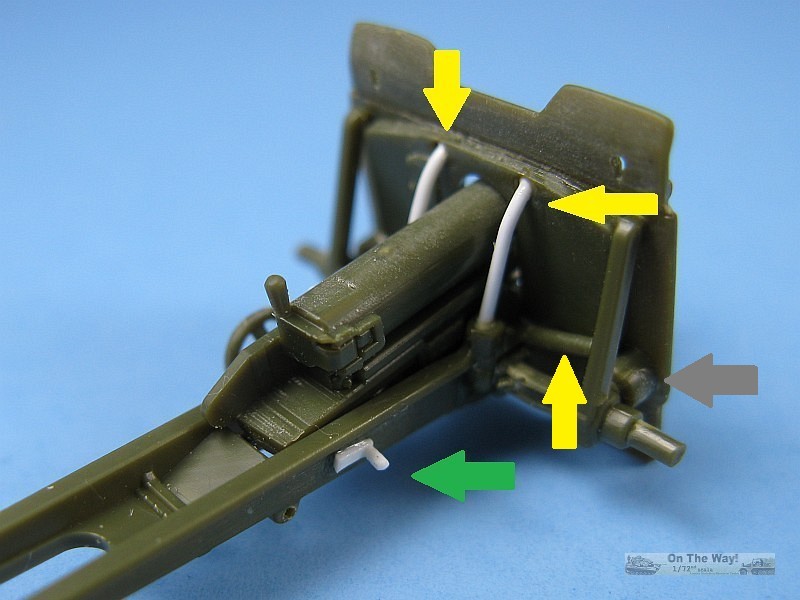
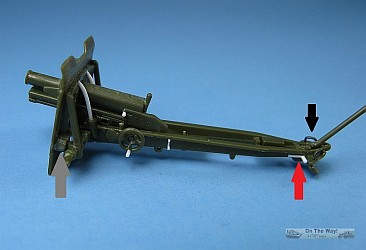
- Cut off the large and obvious locating points on the back of the shield. You may wish to keep the lower pair (grey arrows) that attach to the axle as
I did to maintain alignment and retain some strength to the kit. Leaving them will not detract from the overall look of the finished kit as they are
mostly hidden from view by the wheels.
- Add grab handles to the top of the spade. (black arrow)
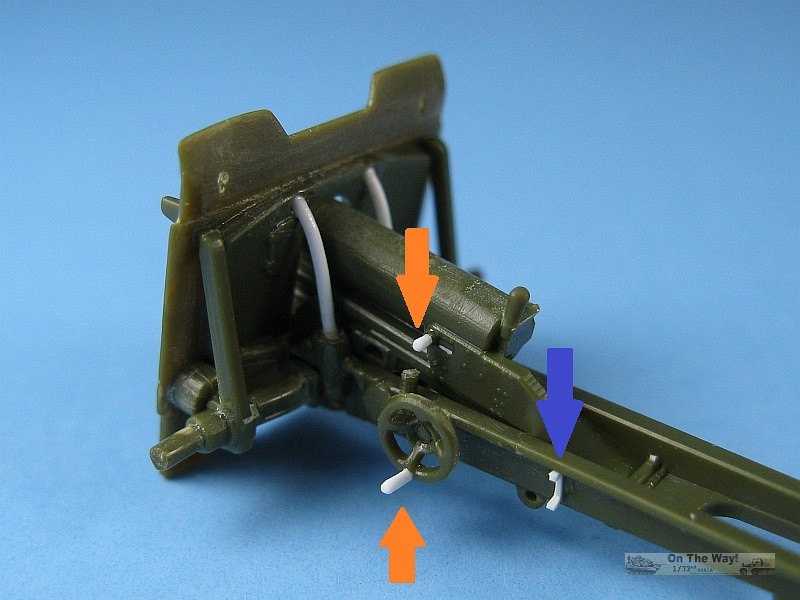
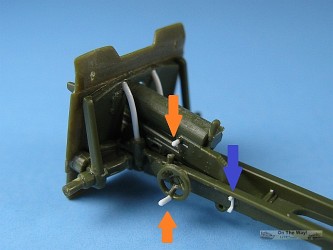
- Handles for the elevation wheel and the side of the loader's protective guard. (orange arrows)
- Add the spade lever. (red arrow)
- Drill out the muzzle.
- Replace the shield supports with thinner rod (yellow arrows). In the top picture the lower supports have not yet been replaced when I took the picture.
- There is a lever on the right side of the trail, purpose unknown, that I added as well. (green arrow)
- Bracket to hold the rammer. (purple arrow)
- A rammer fashioned from plastic rod.
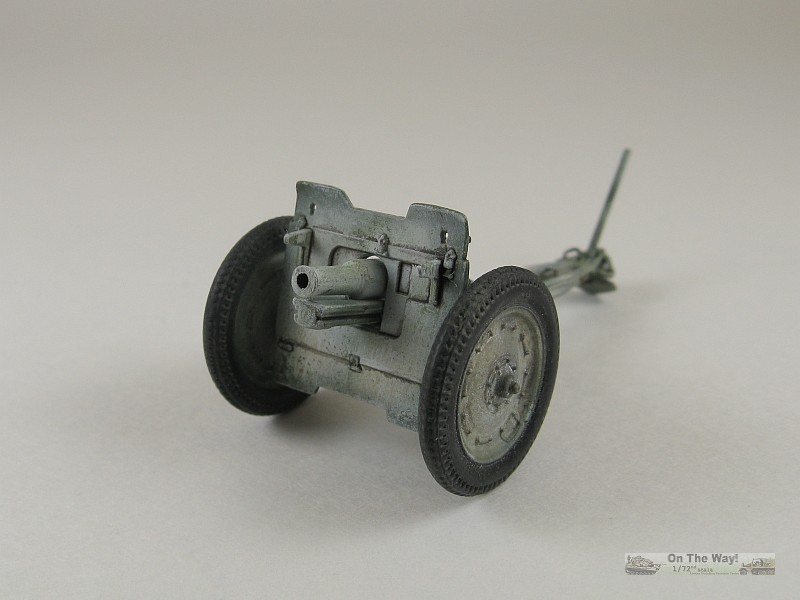
The instructions direct the builder to cut off the handle for the breech mechanism but I did not do this as photos seen in the references did not support this.
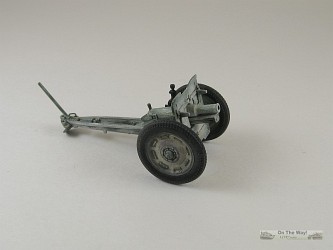
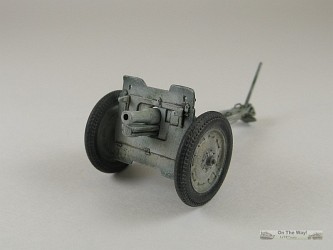
The way the gun tube and cradle (part A4) have been molded together limits the firing angle to a single option. Since I wanted to display the gun separate from the
base I removed the locating lugs from the bottom of the wheels.
|
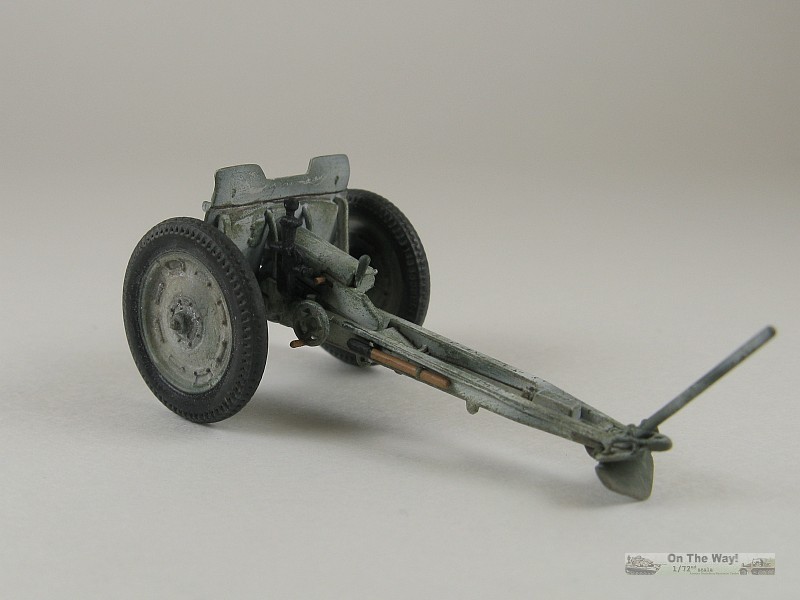
Conclusion
This is a sweet little kit. Easy to build, nice out-of-the-box, and even better with some minor detailing.
References
[1] dishmodels.ru (walk-around)
[2] dishmodels.ru (walk-around)
[2] Silicon Valley Scale Modelers (walk-around)
[4] wikipedia
Review sample purchased by the author.


|