|
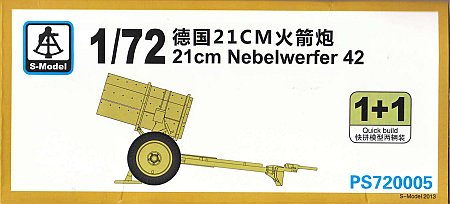
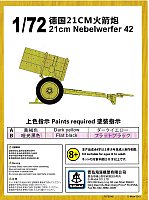
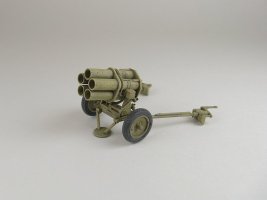
The Nebelwerfer 42 was originally intended to be an enlarged version of the six-barrelled 15cm Nebelwerfer 41 but the larger tubes resulted in a
five-barrelled launcher. It still resembled the smaller 15cm projector, even utilising the same 3.7cm Pak derived carriage.
Ammunition was the 21cm Wurfgrenate 42 Spreng rocket which resembled a conventional artillery round as it was carefully streamlined by the addition of a false hollow nose
(ogive). Overall length of the rocket was 49.21 inches and the total weight was 241.3 pounds.
The Kit
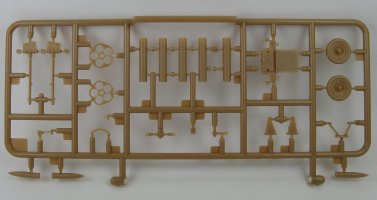
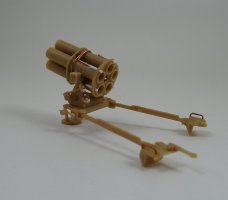
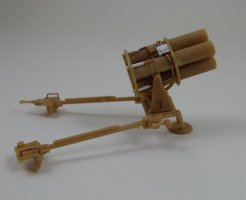
Inside the box one gets two sprues of light tan/caramel coloured hard styrene plastic parts. Each sprue has 25 parts, enough to make one complete launcher.
No decals are included.
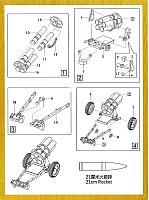
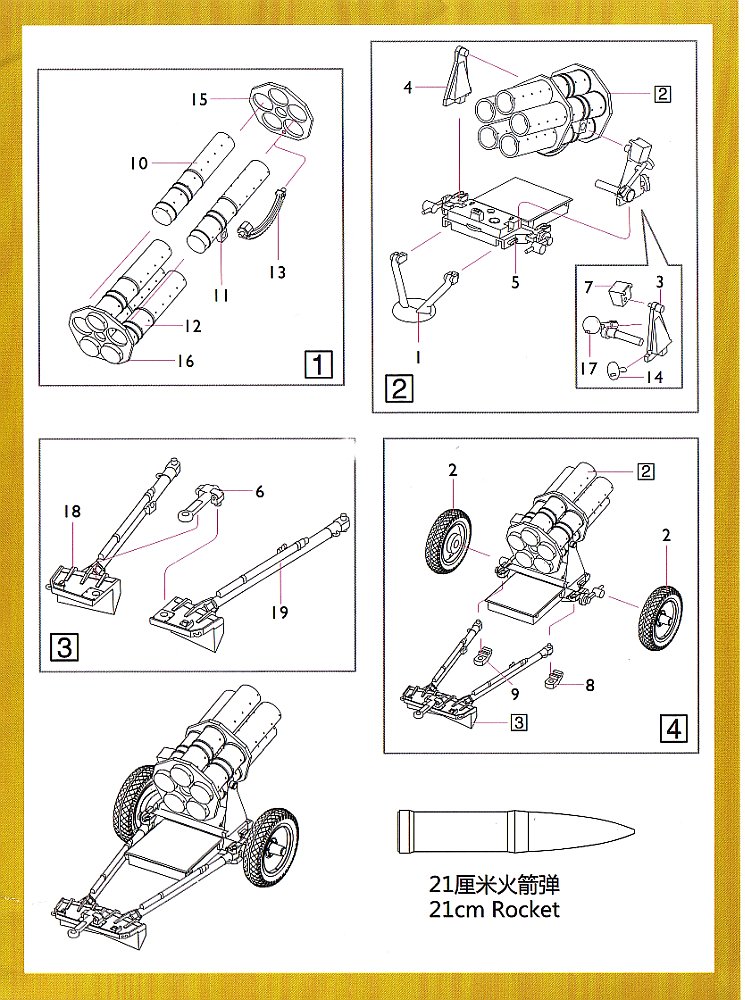
The construction guide is a small two sided sheet showing the build sequence in 4 steps of exploded diagram format. I found them very easy to follow.
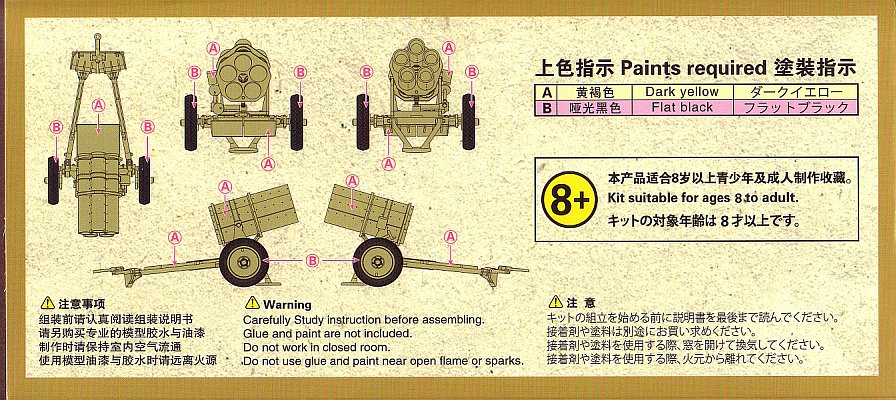
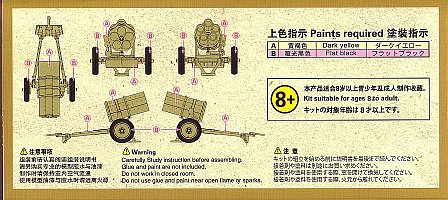
The colouring guide is printed on the box rear. (See here for a preview of the prototype version of this kit.)
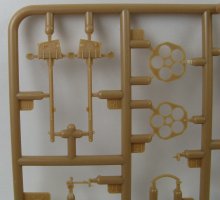
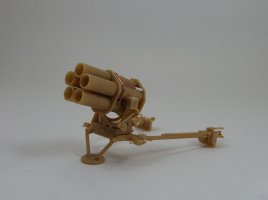
Detail on the parts is a mixed bag, though in general it is quite good considering that this is probably intended as a war gaming quick build kit. One one hand you have fine and exquisite detail
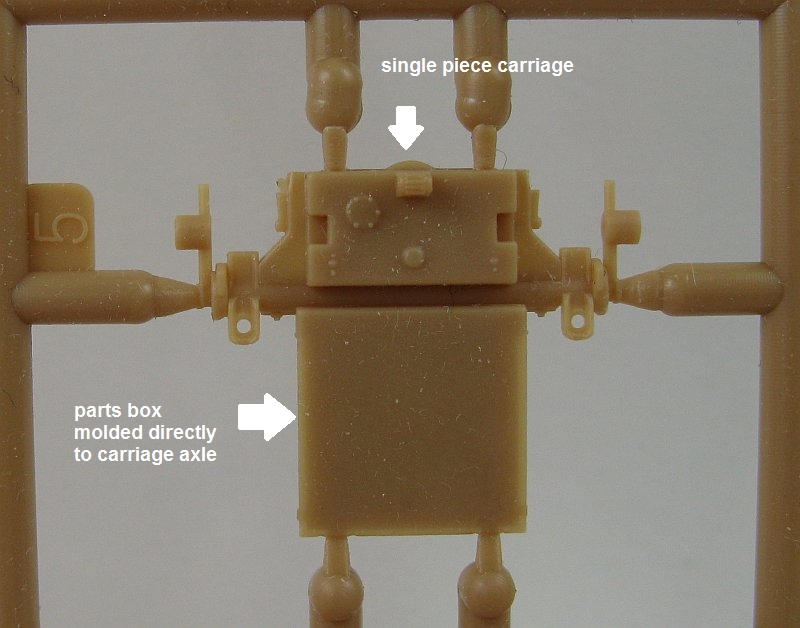
representing the rivets along the length of the tubes, but then some short cuts were taken, like the launcher carriage which comes as a single piece where it should actually be two parts.
Where the kit is really lacking is in the missing rocket ignition wiring that routes over the outside of the tubes. To make a decent display model this will need to be added.
Pros:
- Nice moldings with no flash, very fine mold seams and few ejector pin marks
- Detail is decent and quite fine in places considering it's supposedly a quick-build gaming kit
- A set of rockets are included but unfortunately there are only three on the sprues for each launcher though the tubes can hold five
Cons:
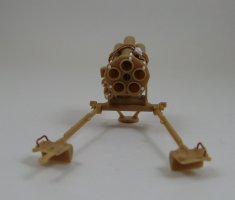
- Only one option for the build, that being for travel mode
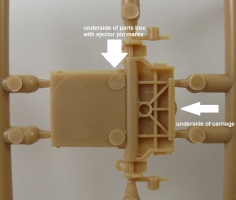
- The parts box that rests between the trails during travel is molded directly to the axle

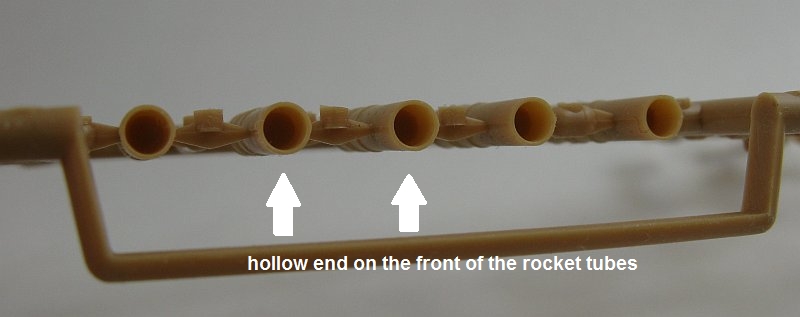
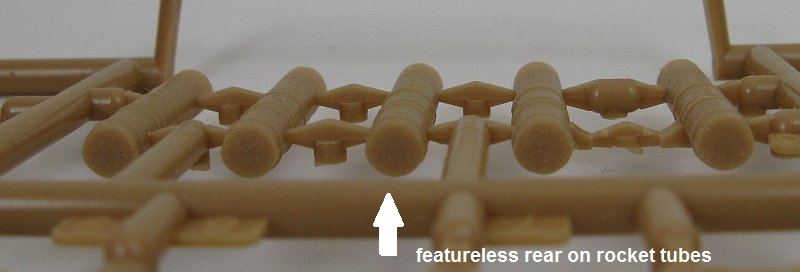
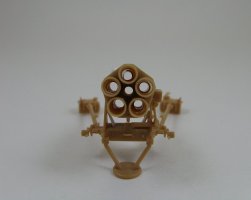
- The tubes are hollow at the fore end but solid at the rear
- The ignition wiring is missing
- The spades should have grab handles
The Build
Overall, the fit of the parts is exemplary. There are a few hair line seams to deal with, and no flash was encountered at all. To bring the kit up to display standards I addressed the
points in the cons list above.
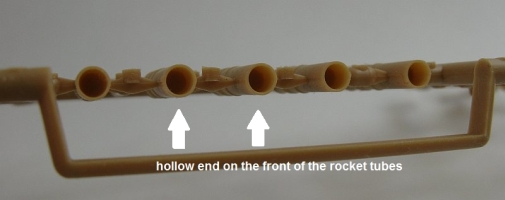

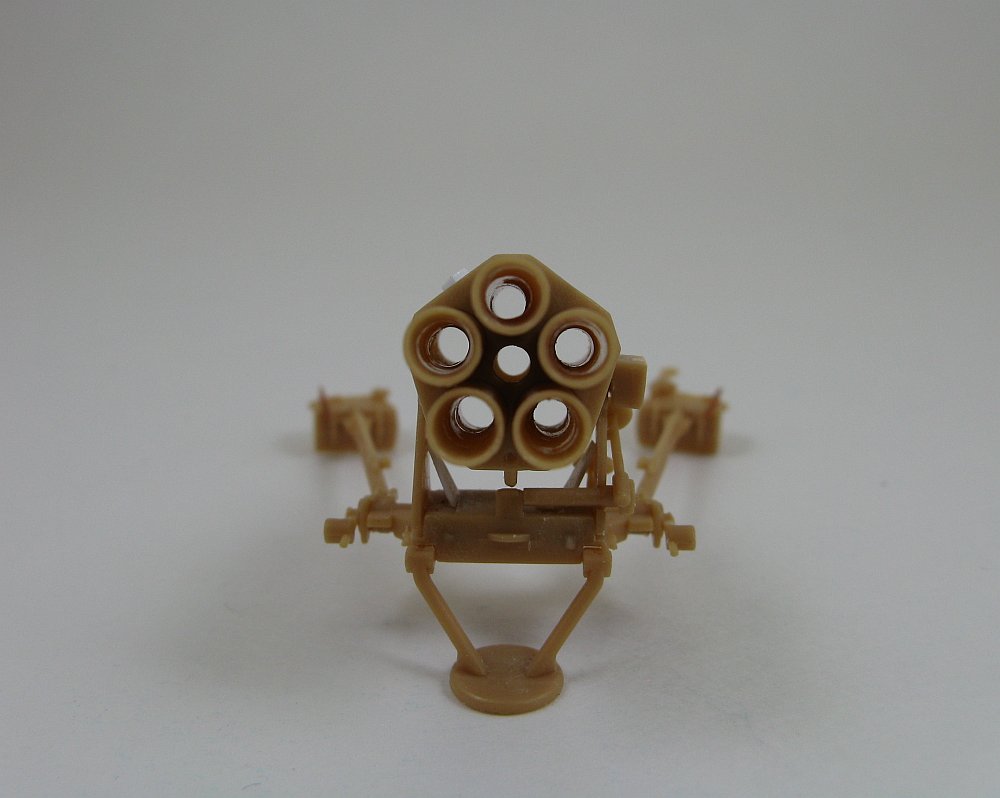
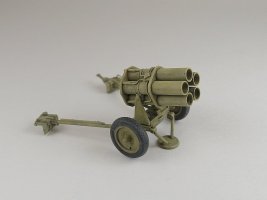
First, the tubes were carefully drilled out. This is a very trying operation and carelessness will result in the
drill bits exiting through the sides of the tubes. After being hollowed the tubes were then glued into the support plates (parts 15 & 16).
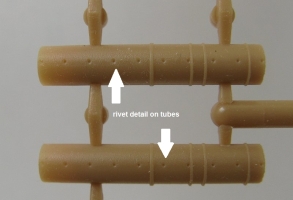
Here you need to check your references to see
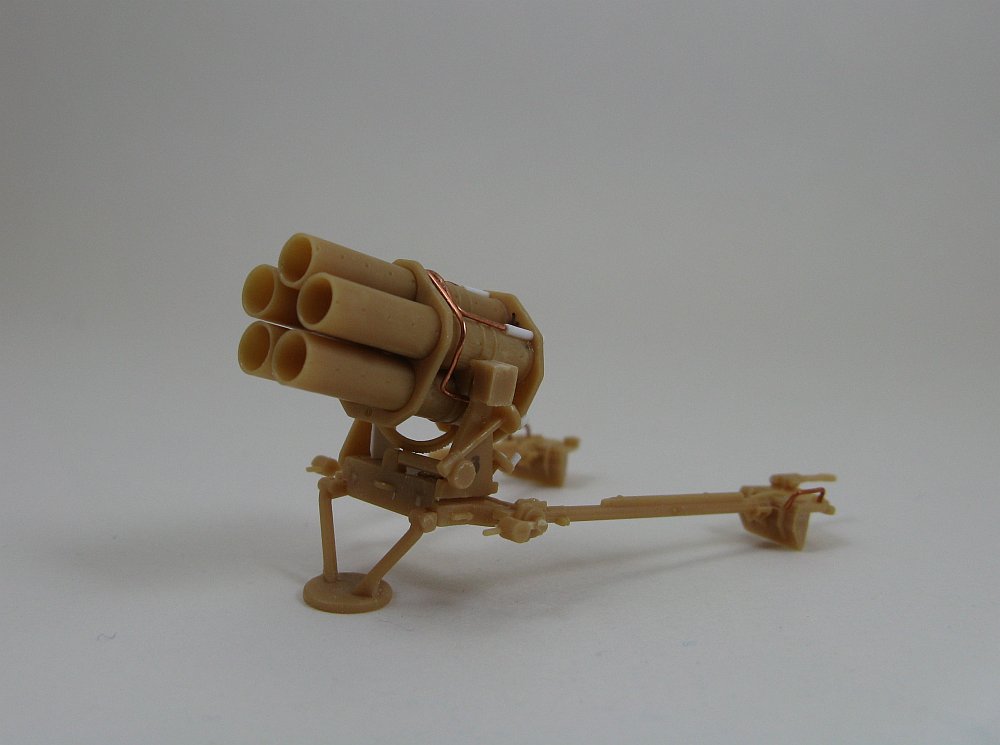
how to align the rivets that run down the sides of the tubes. The missing ignition wires and junction box are a must and I added them using some thin gauge copper wire and plastic rod.
Since I wanted my launcher in firing position the parts box was trimmed from the axle. This was not too difficult but care is needed to
not flatten the round profile of the axle. The travel lock (part 6) is molded in the closed position, so it was carefully cut in two and glued to their respective places on the spades.
At this point I also added the missing grab handles using some more of the thin gauge copper wire.
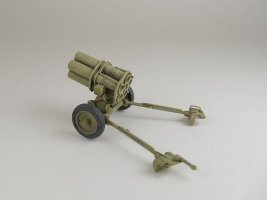
For a launcher in the firing position the pad was added as per the instructions. Oddly the instructions direct the builder to mount the front pad (part 1) in the down position which it would not be in if the launcher were being towed.
All that may be needed is to flip the pad upside down to have it in the travel position though unfortunately I did not try this, so I can not confirm that this would work.
The carriage, which is a two piece affair on the real launcher, is unfortunately molded as a single piece unit. Being much too difficult a fix it was left as is.
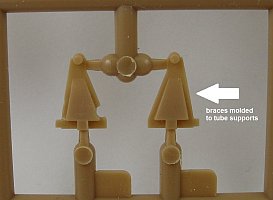
The tube support brackets have
molded on angle braces which I removed and replaced with new ones cut from thin plastic sheet. The handles on the traverse and elevation wheels are much too small and they were cut off and
replacements were made from thin plastic rod. I also added the shaft ends to the center of the traverse and elevation wheels.
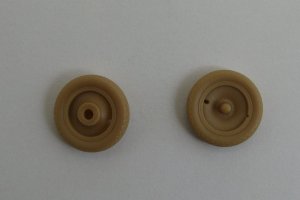
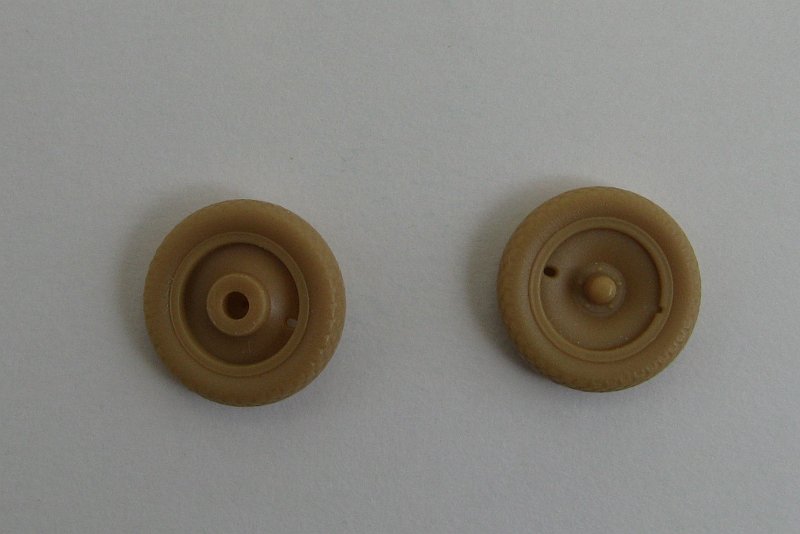
The wheels and tires are beautifully represented. They are a tight fit to the axle out of the box so I widened the holes a tad to ensure a good fit figuring that a coat of paint
the wheel to axle join would be too tight.
With some work the launcher could also be built ready to fire with rockets loaded in the tubes. In addition to making the above corrections necessary to build the launcher in firing position, one
would need to cut the heads from the supplied rockets and trim them to fit into the front of the tubes and also add detail to the end of the tubes to simulate the rear end of the rockets.
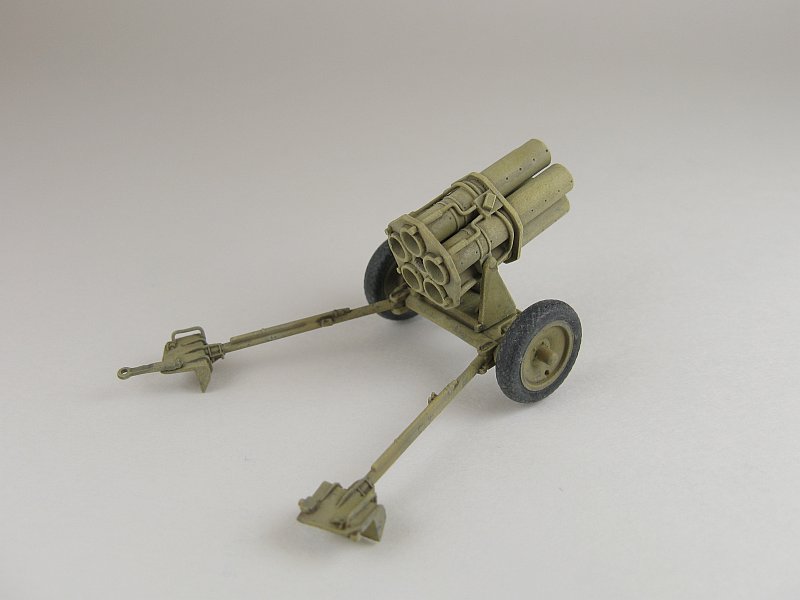
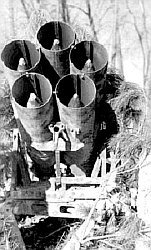
Make sure that the tips of the rockets almost poke out from the ends of the tubes as per the reference photo below.
Measurements
| | |
|
Real Size (inches) |
1/72 Size (inches) |
Kit Size (inches) |
Kit Scale |
| Tube Length |
51.50 |
0.72 |
0.77 |
1/67 |
| Rocket Length |
49.21 |
0.68 |
0.58 |
1/85 |
| Tube Diameter |
08.30 |
0.12 |
0.14 |
1/59 |
I was not able to find too much on specific measurements of a Nebelwerfer 42 launcher parts other than those presented in the above table. As you can see the model is a bit oversize
on the barrel length and diameter, while the rocket projectile is significantly undersize.
Conclusion
It may be simplified in some respects and lacking some detail to make a decent display model, but on the whole with a
little extra work this kit can be made into a nice replica of the real thing. Scale appears to be a bit of a mishmash, but for me the rocket size is the most onerous error. The other
size discrepancies I can live with.
References
[1] Field Rocket Equipment of the German Army 1939-45, T.J. Gander, Almark Pub. Co., New Malden, Surrey 1972 ISBN: 85524 085 7
[2] Allied-Axis:The Photo Journal of the Second World War, Issue 14, Ampersand Pub. Co., Delray Beach 2004
[3] Military Models (walk around -- link seems to have been hacked since posting the review and has now been deactivated in this review)
[4] Toadman's Tank Pictures (walk around)
[5] Wikipedia
Review sample purchased by the author.

|