|
Notes
- For an introduction to the later versions of the
PzKpfw III, we refer to this
preview.
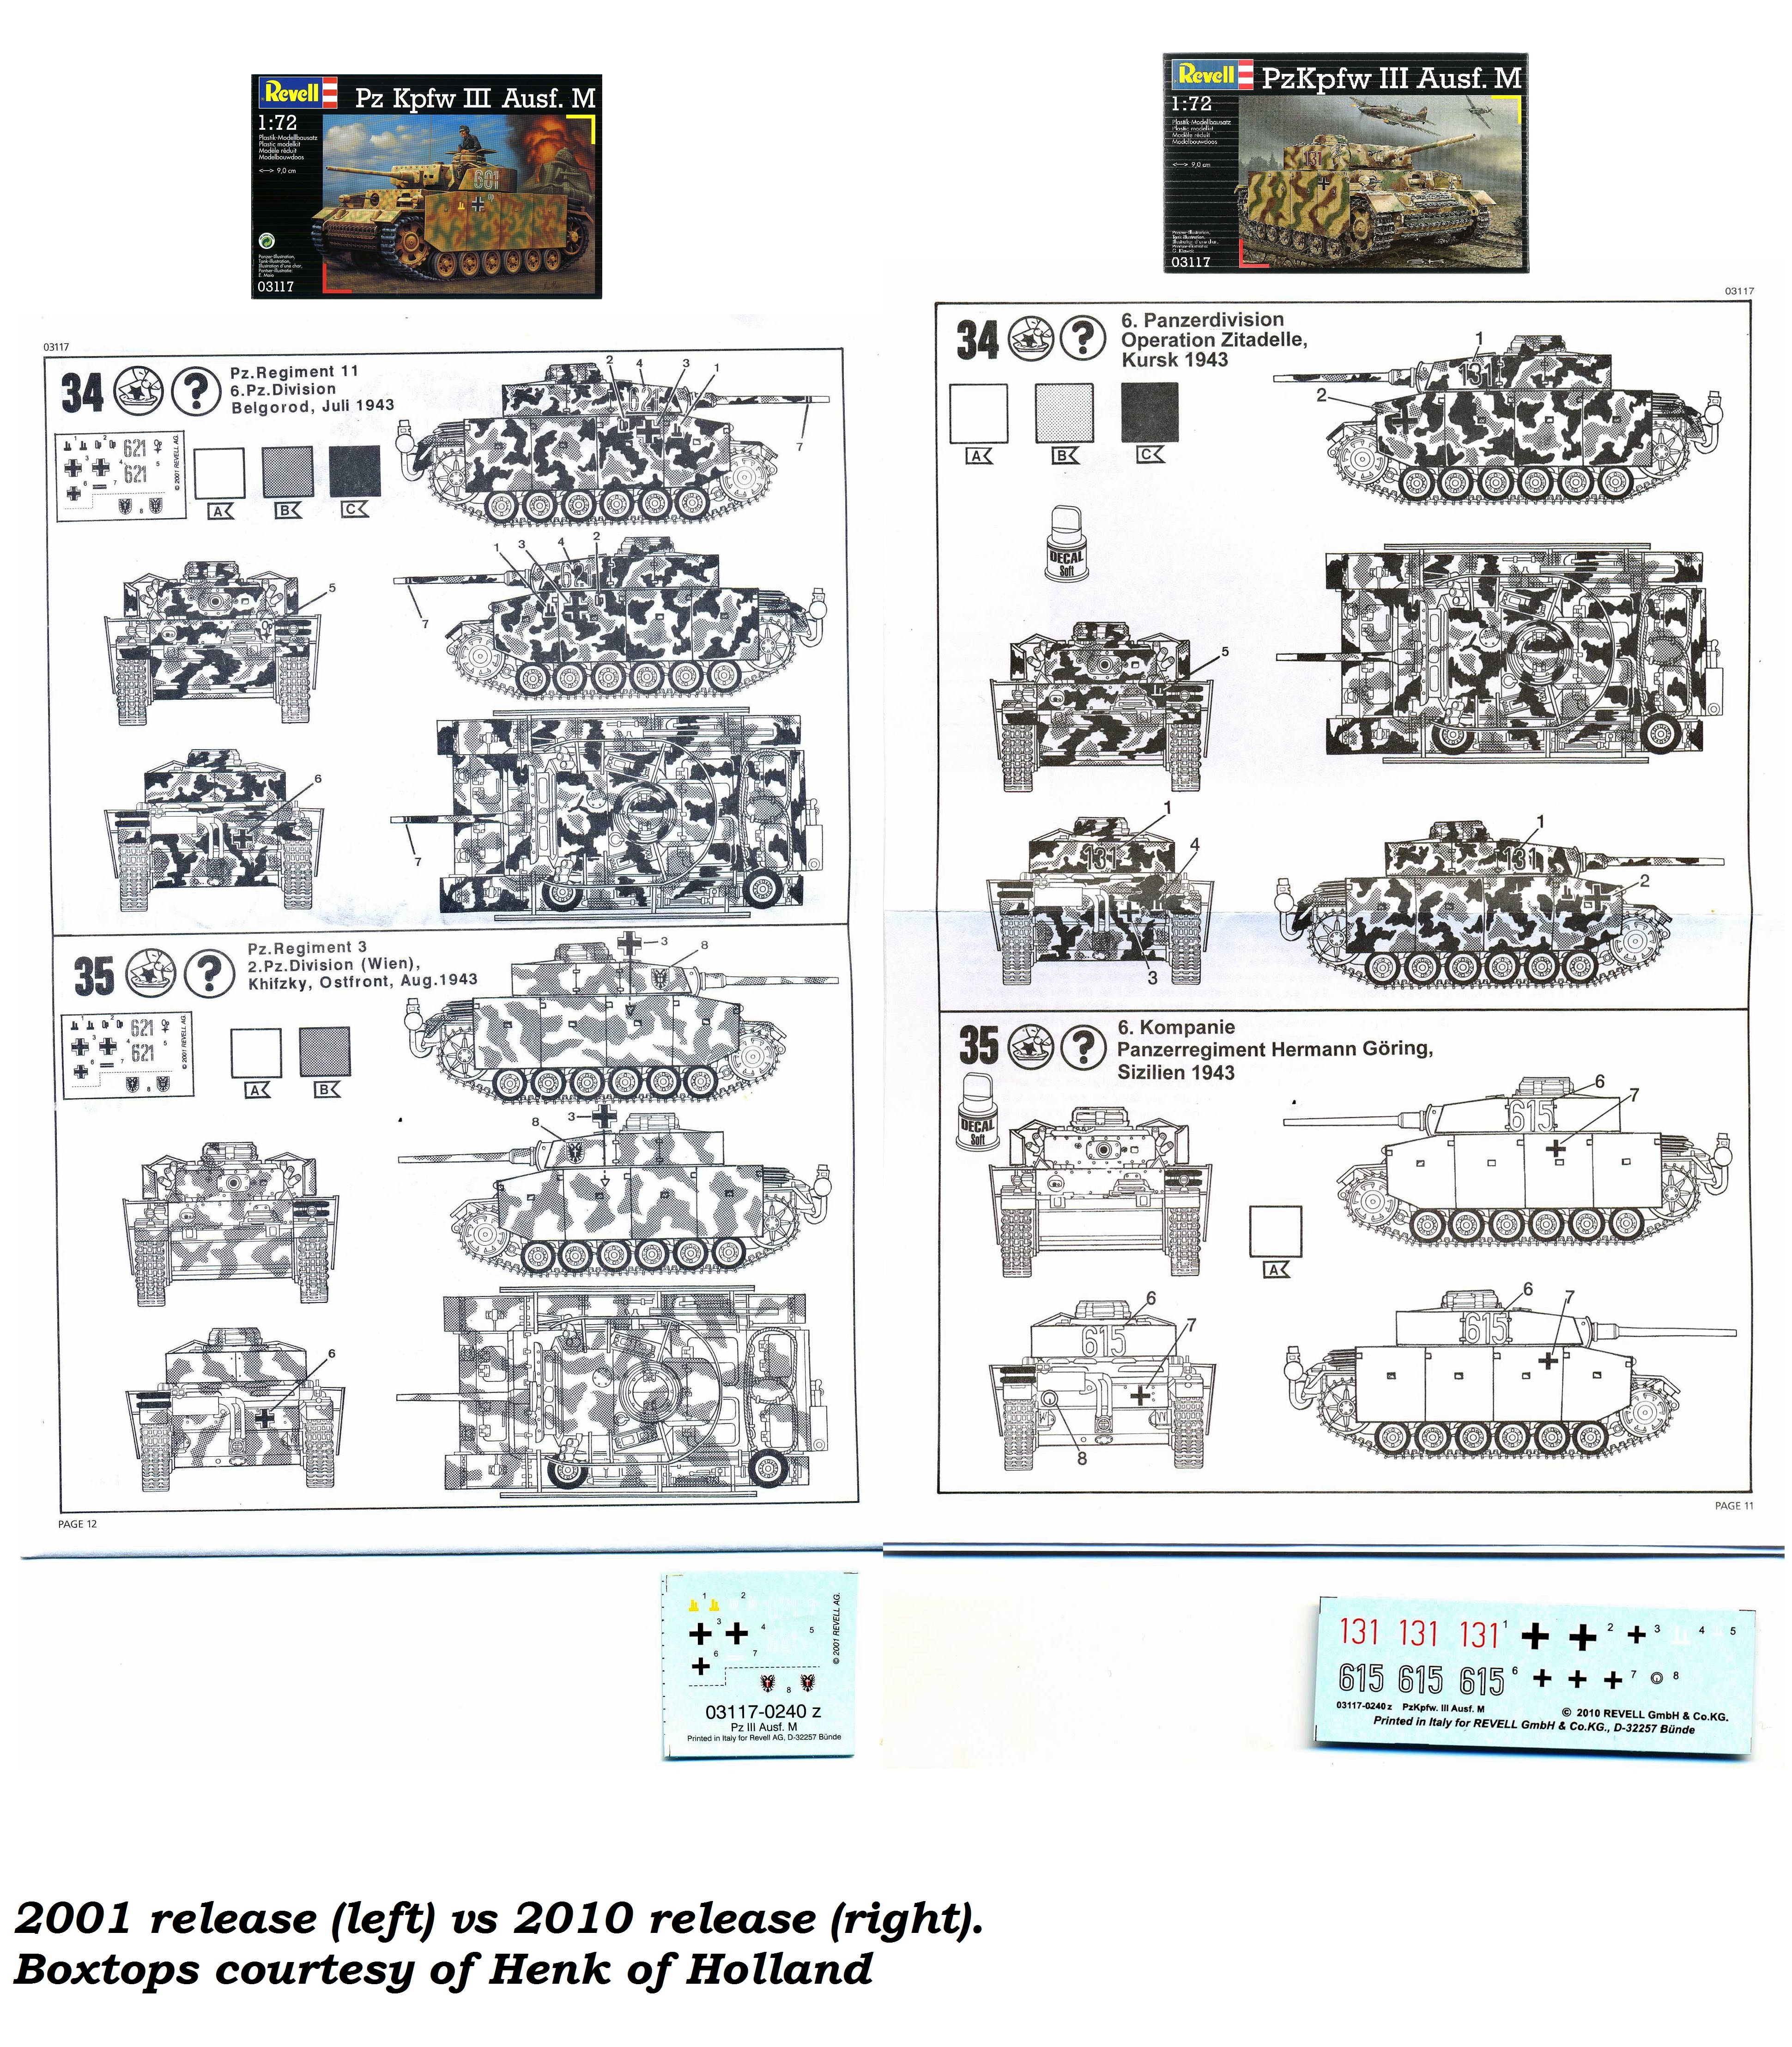
- The kit that I used was the 2001 release, which
is identical to the 2010 re-release except for the decals (see here).
- For a comparison with the Esci kit, we refer to
this article.
_t.jpg) _t.jpg)
Pictures
from Henk
of Holland website, used with permission
_t.jpg)
Picture
from Henk
of Holland website, used with permission
Construction
I mostly
followed the instructions, but trying to have as much work done in
parallel as possible. One thing about these instructions is that they
are folded in a very unpractical manner, compared to most kits, even
from Revell.
_t.jpg) _t.jpg) _t.jpg)
 _t.jpg) _t.jpg)
 _t.jpg)
Pictures
from Henk
of Holland website, used with permission
These are the few remarks I had during construction
- Step
6: Later in the construction I discovered that it is perhaps
not a bad idea to leave the return rollers off until the tracks
are on.
- Step 7: If you want to install
the Schürzen (which I didn't) drill the holes in the hull,
but NOT in the fenders. The depressions in the latter are fine as
they are.
- Step 8: There is a small gap between
the lower and upper hull, but nothing a short strip of plasticard
won't take care of.
- Step
12: The separate transmission hatches (on the glacis) are
a mixed blessing. Revell chose separate hatches, not so much to
have the possibility to install them in the open position, but to
have as much parts commonality with their Panzer III Ausf. L kit
as possible. The problem is that these hatches fit so well that
you are left with no panel line whatsoever after gluing them in
place. Scribing panel lines on the glue line between parts is very
difficult, so I resorted to beveling the edges of the hatches very
slightly before installing them.
Note that the sides of the hulls are separate parts as well (no
slide molding here), and that these need to be installed carefully.
- Step 13: The attachment of the
stand-off armor on part 29 need to be slightly modified.
I only discovered this when the part was already glued on, which
is not the best way to go. At this point I also realized that I
should have perhaps assembled more parts onto the upper hull before
gluing upper and lower hull together.
- Step 15: I am not quite sure how
the watertight covers (parts 33 and 34) need to
be installed, but I ended up removing all locating pegs and gluing
them on sight.
Part 31 (the antenna bracket) is given in the stowed position
only. (No antenna is given) Twisting (or cutting and gluing) the
mount is an option if you desire an erect antenna.
The edges of the fender flaps would benefit from a little profiling
to give them the characteristic U-shape when seen from the front
(or rear). It took me only a few minutes.
- Step
17: I believe it is easier to get well-aligned roadwheels
when you install the entire inner row first and only then the outer
row. One might even possibly wait with those until the tracks are
on.
Note that I didn't use the Revell tracks, but MACO
Winterketten.
- Step
19: There is a fire extinguisher missing on the left fender,
compared with the drawings in [1], behind the jack (for which [1]
only shows the brackets). Incidentally, the painting instructions
show the fire extinguisher together with the jack. I didn't have
a jack in the spares box that was small enough to fit in that location.
- Step
20: A gutter should be scribed into part 47 (the
antenna holder) . The angle of that part isn't quite right. It should
be parallel to the fenders. I modified it as well as I could.
- Step 24: The sides of the supports
for the stand-off mantlet (part 54) should have a hole
drilled into them.
- Step 25: The shape of the rectangular
openings in the top support for the stand-off armor (part 55)
isn't quite correct. Making them bigger will already take you a
long way.
The grab handles above the lateral turret hatches are represented
as solid parts. Replacing them with wire is the best option, but
I only scribed a groove that (with a pin wash) will fool enough
people.
- Step 26: The tank that I wanted
to represent had special covers for the smoke grenade launchers
which I made with thick paint.
- Step
27: The angle at which the lid of the Rommelkiste sits,
is too shallow, but I found it difficult to fix, so I didn't. I
did add pistol ports to the rear of the turret and strips to the
sides of the Rommelkiste, though. (The latter were in reality wood,
to avoid short-circuiting the antenna when the turret turned.)
- Step 28: I replaced the gun barrel
with a metal part (72016 from Armorscale),
but regretted it, as the muzzle of the metal barrel was off-center.
Being metal, this was difficult to fix and in the end it didn't
really look much better than the plastic kit part.
As I wanted to represent a vehicle of 2 SS Pz.Div.
"Das Reich" during the 1943 Kharkov battles, I added a makeshift
storage rack on the engine deck and filled it with extra equipment:
- Spare roadwheels from another Revell Panzer III
- Spare Winterketten tracks from Maco
- Jerrycans from Wee
Friends (WBM 76007)
- A crate from the spares box (source forgotten)
- Fuel barrel (200L fuel drum - Wehrmacht 1942) with
amazing detail from FPW Model.
The vehicle was painted in RAL8020 with RAL 7027 (which
according to Tim Lau, these vehicles carried), with a whitewash on
top. Turret numbers came from a Hasegawa Panther (which are close
enough to the style used by Das Reich), the Balkenkreuze from the
kit, and the unit Wolfsangel from the spares box.
_t.jpg) _t.jpg)
 _t.jpg)
 _t.jpg)
Accuracy
| |
|
1/35 (mm, from [1]) |
1/72 (mm, converted from
[1]) |
Measurement on kit (mm) |
Corresponding scale (1/x) |
Length
|
hull fender to fender |
154,1
|
74,9 |
73,8
|
73,1 |
Length hull
|
superstructure |
128,6 |
62,5 |
61,7 |
72,9 |
Width hull
|
fender to fender |
84,0 |
40,8 |
40,7 |
72,3 |
Width hull
|
superstructure |
53,6 |
26,1 |
26,3 |
71,3 |
Length gun
|
from mantlet (Armorscale barrel)
|
56,0 |
27,2 |
27,1 |
72,3 |
Length turret
|
base |
55,0 |
26,7 |
26,4 |
72,9 |
Length turret
|
mantlet to Rommelkiste |
77,6 |
37,7 |
36,8 |
73,9 |
Width turret
|
forward edge roof |
37,9 |
18,4 |
17,3 |
76,7 |
| Diameter roadwheel |
|
14,8 |
7,2 |
7,3 |
71,2 |
As can
be seen, most dimensions are within (my) tolerance, except perhaps
for the turret. Most of this is due to the base width, which can be
noticed as the turret doesn't reach the edge of the superstructure.
Conclusion
This is a great kit, with very few issues. It still requires some
attention when assembling, but I would consider it to be compatible
with most modeler's skills and budget.
_t.jpg) _t.jpg) _t.jpg) _t.jpg)
 _t.jpg)
 _t.jpg)
 _t.jpg)
 _t.jpg)
 _t.jpg) _t.jpg)
References
[1] Panzer Tracts 3-3, Panzerkampfwagen III Ausf. J, L, M und N, T.L.
Jentz & H.L. Doyle
Review
sample purchased by the author.
Revell kits can be
purchased from

|
.jpg)

.jpg)
.jpg)
.jpg)
.jpg)
.jpg)
.jpg)
.jpg)
.jpg)
.jpg)
.jpg)
.jpg)
.JPG)
.JPG)
.JPG)
.JPG)
.JPG)
.JPG)
.JPG)
.JPG)
.JPG)
.JPG)
.JPG)
.JPG)
.JPG)
.JPG)
.JPG)
.JPG)
.JPG)
.JPG)
.JPG)
.JPG)
.JPG)