|
RPM
|
Aufkl. Pz. Wg. P.204 (f) |
|||
| Kit #: 72307 | Review by Bill Powers - Jwp968(at)aol(dot)com | |||
|
RPM
|
Aufkl. Pz. Wg. P.204 (f) |
|||
| Kit #: 72307 | Review by Bill Powers - Jwp968(at)aol(dot)com | |||

 |
|
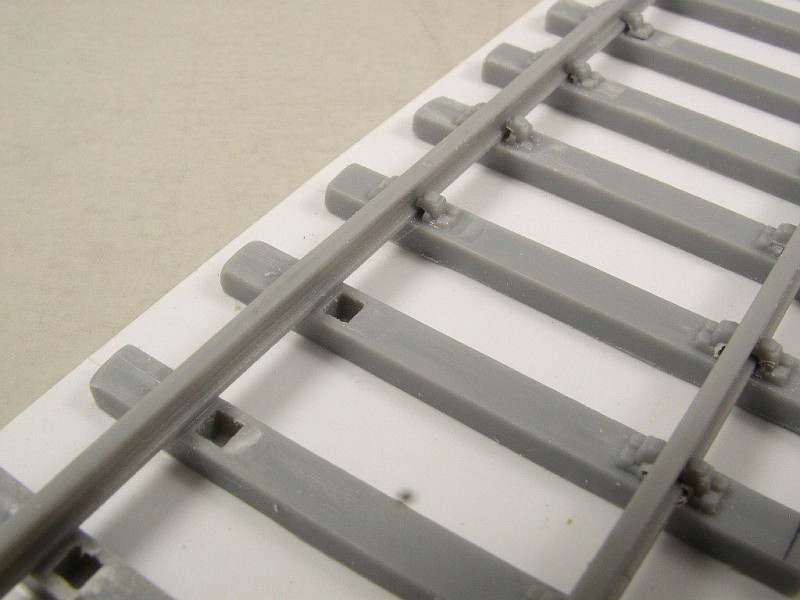
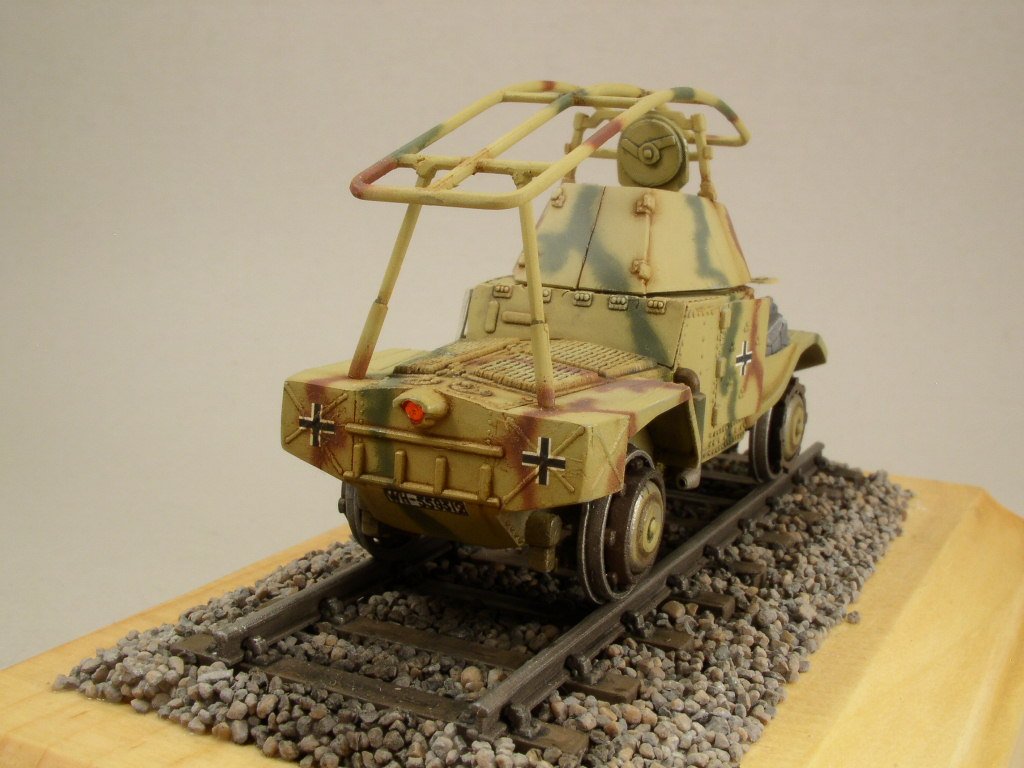
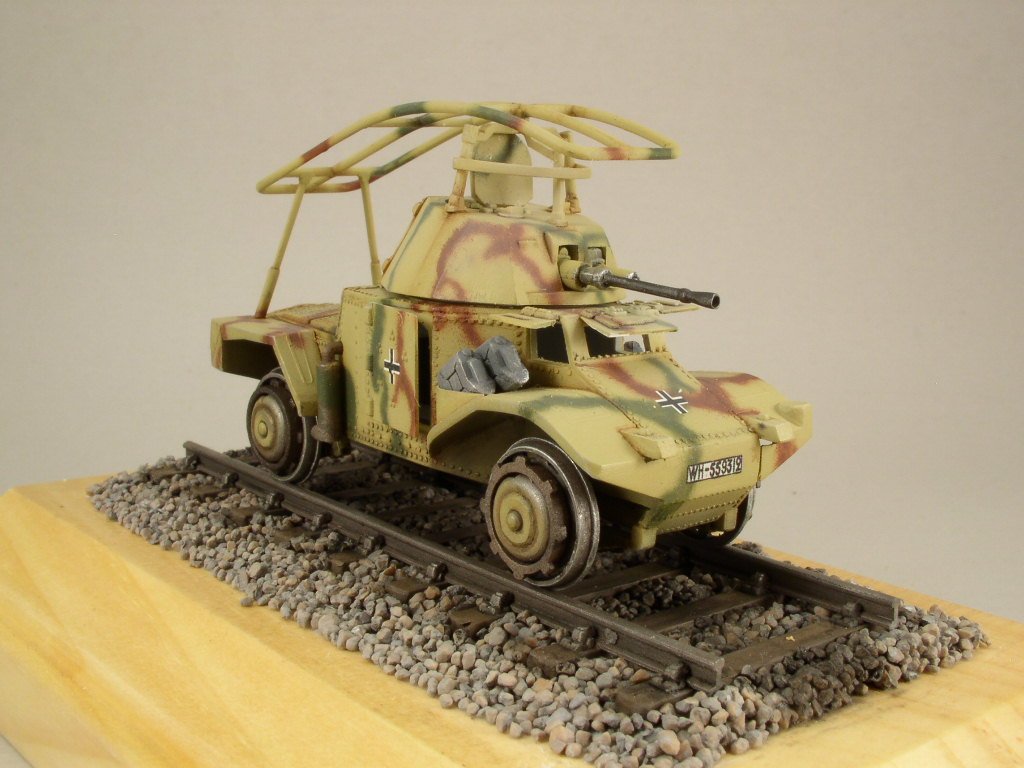
This is the RPM kit of the Panhard converted for use on railroad tracks. It's basically the same kit as the wheeled version but with railroad wheels. The road wheels are not included in the kit. Rats, nothing for the spare box! It was my intention to build this Out Of the Box as per IPMS rules, so nothing could be added that was not in the box. When the kit pieces are examined the rivets just look awful. They are inconsistent in height and look like mountain peaks! Do not be discouraged! A little sanding with a flat sanding stick will make them uniform in height. The rivets you see on the finished model are the kit's after sanding. The kit pieces are thick, as in really thick. Again, wet sanding with 220, carefully, and the doors and windows thin down beautifully! I sanded the radio loop to thin it. Scrape first and then carefully loop some 400 around the loop and gently pull on both ends like you were polishing a shoe at least the way my generation polished shoes. The same technique will remove mold seams from the guns and "round" them. Assembly is a snap all the pieces fit very nicely but care is required for good alignment and to avoid glue slop over which will impact those beautiful rivets! The weakest part of the model is the attachment of those wheels. This takes great care, both to align them and then to make sure they all touch the rails.
The car was painted with Tamiya acrylics using a Badger 100G and based on a scheme on War Wheels website. The inside was painted White. The bottom and inside the wheel wells was sprayed with a thin wash of Black Tamiya. A final overspray of Dullcote and some fading on flat surfaces with heavily thinned Dullcote plus Radar Tan. The wheels are Model Master Steel dry brushed with Testor's silver in the small bottle. That outer wheel is Testor's Rust with some of the Silver mixed in. Several washes were applied especially to the rear engine decking. The tracks are Model Master Burnt Steel dry brushed with some Steel. The ties are Tamiya Brown. After the rails were painted, I mounted them on a plaque and after receiving a dispensation from the Head Judge added ballast used by model railroaders. The ballast is for model railroaders produced by Woodlands Scenics in various colors and sizes I used Coarse Ballast Gray B1389. First a layer of thinned white glue was washed between the ties and the ballast was poured over this. Several layers were required. I masked off the area on the plaque that was to be ballast free and used a straight edge to kind of shape the "pile". Really messy business!!! The track roadbed was heavily coated with Burnt Umber and Black washes and pin washes around the plates. Finally thinned Dullcote with Black/Burnt Umber Oils was sprayed down the center of the road bed. The ballast made a tremendous difference in the appearance but is not considered in the judging since it was part of the base and not the model. The car was glued to the rails using the smallest amount of a glue Radio Control modelers use for attaching canopies great stuff, strong yet flexible!!! Well, after all that work I was pleased when the model won first place for Out Of the Box Small Armored Cars at the IPMS Columbus Nationals in August 2009.
Review sample purchased by the author. |
| Back to RPM Kit List | Back to Construction Reviews |
Article Last Updated: 12 November 2009 |
Back to Home Page |