|
|
www.onthewaymodels.com |
Ruined Building |
|||
| Kit # 72017 | Construction review by Rob Haelterman | ||||
|
|
www.onthewaymodels.com |
Ruined Building |
|||
| Kit # 72017 | Construction review by Rob Haelterman | ||||
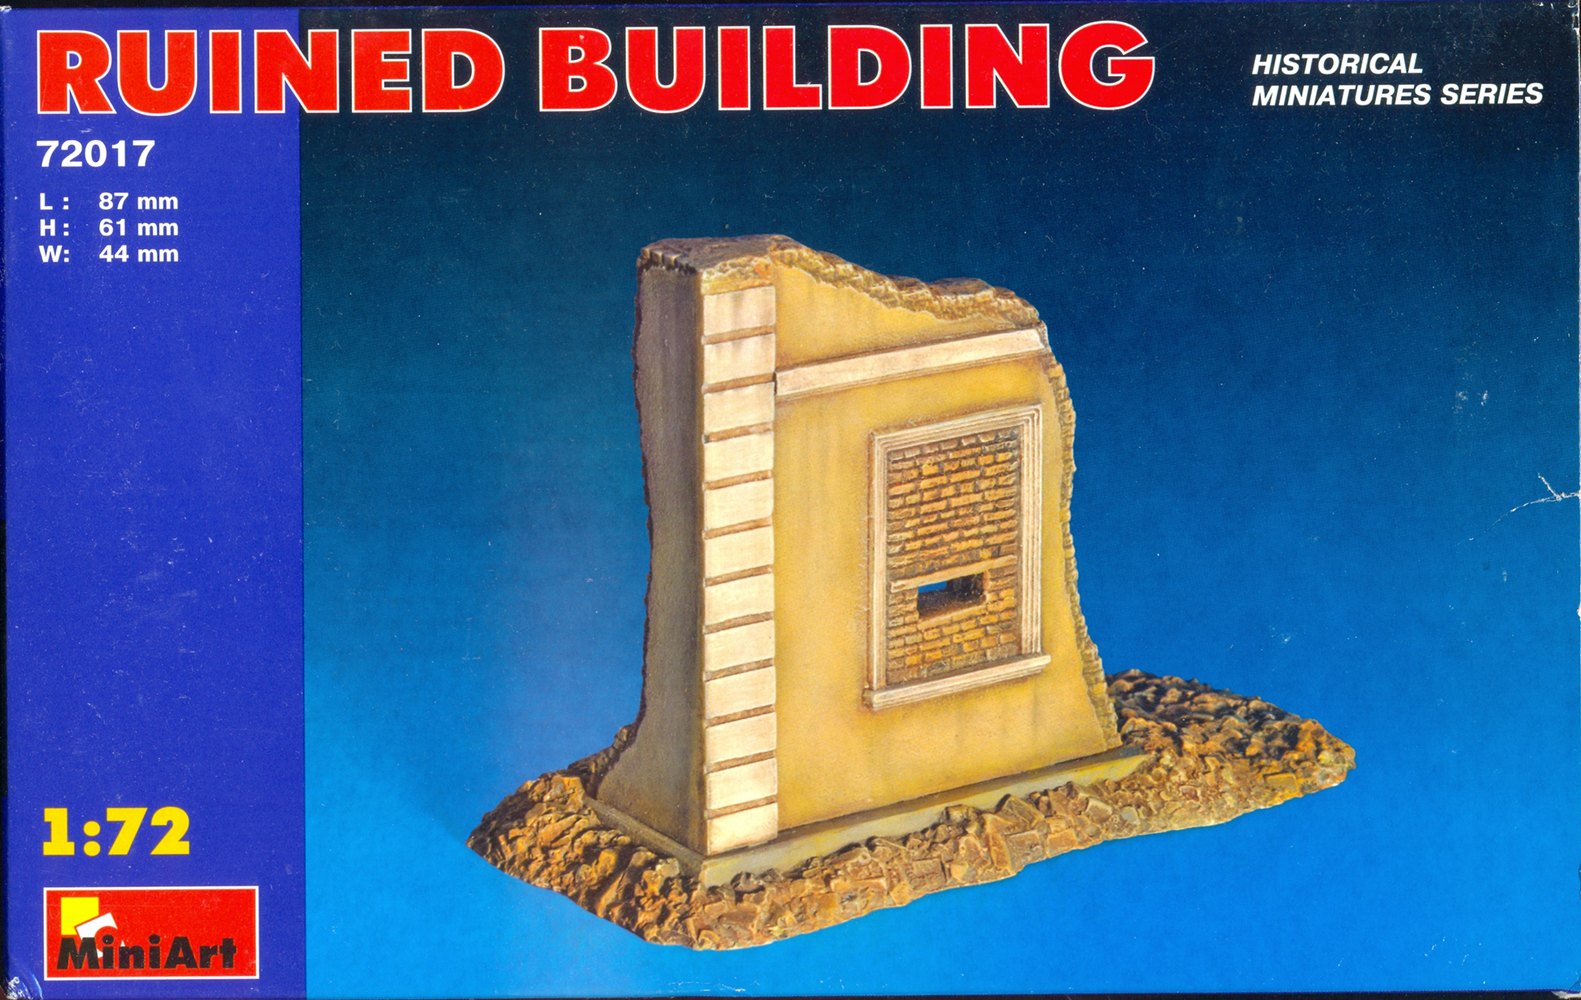 |
| Preview When I purchased this set, I was unsure
at first how the size of the box rhymed with the small wall segment
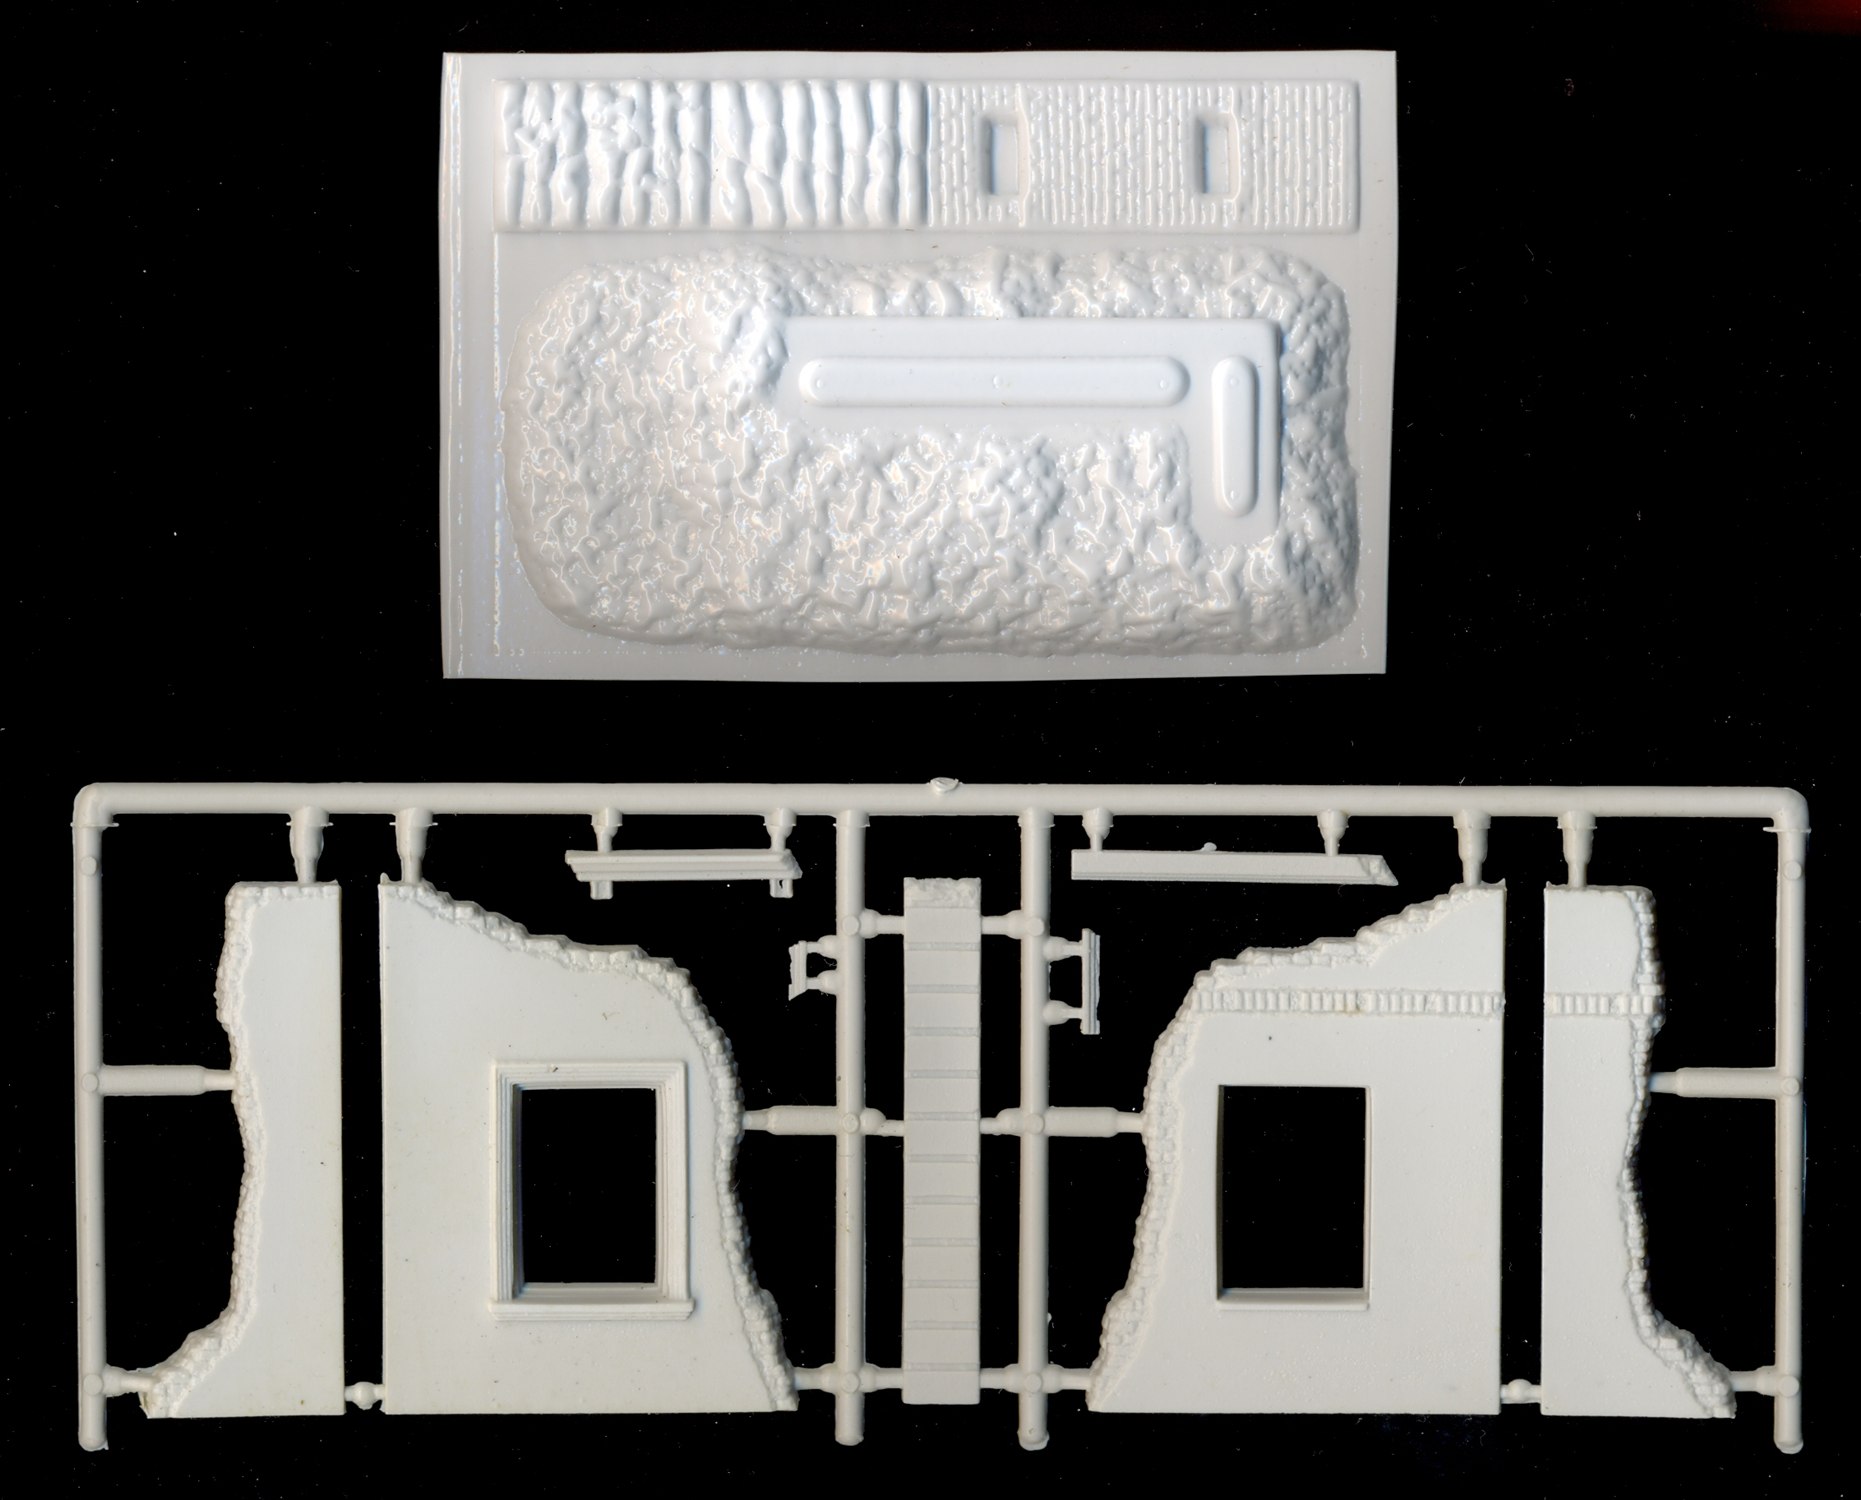
depicted on the box. So what do you get ? A sprue with 4 wall sections (about 55mm tall) and five "ornaments" on one hand and a sheet with some groundwork (measuring about 9 by 4 cm) and parts to fill in the window on the other. The latter seem to be vacformed using very sturdy styrene. I believe assembling all of this, including cleanup, will take less than an hour. I am not sure that I will actually use the base, as it might interfere with the rest of the diorama, but it is nice that it is there. About that base, I have this uncanny feeling that the one on the box-top has sharper details, that might pass for bricks, while the one provided is quite soft in detail. The injection parts have sharp detail all-over, however, nicely representing the stucco texture and do not have any noticeable flash or seam lines. A nice touch, in my opinion, is the
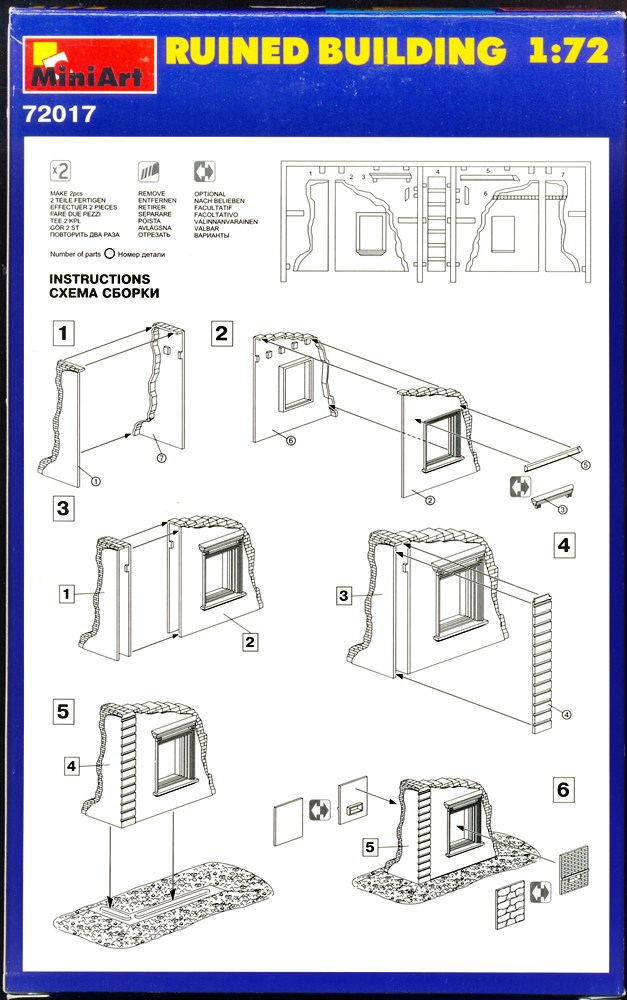
fact that MiniArt lets you choose how to fill in the window (either
with small bricks, leaving a small opening for observation/firing
or with larger stones, completely filling the window). You can also
choose the type of small ridge that you place above that same window.
Construction Construction of this small set was, as expected, fast, with the following noteworthy points:
I ended up using the base plate, but covering it with all kinds of rubble, which I would expect to be present around a destroyed building. I also added some impacts of small arms fire.
PS: You can see the ruin used in a diorma here. |
| Back to Miniart Kit List | |
Article Last Updated: |
Back to Home Page |
.JPG)
.JPG)