|
Master Box
|
www.onthewaymodels.com |
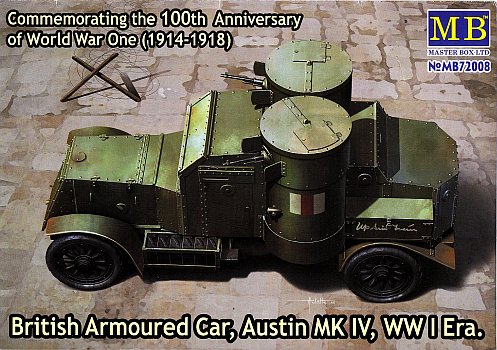
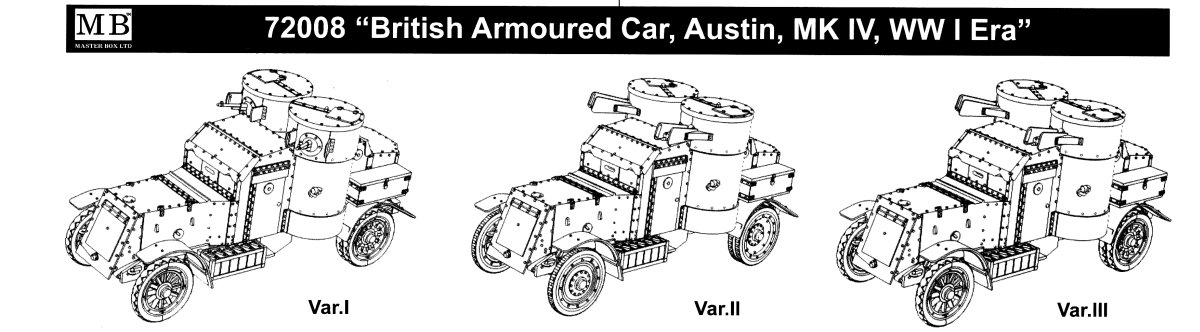
British Austin Armoured Car, Mk IV, WWI Era |
|||
| Kit #: MB72008 |
Preview by
- Al Magnus
|
||||
|
Master Box
|
www.onthewaymodels.com |
British Austin Armoured Car, Mk IV, WWI Era |
|||
| Kit #: MB72008 |
Preview by
- Al Magnus
|
||||
 |
|
Preview
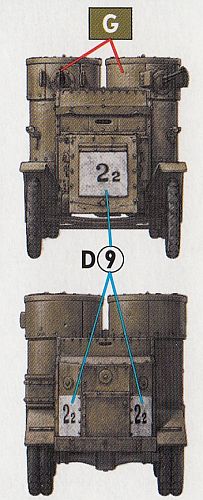
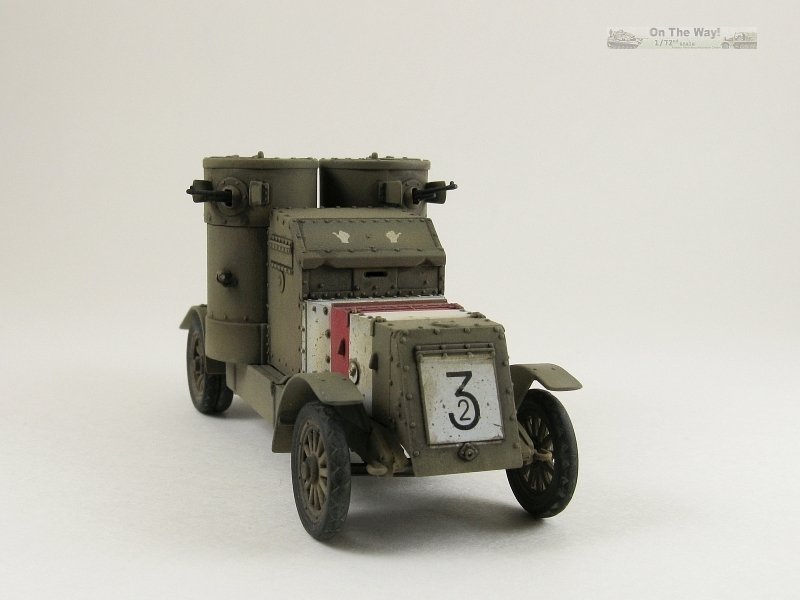
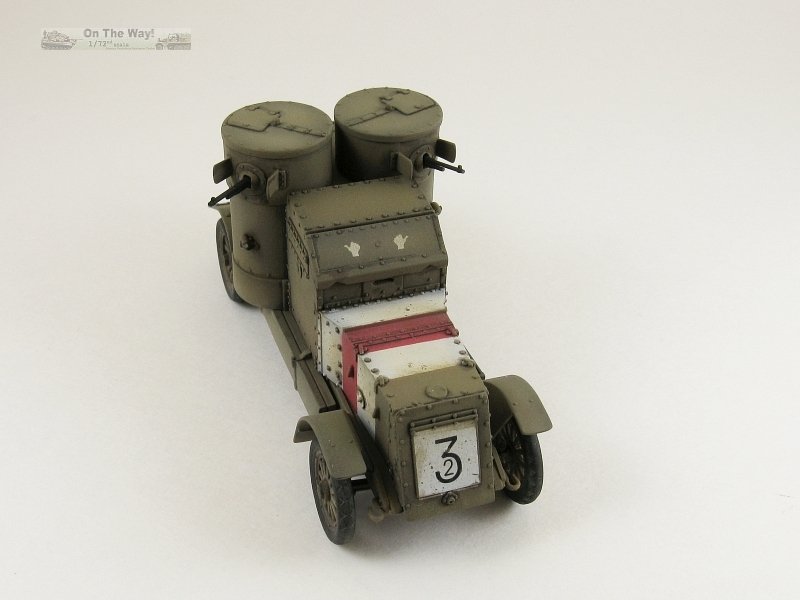
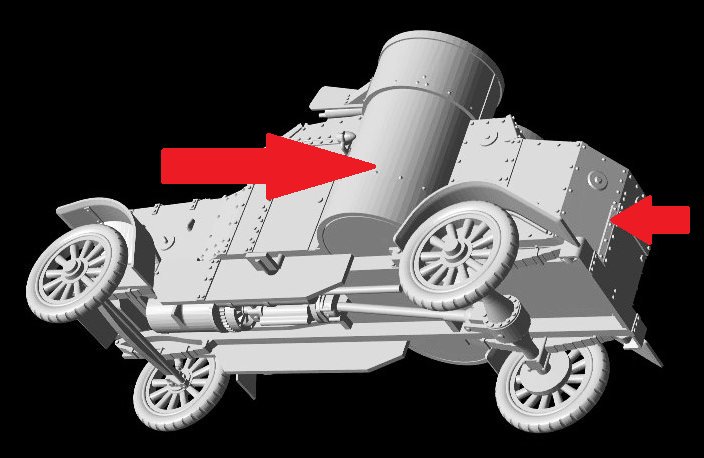
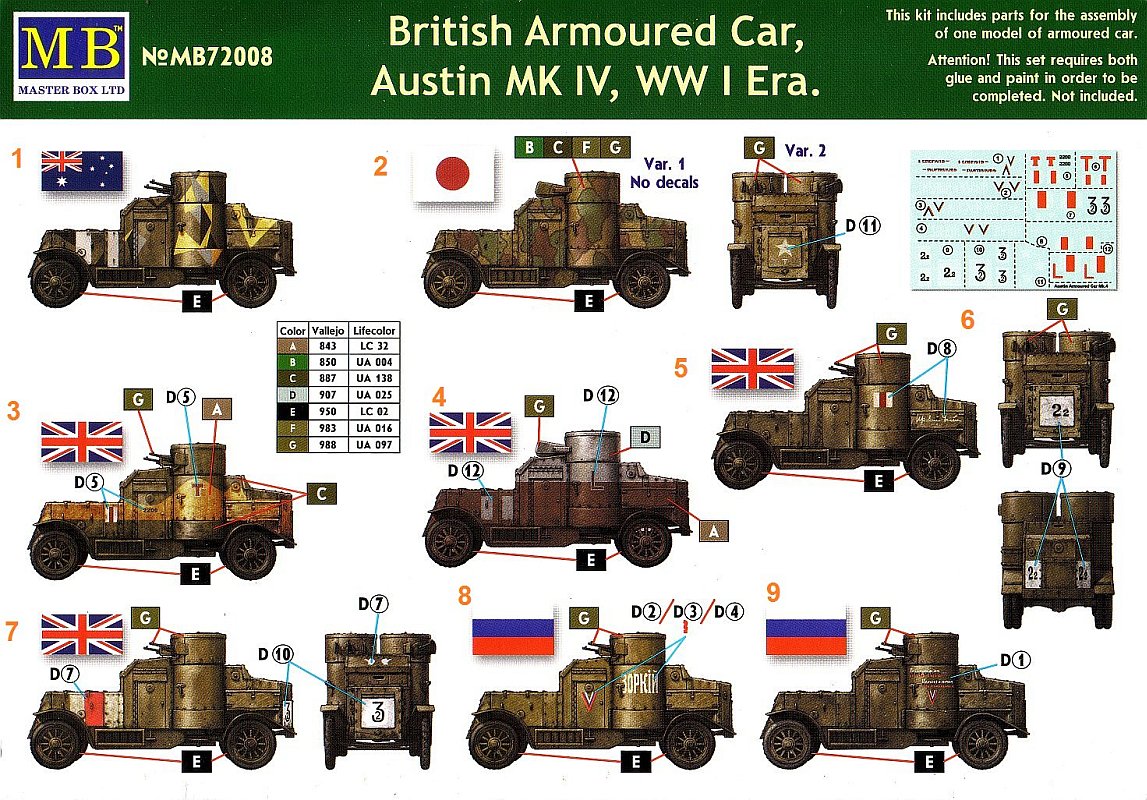
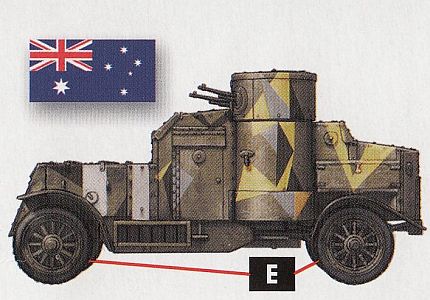
Paint call-outs are for Vallejo and Lifecolor paints. Those using other paint manufacturers' products will have to colour match as best they can. In Step 7, part C4, the long box that attaches to the right side frame has a lengthwise low spot that needs filling, a difficult task with the box's straps to work around. There is an ejector pin mark on the bottom that should be removed. This part might have been better served as a two part piece to avoid the low spot during the plastic injection process. The instructions are vague on where to attach it so I'd suggest adding it after the body has been assembled so its location can be determined correctly. At Step 8 Master Box offers two type of wheel options, one with spoked rims, and the other with solid disk rims, but there are no marking options for the latter. Step 10 - parts A15 & A3 are in reality parts C15 & C3. On part A2 it would have been nice to have lines on the back side to represent the rear face of the armoured panel for the radiator. In Step 12 I found it helpful to slightly deepen the holes in the turret cylinders where the two lights attach to. At Step 14 sand off the ejector pin marks on the back side of parts C1 (box side panels) to help them fit flush to the sides of part C2 (box itself). Steps 16 & 17 has the builder choose between the type of turrets depending upon the markings chosen. I chose option 16 and built the turret with the smaller protective shields and the Hotchkiss machine guns. Up to this point the kit's fit was excellent, but here I encountered the most onerous fit issue. The circular turret wall is made up of three separate pieces. I found the middle piece for the face to be short height wise resulting in a gap between it and the roof and floor of the turret. I positioned it so the gap was at the top edge of the roof so that filling and sanding would not damage any of the rivet detail. Reference pictures show there is no seam here so they were filled as well. The following are suggestions for detailing the kit beyond out-of-the-box.
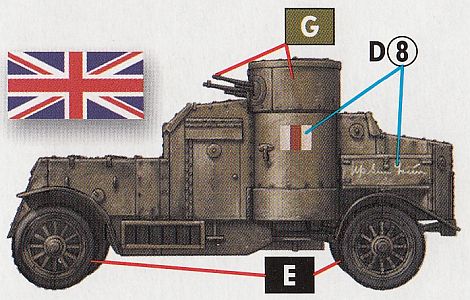
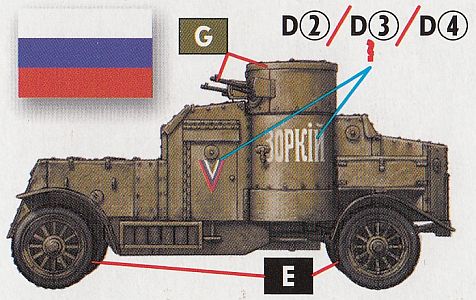
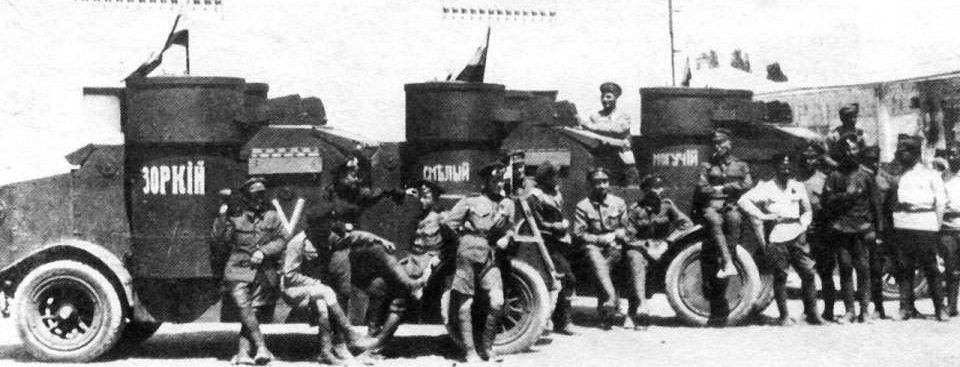
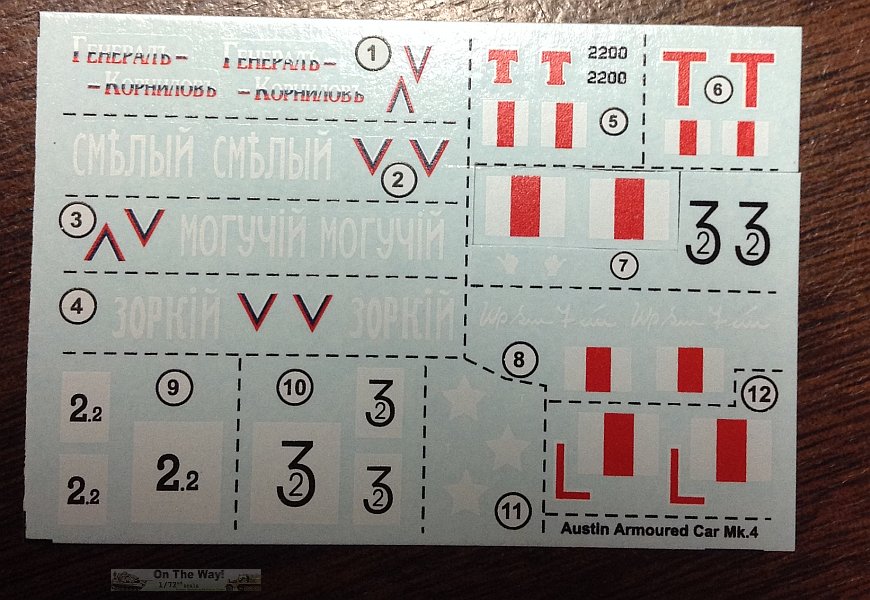
North Star offer etched detail sets for this kit (and for the Austin Mk.III as well). These comments from Tony Mackinder: From my limited references this vehicle is the Austin 1918 pattern armoured car and not the Mk IV. The decals are very thin and so fragile as to be almost impossible to use. I tried doing the "Thumbs Up" version (your option no.7 above) by using the spare red and white markings but gave up! Otherwise a great kit. 

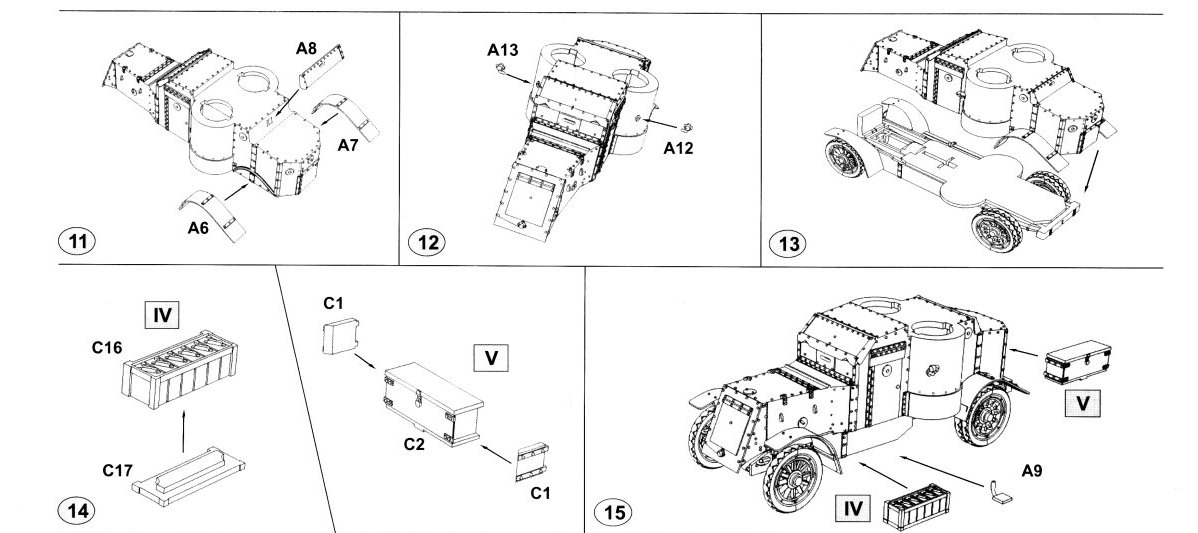 
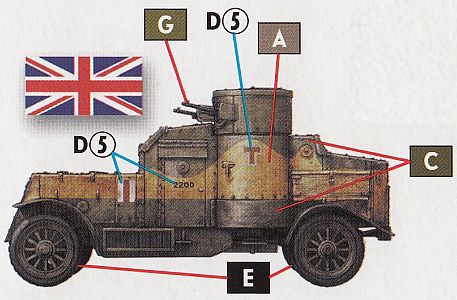
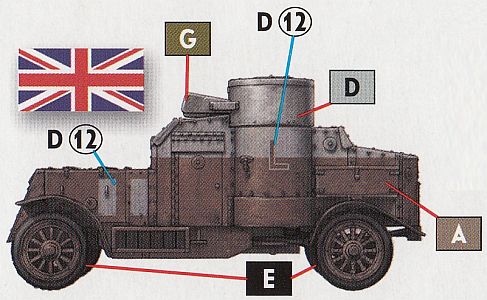
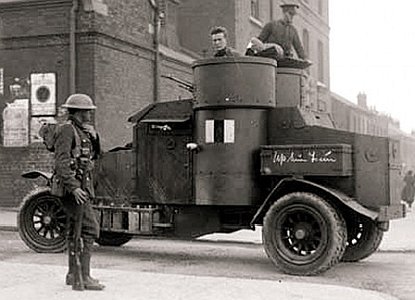
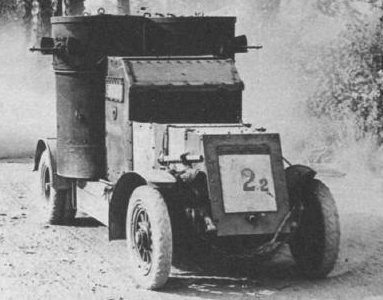
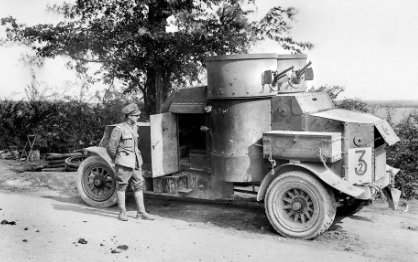
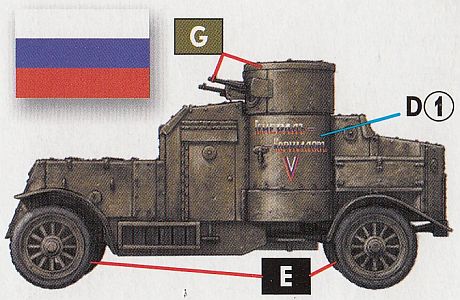
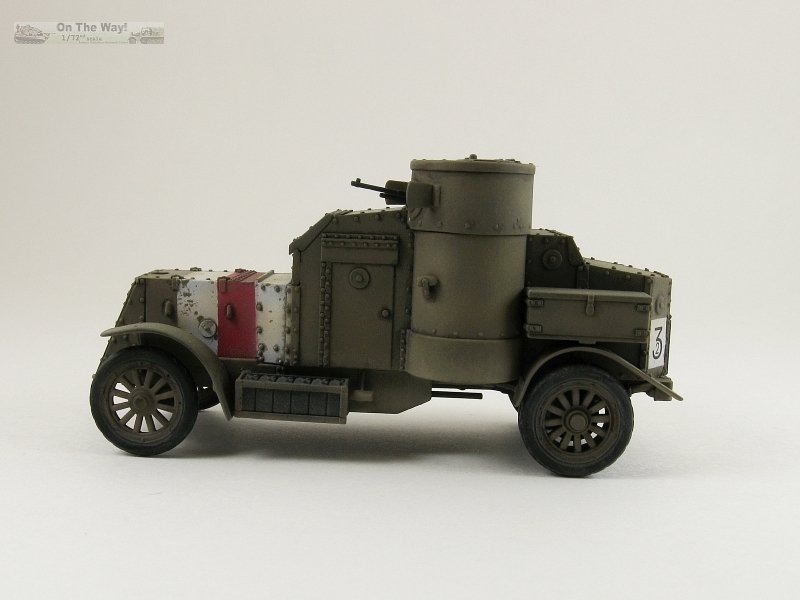
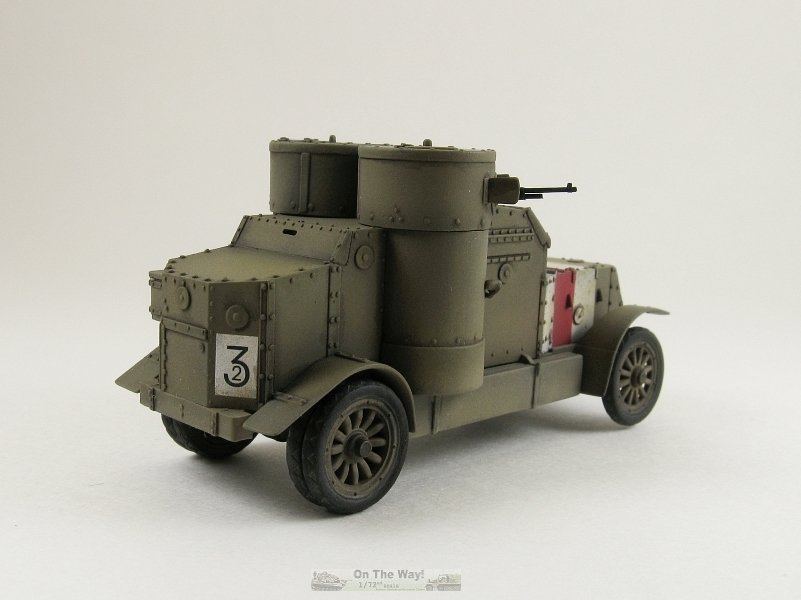
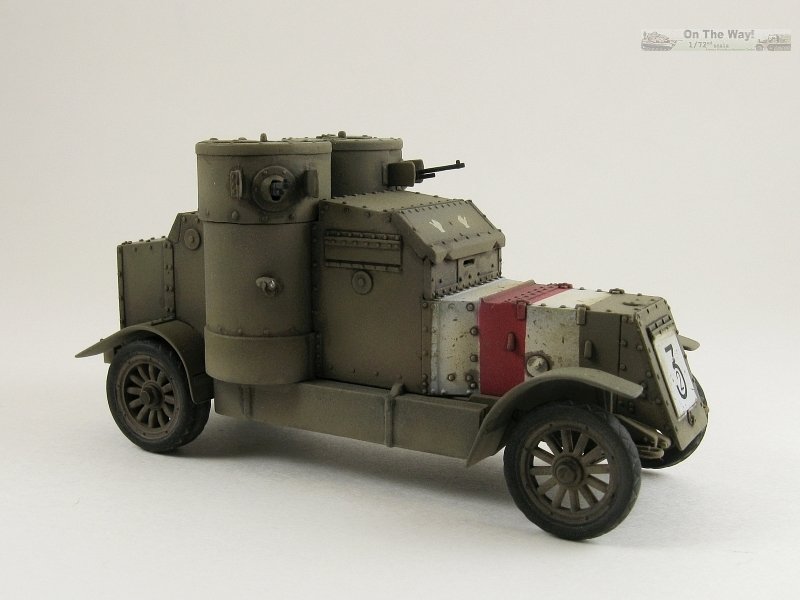
The kit was built out-of-the-box, so only the last five items in the above detailing list were used so as to retain the out-of-the-box legitimacy for future contests. The striations mentioned in the first paragraph of the preview were sanded off. Unfortunately, since I'd attached the lights, I had to work around them and in the process the left light was knocked off, never to be found again. Not relishing the idea of scratch building a replacement (these lights are minuscule!) I begged for a replacement from Master Box. A few weeks later I had my replacement part and I was off and running to put the finishing touches to the kit. Many thanks go to Mary & Alexander at MB for their help. The lights had their faces drilled out and once the finishing flat coat was applied, the hollow faces were painted silver, and then a drop of one minute epoxy was added to simulate glass lenses. As mentioned in the preview, there are some sink marks and a ejector pin marks that need to be fixed. The breakdown of the parts eases assembly and painting by allowing the modeller to construct the frame, upper body and turrets as separate assemblies. The decals were dicey to say the least. The images are in register with very opaque inks. Be warned though - they are extremely thin. The large white square on the armoured rad cover tried its damndest to fold over onto itself, and if it had been successful the image would have been ruined. I got it and the others into place, moved them around without mishap using large dollops of water to ease the resistance with the underlying paint, followed by a couple of Microsol applications that got them to look like they had been painted onto the kit. The white/red/white flashes for the British Armoured Corps marking options (6 & 7) are much too small according to the few reference pictures I could find. The flashes should cover most of the hood, so I painted my flashes, as seen below on the finished kit. I wonder some about the white rectangular backgrounds with the markings being in black thereupon. The period photos seem to indicate the numbers were more likely red, as they seem to match the shade of the red on the Armoured Corps flashes. Conclusion A very nice kit. Fit and detail are quite acceptable, and with a few minor changes the detail level can be upped markedly. The only let down is the decal sheet. >>>> start of 25/April/2020 revision <<<< Well, after locating more relevant reference material since this review was first written in 2015, I can say that the marking options supplied are a mishmash with regards to the parts supplied in the box. In one case the markings are not even applicable for this Austin series, but for an earlier Austin series 3 vehicle. While some markings still remain unresolved, those that I have additional information for, reveal that the generic nature of the kit will require modifications to the model to make an accurate replica for most of the vehicle options on the decal sheet. And much to my chagrin, the model I so lovingly built, looks to be carrying fictitious markings! >>>> end of 25/April/2020 revision <<<< 


References
Preview sample purchased by the author.
Master Box products are available at
|
| Back to Master Box Kit List | Back to Home Page |
Article Last Updated: 20 April 2020 |
_artwork.jpg)
.jpg)
_artwork.jpg)
.jpg)