|
A very brief history
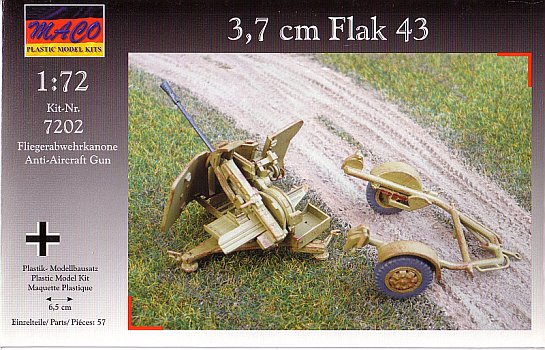
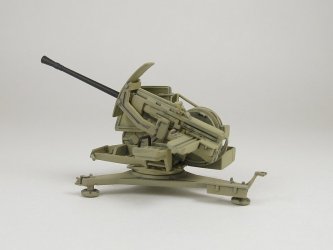
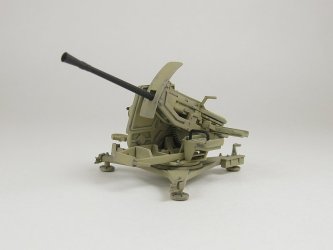
As the Second World War progressed the original series of 3.7cm FlaK 18 and FlaK 36/37 were
proving to be dated and a new gun was required resulting in the FlaK43, which entered service in 1944. Some 7,000+ units were built, most used for mobile
applications on converted tanks like the Möbelwagen and Ostwind, as well as on half-tracks like the Sd.Kfz. 7 and the schwere Wehrmachtschlepper (sWS).
The kit
A preview by Rob Haelterman of the MACO sWS with 3.7cm Flak 43 including sprue photographs can be seen
here.
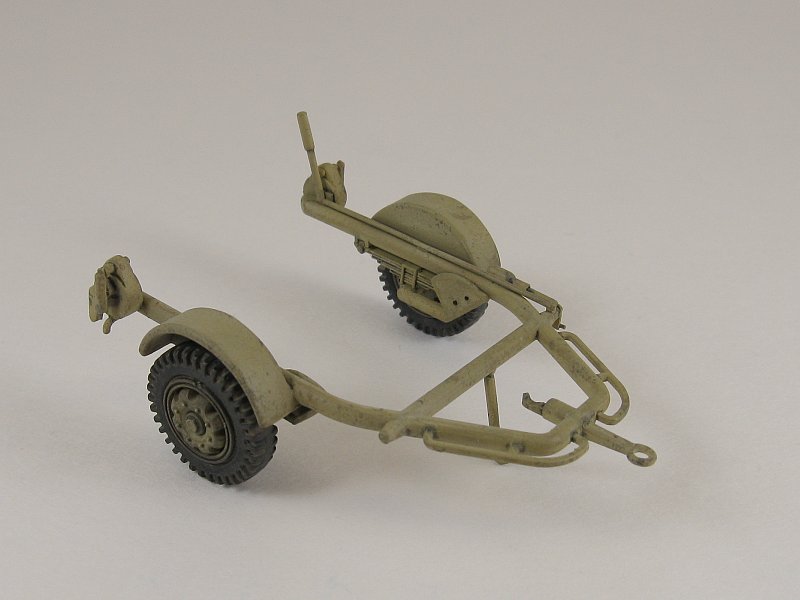
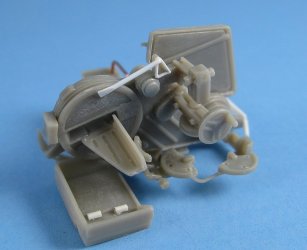
The kit is molded in a light grey injected styrene style plastic, packaged inside an end opening box. The gun comprises 44 pieces, the Sd.Ah.58 trailer 13 pieces.
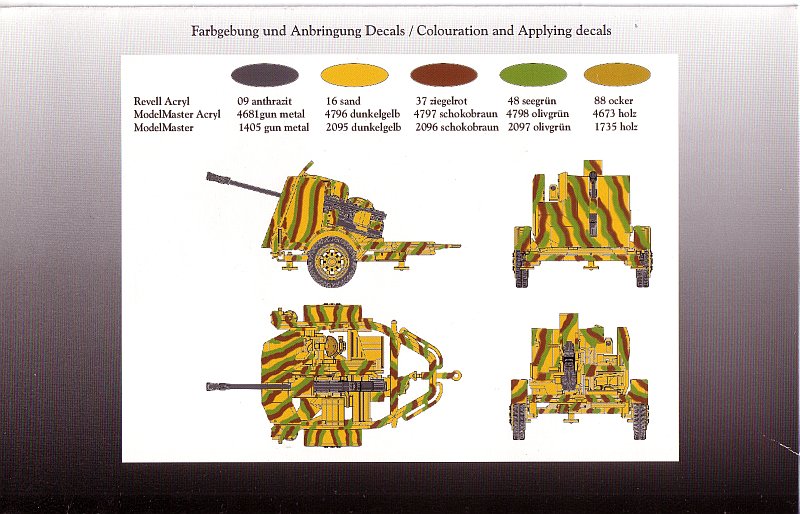
Everything comes on a single sprue. There is a four page instruction sheet. No decals are included. Painting guide is provided as a 4-view colour artwork on the rear of the box.
Paint call-outs are for Revell Acryl, ModelMaster Acryl and ModelMaster enamels.
I purchased this kit at one of the vendor tables at the IPMS USA Nationals in August 2013. It was a decent deal and I figured that it would make for
a quick build, one of those that I could construct quickly while working on something more involved. When I opened the box I was greeted with a nicely
detailed kit, but one that left a lot to be desired when it came to mold quality and plastic injection control. All the large flat pieces showed
flow lines, low spots, holes and/or wavy surfaces, of varying intensity from slightly annoying to full on hair pulling exasperating.
Fortunately most of the smaller pieces were not affected though those that had flaws, they were located in the most
inconvenient of places. The parts also exhibited some mold shift producing seam lines on practically every part. A closer examination found
fine parallel grooves that looked like they were from a milling/routing machine on the top surface of the platform. The final irritation
came with ejector pin marks which were poorly placed, quite often in places where they could be seen.
The build
The poor mold quality forced me to take stock of what was worth keeping versus what would be better trashed.
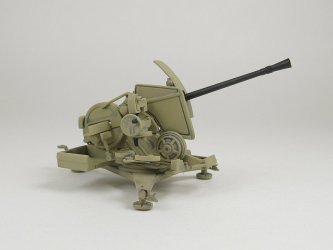
To the trash pile went all the shields except the vertical shield mounted next to the gun barrel and the small shield arc located on the barrel. The gun barrel, which
had a sink hole in the flash suppressor was replaced with a metal barrel version from Armo (item no. 72 728) which I had bought at the same time.
Guess it was male intuition that came in to play with that fortuitous purchase!
In the keep pile was the remainder of the parts even though some of them exhibited poor casting. Replacing them with scratch-built items would have been too much
effort or beyond my abilities, so I resigned myself to repairing them as best as I could. Needless to say, construction was slowed quite a bit by the overall
poor quality of the kit parts.
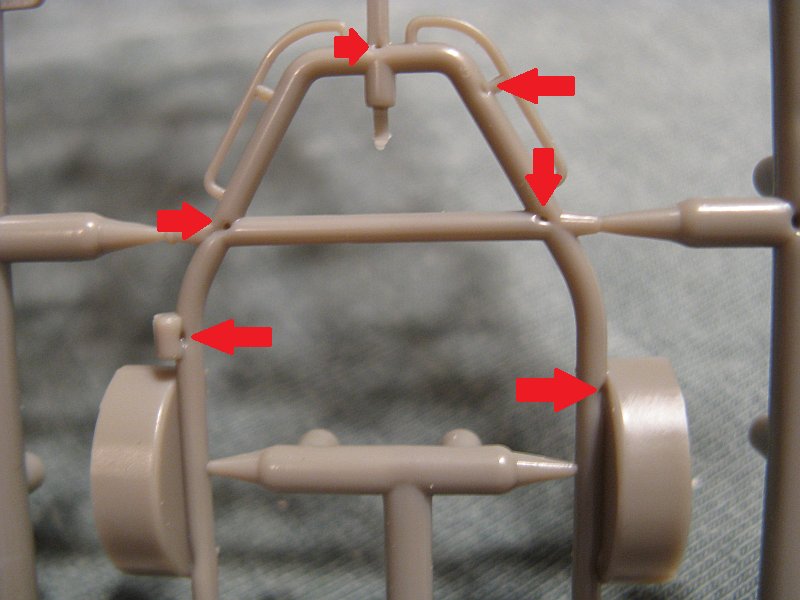
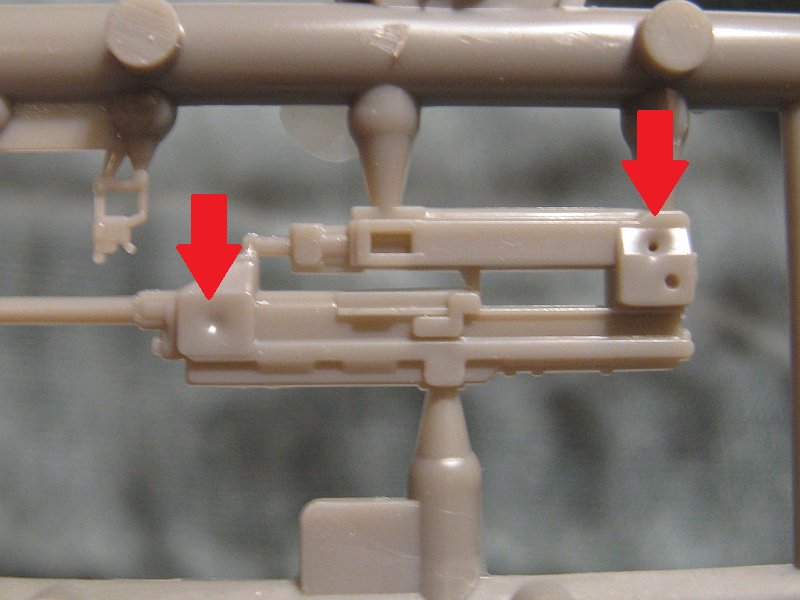
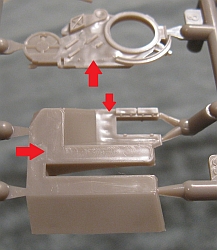
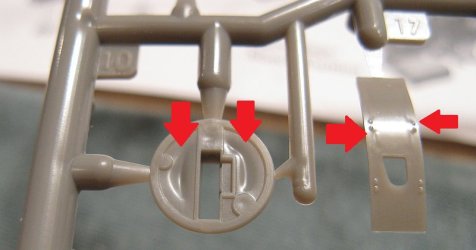
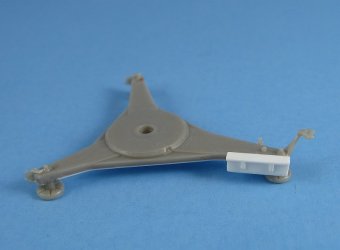
Below are a few pictures showing some of the sink holes, flow lines and waves pointed to by red arrows.
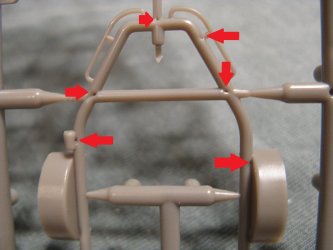
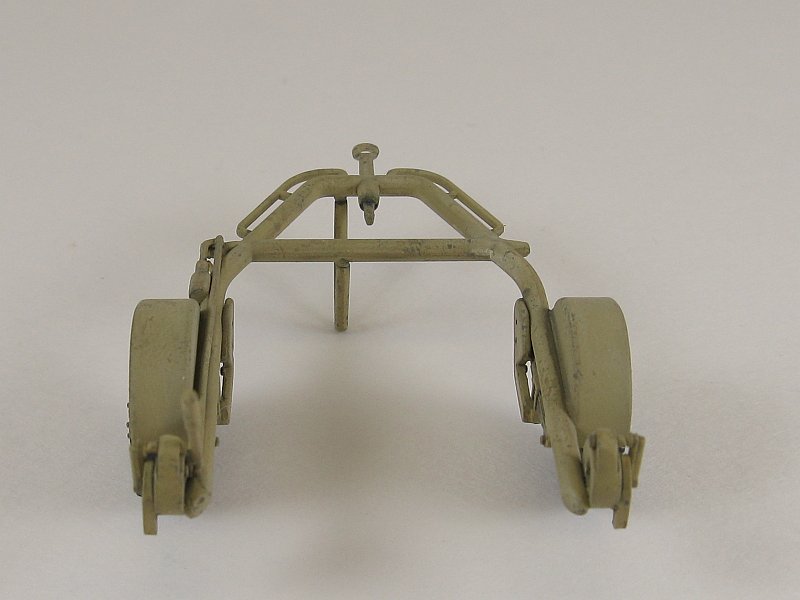
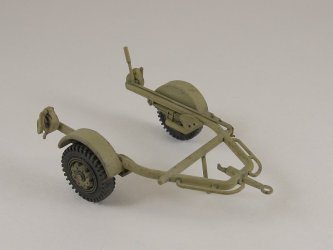
Top view of trailer frame. Low spots on the top.
Lots of ejector pin marks on the other side as well. Sheesh! |
The shield is so bad it had to be replaced
or discarded. The inside of the right support
not too good either. Double sheesh!! |
Part 10 (left) is going to be a royal pain in the ass to fix!
I'd be swearing a blue streak here if this wasn't
a family friendly site!!! |

Low spots here (part 14) as well as in
similar locations on the reverse side (part 13). |
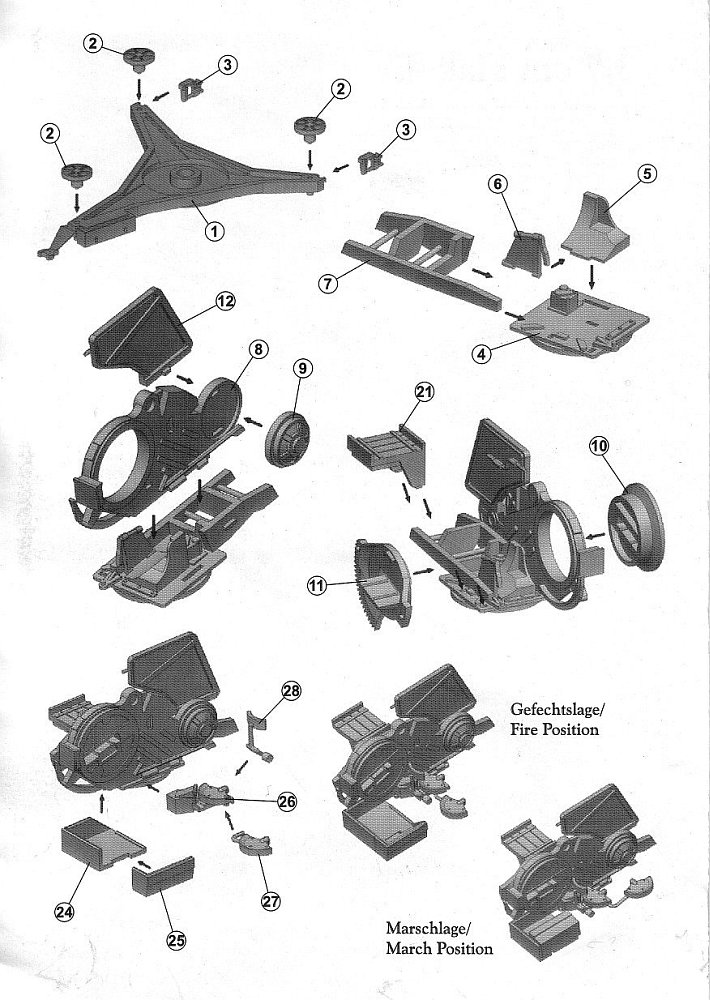
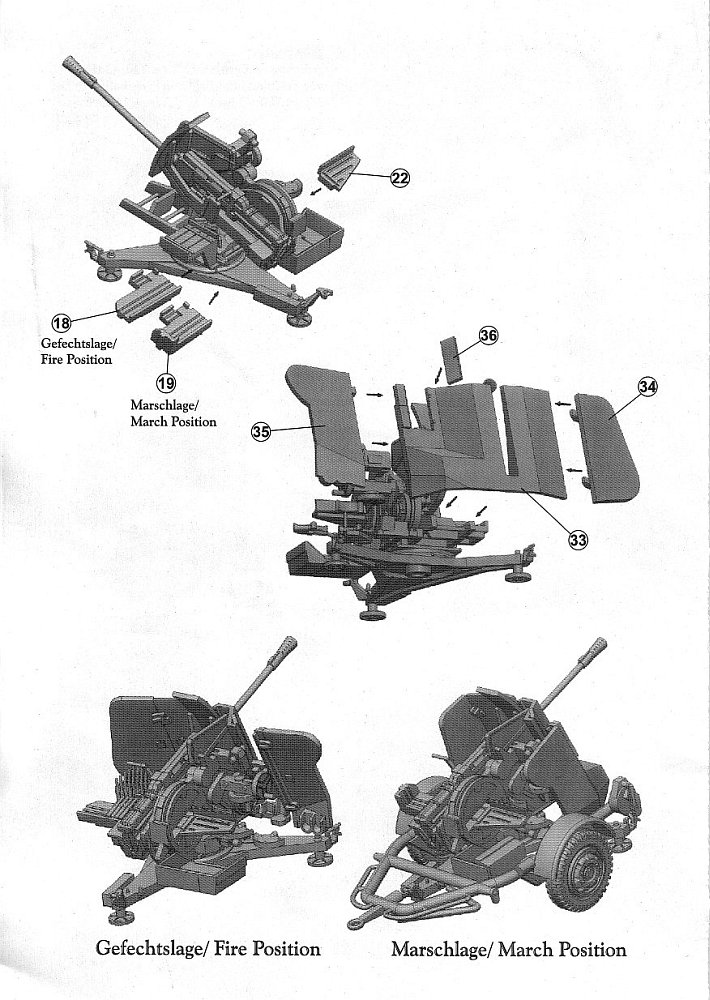
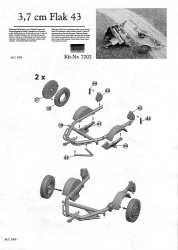
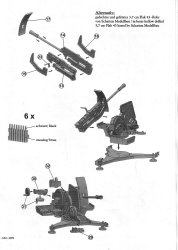
I found the instructions to be poor. The build sequence is illustrated by a set of exploded diagrams with arrows directing the modeller where to place parts,
but the arrow placement is often vague and frequently end in space nowhere near the place where the part is to go. Locating marks on the parts mirror the
instructions, being vague and not very prominent.
The box was replaced due to deformations caused by a large
sink hole. The underside of the carriage is hollow which
I covered with some plastic sheet. I could find no
indication in my meagre references that this was
necessary, but covered it anyway as I've found that
most German AA guns of the era did not appear to
have hollow undersides. |
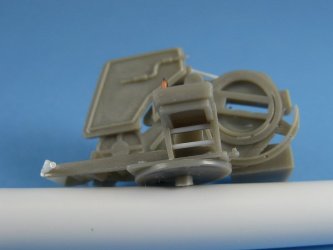
On the underside of the spare ammo tray
I added twin braces that span the gap
between the sides. |
Added this missing brace. The spent cartridge bin came in
two parts leaving a seam that I assumed should be there to
represent a hinge line. I added hinges though I have no
photographic proof they existed on the real gun. |

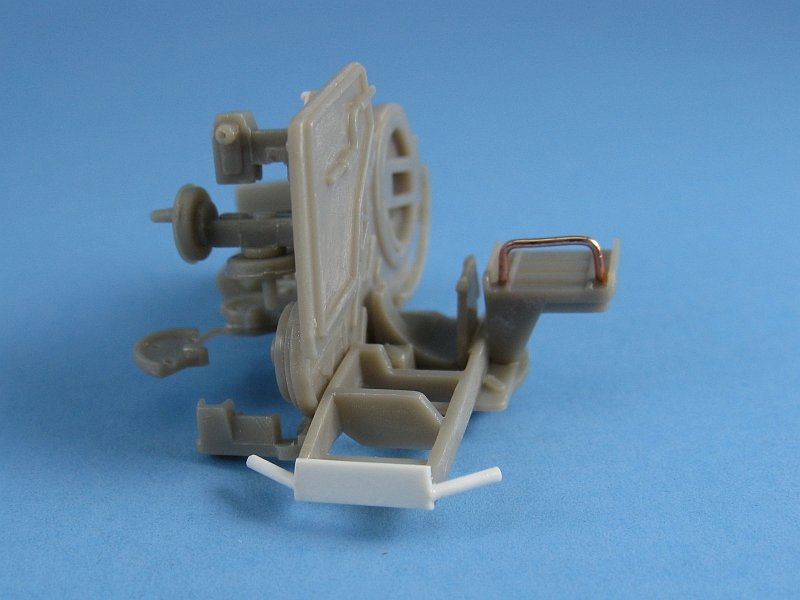
Added a loop bent from copper wire to the front of
the spare ammo tray. With the large frontal shield
missing I had to add its mounting braces. |

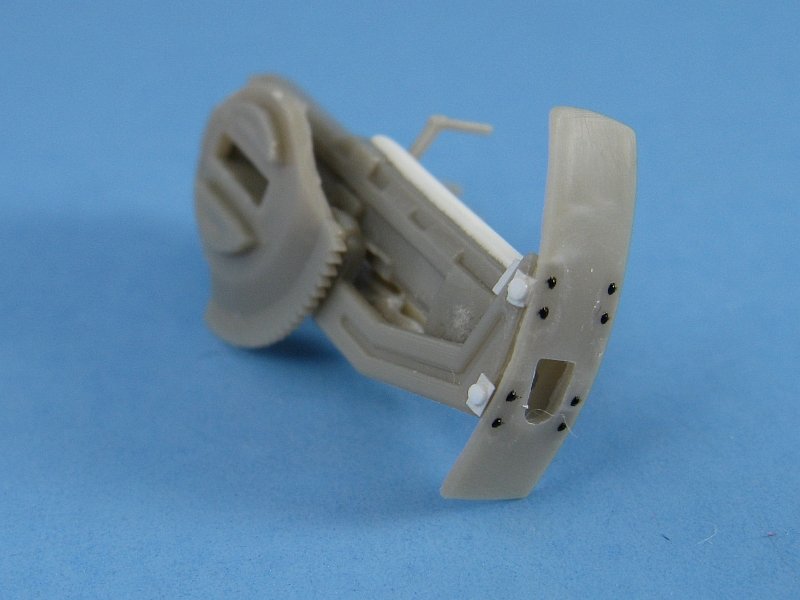
The small shield arc behind the barrel had flow lines on the
front surface. It was sanded smooth and then thinned from
the backside. Archer rivets were applied to replace the
ones removed by the sanding. Brackets and bolt heads
added to the sides of the brackets since it was the
easiest way to eliminate some obvious sink marks.
|

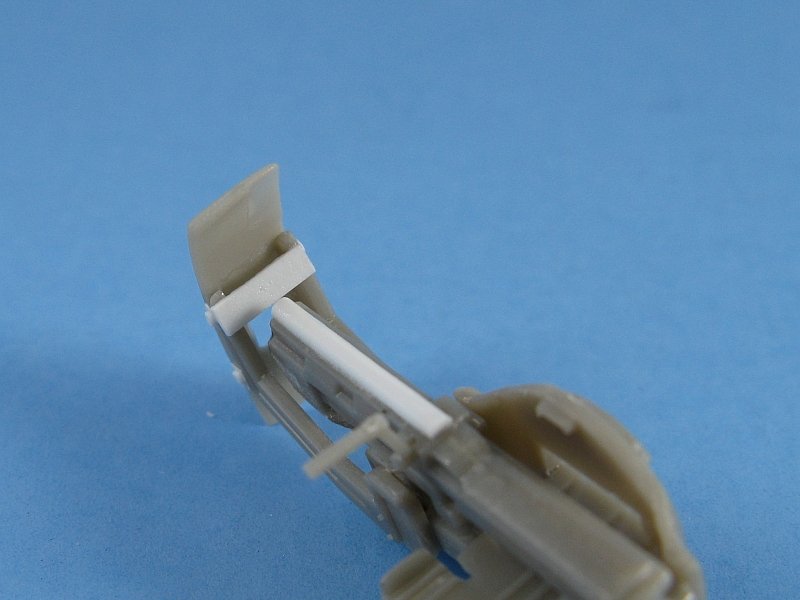
A cross brace added to rear of center mounted shield.
The top of the gun was built up with a piece of half
round rod and then sanded flat on the top.
|
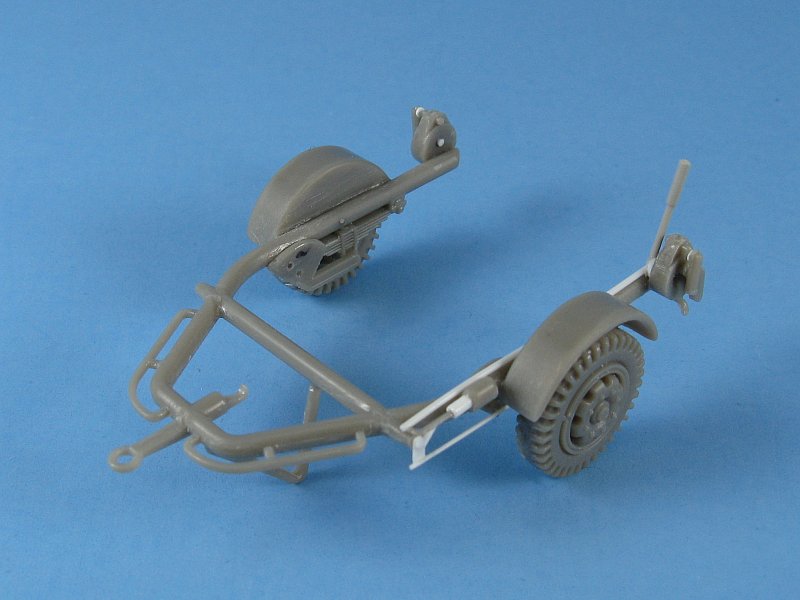
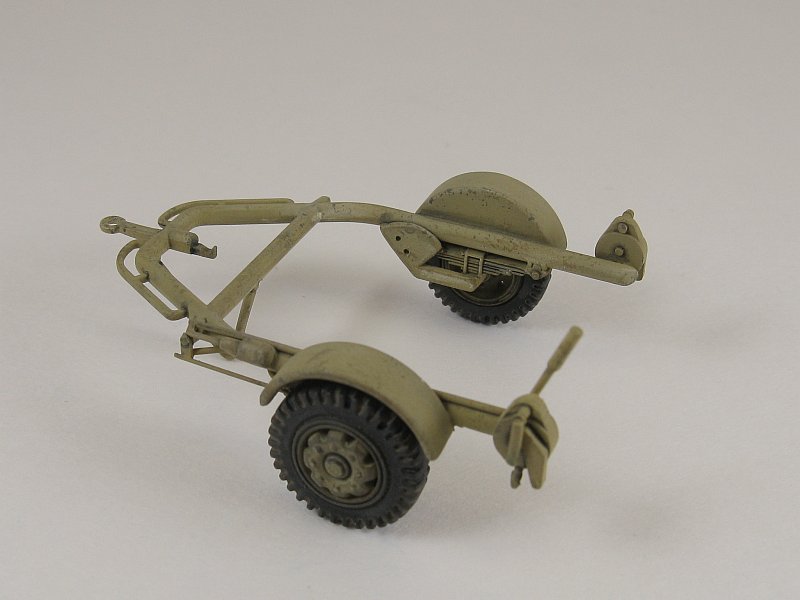
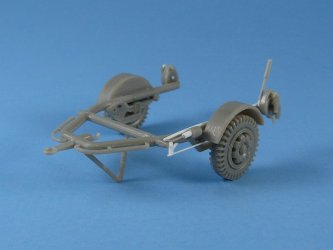
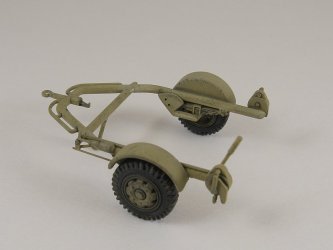
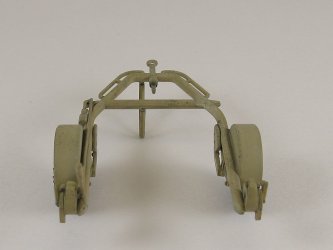
The trailer had a few sink holes in the frame as well as on some of the smaller parts. On the whole the trailer is quite complete. There is a brake handles and
associated linkage that would have been nice to have in the kit. These I added with plastic rod and strip as per my references.

I skipped the ammo clips for now. The tips of the rounds are flat on the underside and to my eye they look too small calibre-wise
looking like they'd be better suited as 20mm rounds versus 37mm rounds. Maybe I can jury rig something from the Hasegawa 3.7cm FlaK 36 I have lying around?
Have to check sometime.
Conclusion
Well, to use a sporting analogy, Maco had a good game plan but their execution was poor. A brief journey through some other modelling websites shows that
molding flaws is not uncommon with this kit. For example, take a close look at the photographs in this
Armorama blog by Jan Etal
and you can see that sink marks are prevalent though not as pronounced as with my kit. Part 10 in particular looks like it will always be a problem no matter what.
On the other hand, I have seen other reviews that mention nothing of poor quality so I can only conclude that either I got a one-off kit that
shouldn't have got through MACO's quality control process (assuming they have one of course!), the other reviewers are more tolerant than I,
or the molds are in dire need of replacement.
In any case I received an atrocious kit and I can only say that one should try to get a look at what's in the box before buying to ensure
that the quality is up to snuff. Without the molding issues I encountered, this kit would have been easy to build and look great with minimal effort.
References
[1] German Military Trailers and Towed Equipment 1935-1945, Horst Beiersdorf, Schiffer Military History, Atglen 1995 ISBN: 0-88740-757-9
[2] Maco website
[3] wikipedia
[4] www.kfzderwehrmacht.de
[5] www.panzerarmee.com
[6] www.modelarmour.com (1/35 scale Great Wall Hobby 3.7cm FlaK 42 & Sd.Ah.58 preview)
[7] www.militarymodelling.com
Review sample purchased by the author.


Pictures of the sprue can be found here.
|