| This is an old
kit and at its time it was considered really good. Nowadays the kit
has two olive drab mouldings for the tank, one grey moulding for the
link and length tracks and the flexible tracks. These last ones are
hardly usable, being made in a flexible plastic (polyethylene?) that
is too stiff and hardly fixable with glue or welding.
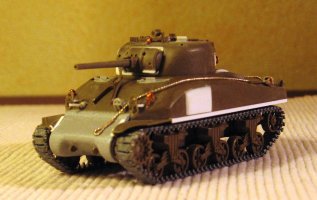
The type proposed is part of the last hundred Pressed Steel Car batch
of the M4A1 75mm, just before the new M4A1 with the T23 turret and
the 76mm production started. This batch of the M4A1 75 mm had the
high bustle turret D50878 and the new large hatches hull (the serial
range I suppose should be between 3070397 and 3070496, being tank
3070459 for sure).
The kit dimensions are quite correct (being only a millimetre short)
and only some details are really poor. Every additional armour plate
is missing (according with the production type proposed they were
of the cast-in type). The tanker figure is usable with some work.
The kit gives you the engine deck opened and the radial engine used
by the M4 and the M4A1 is comprised in the kit.
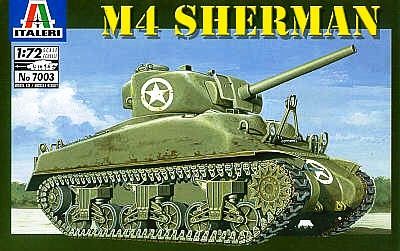
Turret
- The flat front is a bit too forward.
I filed it back a millimetre and restored the right curves after
having added some putty inside to avoid a hole.
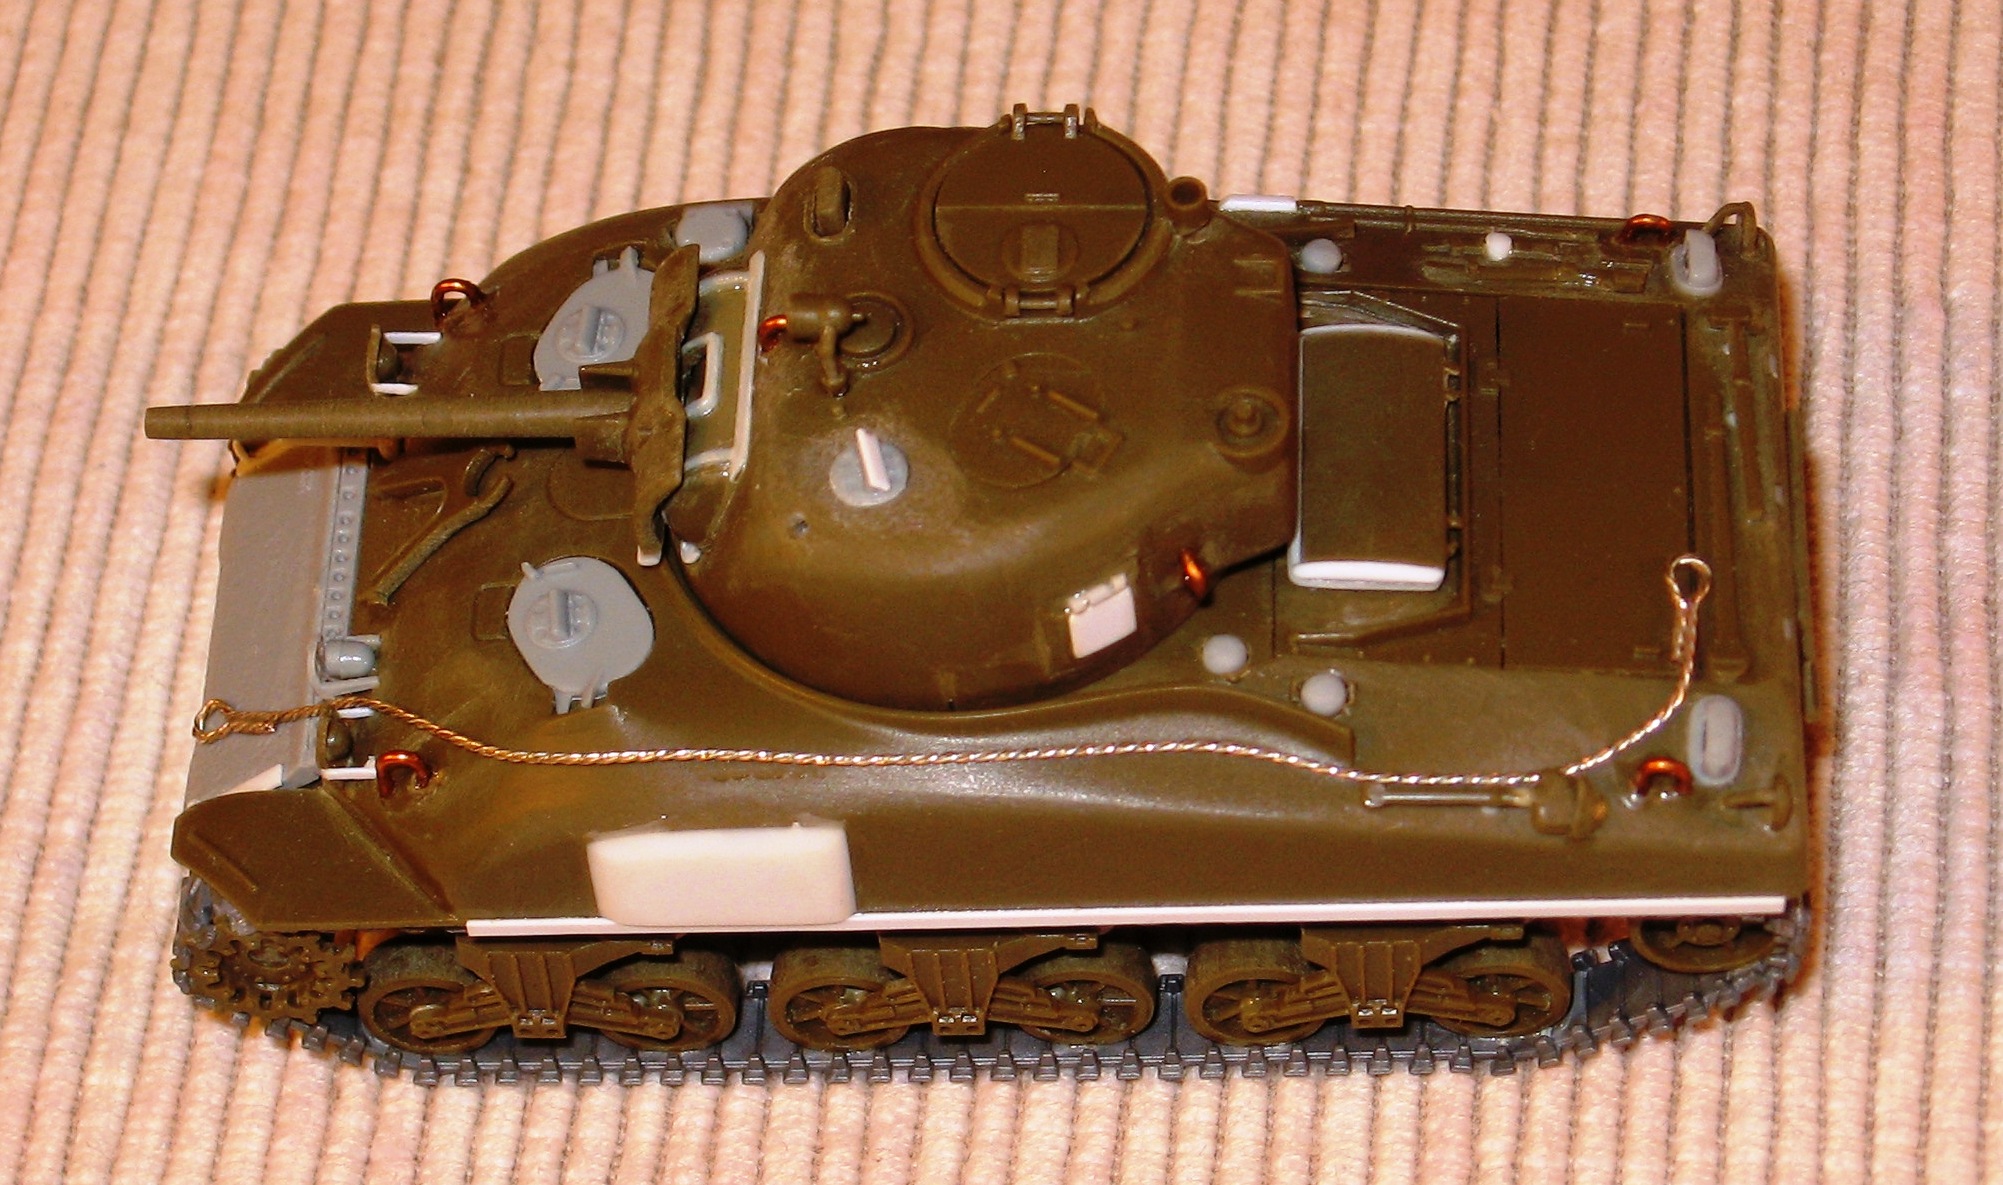
- The cast-in armour is missing and
was added following the photos you can find here.
- The split hatch ring wrongly has
a square section. The outer side was rounded to have a quarter of
a circle section.
- The M43A1 mount needs to be assembled
from the inside. I've added new flanges upper and under the mount
(not on the sides for a late mount type). I've added the vertical
reliefs that stay on the mount, behind the mantlet.
- The mantlet was made smoother sanding
the corners, being a cast piece. The MG hole was opened.
- The pistol port was lowered with
a file, widened and refined.
- I made new lifting points with
metallic wire.
- The Very pistol hole was opened
on the top.
- I made new periscopes.
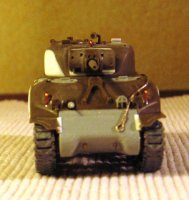
Hull
- The fuel cap covers are unacceptably
undersized. I drilled 2mm holes in their place, I've then inserted
from inside a 2 mm diameter rod with the end rounded before gluing
the two hull halves.
- I used a Dragon spare transmission
cover but the kit transmission cover can also be used (pay attention:
it is upside down in the kit instructions) moving backward the towing
points that are too much forward.
- The right side air fan is wrong.
I've filled the hole with plastic and a new housing was carved following
the photos you can find at
the.shadock.free.fr/sherman_minutia/index.html. (It is the same
as you can find on a M4A1 76mm hull.) I've used a spare cover from
a Dragon kit.
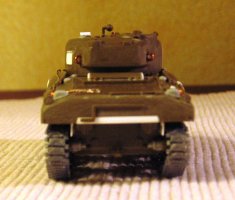
- The upper back plate notch was
filled with plastic.
- The edged areas in front of the
hatches were sanded to make them smoother.
- The cast-in armour were added following
the photos you can find at the.shadock.free.fr/sherman_minutia/index.html.
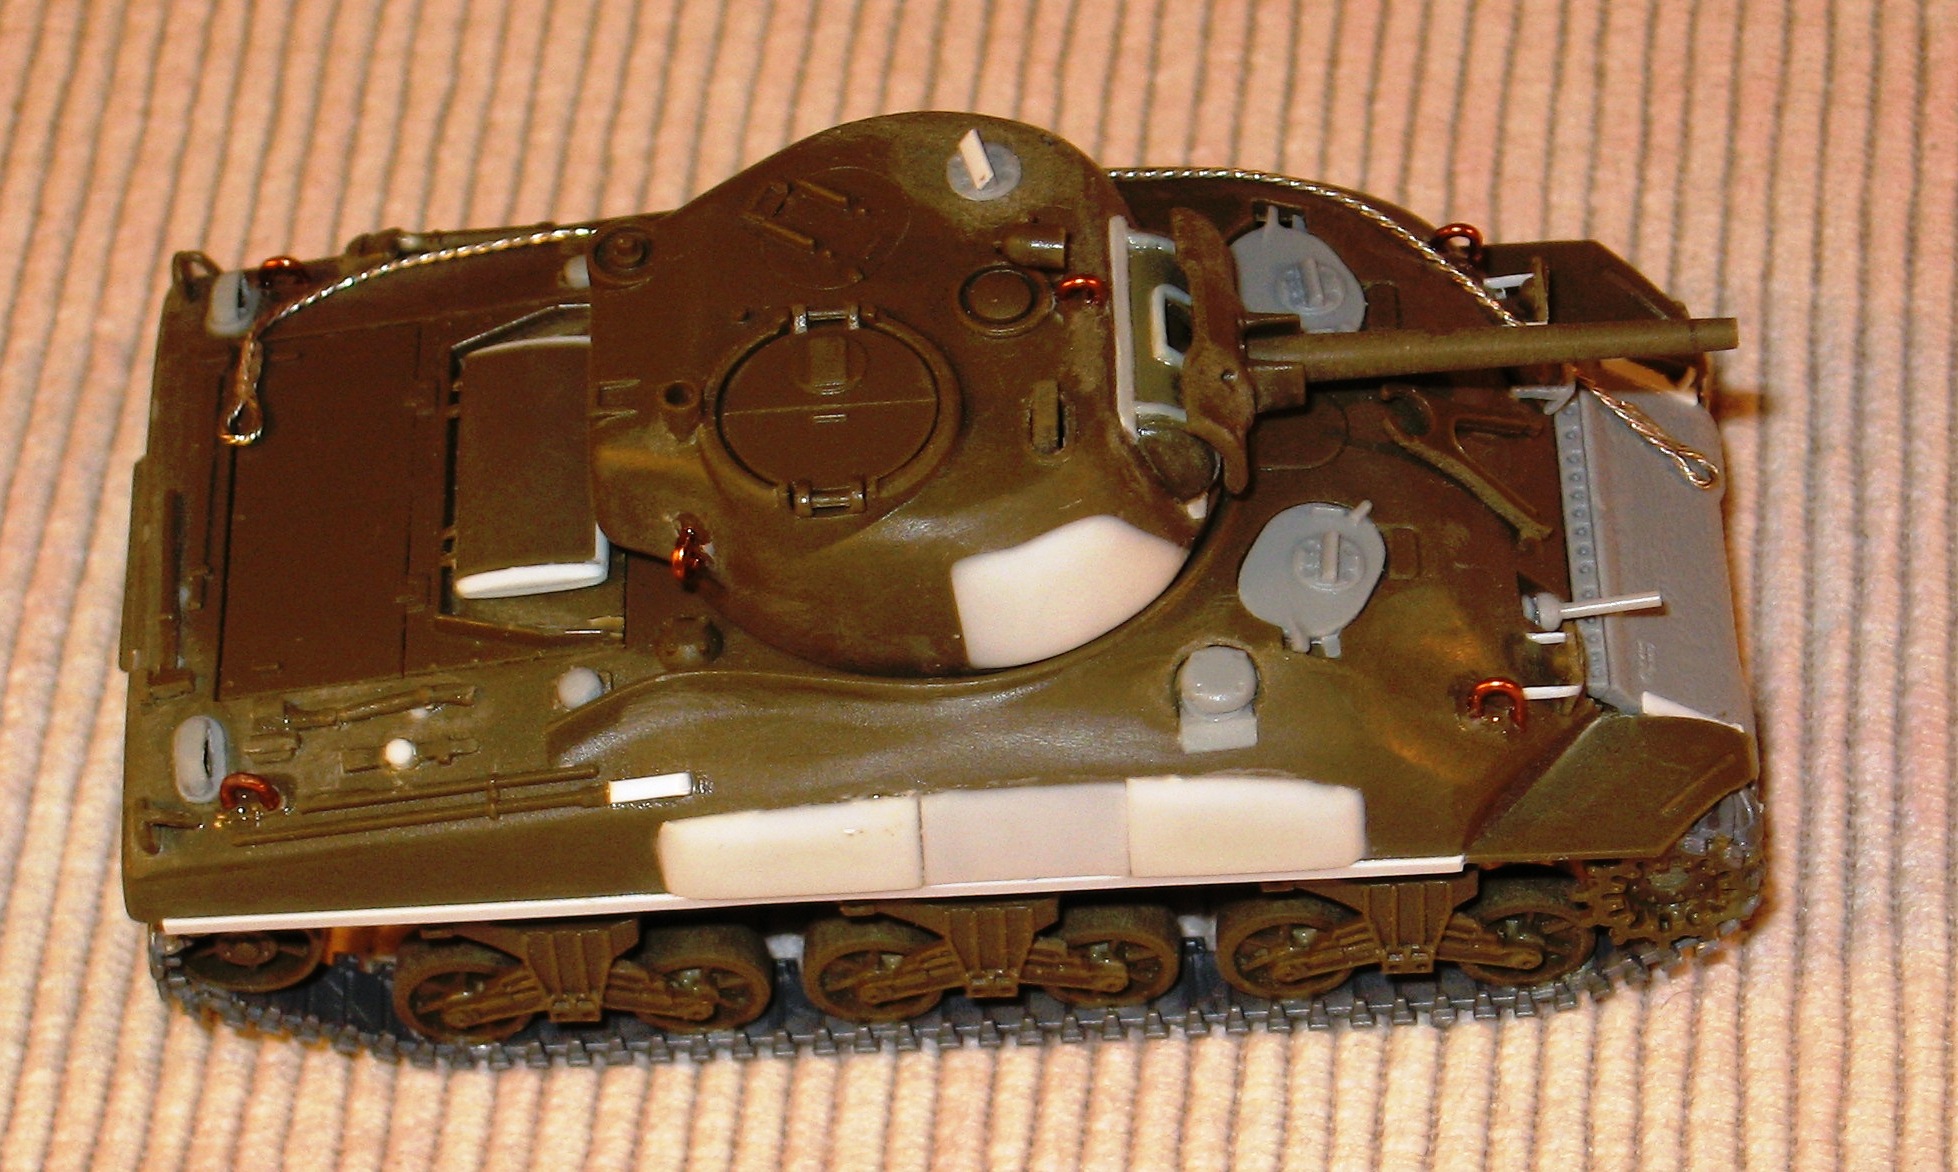
- The belly isn't correct for an
M4A1. I've erased the removable bolted plates and changed them with
others made from plastic sheet in the correct positions. I've also
added the two transversal rods.
- I made new lifting points with
metallic wire.
- The fender structures were added.
- The hatches were changed with Dragon
spare parts being more detailed.
- I've added the horizontal rods
to the front light brush guards.
- A new ball mount for the bow MG
was made with plastic.
- The piece number 31 was widened
with 0.50 mm rod on the three sides without the hinges. When assembling
it, I kept the hinges nearer the raised edge in a more correct place.
- I've detailed the shovel bending
the rod and rounding the blade.
- The hatchet was detailed with an
oval section and "S" bended handle.
- Also the pick was detailed with
a new centre, being clearly unbalanced.
- The lateral air intakes on the
engine deck were changed with Dragon spare parts.
- The three holes for the shelf (pieces
34 - 37) were filled. I've seen it only in one photo of this type
tank in training.
- I didn't use the spare track packs.
I've no photo showing them.
- The interlocking hole of the towing
hook on the back plate was filled and the hook base was emptied,
being a vertical "U" bent stripe.
- The exhausts are missing and were
made with plastic. The exhaust deflector is missing and if you want
to use it, it must be found in another kit.
- The track tensioners are missing
from the rear plate; they were added with Dragon spare parts.
- A towing wire was made with copper
wire.
Wheels and tracks
- I used the bogies knowing that
they are a bit tall and that the reliefs on the return rollers arms
are missing.
- The wheels are of the cast type.
They have two different sides. I left the deepest one inside.
- The kit sprockets were used knowing
that they have the wrong teeth number (one is missing). They are
otherwise well done (and if you use the sand skirt the problem is
not visible).
- I used the hard plastic tracks.
As already said the flexible tracks are made with a problematic
plastic and I'm not sure how it keeps the paint. I think that a
couple of additional links were welcome. Anyway, if needed the spare
links (A44 - A49) can be used with some work.
Decals
There are only the white stars for
an anonymous tank and some little number to make a serial. For my
M4A1, I had to use another source.
Conclusions
Well, knowing the fact that is one
of the rarest Sherman tank you can find on a front line photo, why
choose this kit? As far as I've seen, almost every tank of this type
was used as an amphibious Duplex Drive. After D-Day there were tanks
re-converted to the normal standard, often keeping the propeller attachment
points and the special idlers. Often the front fenders were missing
too. This type was used in both configurations by the 70th, 741 st
and 743rd Tank Battalions. Two reconverted tanks are visible in photos
of the 2nd and 3rd Armored Divisions. It had the same fate in the
British Army, were some Duplex Drive's were in the 8th Armoured Brigade.
Some reconverted tanks were also used in the seldom photographed 33rd
Armoured Brigade (see for example:
here). So, although they were few, they were used by no less than
seven operational units giving us a quite large modelling opportunity.
The kit is clearly old but I think still usable, also with a T23 turret
if you don't like it with the 75mm turret (in this case don't add
the hull cast-in armor: it had a wet stowage hull). I think a good
hint for a conversion could be to use it to make a DD (not an easy
job). As far as I know, this is the only 1/72 Sherman injection kit
with an engine, another good hint for a diorama (and not necessarily
with this kit).
Review sample purchased by the author.


|