|
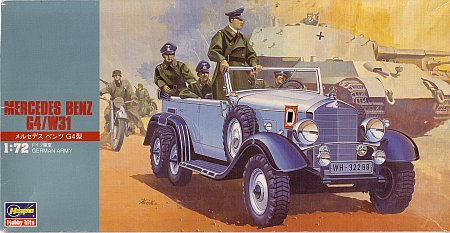
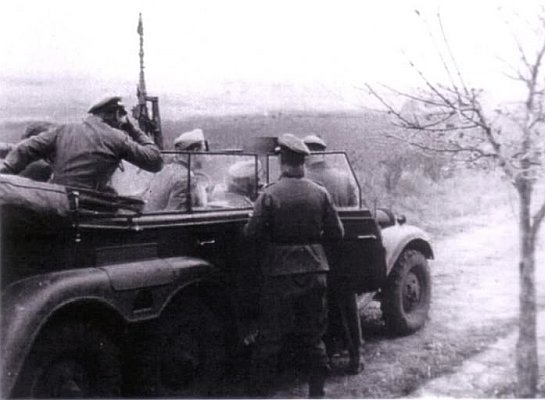
The Mercedes Benz G4/W4 was produced from 1933-1940. A total of 131 vehicles were produced and it was used
almost exclusively by high ranking Nazi officials, with the most famous user of the vehicle being Adolf Hitler. Seven vehicles were given closed bodies with
radio sets for use as forward communication vehicles. The engine was an 8-cylinder inline of varying horse power. Armour and gun mounts for the MG34 machine gun were
options.
|
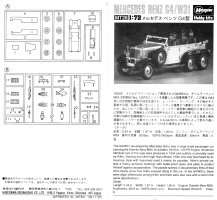
Inside the box you get 43 parts, in relatively hard medium grey plastic. There is no clear plastic for the windshield which
has to be supplied by the modeller. The paucity of parts reminds one of the quick build
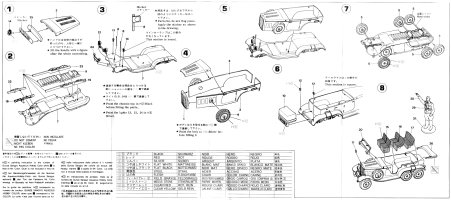
kits which are becoming more popular these days. Included is a small 8-step instruction sheet
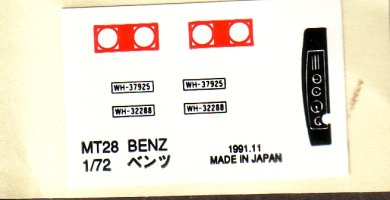
(mine has yellowed with age) with a painting guide and a set of transfers, which are peel-off stickers and
not of the usual water slide variety. The use of stickers is rather odd since they, as well as the instruction sheet, are both dated 1991, and the general
use of stickers in model kits disappeared well before this date. My guess is that my kit was re-boxed by Hasegawa from old remaindered kits.
Molding quality is excellent with very little for seams and virtually no flash. There were some noticeable sink holes in the parts for the various lights and a few
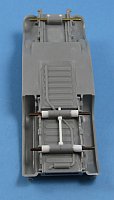
annoying ejector pin marks. Detail is a bit sparse and shows how old this mold is compared to more recent offerings. The underside/chassis is quite simplified with
only a partial frame and molded on detail such as muffler and exhaust pipes to the bottom of the rear passenger compartment pan. The interior is quite follows the same
basic theme with not much more than seats and a steering wheel.
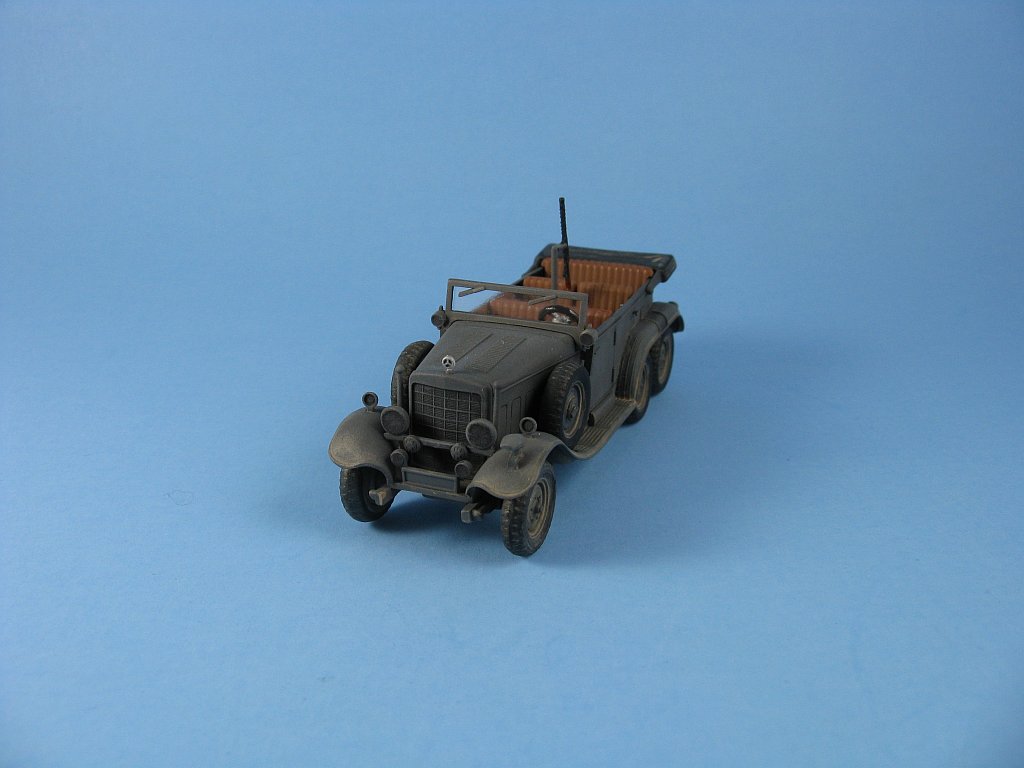
Unfortunately Hasegawa also has some shape issues with this kit. The radiator grille and hood are much too wide, and both it, and the trunk suffer from corners that
are too square and missing the prominent rounding to the edges. The body could use some lengthening as well in the rear passenger compartment with the third row of seats.
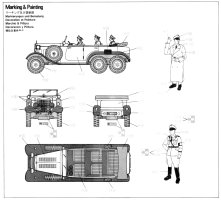
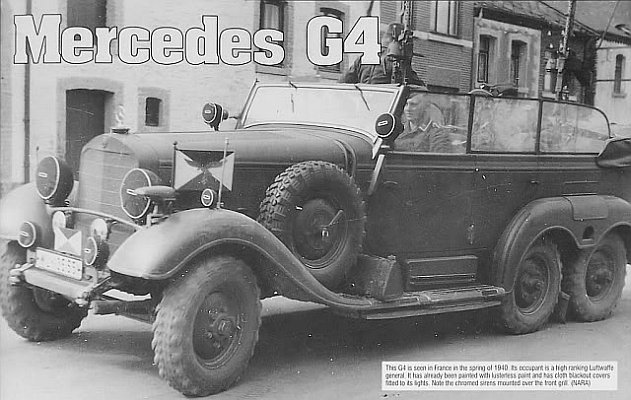
The painting guide and the stickers are for a pair of cars used by Adolf Hitler. Two plate numbers are provided: WH-32288 & WH-37925. According to reference [3],
WH-32288 is a dark coloured vehicle (possibly overall gloss black) and WH-37925 is light coloured with dark fenders (most probably gloss silver/grey and gloss black
respectively). The stickers are not well printed and swastikas are absent from the flags.
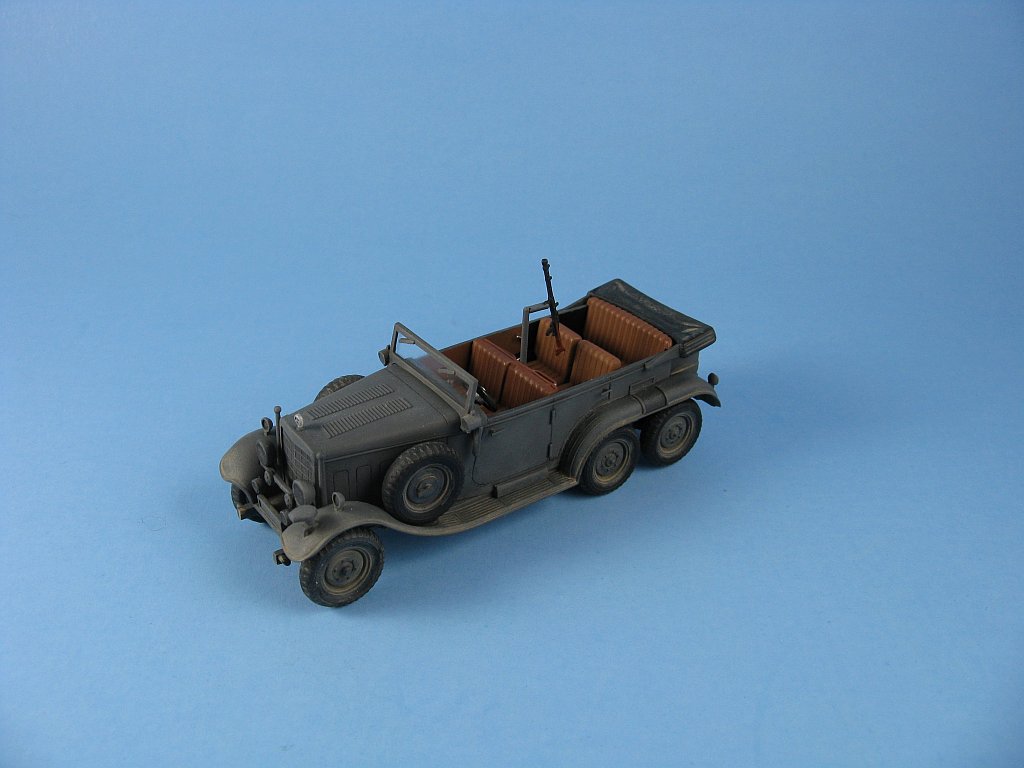
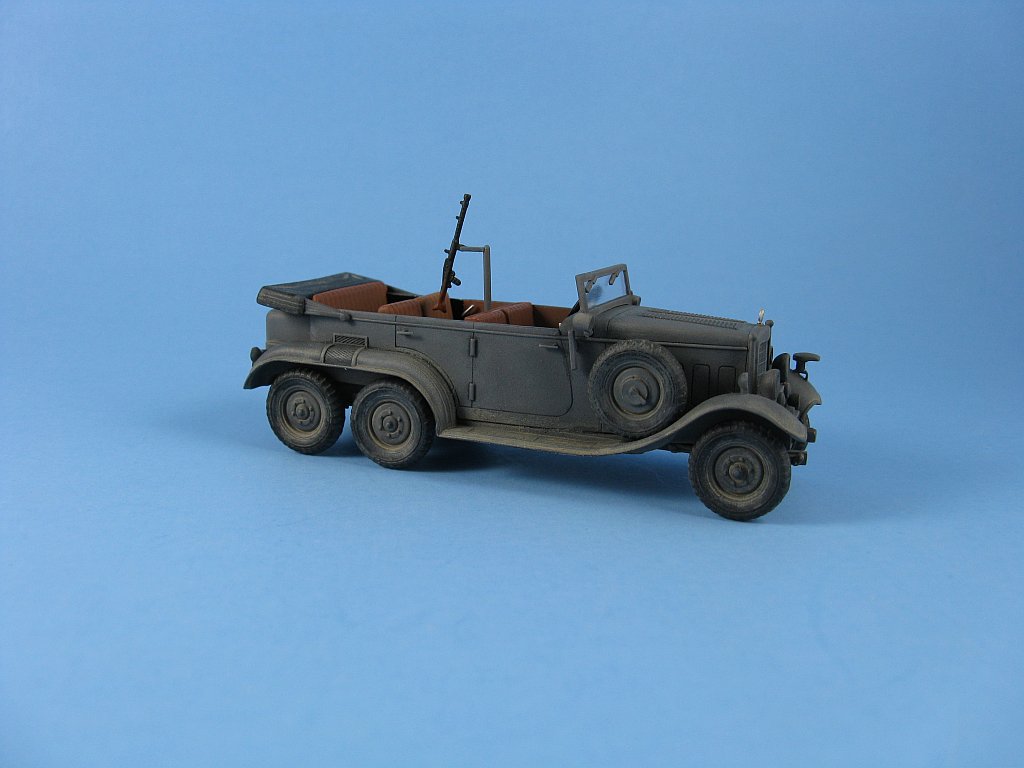
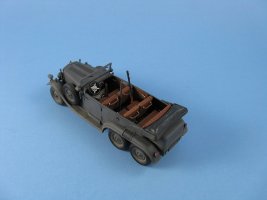
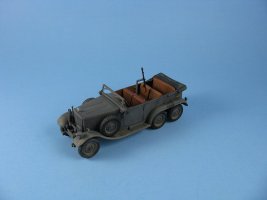
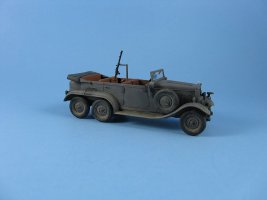
I really like the sinister and angular look of this car especially in Army dark grey, which makes it look even more sinister (like
a pre-war German version of the "Batmobile"), so I decided to proceeded with the build anyway, letting the hood and trunk shape issues fade into the background
and focusing the build on the easier and more fun modifications.
|
|
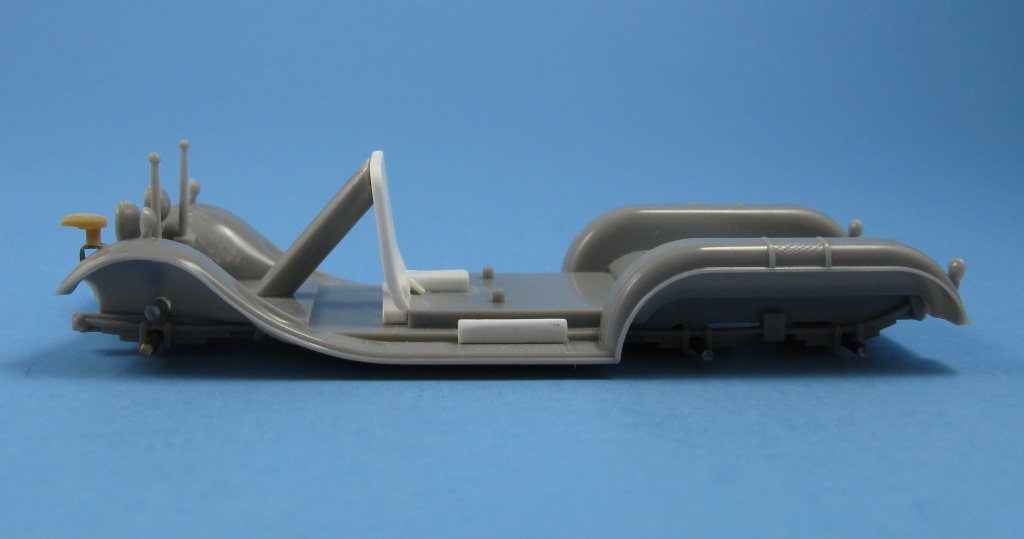
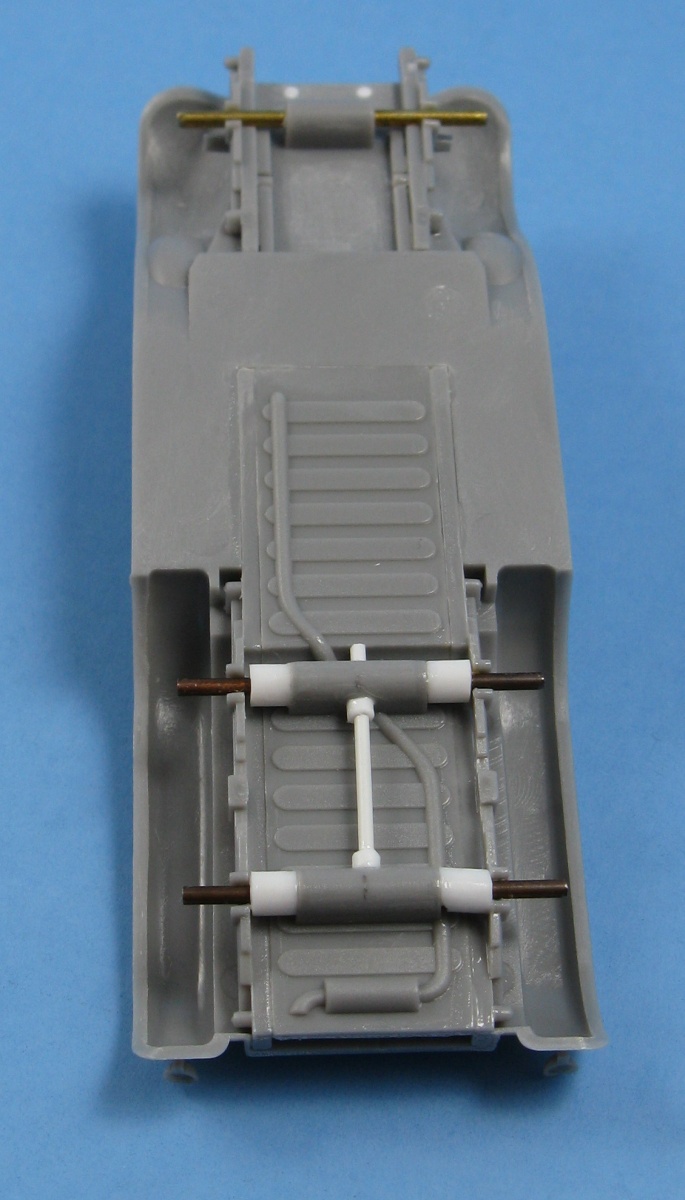
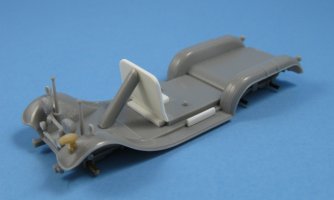
The first thing addressed was the lack of underside detail. The kit is basically what the car guys would call a curbside.
What the model really needs is a proper frame and exhaust
system (pipes and muffler) but I just added some tubing to cover the metal rods used for the axles and a drive
shaft between the two rear wheels. Ejector pin holes were filled. |
 |
 |
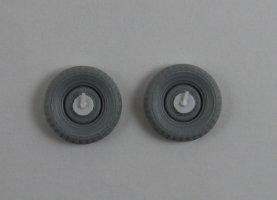 |
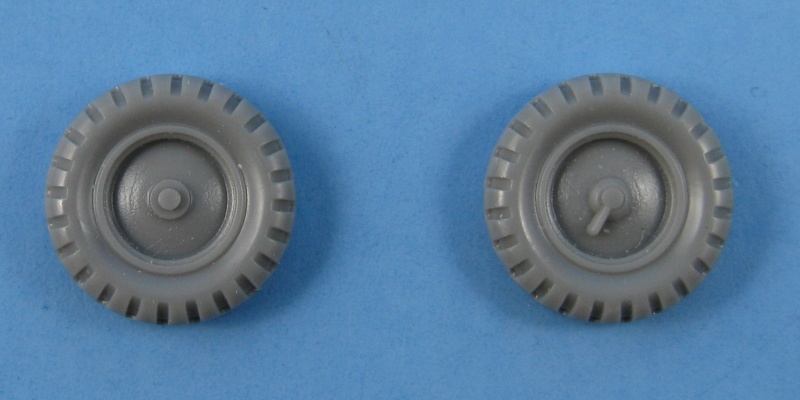
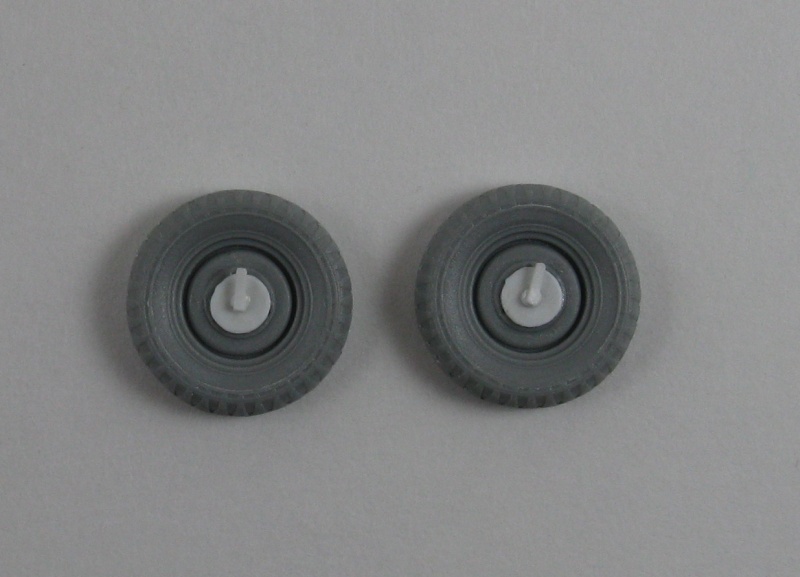
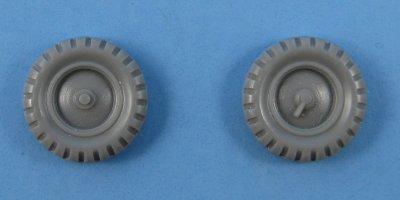
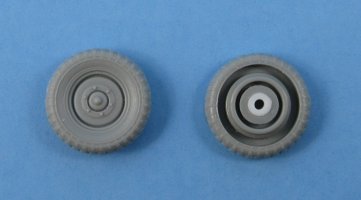
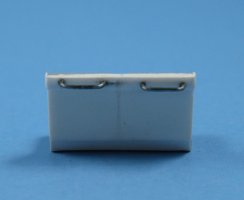
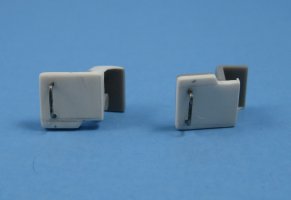
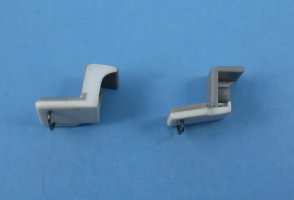
Kit Wheels | modified Dragon Protze wheels (modified rear on the right) | modified Dragon Protze spare tire wheels (front) |
|
The kit wheels/tires are awful. They are much too thick and the tread pattern is pitiful. They
also have no hub detail or lug nuts.
I tried to find some replacements from the aftermarket manufacturers but failed. After some checking through the wheels in my kit stash I found that the
Dragon Protze wheel/tire combo would fit and they looked much closer to what I could see in my photo references. So I liberated a set and filled the
centers of four wheels so they would fit the Hasegawa axles. Two were modified as spare tires by removing the hub and adding the the spinner style holders.
|
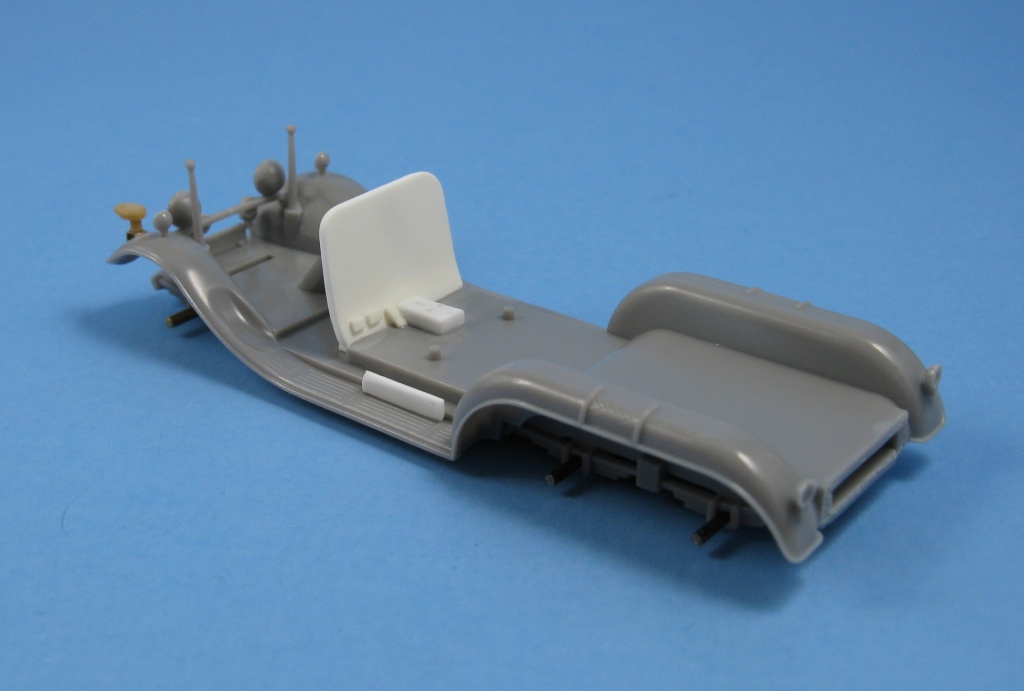
The interior received the most modifications. Lots of test fitting was done along the way to ensure that all the modifications
didn't affect how the parts fit inside the body.
First on the list was to scribe the door lines on the inside. I then trimmed off the door
handles molded to the outside of the body and drilled a small hole through the body. A small shaft of thin plastic rod was pushed through the hole, glued and then trimmed
for height. Later the shafts would receive handles cut from the same thin plastic rod.

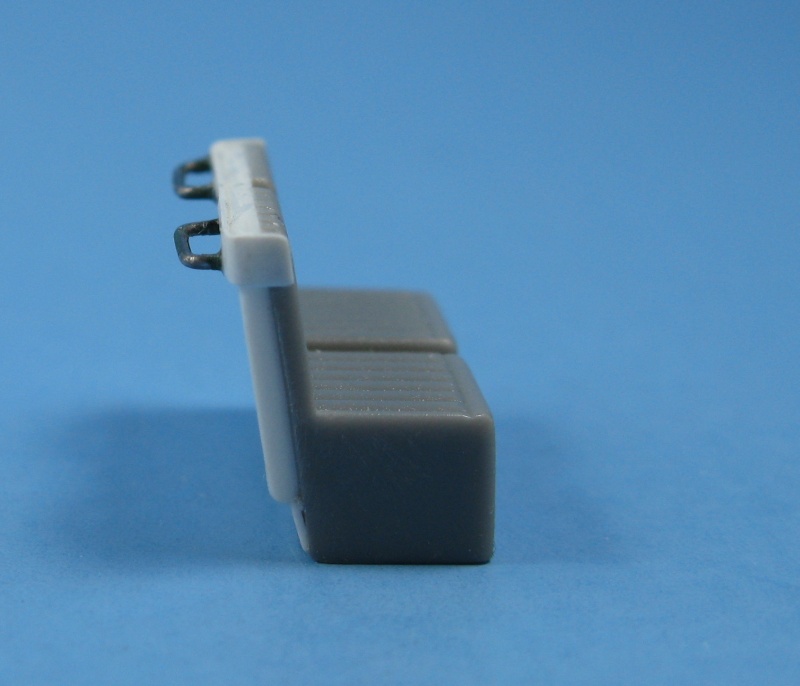
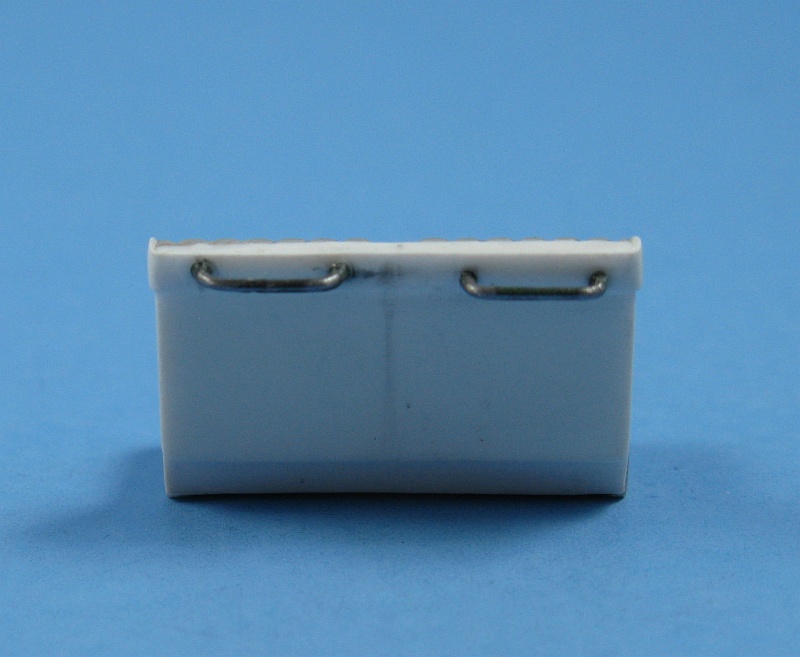
Next was the seats. The backside on all the kit seats were completely flat, void of any detail, as well as being anorexically thin.
Hasegawa incorrectly siamesed the middle pair of seats so I separated them and added sides cut from thin plastic sheet. I then added thicker backs to all the seats from
plastic sheet and some grab handles bent from thin wire.

The firewall, transmission tunnel, pedals, instrument panel and gear shift were made from scratch.
I wanted to add the pleating to the inside door panels but there just wasn't enough room between the seats and the panels to add some.
And I also wanted to add pistol holsters to inside door panels as well, but the set of four Dragon holsters I had were all right handed which would work well for the
left door panels, but not so good for the right ones. Oh well!
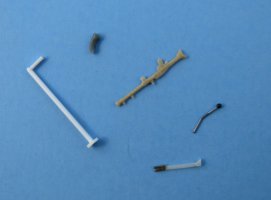
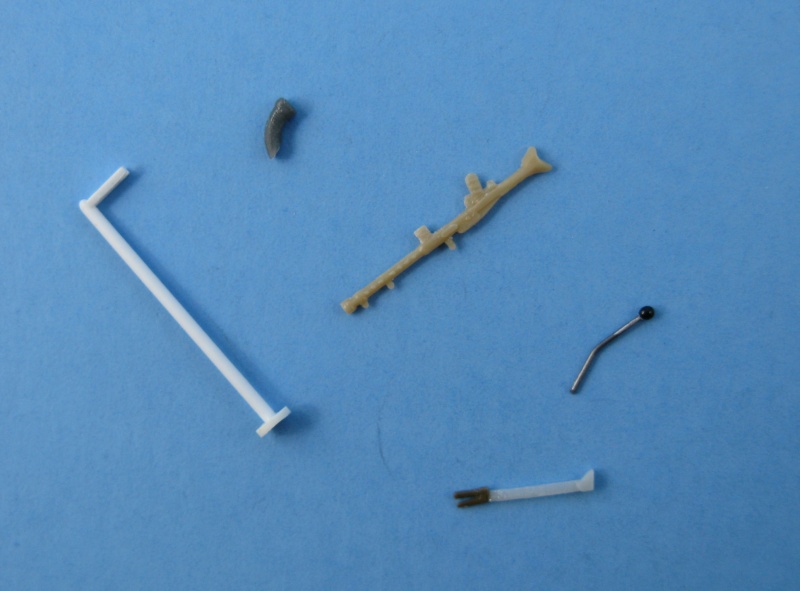
Size wise, the kit's steering wheel was more suited for use on a go-cart so I replaced it with the one from the Dragon Protze kit with a
shaft added from plastic rod. A brake lever and a machine gun were obtained from the spares box. A scratch built pintle mount was fashioned for the MG as well.
All of these small details were left off to be
added after the painting, so I wouldn't break them while working on the rest of the model.

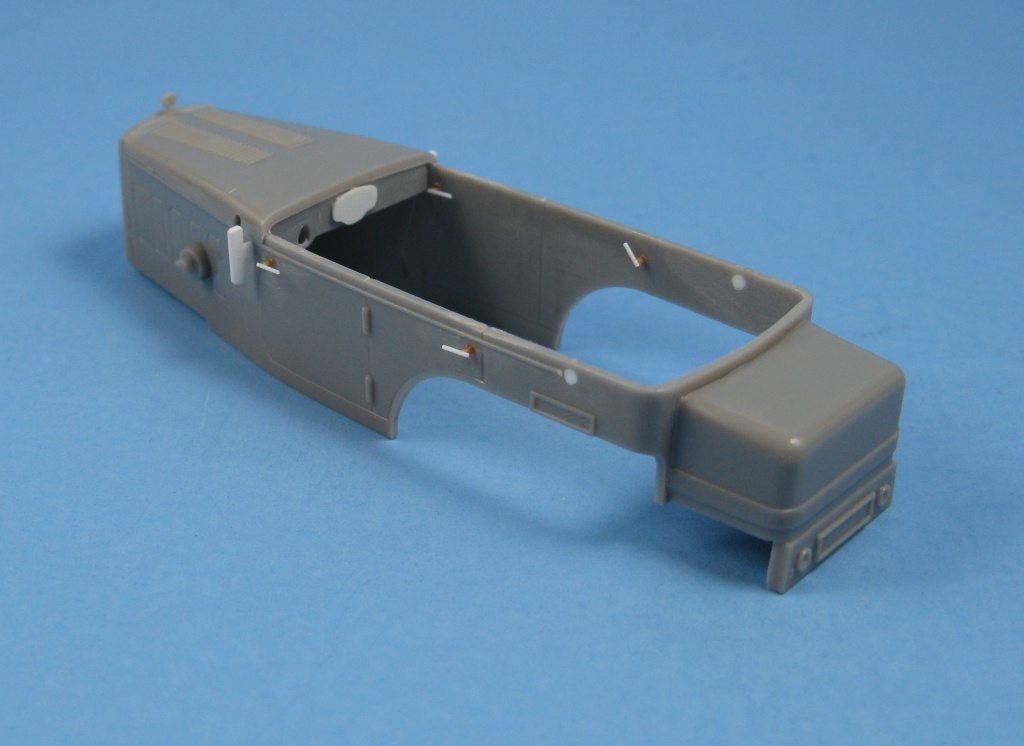
After the interior came the exterior. I filled the faces of all of the front lights, except for those mounted on the fender,
because they all had sink holes. This worked out well since the lights were all covered on the real vehicle anyway. A Notek light, from the spares box, and its
bracket, bent from scrap brass, were added to left front fender. Turn signals were made from plastic sheet and glued just ahead of the front doors. A gasoline fill
tube was added to right rear. There was a hole that went completely through
the body where the cover is to be attached. This hole was filled so it wouldn't be seen from the inside of the body. Most of the photographs I have
of the G4/W31 show a step built into the rear fenders which this kit lacks as it was modelled after one of Adolf Hitler's cars. I'm not sure why some of the cars had
a step while others did not, but I can only assume that the step was a feature of vehicles produced later in the production run. In any case, I didn't bother adding
the step as I wasn't sure how to go about making it as well as get the fender lips on my replacements to match those on the kit's fenders. Lastly, the remainder of
the kit parts were then attached, like the rear lights and fender markers.
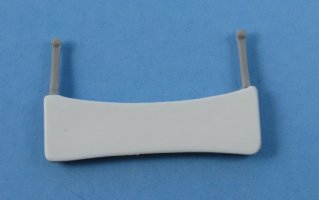
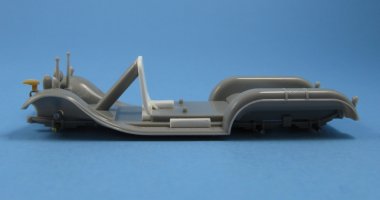
The underside of the folded top is hollow so I covered it over with some plastic sheet.
To ease painting, the body and chassis were kept as separate sub-assemblies, which were joined once the painting was complete. Afterwards all the small parts were added -
seats, steering wheel, gun and pintle, door handles, and the shift & brake levers. As a finishing touch, dial faces were cut from an aircraft instrument panel decal and applied to
the instrument panel on the car.
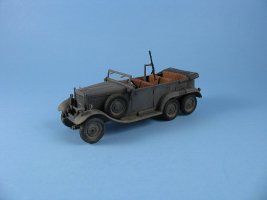
There you have it! The Hasegawa kit is definitely not one of the best around with regards to accuracy and detail, but I sure
had fun taking this old kit and tinkering with it. So in the end, I got it from being a 'shelf queen' to the display case, which is a positive in my mind.
References:
[1] Allied-Axis: The Photo Journal of Second World War, Issue 14, Ampersand Publishing, Delray Beach, Florida 2004 p.47-53
[2] various web pages reviewing the ICM 1/35 scale Mercedes Benz G4
[3] missing-lynx Axis forum
[4] madaccosdacos studio
[4] The following inspiration photographs

Review sample purchased by the author.
|