|
HäT Industrie
|
www.onthewaymodels.com |
Skoda 75mm Mountain Gun |
|||
| Kit #: 8244 |
Review by
- Al Magnus
|
||||
|
HäT Industrie
|
www.onthewaymodels.com |
Skoda 75mm Mountain Gun |
|||
| Kit #: 8244 |
Review by
- Al Magnus
|
||||
 |
|
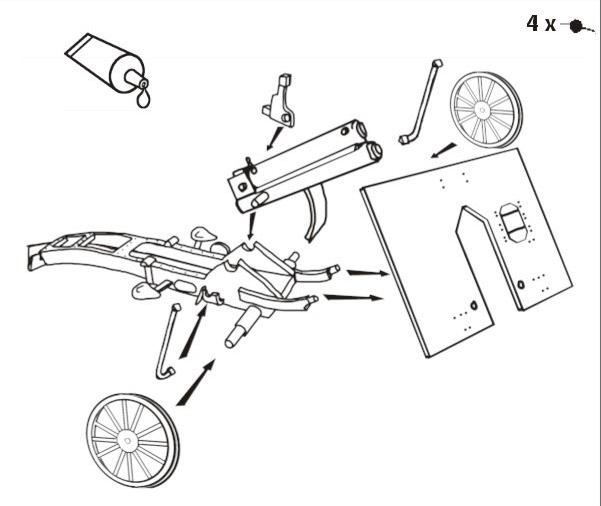
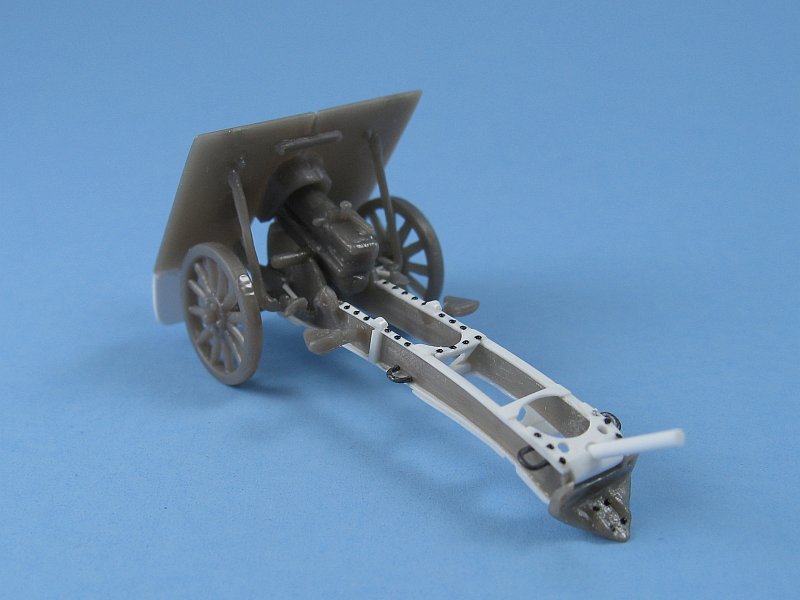
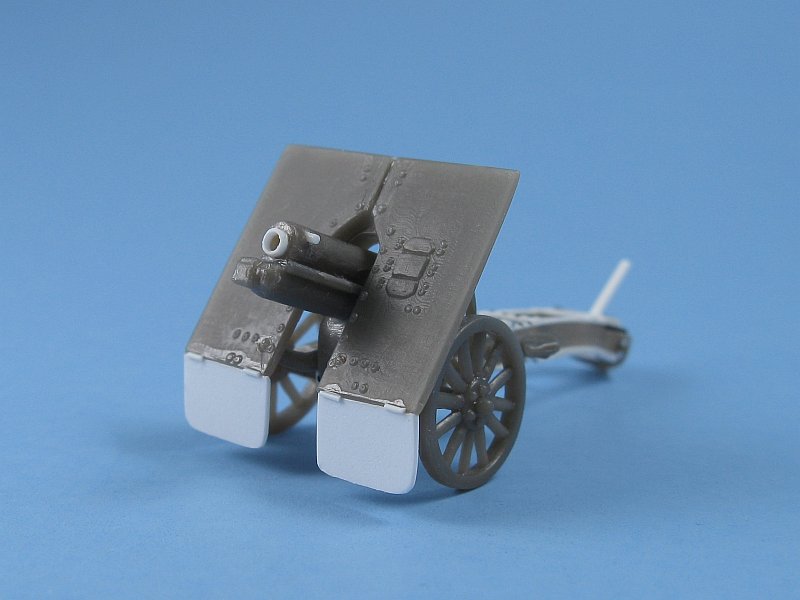
A Brief History The Kit
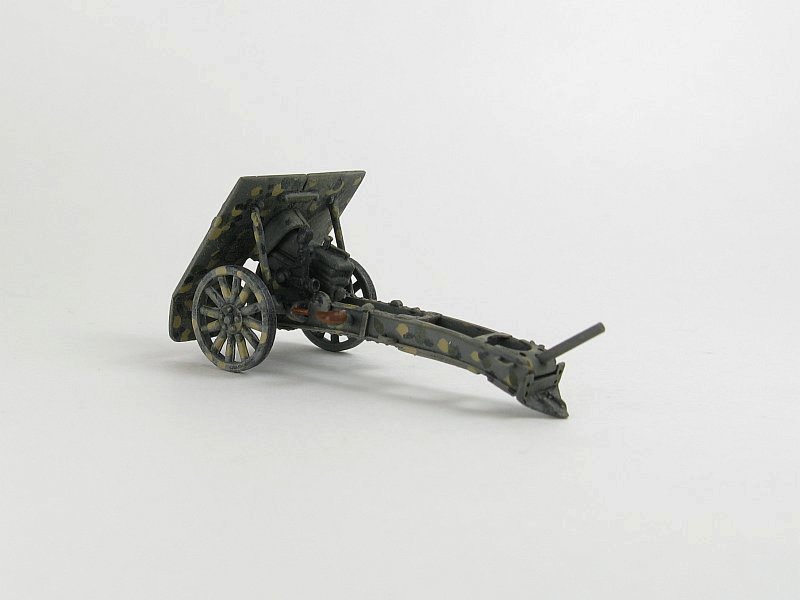
Painting The box top picture serves as the painting guide and shows the gun in an overall greyish green camouflage which I assume is the colour that the Austro-Hungarian Army would have used in World War One. It may even be the colour for a German gun as well. While the box top art is catching and provides some guidance regarding colour it would have been nice to have some sort of callouts for the major paint manufacturers to ease paint selection. For my gun I decided to go with something other than the drab monotone finish suggested on the box top. On the Landships II [1] site I found a nice article on the dapple camouflage used by the Germans in the First World War. I found no proof that this gun would have been camouflaged this way but the scheme appealed to me and it would make the model stand out amongst the other guns on the display shelf. After my initial light grey primer I applied a base coat of Aeromaster RLM Graugrun with an overspray of the same lightened with some white. The dapples were Testors Flat Black, Middlestone and Aeromaster RAF Dark Green. To make the dapples I experimented with something different. I cut some short thin strips cross wise from a leather lace and used the pointy tip to apply the spots. I found that as I applied the dots, the tip would flatten over time due to paint absorption and the spots applied would grow in size, which actually improved the look of the dots. The only thing I didn't like was that the leather strips sometimes applied too much paint and the drops would become noticeably thick after they dried. To fix this I lightly sanded the face of the shield to level the paint. Conclusion References Review sample purchased by the author.
|
| Back to HäT Industrie Kit List | Back to Construction Reviews |
Article Last Updated: 04 November 2013 |
Back to Home Page |