|
HäT
|
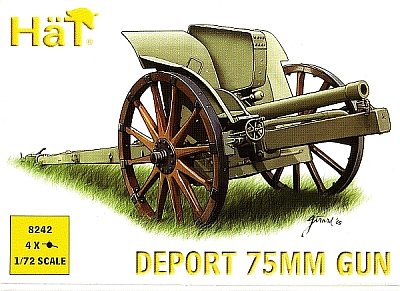
Deport 75mm Gun |
|||
| Kit #: 8242 |
Review by
- Al Magnus
|
|||
|
HäT
|
Deport 75mm Gun |
|||
| Kit #: 8242 |
Review by
- Al Magnus
|
|||
 |
|
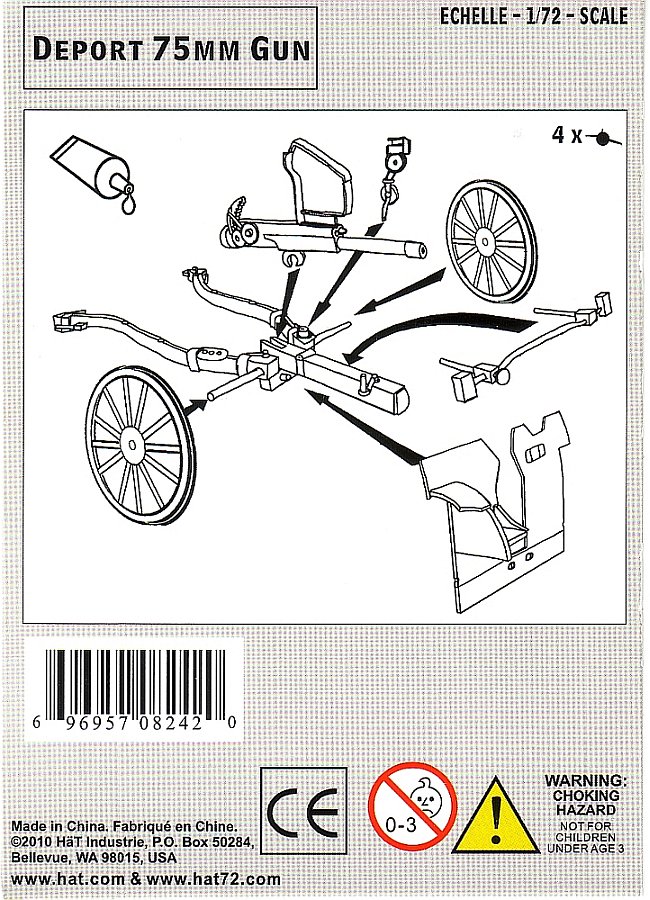
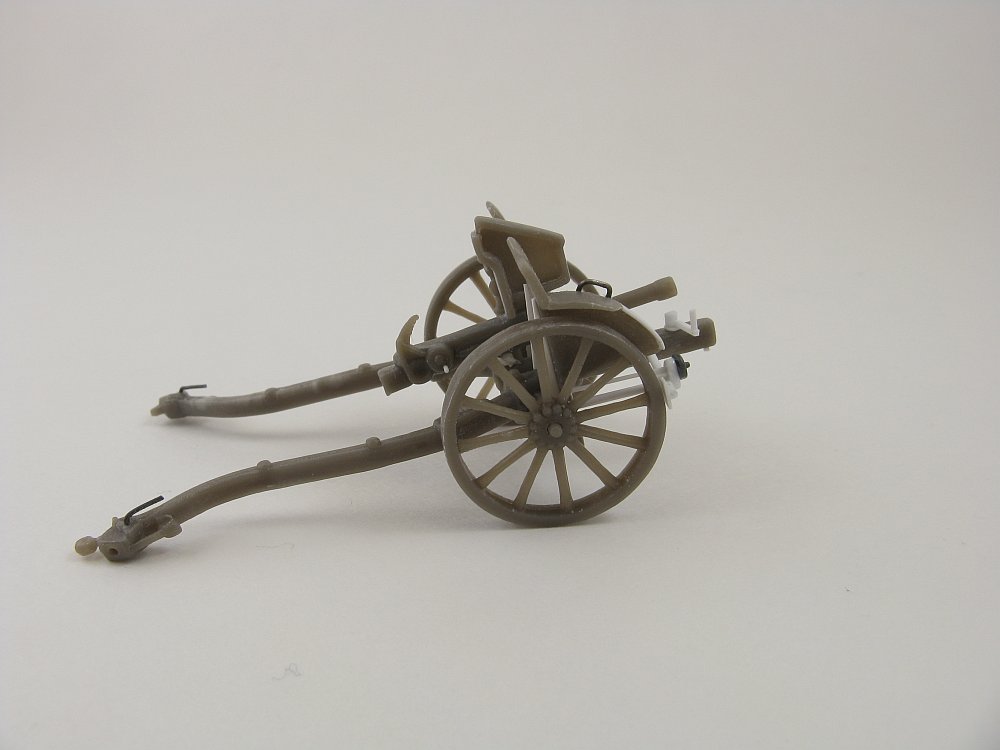
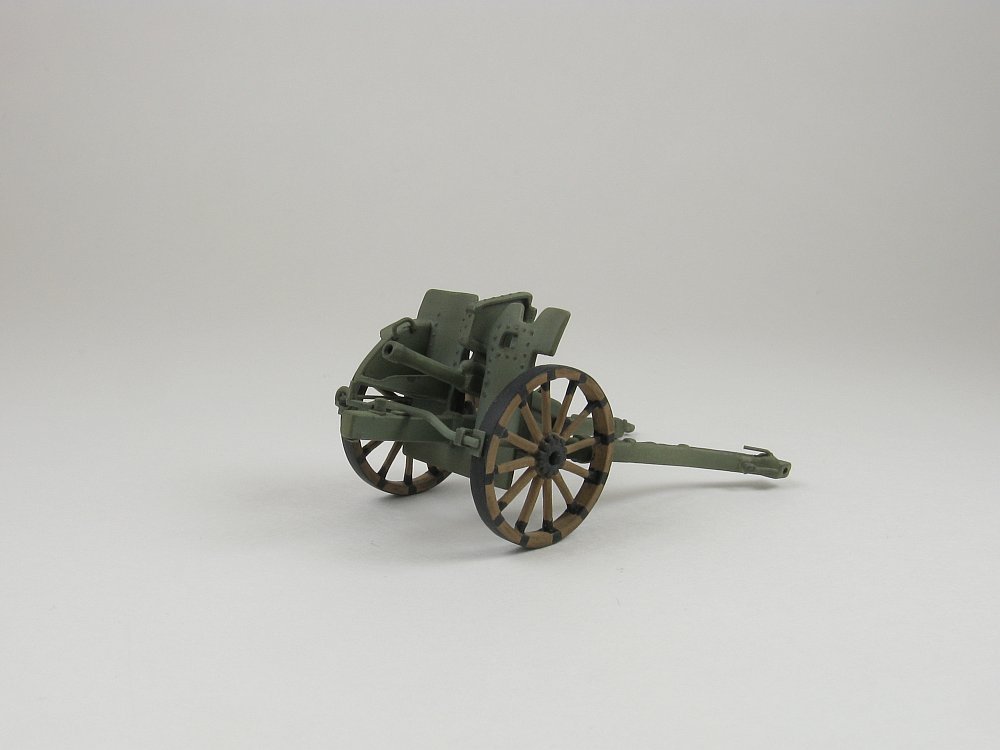
The Cannoni da 75 mod. 1911 Déport was designed by French Colonel Joseph Albert Déport, who had also participated in the design of the famous "75". It was the first gun to employ a split trail, something that is pretty much universal on guns nowadays. It also used a split, or double recoil cradle, a feature that has not endured the test of time. Some 600 guns were manufactured in Italy between the years of 1911 and 1914. It was used all through the Great War, later in the Spanish Civil War and finally during WW2. This kit is squarely aimed at the war gaming crowd. Inside the box you get 4 copies of the same sprue, each with a mere 7 pieces. The plastic is hard styrene and my copy was molded in a light greenish colour. In my opinion, the hard styrene is a huge step up from the soft plastic found in most other HäT kits. No decals are included and instructions are an exploded diagram printed on the rear of the box. There is no painting guide. I found the instructions adequate except when it came time to add the sights, where the part on the sprue didn't look much like the diagram, so it was guesswork on my part as to how it should be orientated. The parts are a mix of good and bad. The wooden spoked wheels, gun and shield are reasonably nice, while the sights and carriage are not quite as well done. The worst part by far is the brake assembly. For the more serious modeller, basic construction work, as well as some extra detailing and parts replacement is a must. Seams on the parts are prevalent and need to be removed. There's also a kind of rough texture to many of the part surfaces that needs to be sanded or scraped off. I'll not get into the construction end of things. With only 7 parts that would pointless. Instead I'll concentrate on how to improve the kit, based on the pictures found at the Lanships site (see reference [1] below).
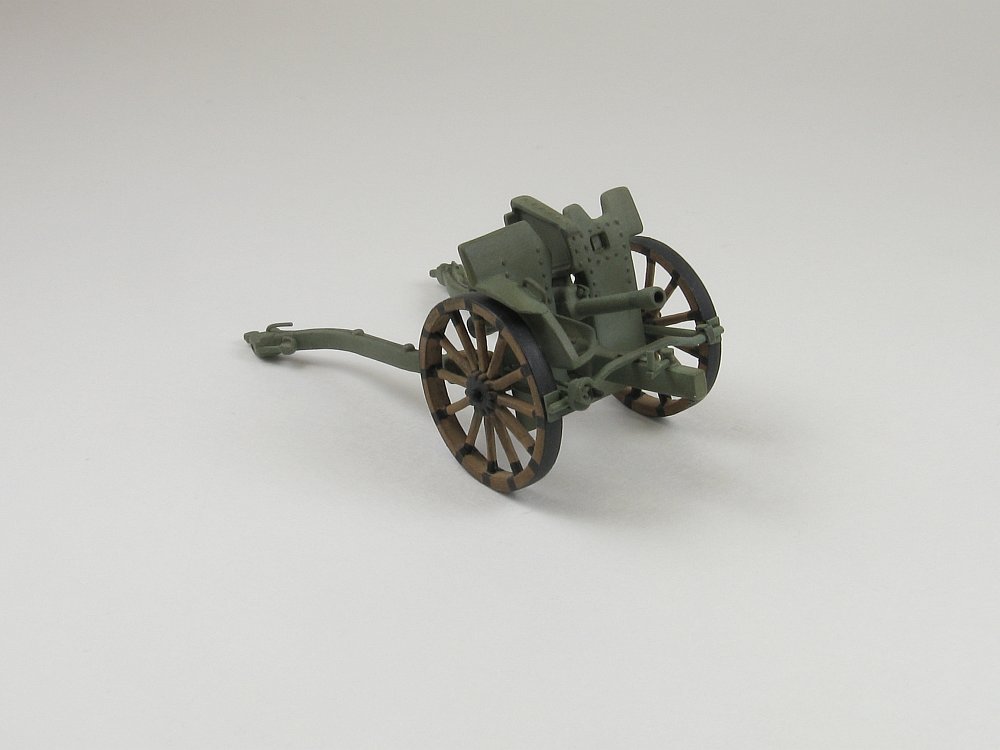
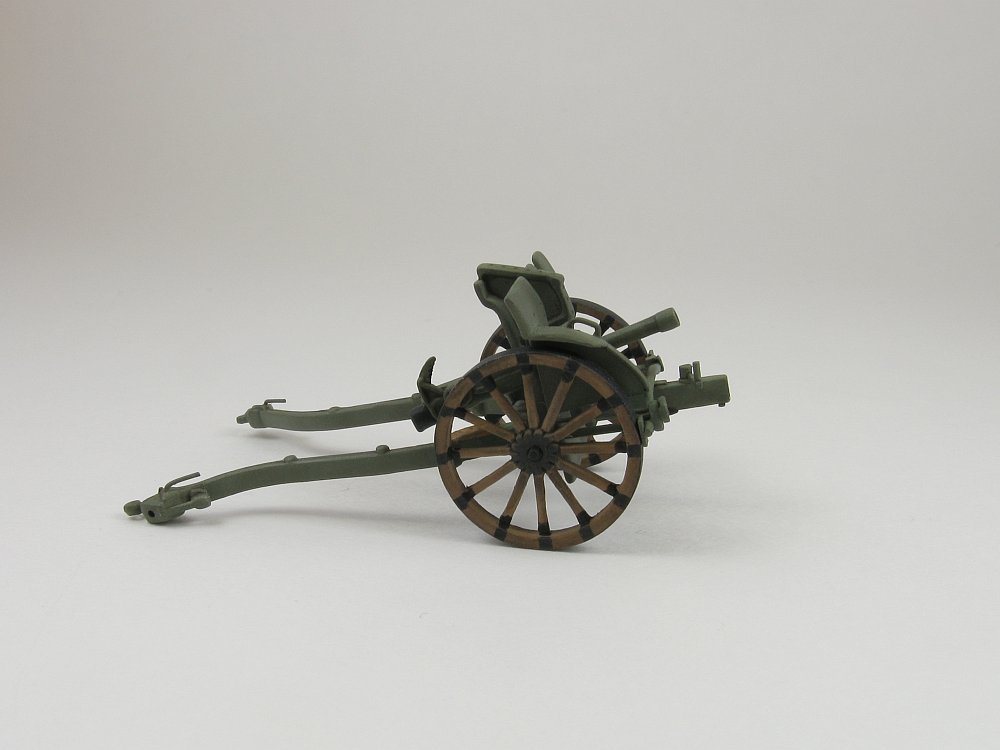
The only guide to painting is the colour art work on the box top. There's no indication anywhere as to what that colour is, so it's just guesswork on the part of the modeller. My queries on the missing-lynx Braille forum were answered by fellow modeller John Kelley, who indicated that the camouflage should be a 'pea green'. My choice for pea green was Testors Russian Armor Green (2129) and I used Testors SAC Bomber Green (1793) for fading. Thee wheels are a wood brown with flat black used on the spokes and wheel rims to represent the metal bands and braces. It's nice to see HäT using hard plastic for their kits, giving the modeller a medium that's light years ahead of the more usual soft plastic. The Deport gun, though somewhat rough around the edges, does provide an acceptable start towards a more detailed static model. If one is to assume that this kit is representative of HäT's other current hard plastic releases, then there's a few more interesting World War One guns from this company that will be worth investigating. Review sample purchased by the author. Sources:
|
| Back to HäT Kit List | Back to Construction Reviews |
Article Last Updated: 14 September 2012 |
Back to Home Page |