|
Gebo Figuren
|
www.onthewaymodels.com |
E-5 “Rutscher“ |
|||
| Kit #: 72001 | Preview
by Marc
Mercier | -->
||||
|
Gebo Figuren
|
www.onthewaymodels.com |
E-5 “Rutscher“ |
|||
| Kit #: 72001 | Preview
by Marc
Mercier | -->
||||
|
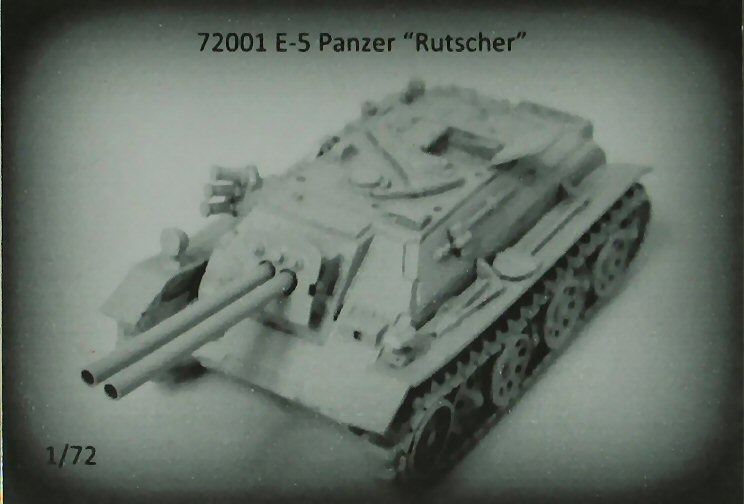
| While the "what-if 1946" and "Paper Panzers" mostly turn out bigger than the real ones used during the war, this E-5 “Rutscher“ completely goes the other way. It was effectively planned as a very light and small (thereby saving on raw materials) and easy to produce vehicle, intended to give the troops some much needed firepower. Combat weight was to remain below 5 tons. | |||
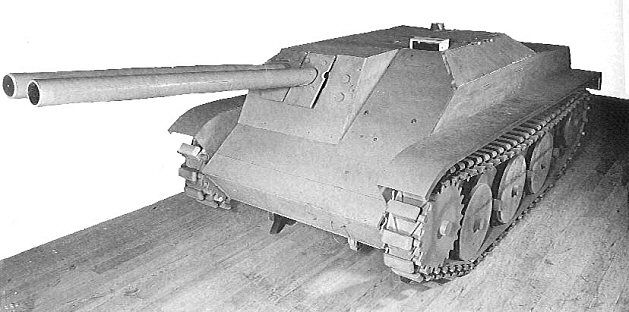
However, when the war ended, it only existed on the drawing board, but a full-size wooden mock-up had been build. If ever produced, that 3.55m long mini tank killer, having only a two man crew, would have packed a considerable punch with two 80mm Rheinmetall Panzerabwehr-Wurfkanone PAW-600 smooth-bore guns. These, for that time, very advanced recoilless guns were effectively test fired during the war and apparently had an armour penetration, out to its full effective anti-tank range of 750 meters, comparable to the 75mm PaK40, but at less than half the weight of that PaK40. Some more information on this vehicle can be found on this page : http://strangevehicles.greyfalcon.us/rutscher.htm Roughly
based on the wooden mock-up, Gebo made its own interpretation of how
the E-5 could have looked like in operational status. Most recognisable,
they gave the vehicle the tracks and suspension of the Sdkfz 251 family,
which, for the sake of logistical uniformity, is a very likely assumption.
| 
| ||
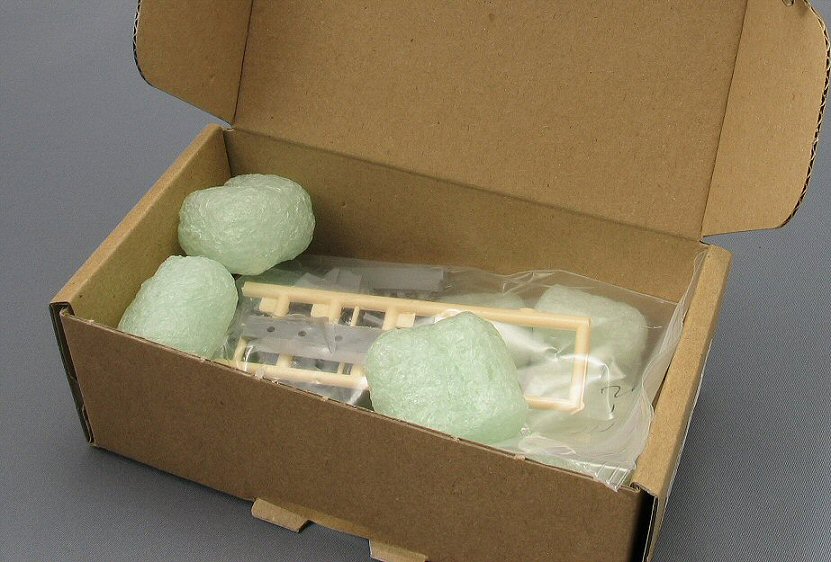
What do you get? Now to the kit itself. It a mixed media affair, having 16 resin parts, 2 metal barrels and one styrene sprue with everything packed safely in a heavy cardboard box.
| 
| ||
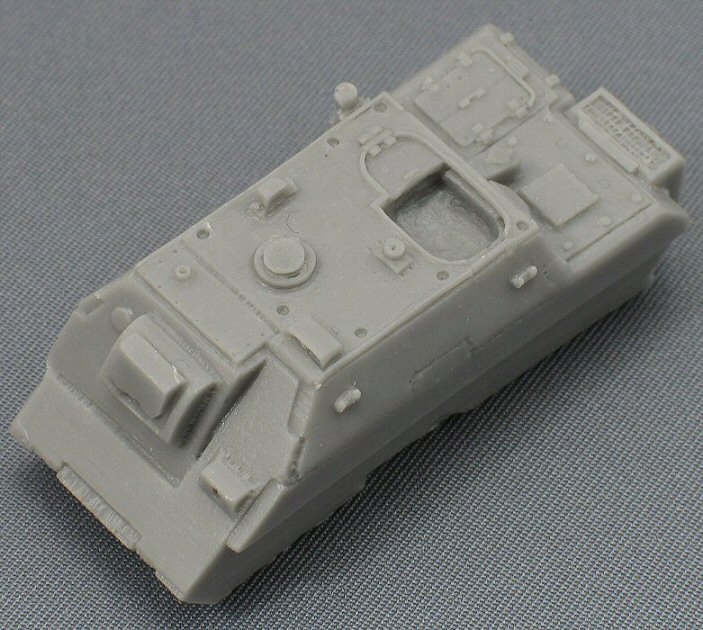
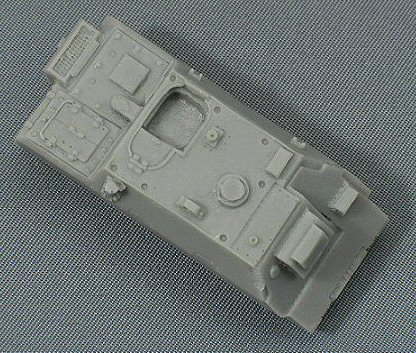
| The hull is moulded as one big part with a lot of detailing. The only hatch on the roof can be positioned open en there is room for a half figure. | 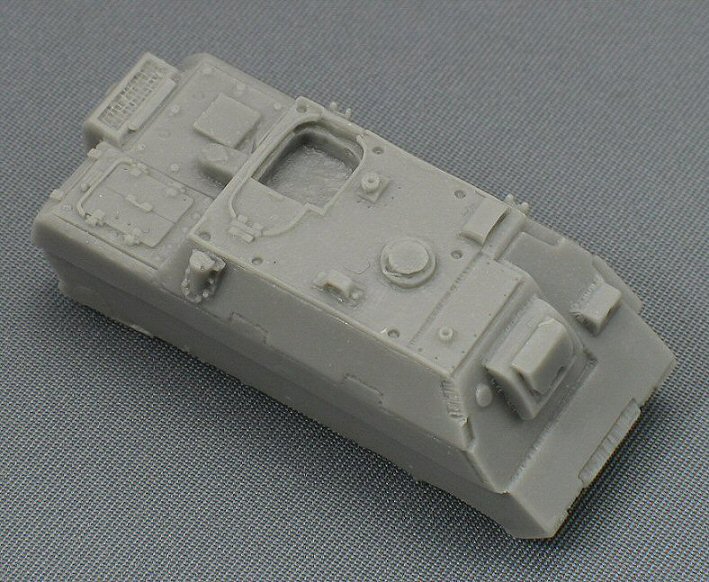
| ||
Casting is generally good, but not perfect. Some details are overdone (like the bolts on the antennae base) and the air filter on the roof has some prominent deformations. Here and there, a number of small holes can be seen. I wonder if this is where handles must be glued, although nothing of the sort is mentioned in the instructions. | 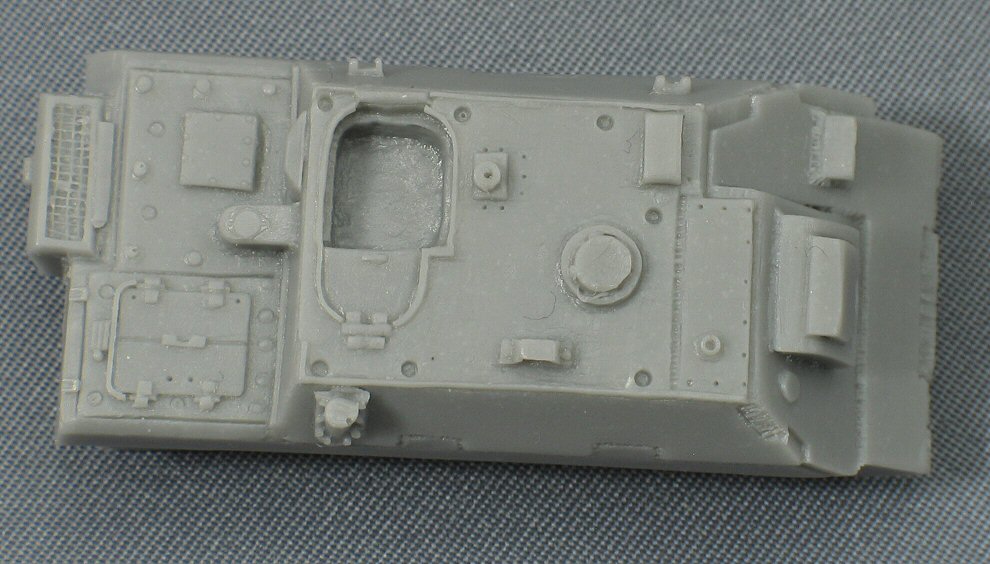
| ||
 ________________ ________________ | |||
However, when looking at the interlocking frontal armour (where you can see the thickness of the plates), I found these to be looking quite prominent for such a light vehicle, giving it more the impression of a heavy armoured beast. Just out of curiosity, I measured the thickness of the different armour plates on the model which came around 1mm in scale, meaning 72mm in real life, which is the level of protection of a medium sized battle tank, not a small antitank vehicle. I guess many modellers will like that heavy look, but I'll rework these interlocking plates. The same remark concerns the welding lines, e.g. on the drivers visor... | |||
The gun barrels are two lengths of hollow brass tubes, ideal to represent a smoothbore gun. But take care, one end has been cut off nicely, the other end (which will have to be glued inside the gun mask) has a chewed off appearance (which you can see on the image). You'll
have to drill the holes for the gun tubes yourself. This could be
a bit tricky, because the tubes will have to be perfectly parallel,
once installed. | 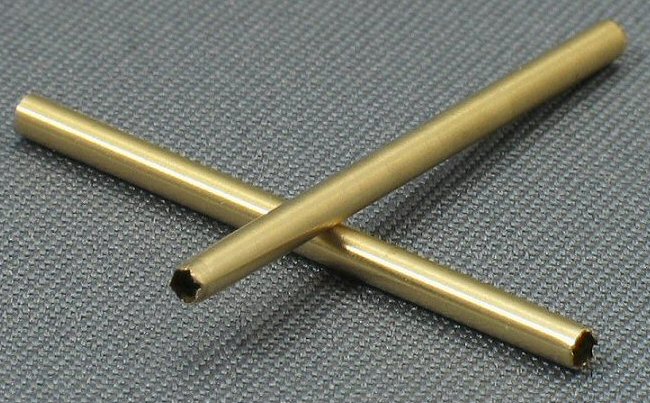
| ||
| The suspension and tracks are moulded in one big piece. However, detail is not always sharp and the space between the wheels and tracks has a number of visible resin imperfections. Additionally, the way the tracks lie on top of the wheels doesn't look correct to me... | 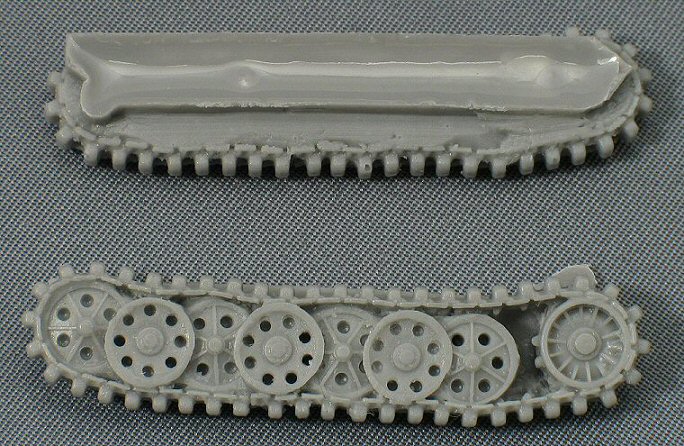
| ||
| The mudguards are nicely cast and once installed, will look, realistically thin. | 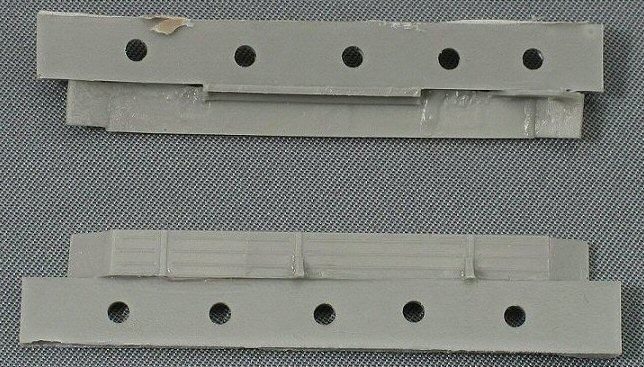
| ||
The small resin details are nicely cast, sharper than the hull part. The gun shield is very fine, but once again, the bolts look too big for my taste. | 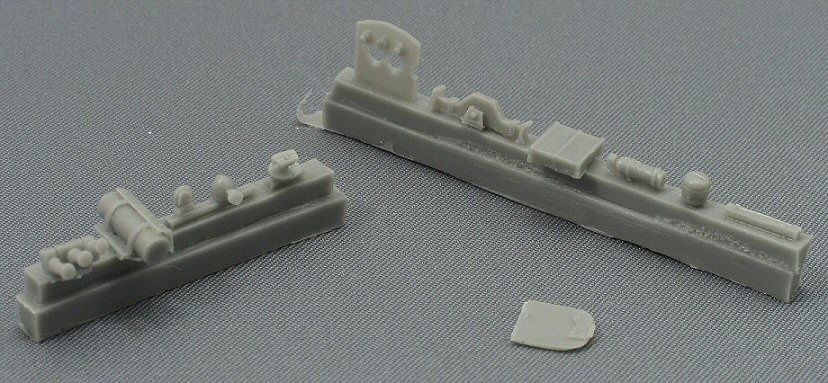
| ||
The small styrene sprue with tools is part of a bigger tool set, designed and produced by MACO (Set 72101). Being nicely moulded with sharp detail, this is a nice touch to include them. However, stowing away these (large) tools on such a small vehicle isn't straightforward. The instructions tell you to glue the pick axe on top of the fighting compartment, which seems a bit bizarre to me... | 
| ||
The instructions are some images of the model with captions in both English and German which is more than sufficient to get the job done. No decals
or painting schemes are included, but since we are talking a "what-if
1946" vehicle, this is no drama. | 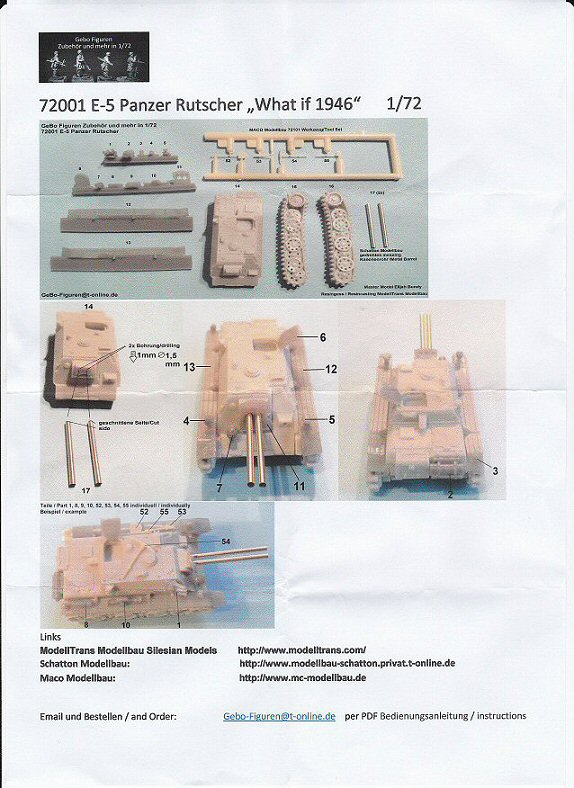
| ||
| Conclusion Although not a perfect model, with a little extra, this kit can be made into a nice and very small support vehicle, whose painting possibilities are really endless. Preview sample provided by Gebo Figuren. This
model can be purchased from
|
|||
Back to Gebo Figuren Kit List |
Back to Home Page |
Article Last Updated: 10 February 2017 |