|
|
www.onthewaymodels.com |
Sturmtiger |
|||
| Dragon Kit #: 7204 | Construction review by Rob Haelterman | ||||
|
|
www.onthewaymodels.com |
Sturmtiger |
|||
| Dragon Kit #: 7204 | Construction review by Rob Haelterman | ||||
.JPG) |
| Preliminary notes
This is one of the very early Dragon releases, back in the days when both quality and price was low. The hull is a cast metal affair, the tracks are black vinyl and the manual shows a kit rather than a drawing, or so it seems. Looking at the parts diagram and the sprues, we note that
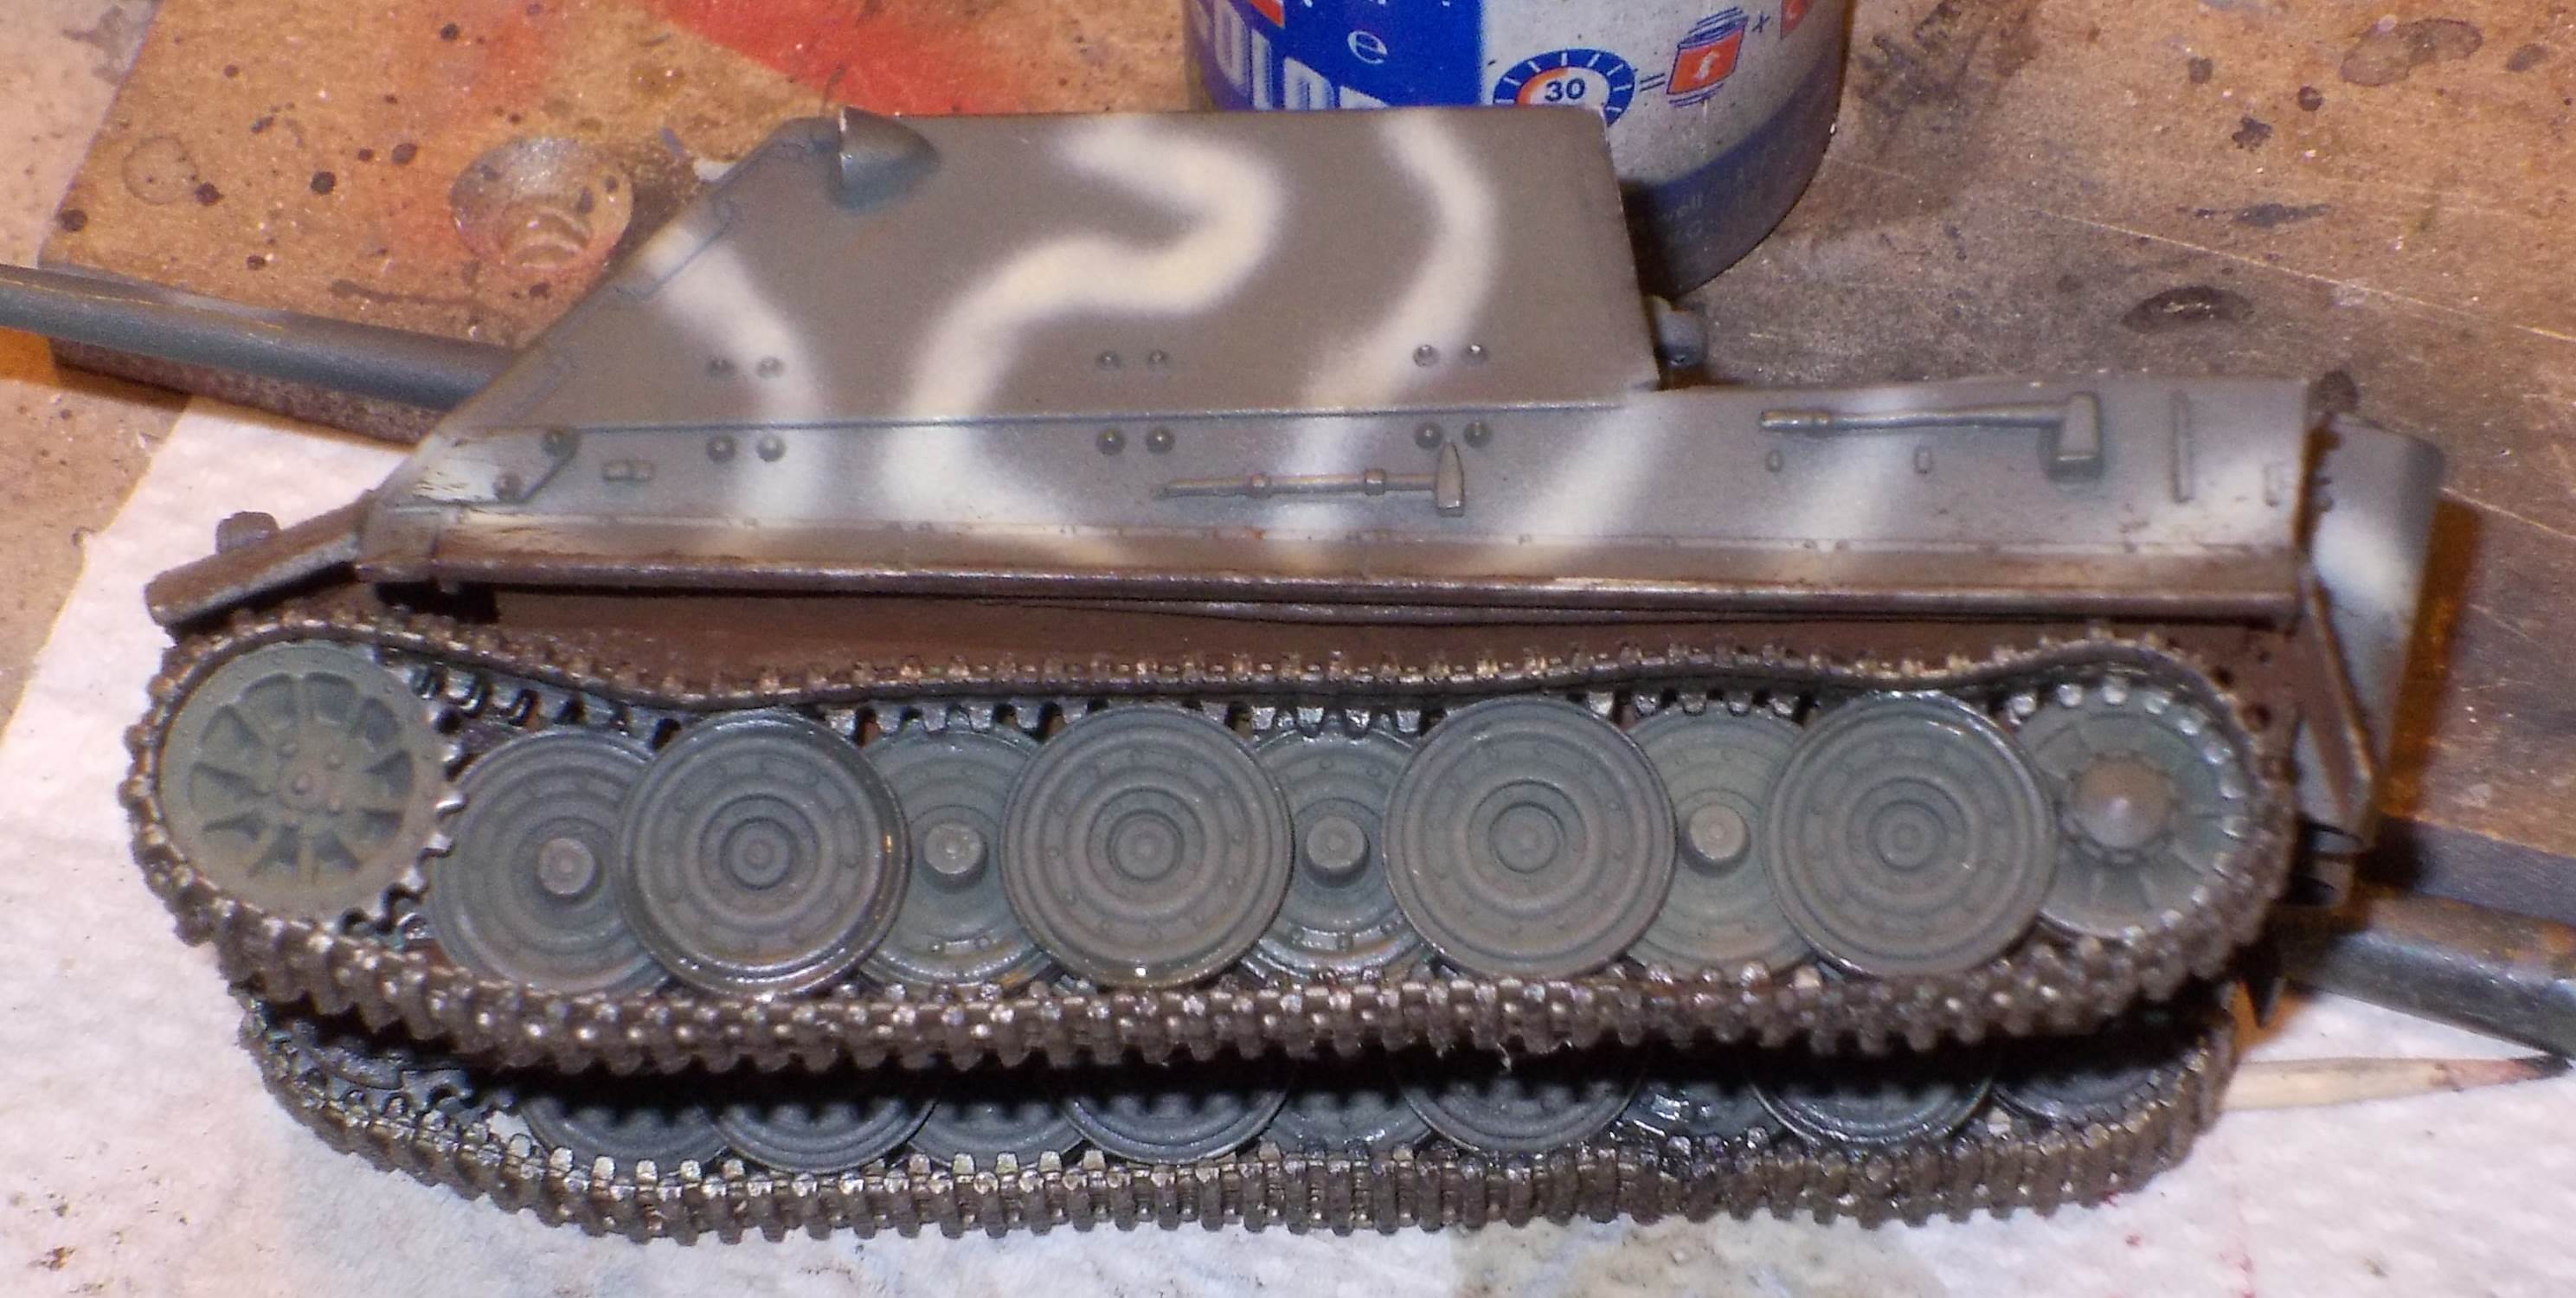
Construction begins with the wheels. For some reason, the middle wheels need to be fitted with an axle holder (part B11), of which there are some to spare. If you follow the instructions sheepishly, you will be gluing all wheels together before joining them to the hull. This, you will regret, as with the interleaved roadwheels there is no way you will get them installed on the hull. First glue the inner row, then the two middle rows and then the outer row. If you add the idler as Dragon would have you do, then it will interfere with the rearmost roadwheels and it will end up on the wrong side of the track teeth. (The manual shows the crooked installation that will result.) To me, the only way to solve this is thinning the idler halves until the assembled parts line up correctly. See pictures below.
In general, detail is rather soft, heavy and minimal. Notable examples are the track hangers (?) on the side of the hull, which I didn't install. If these were to scale, they could be used to suspend a complete Tiger, not just some tracks. There is a hole in the side of the hull (left side, to the rear) that seems spurious to me, as nothing needs to be fitted there. Conversely, there are no locating holes for the jack.
The sheet covers for the exhaust are in brass. They fit rather badly and are handed. The manual would lead me to believe that left and right side are the same, which they aren't. The tracks
are a link or two too short (and as mentioned aren't handed). I ended
up stretching and applying copious amount of superglue to them, to
the point that it seems I drew the left idler forward. It helps with
the tracks, but is not quite realistic. I discovered that the best
way to install the tracks after completing the hull is to have the
drive sprocket loosely fitted, so it can rotate, while you guide the
tracks over it.
In general, fit is not really bad, but some filler should be kept at the ready.
There is only one marking option, and this is limited to three Balkenkreuze and markings for the projectile. While these clearly are markings to instruct the user to keep the projectile dry, Dragon still has not vollständig mastered the German language, and some typos are clearly visible. As you can notice in the pictures below, I didn't quite stick to the manual, and let my imagination run wild. The gun mount is one of the spare parts that come with most of Dragon's early Panthers and Jagdpanthers, while the decals are from various sources:
|
| Back to Dragon Kit List |
Back to Home Page |
Article Last Updated: 05 April 2013 |
Back to Construction Review Page |
.JPG)
.JPG)
.JPG)
.JPG)
.JPG)
.JPG)
.JPG)
.JPG)
.JPG)
.JPG)
.JPG)
.JPG)
.JPG)
.JPG)