|
| www.onthewaymodels.com |
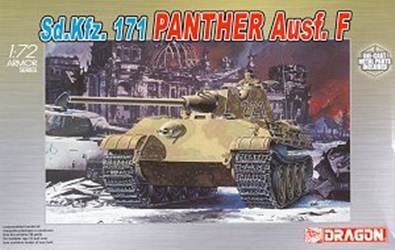
Sd.Kfz.171 Panther Ausf.F |
|||
| Kit # 7207 | Review by Rob Haelterman |
||||
|
| www.onthewaymodels.com |
Sd.Kfz.171 Panther Ausf.F |
|||
| Kit # 7207 | Review by Rob Haelterman |
||||
 Picture from Henk of Holland website, used with permission. |
|
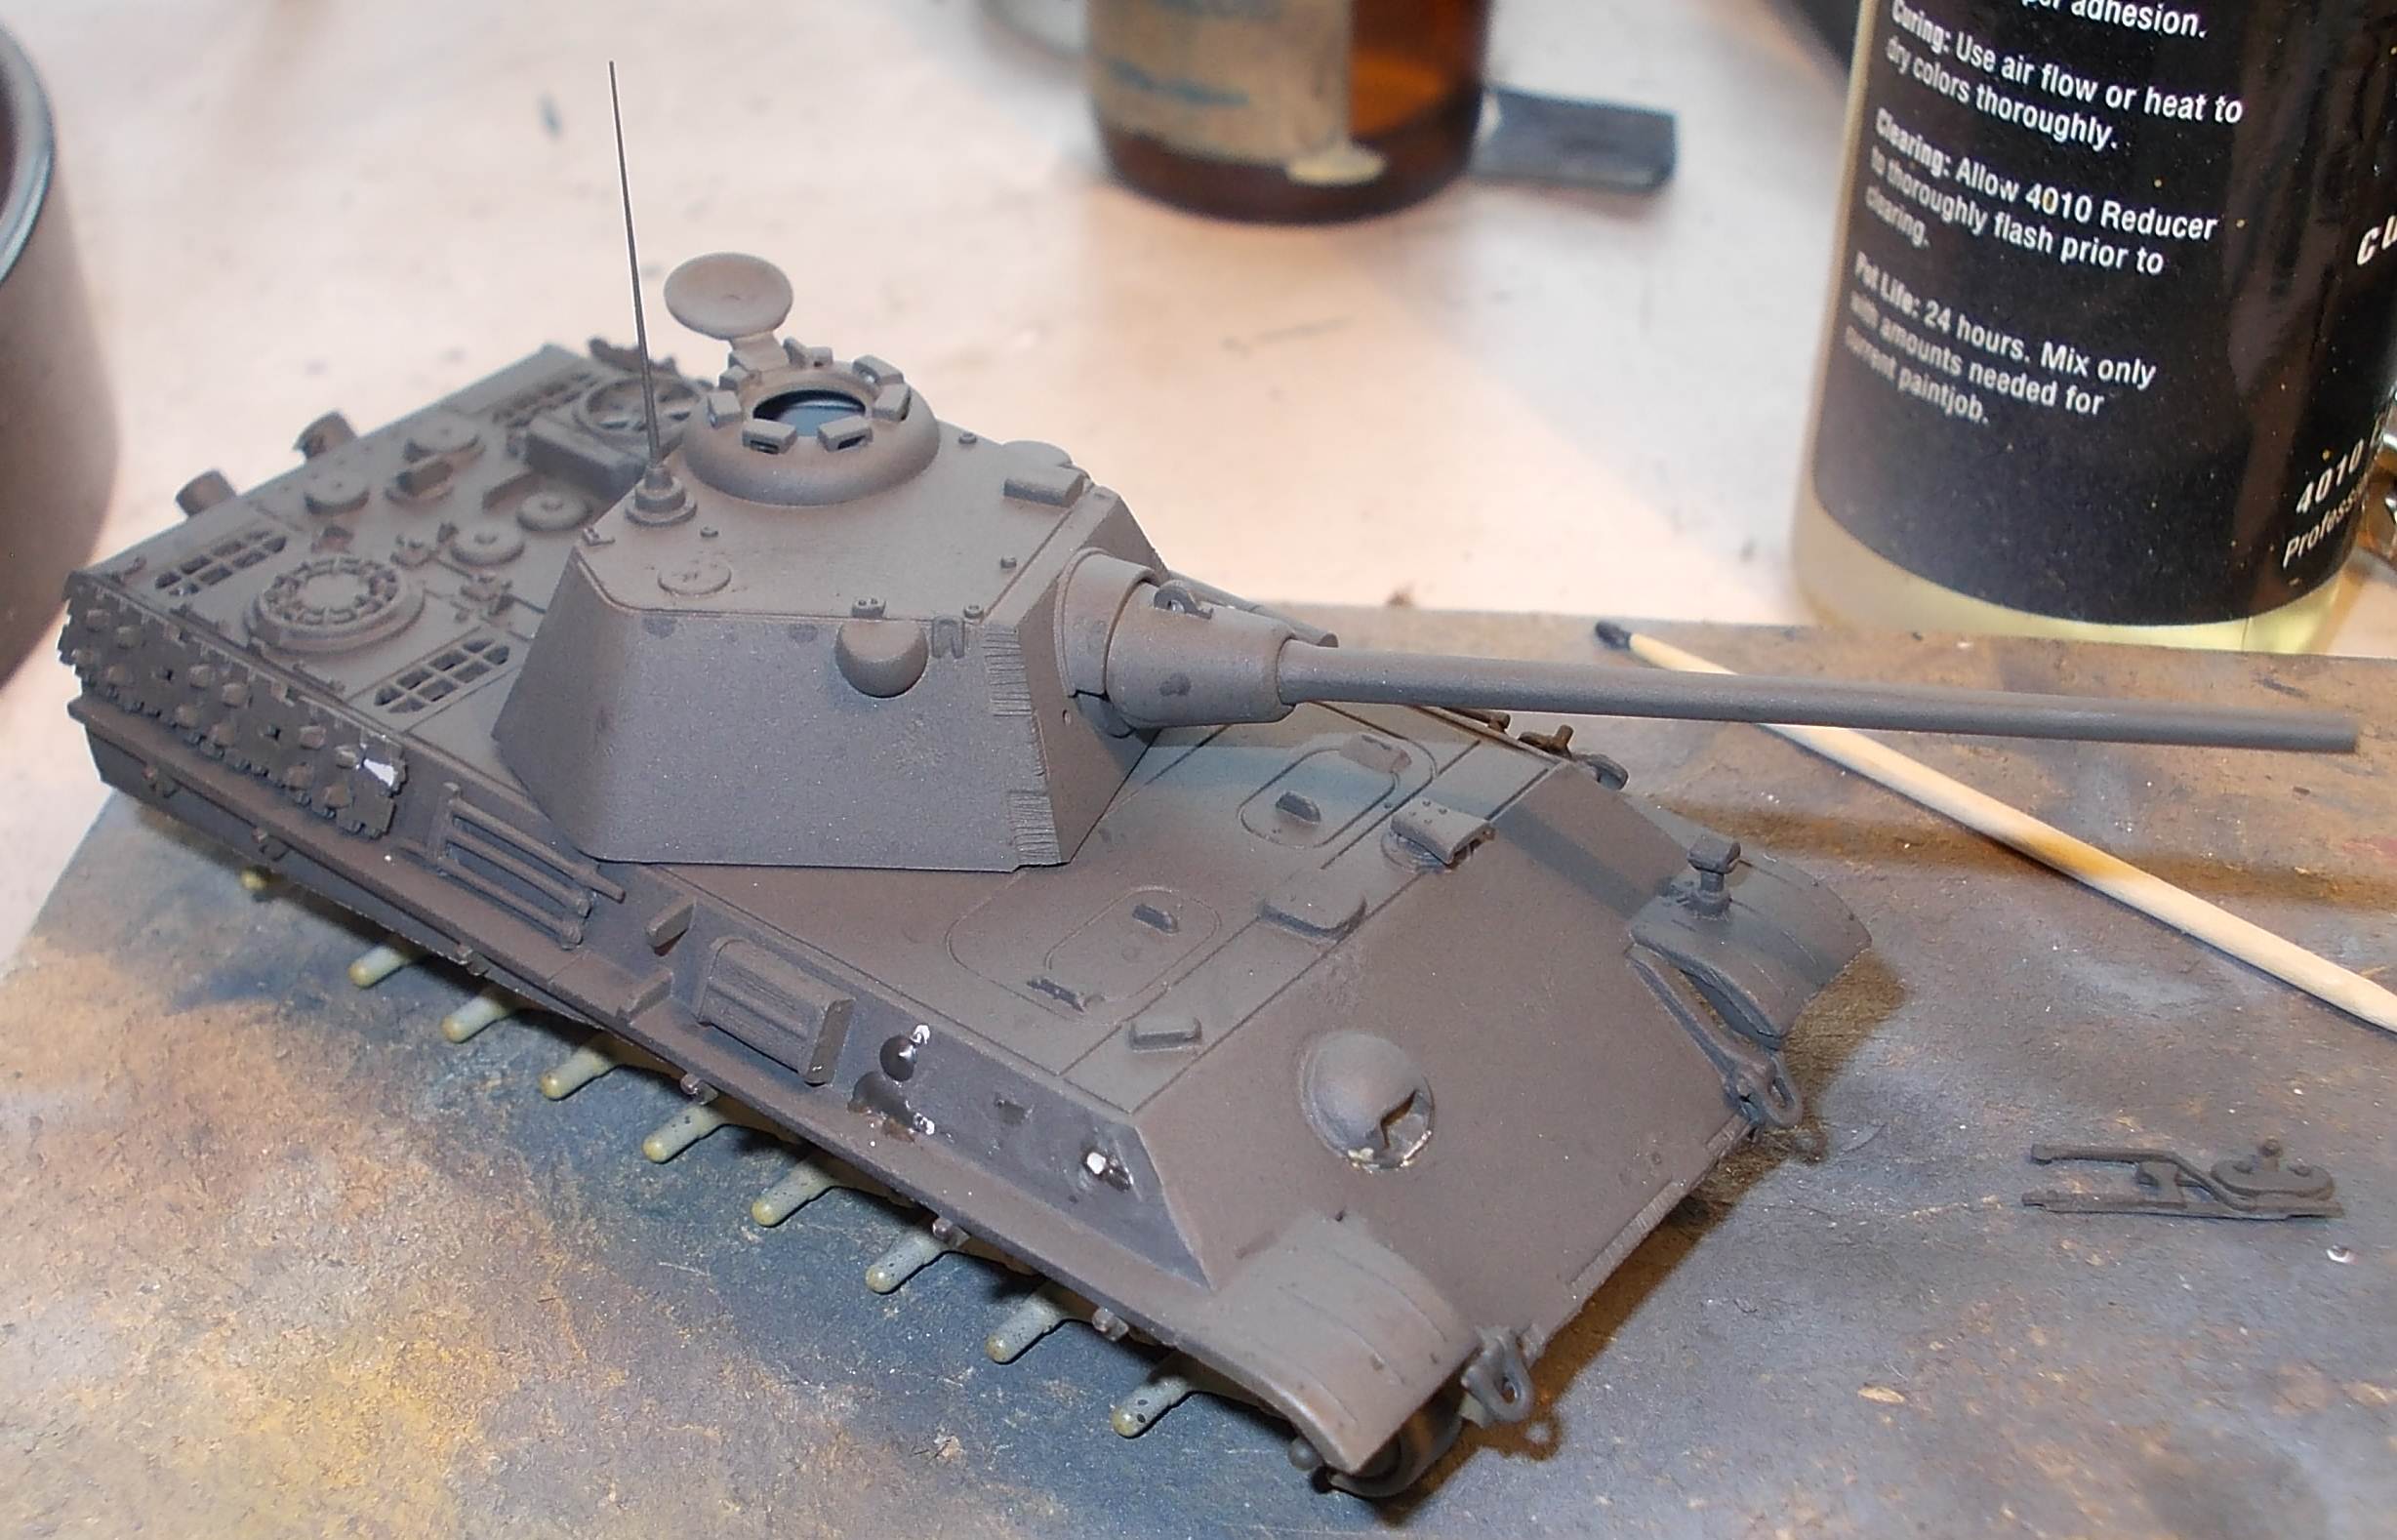
I've always thought felines and canines did not interbreed, but this Panther kit has proven me wrong, as I have trouble not calling it a dog. Readers familiar with previous previews of this kit and the related Ausf.G kit are probably not entirely surprised.
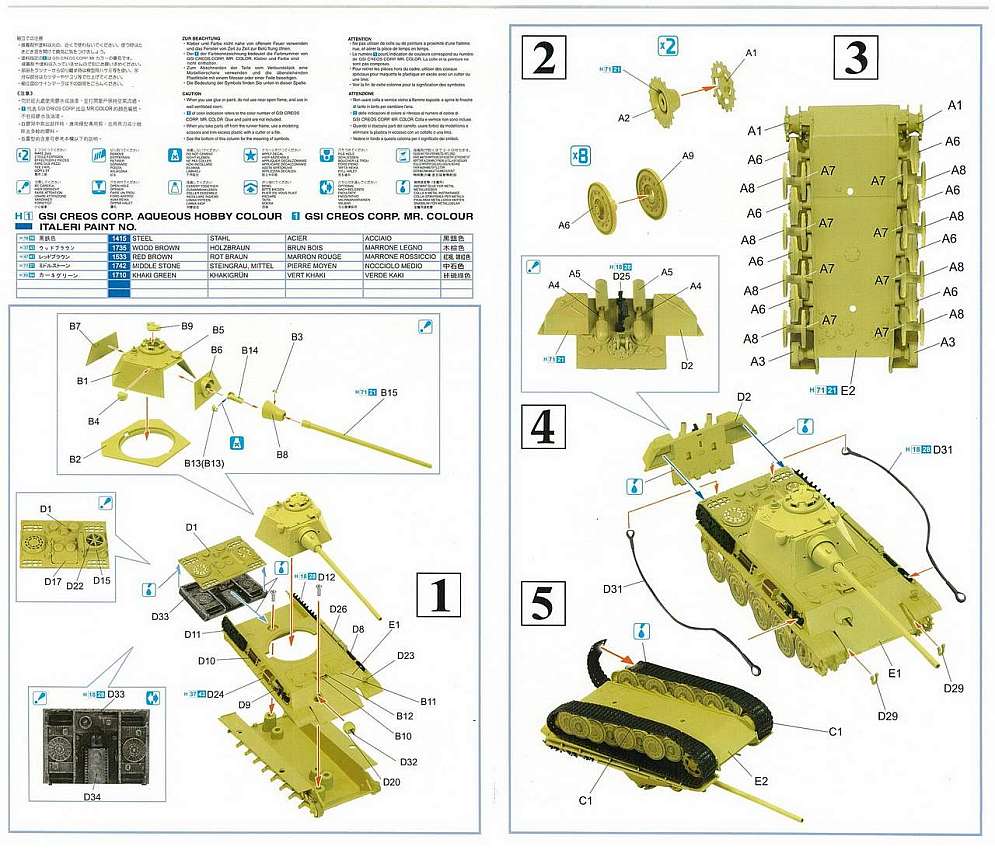
As any good modeler, I always (?) look at the parts and manual before I start building the kit. Something that is noticeable straight away is the large number of "blued-out" parts on the parts diagram in the manual. These "blued-out" parts are the ones that are not meant to be used and are mainly parts for the Jagdpanther which are on the same sprue as some Panther/Jagdpanther parts. This means you will be left with mantlets, barrels and hatches (among others) from the Jagdpanther that you might use on other projects. Not "blued-out", but still left over after the build are a road-wheel of each type, tow cables and some sundry bits. Why Dragon molded 9 road-wheels of each type is anybody's guess.
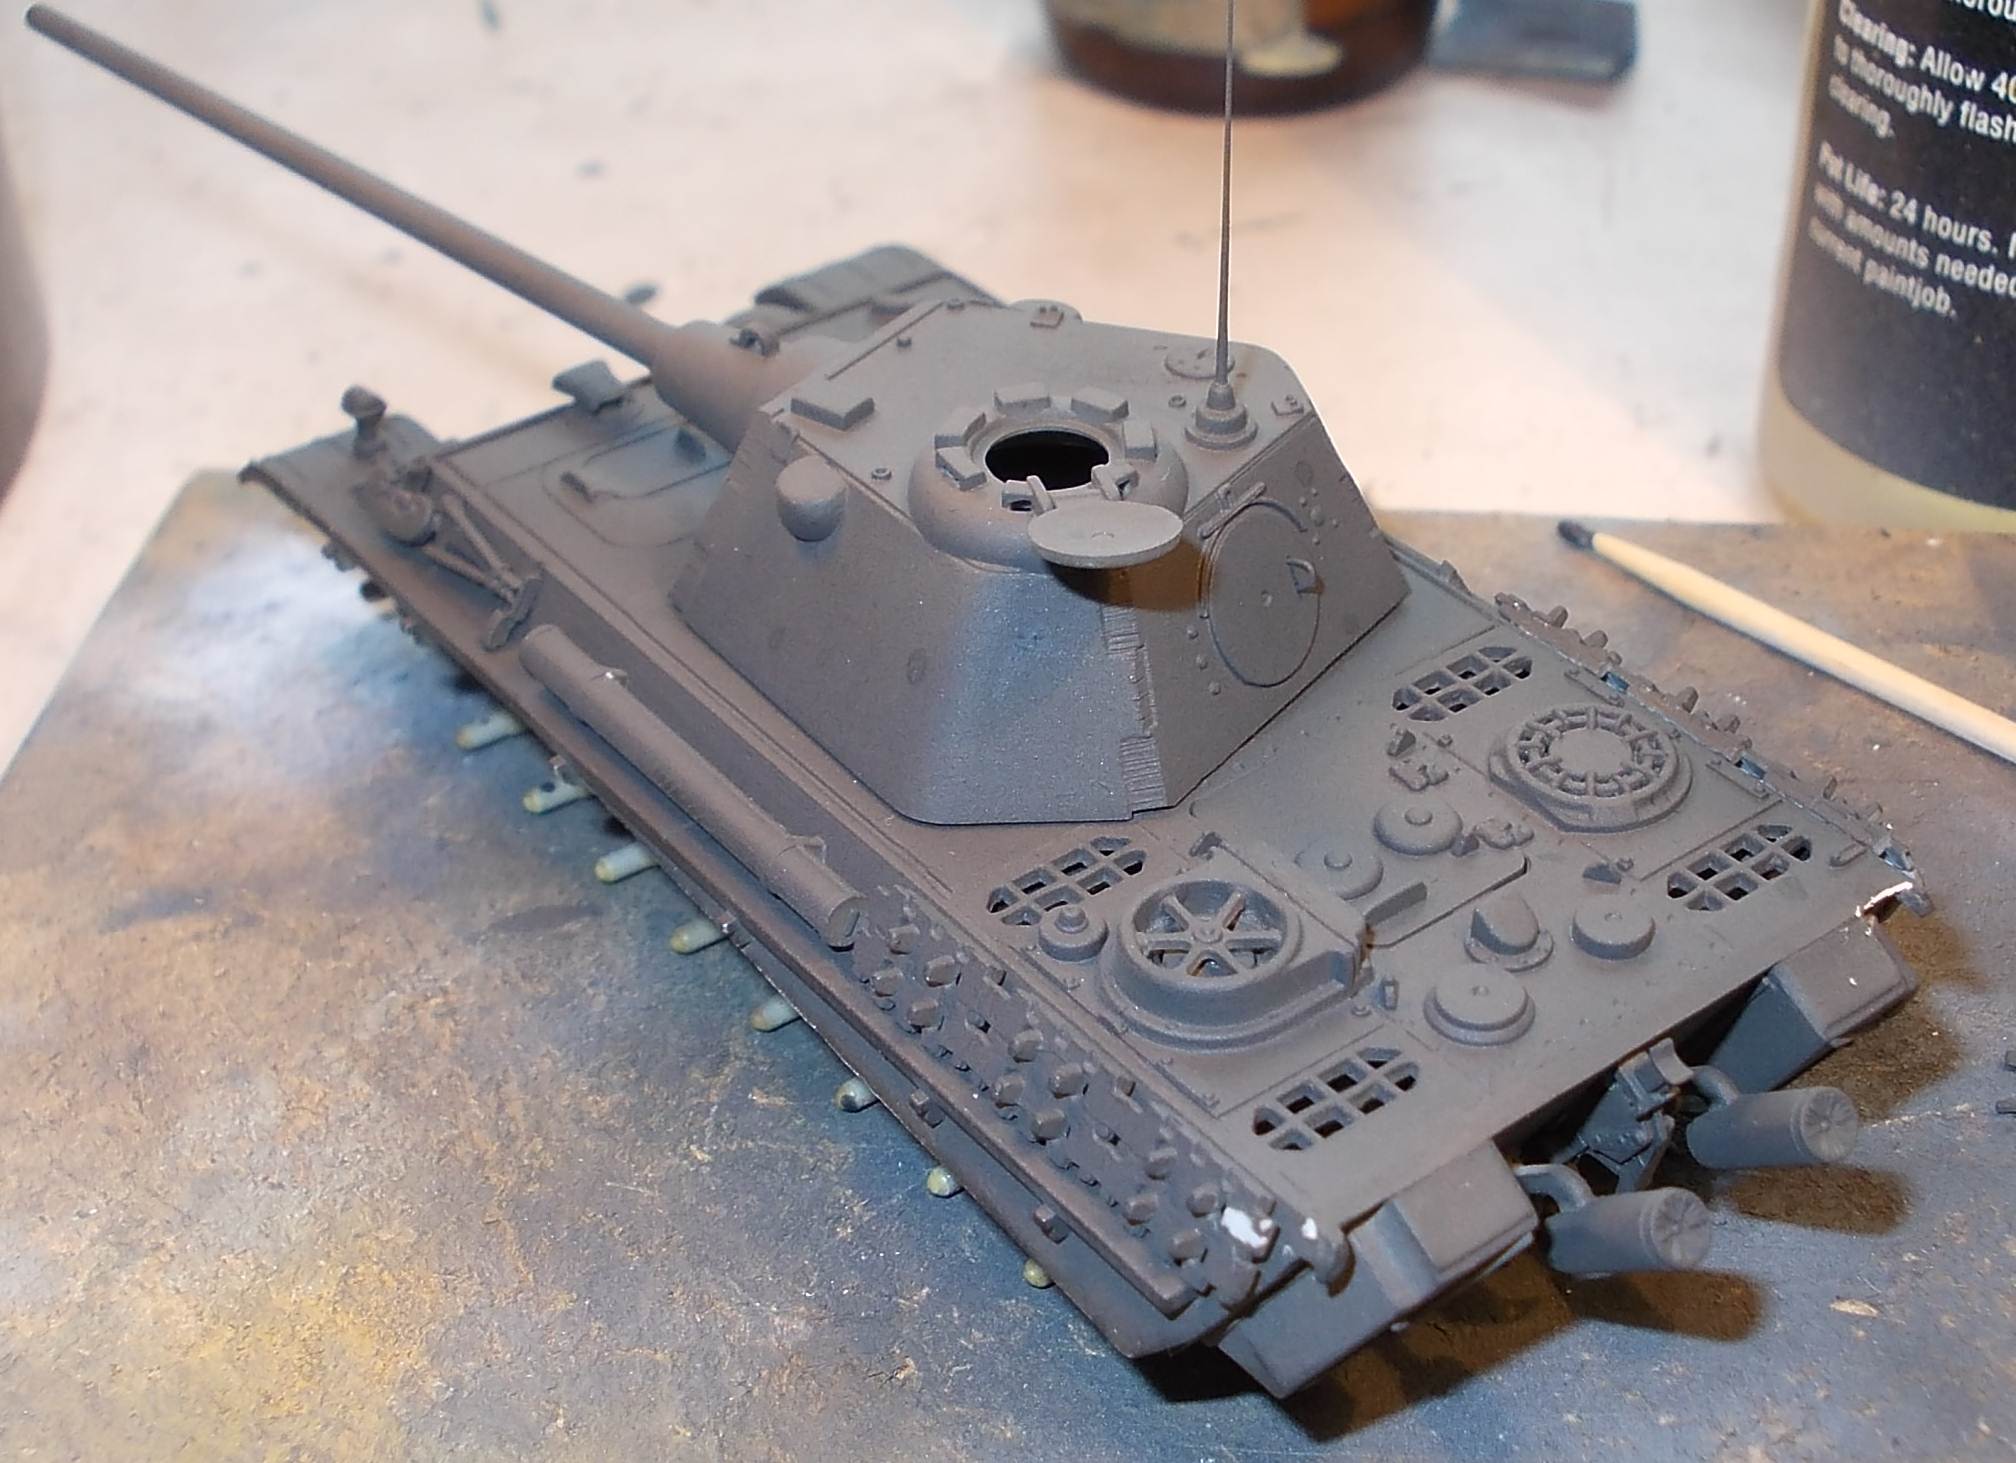
Modelers familiar with this kit know that this is one of the earliest Dragon releases with "conventional" (i.e. old school) vinyl tyres and metal hulls. The latter are notorious for their penchant to develop some kind of metal rot, which makes them disintegrate after some time. As I didn't fancy the idea of investing a lot of time in a kit that might have a short display-cabinet-life, and as the metal hull doesn't really allow for any real tweaking anyway, I opted to build the kit mostly out-of-the-box and did away with any measurements against scale drawings. Construction starts
with the (plastic) turret, which seems good at first sight. "At
first sight", because - as stated earlier - I didn't bother to
measure the thing. Slightly straying from my OOB plans, I added a
handle (made from sprue) to the rear hatch, which already has the
holes to mount that handle to. The back of the frontal vision holes
was blocked with a blob of black paint to avoid a see-through effect.
I also drilled small holes in the bulges housing the telemeter.
Next come the main
parts of the hull, which are metal, roughly cast, and ill-fitting.
Copious amounts of superglue were sacrificed in the process of mating
them, even though the metal screws were tightened till I heard the
metal scream in agony. A nice touch is the (plastic) engine deck with
a rudimentary engine bay. Little will be seen through the gratings,
unless one chooses to leave the main engine hatch open. This kit dates
from the pre-PE days of Dragon, so don't expect any meshes for the
engine deck. Detail on the plastic parts is rather soft, by the way. - The shovel is the
(by now infamous) half-shovel. I left it off. In the pictures above
you can also note that Dragon chose to use the Panther Ausf. G hull
as such for the Ausf. F. Admittedly differences are minor (and hard
to correct on a metal hull): A picture of a correct hull can be found here.
As almost all of the parts above are shared with other Panther (and Jagdpanther kits) by Dragon, you can say we are in a pickle. Rumor has it, though, that the latest Panther Ausf.D kit from Dragon has nothing in common with these early ventures.
The running gear
looks rather good, but when giving the painted road-wheels a light
wash with diluted oil-paint some of the wheels split radially. Plastic
fatigue ?
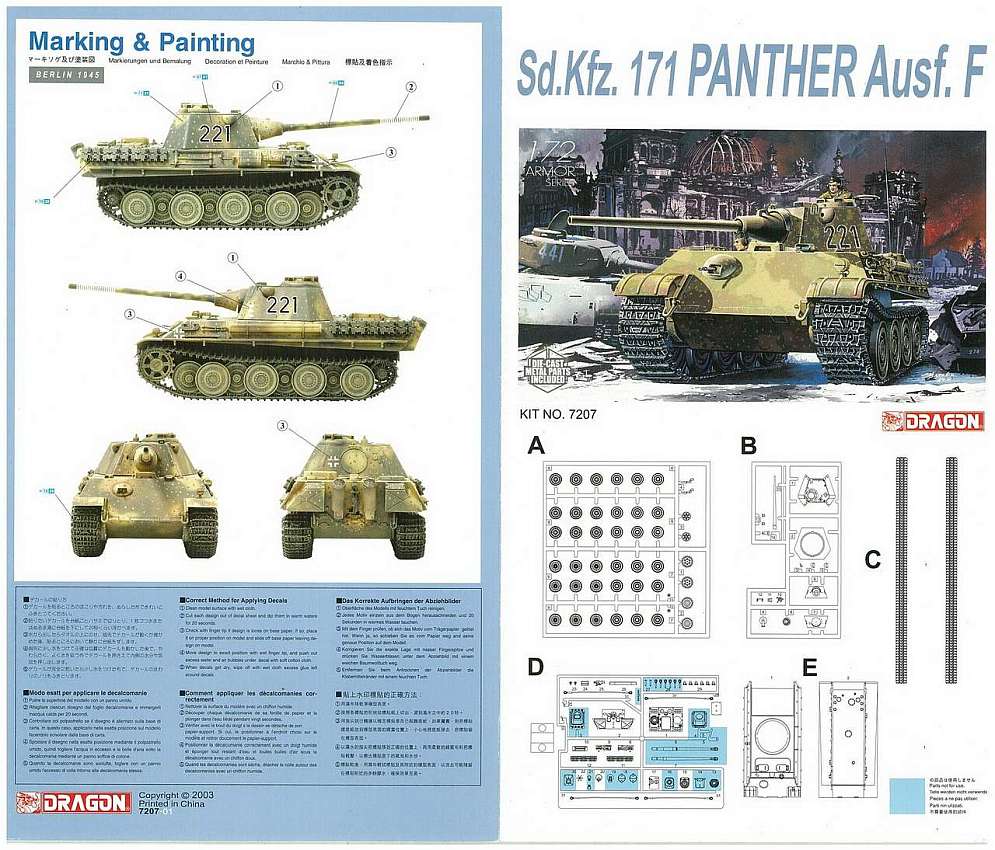
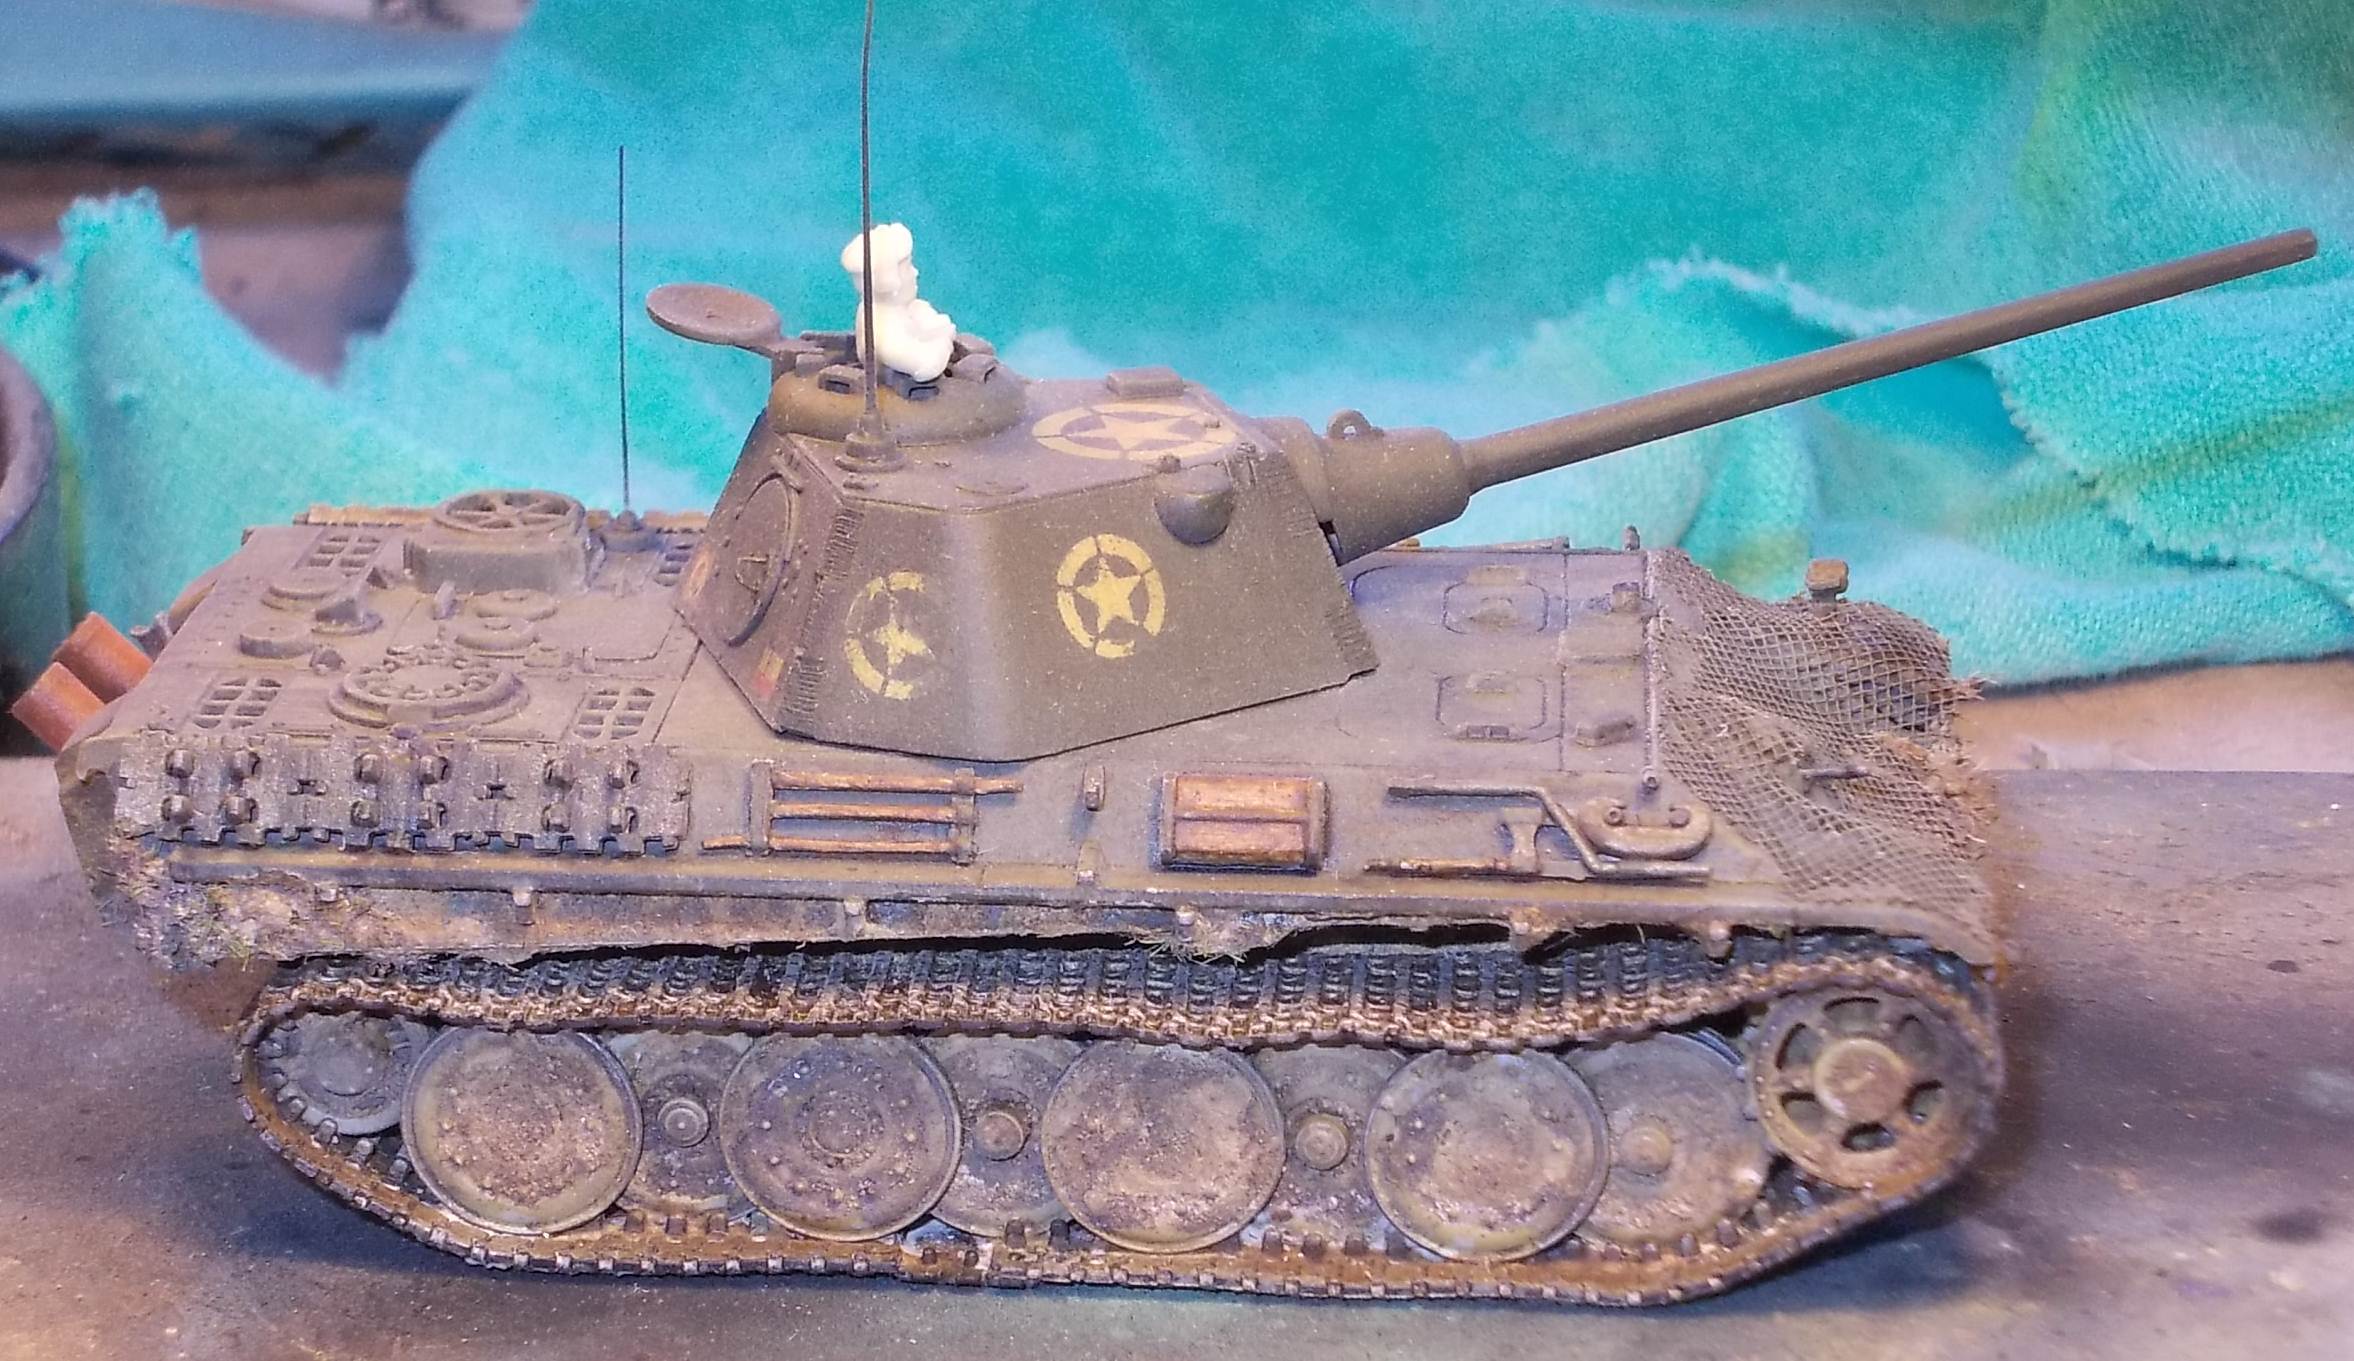
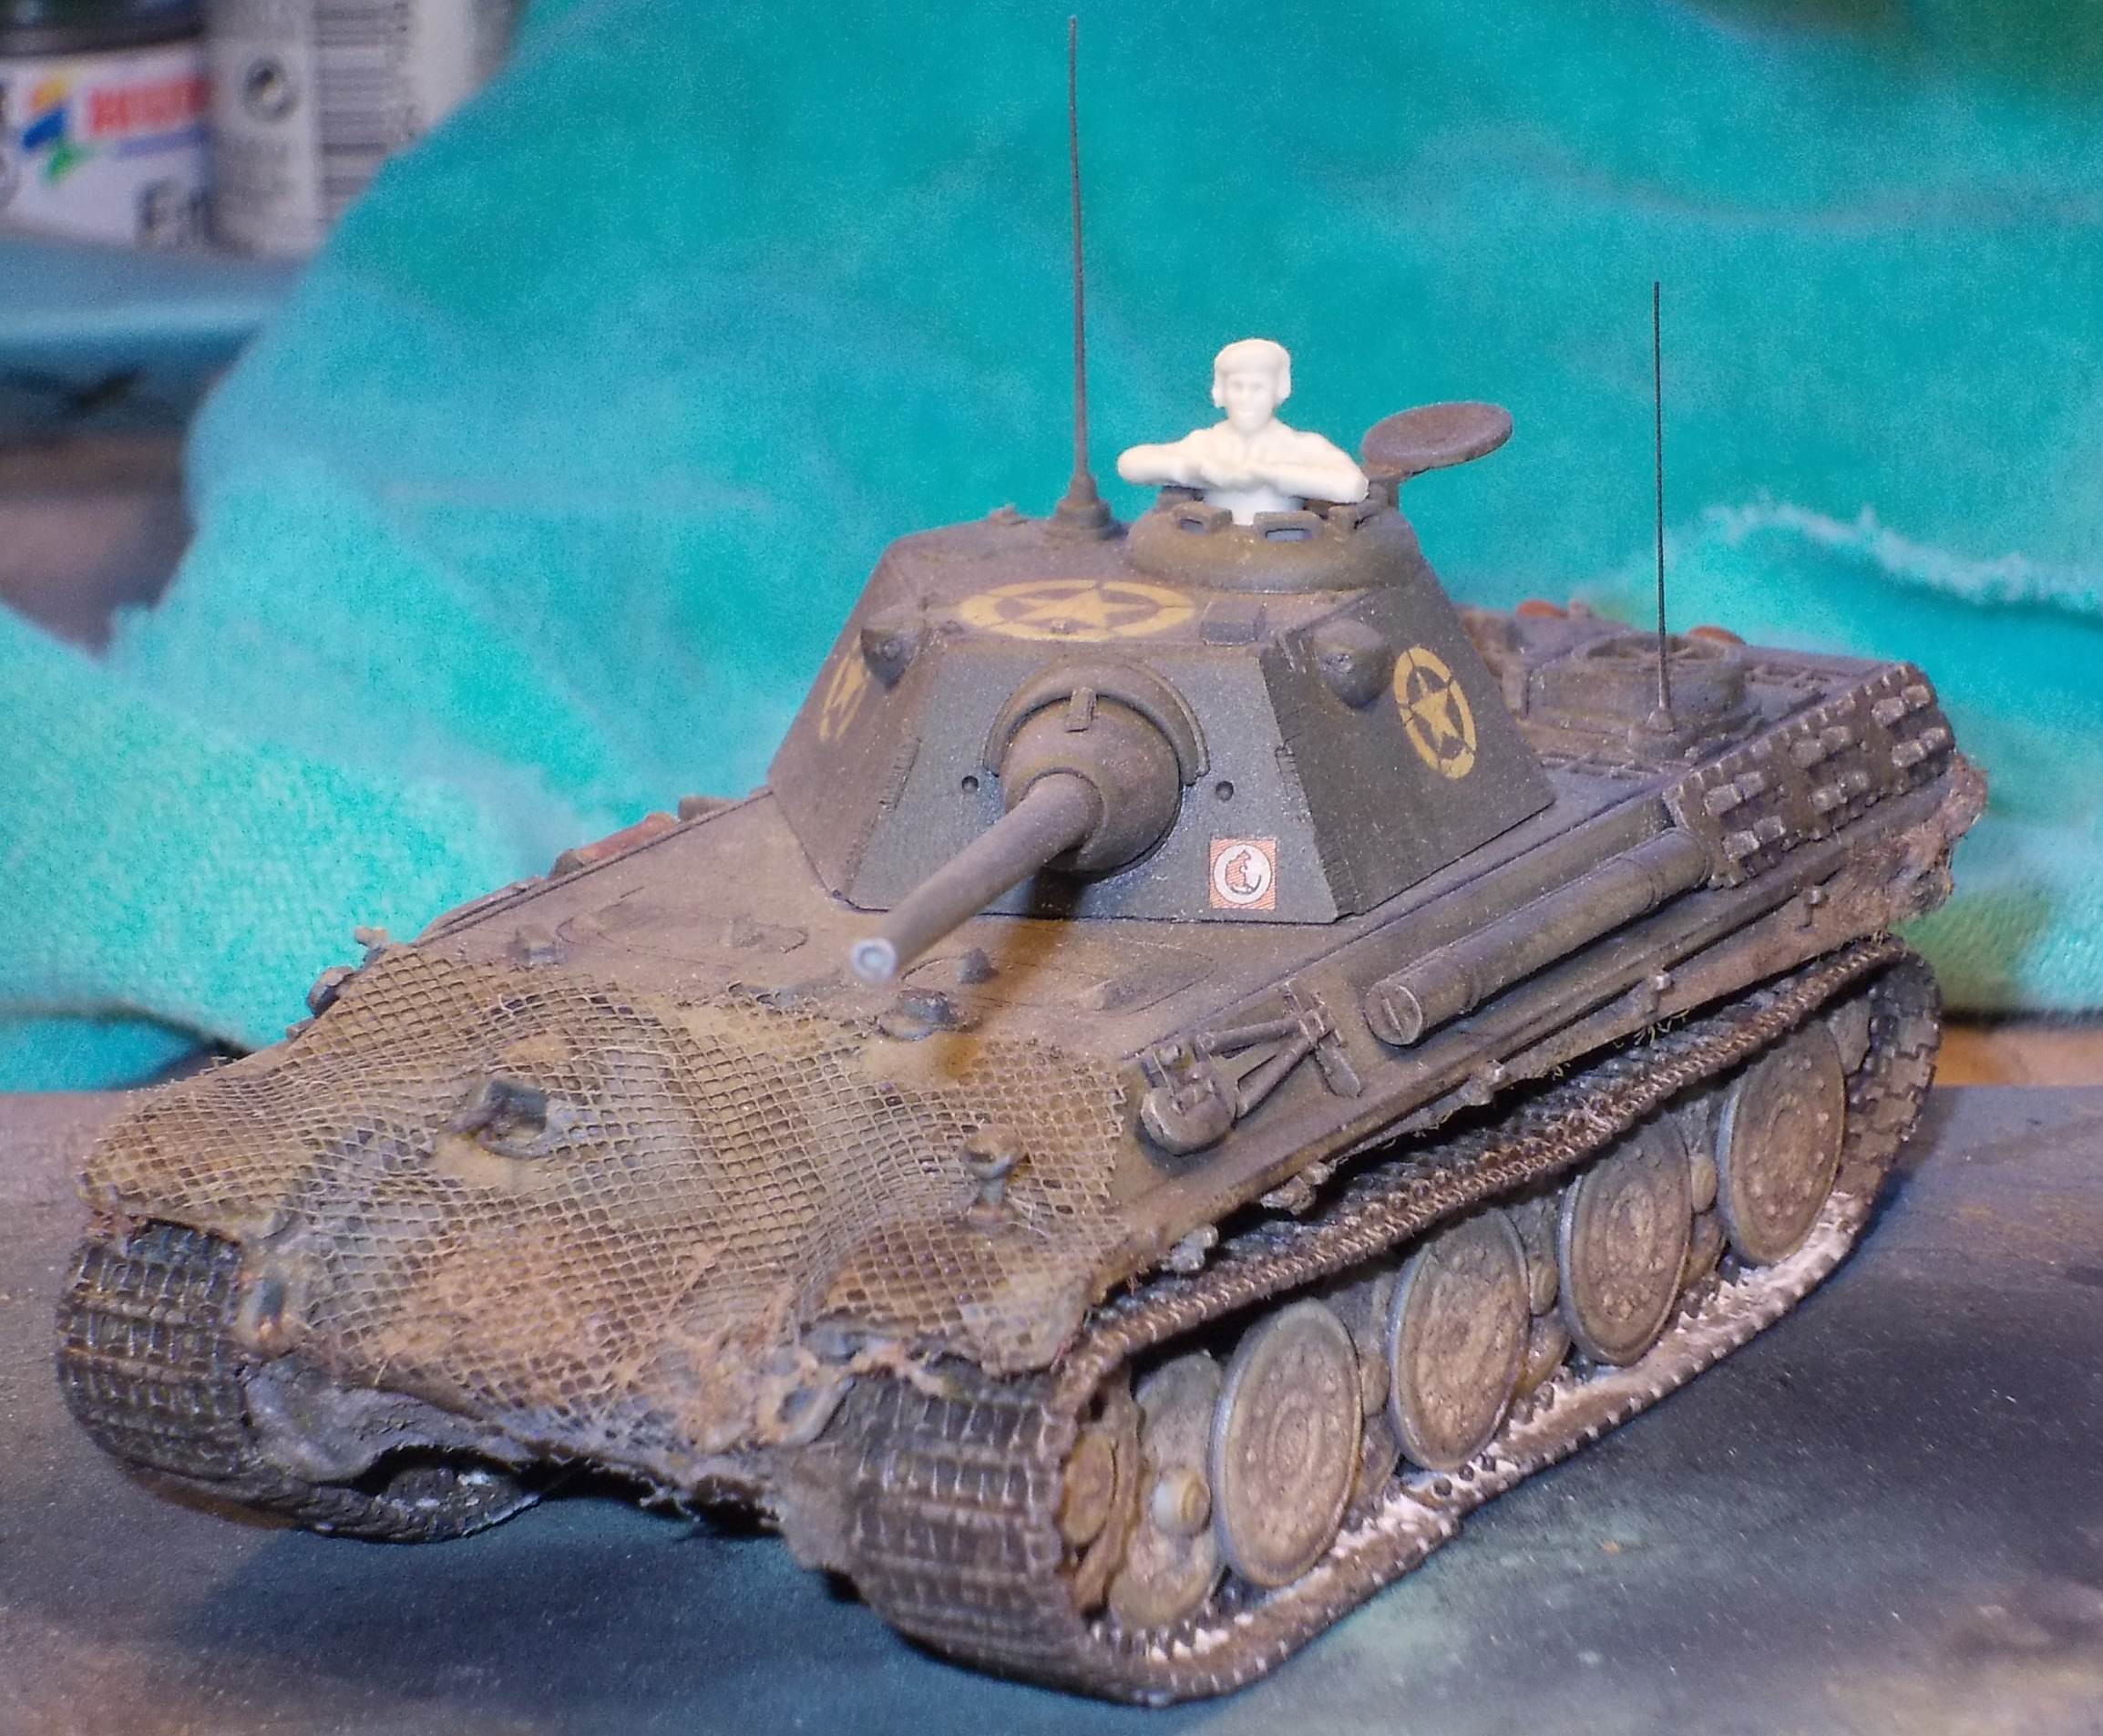
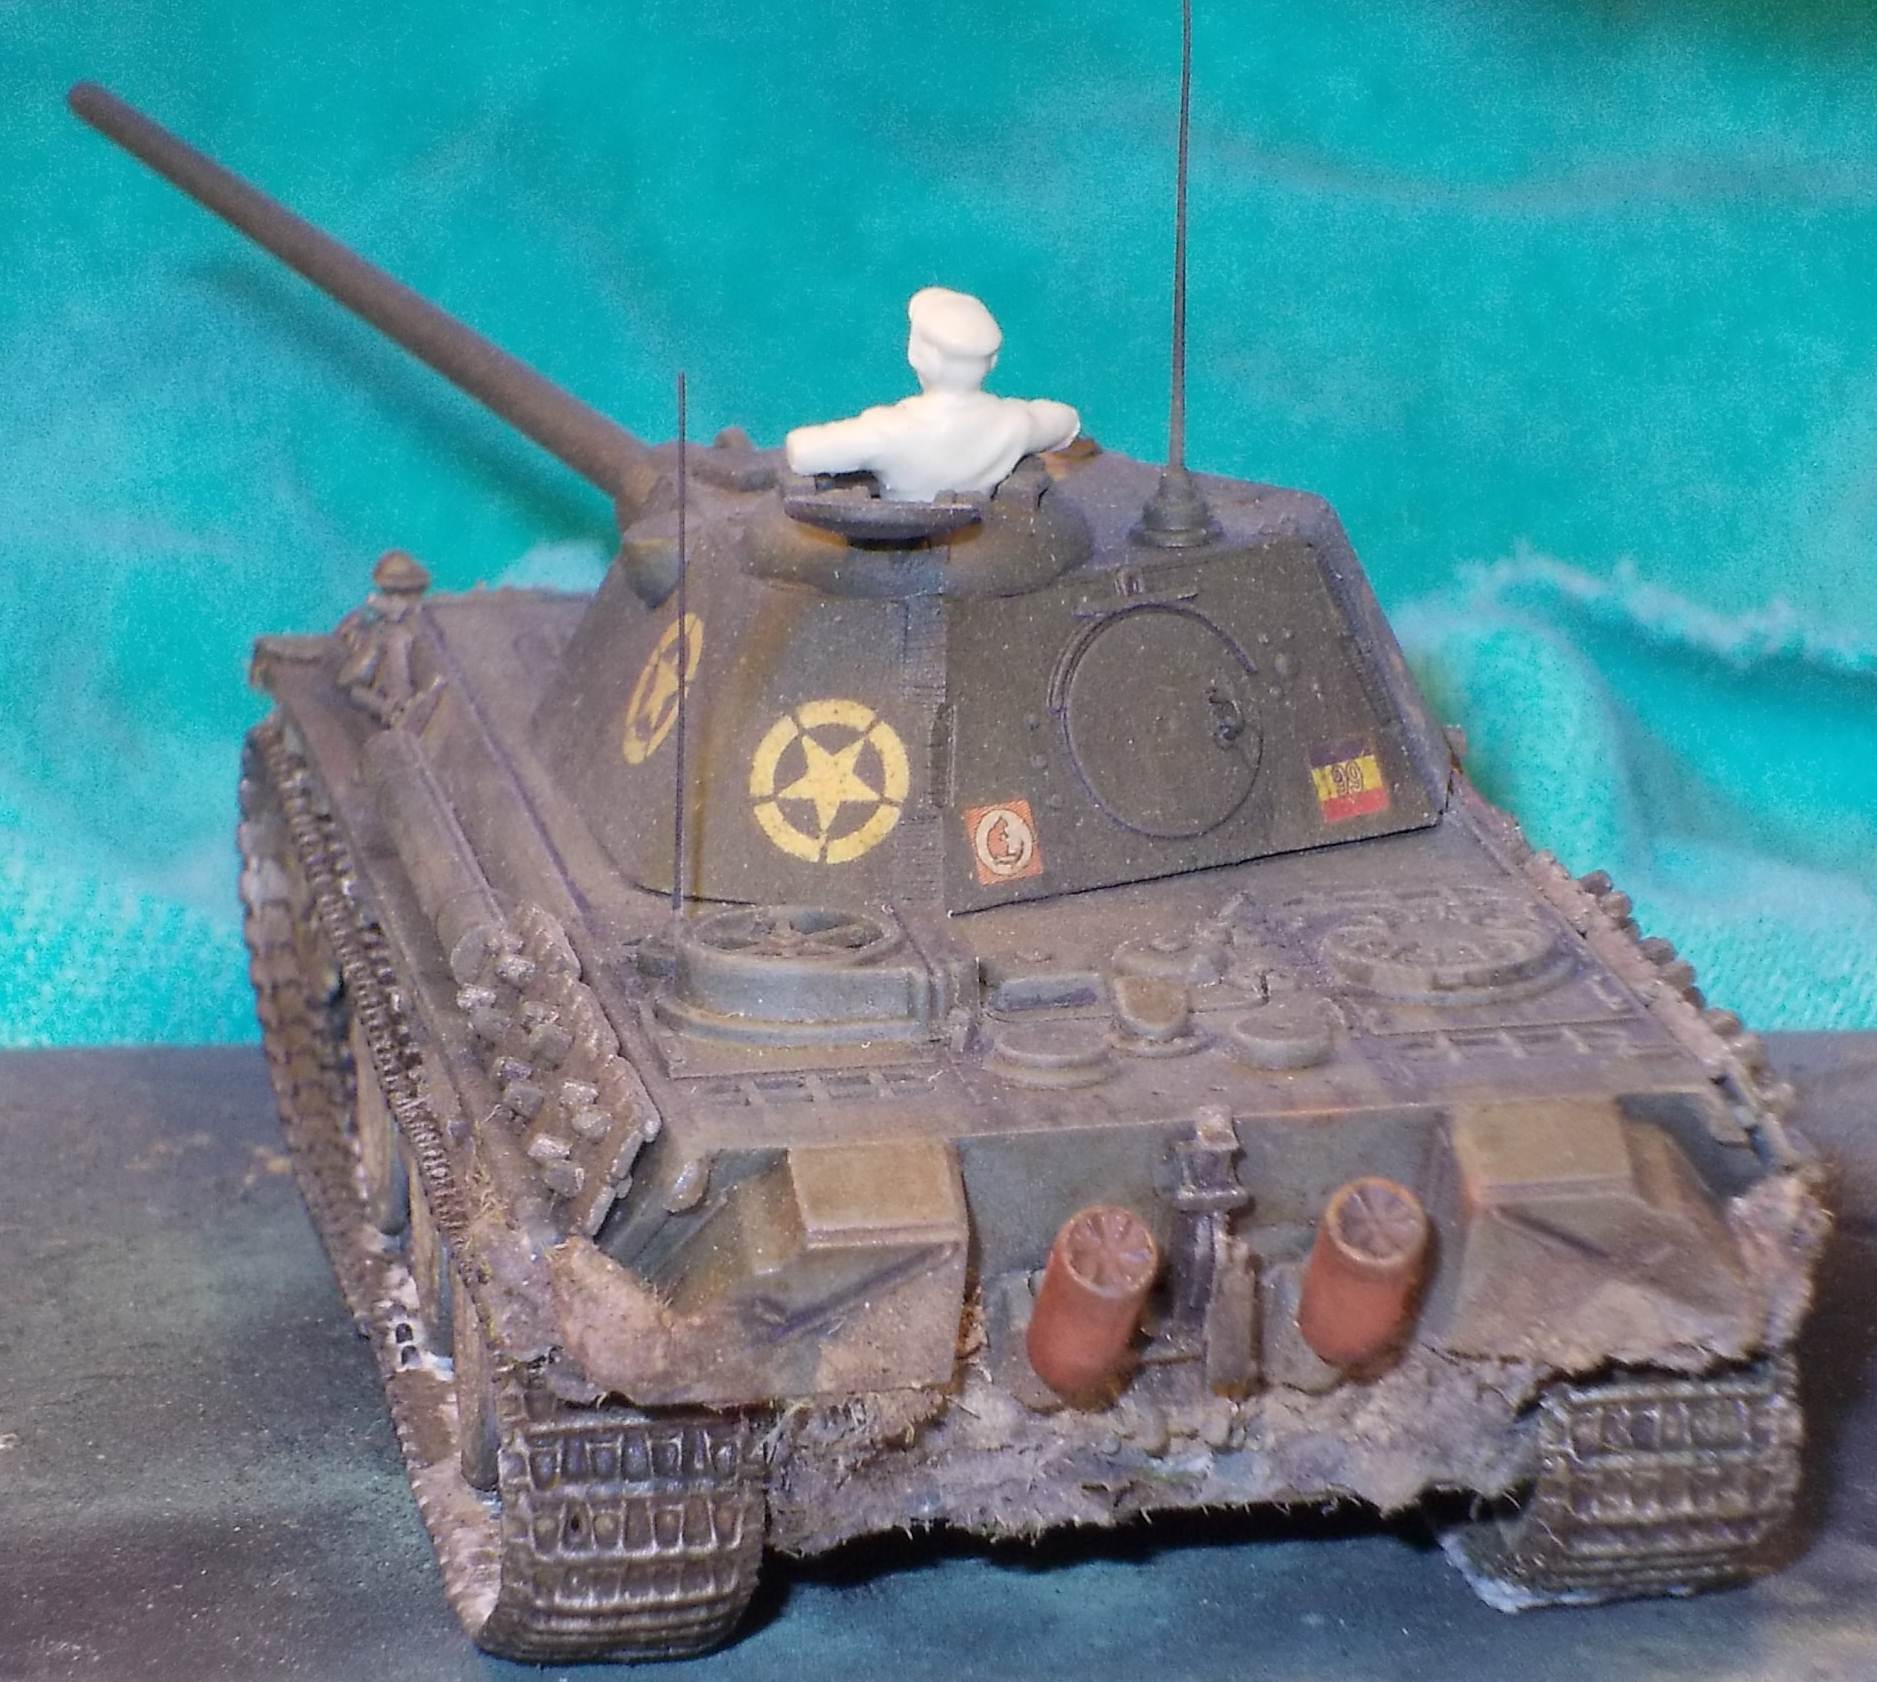
I could go on rambling about some other minor shortcomings of the kit, but I believe I have made myself clear by now. The kit is not a complete disaster, assuming it won't disintegrate in a couple of months, but it is typical of a new brand's first efforts, as it was at the time of this release. I am pretty sure the newer Panther kits from Dragon will be infinitely better (and more expensive). I didn't try the kit decals, as I decided to go for a "what-if" paint-job.
The figure in the picture is from Milicast set n°5 (yet to painted), the stars are spray-painted using Stencilit and the decals are from Peddinghaus. In the picture aboven the tracks still need to be integrated with the dio I am preparing (which will help hide the gap). I added "chicken wire" to the front glacis to hide the ill-fitting hull. Foliage still needs to be added; dried plants will beu sed for this.
The diorama
with
|
| Back to Dragon Kit List | Back to Home Page |
Article Last Updated: |
Back to Construction Review Page |
.JPG)
.JPG)
.JPG)
.JPG)
.JPG)
.JPG)
.JPG)
.JPG)
.JPG)
.JPG)
.JPG)
.JPG)
.JPG)
.JPG)