| DRAGON
|
www.onthewaymodels.com | Jagdpanther early production with zimmerit | |||
| Kit #: 7241 | Article
by Danilo Carli - 172normandyafv(at)gmail(dot)com |
||||
| DRAGON
|
www.onthewaymodels.com | Jagdpanther early production with zimmerit | |||
| Kit #: 7241 | Article
by Danilo Carli - 172normandyafv(at)gmail(dot)com |
||||
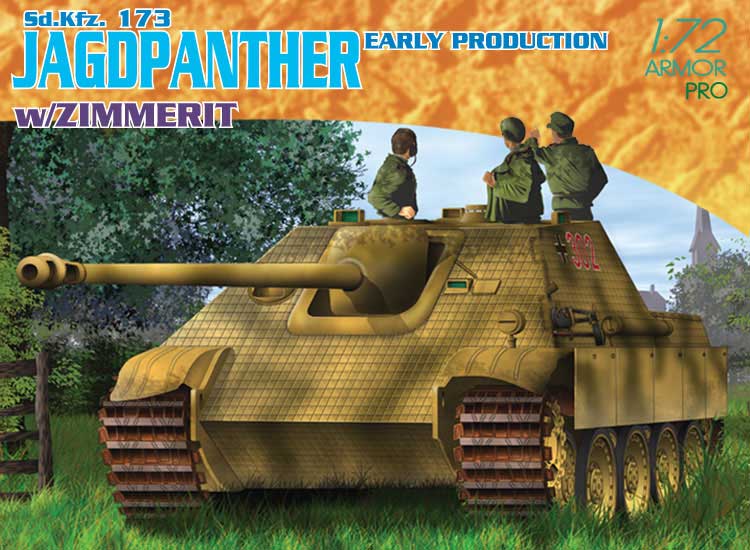 |
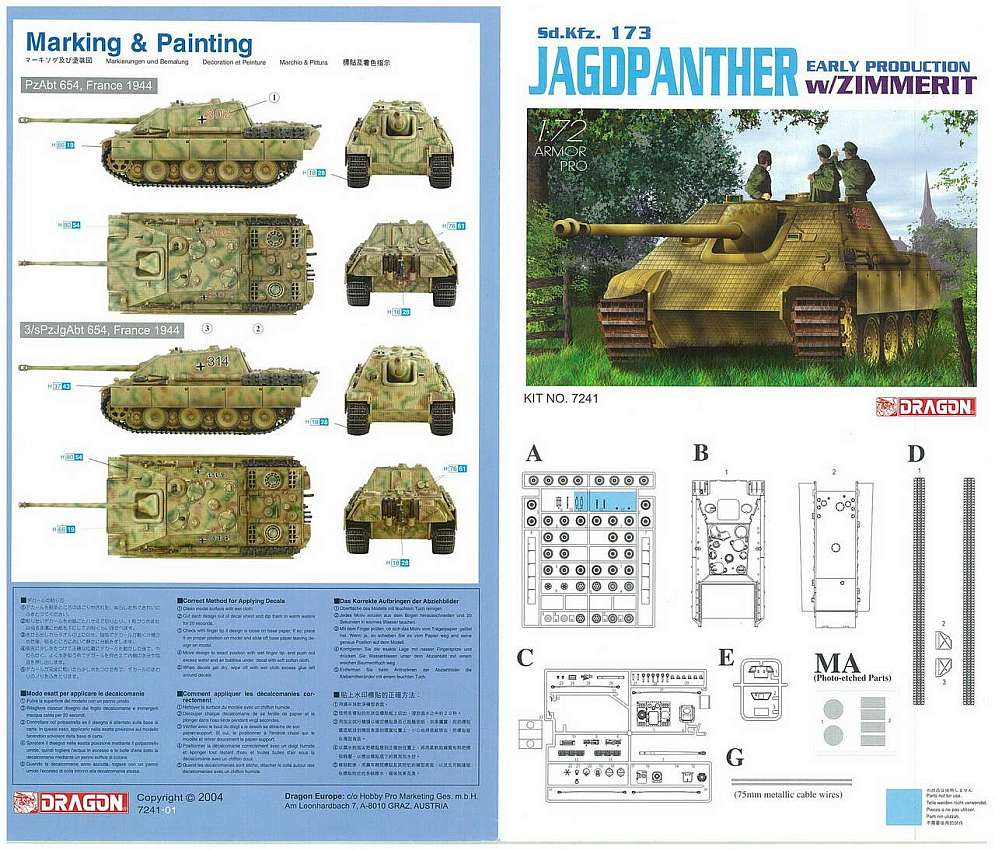
The box has a nice picture and the moulds are individually packed, with an endearing decal sheet. The instructions
are given with a photographic sequence instead of drawings, not a
real improvement I think. The grey plastic mouldings are flash free
and include the hull divided in the two classic upper (B1) and lower
(B2) parts, wheels with schurzen and exhausts (A) and three “zimmerited”
plates. |
 |
|
 |
|
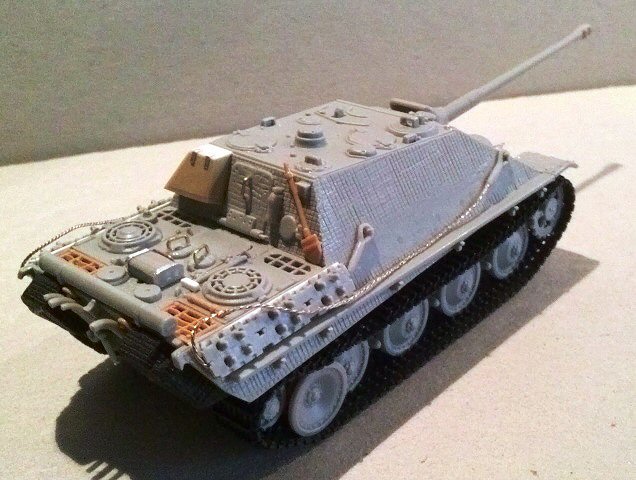
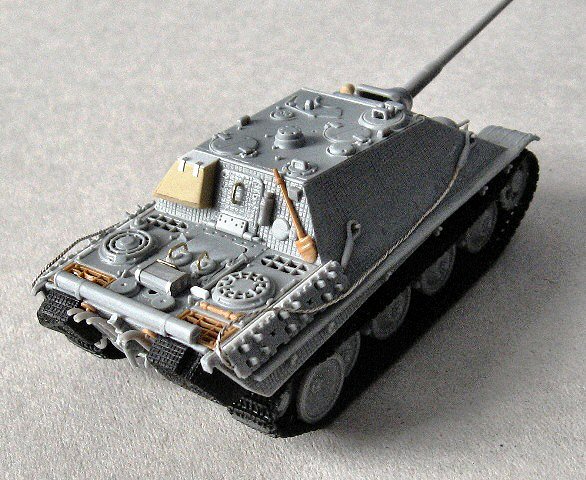
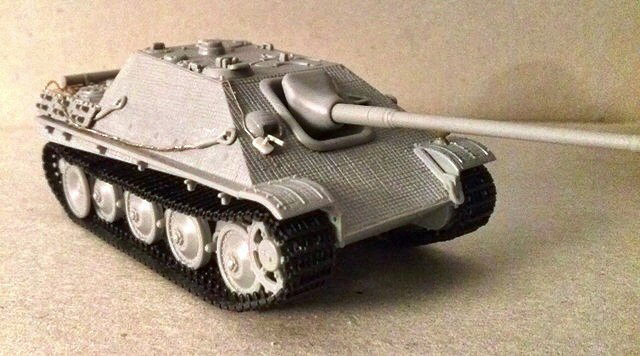
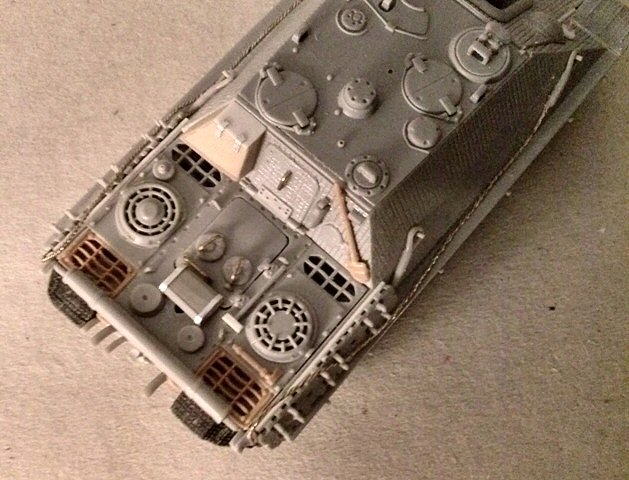
The soft black vinyl moulding comprises not only the tracks but also the rear bins, so they have the zimmerit also on the sides. There is also a PE engine mesh set and two metallic wire towing cables. The kit derives from the former die-cast hull Dragon production, as visible by the hull fits and the two little screws provided. The kit nicely contains also the parts needed to make a late Jagdpanther plus a second set of sprocket wheels. Obviously with the “zimmerited” surfaces, only the early version can be built, but with some more choices possible. The model depicts a June-September MIAG production vehicle having the three points pilzen crane on the roof. The single piece barrel proposed was used until October 1944, but already from May 1944 the two piece barrel was also used and this possibly is in the kit too. The multiple exhausts are correct for the batches produced after May 1944. However, the way they are moulded gives us the possibility to cut away the two little pipes on the left one, leaving just a single pipe (like the right one) as in the former batches. A real good hint for a diorama is the engine with the engine deck and its central hatch as separate parts. A good information source on the net is panther1944.de. |
 |
|
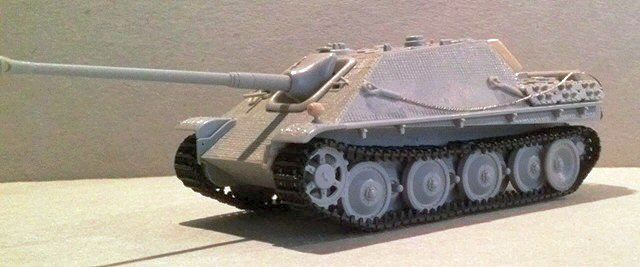
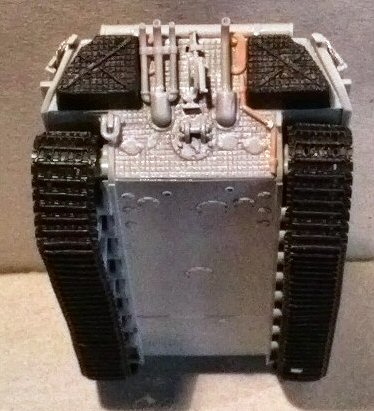
Anyway this kit is not perfect. The rear engine deck grates are wrong, being correct for a late production Jagdpanther. The early version had the same grates as the Panther A and D. But the
real problem I found lies with the tracks, which are two-three links
too short! At the beginning I though my tracks may have suffered of
some problem due the material used, but when I bought a couple of
Dragon Panther G kits, I concluded that it was a moulding issue having
three kits with the same problem! I don’t know if these kits
still has these tracks or if Dragon corrected the problem. |
 |
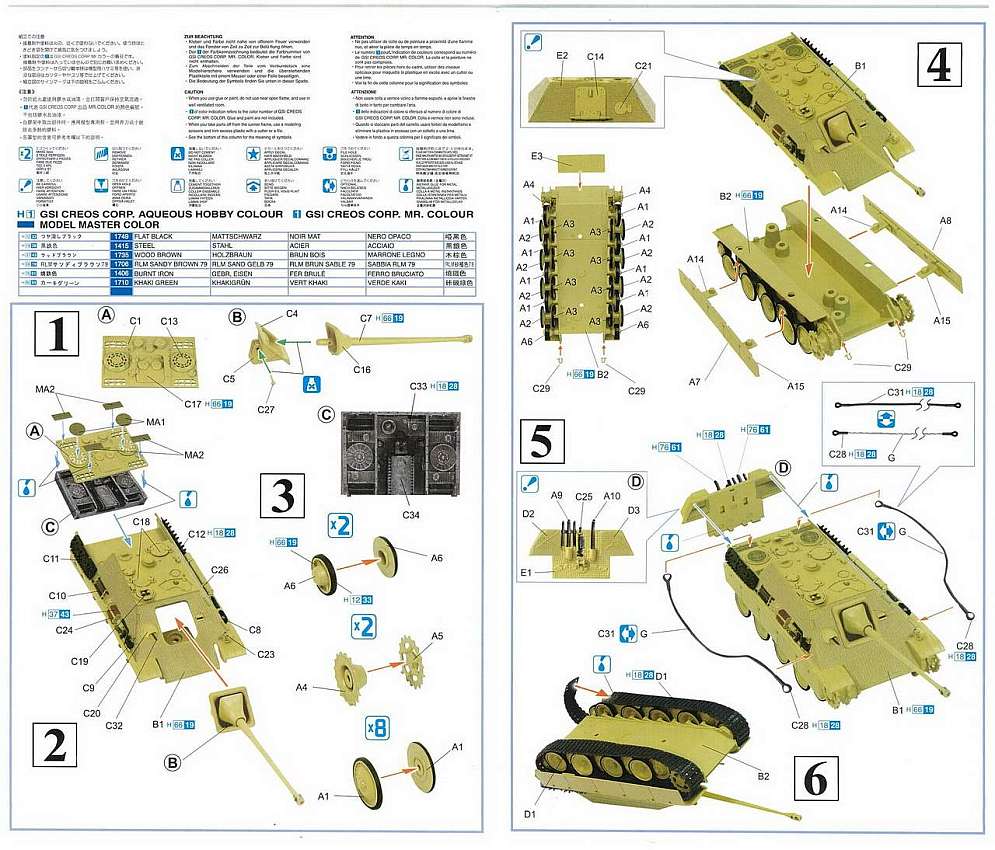
Considering the 1/72 scale, to make my specific Jagdpanther I did the following extras: Hull
• Before closing the hull, I enlarged the bow visor hole, then
a little plastic piece was glued from inside to depict the visor.
|
 |
Then I’ve worked on these details: •
A little rain guard was added over the driver visor. |
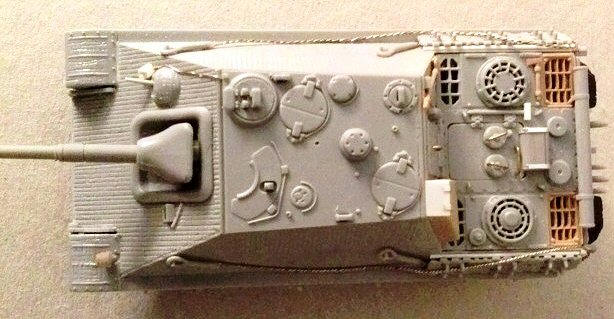 |
A special feature Having chosen a Normandy Jagdpanther, I had only one unit to refer: the sPzJgrAbt 654. I’ve modified the location of the tools and I’ve added the non standard bin as shown here. An Esci/Italeri shovel was used, the Dragon one being strangely incomplete. As seen on photos, the zimmerit pattern was removed where the tool racks are attached and luckily I didn’t have to restore it. Also in this area's, the olive grun/rot Braun camo spots should be absent with only dunkelgelb presence with some red primer traces. |
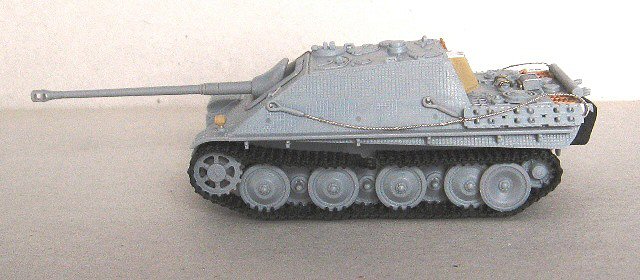 |
Wheels and tracks •
I used the kit idlers, backed up by photographic evidence. Another option is to cut out a section on one track to make the other one complete in order to have a complete track on a side. On the other side, the missing part can be filled with plastic and hidden by the Schurzen. I did this on a Panther tank and it works, as long as you don't reveal your secret. However, should your tracks have the right length, forget this part! |
|
|
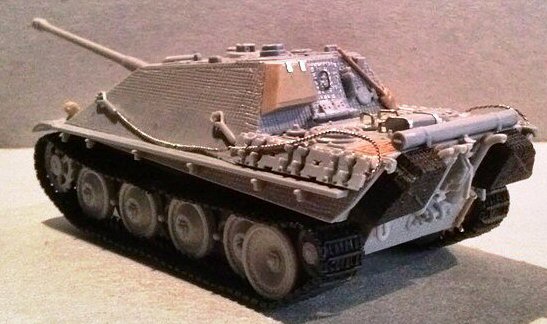
Decals The kit gives two set of numbers (red or black, both white outlined) to obtain the number you prefer. The instructions suggest the numbers 302 and 314 of the sPzJgrAbt 654. Both these vehicle are depicted with the single piece gun barrel, but only the 314 had one (with the single pipe exhausts), the 302 was armed with the two pieces barrel. Furthermore the font is also wrong, the real numbers being narrower. The decal numbers have the right font for the 1st company (like the 112 and the 133) of the same unit. Conclusion It is
a good kit, tracks problem apart. Anyway, a good photographic source
is needed if you make a model depicting a real vehicle, because of
the production changes between February 1944 and September 1944. Review sample bought by the author |
|
| Back to Dragon Kit List | Back to Home Page |
Article Last Updated: 18 January 2014 |