.jpg) |
| GBModelli |
Cannone 47/32 "Elefantino" |
|||
| Kit # 72009 | Construction review by Rob Haelterman | |||
|
| The Cannone 47/32
was one of the mainstays of the Italian Army. It first saw service
in the Spanish civil war and went on to see service on almost all
fronts. It was not only used as an anti-tank gun, but was also mounted
on tanks (e.g. the M13/40), semoventi and on the AS37, AS42 and AS43.
Its origins can be found in the Austrian Böhler gun and it was
closely related to the Dutch K.n.36. The latter had a different carriage,
allowing mechanized towing (which was forbidden with the 47/32) and
a muzzle brake. After the fall of the Netherlands, many of these Dutch
guns were pressed into Italian service. The Wehrmacht used some of
these guns as the 4.7cm PaK-177(i).
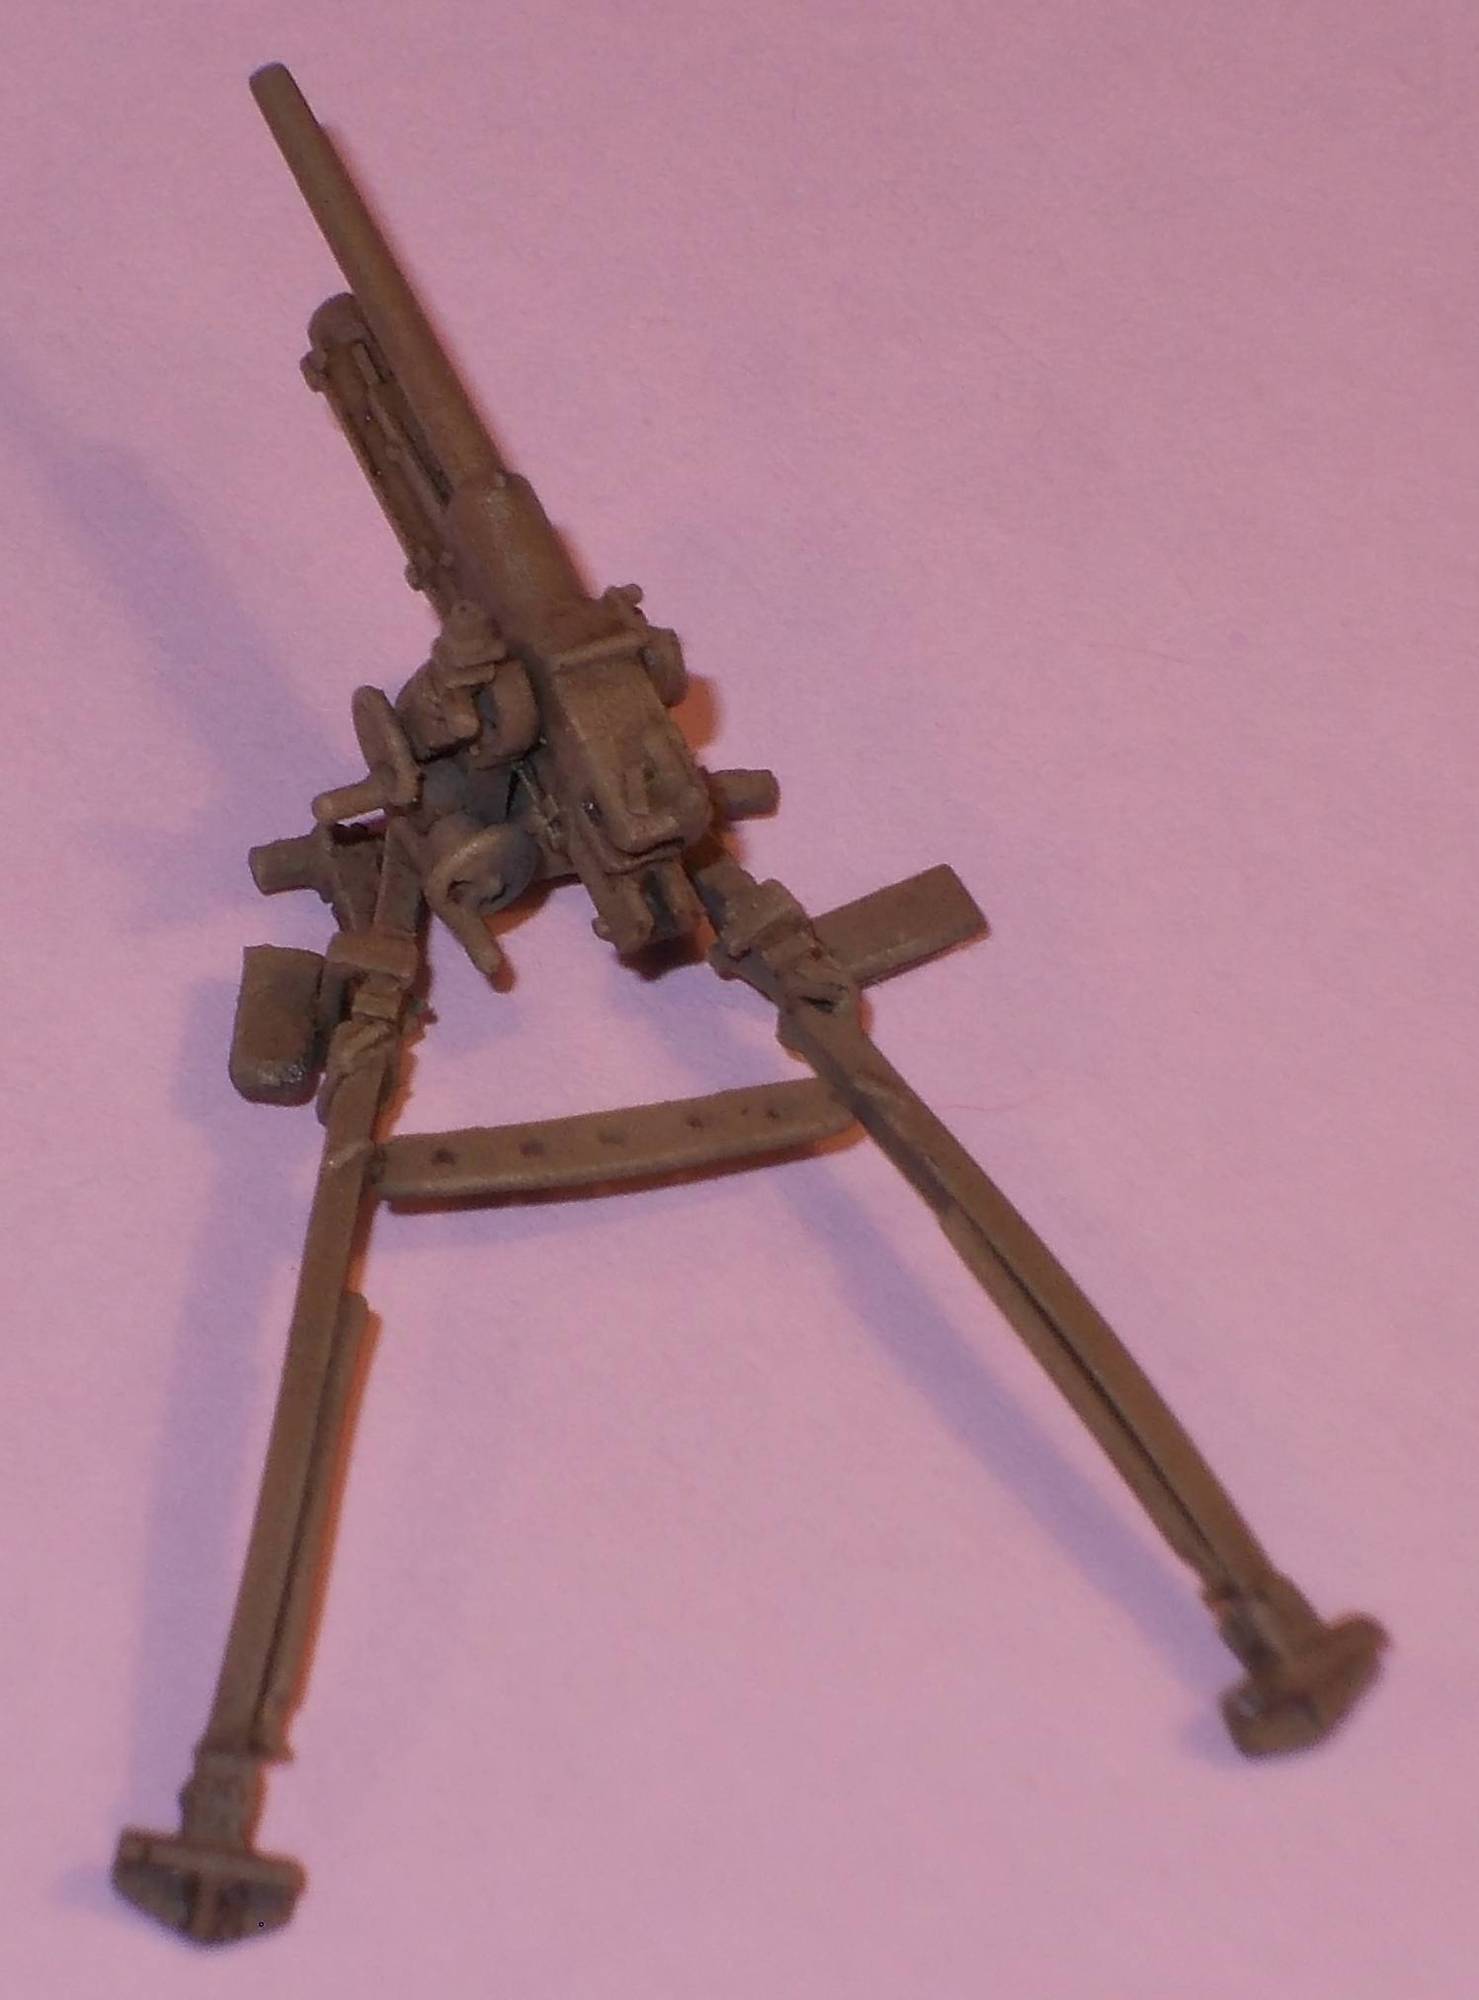
The manual is very simple, but then again, so is the gun.
The parts are very crisply molded,
and the lay-out allows for very easy removal of the casting blocks.
An example is the way the gun cradle is attached. If you look closely
you see that it is only attached to the "carrot" at the
two ends. If you put your knife in the void in between, and apply
some force, it easily snaps off at the right place. In all, this is the ideal Sunday morning project (depending, obviously, on what you did on Saturday evening). I built mine in just over an hour and painted it in the afternoon. Removing the parts, clean up of the
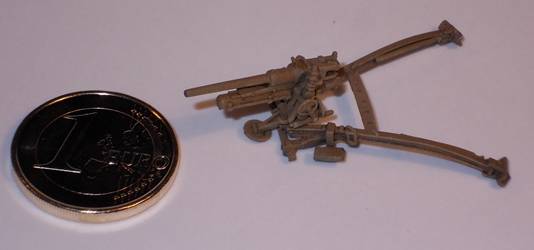
flash and filling two pinholes took about 15 minutes. The gun barrel,
which was slightly warped, was straightened after immersing in hot
water. Afterwards I hollowed out the muzzle. Assembly goes as fast as your glue
can dry, although it was not always clear how you need to attach the
parts for firing mode or for transport mode, as both options are shown
on the same drawing. What was confusing for me was that some parts
are only shown in one of them. For instance, the two seats are not
mentioned in transport mode, so I don't know what to do with them
if I go for that option. Likewise, the wheels are only mentioned in
transport mode. A quick look on the internet revealed that in firing
mode the wheels were removed and just put on the ground next to the
gun. This lowered the gun considerably and aided its concealment. The website of GBModelli has a page
where pictures of the real gun are shown. It seems that this gun differs
a fair amount from what the kit gives you. Examples are the wheels
and the way the spades are attached. This need not be surprising,
as pictures found of this gun found on the web show many small or
large variations. The wheels being the most noticeable.
The model was primed in automotive primer...
... and then painted with Revell and Polly S acrylics.
The gun was put in a diorama with
Reference http://www.italie1935-45.com/RE/photoscopes/artillerie/cannone47-32.html
Thanks to Georgio Briga (GB Modelli) for the review sample. Briga
(GB Modelli) products are available at
|
| Back to Briga (GB Modelli) Kit List | Back to Construction Reviews |
Article Last Updated: |
Back to Home Page |
.jpg)
.jpg)
.jpg)

.JPG)
.JPG)
.JPG)
.JPG)
.JPG)
.JPG)
.JPG)
.JPG)
.JPG)
.JPG)
.JPG)
.JPG)
.JPG)