| Photo Guide for Contributors | ||||||
| Photo Guide for Contributors | ||||||
| We
usually edit most photographs that are submitted in order
to fit their size in with the site guidelines. We will
also sometimes adjust color, contrast, brightness and
sharpness of images to improve their display quality. If
you could do some of this yourself before sending the
photos, if would be a big help. If you can't, that's OK,
we'll take care of it. Remember, it's always better to
send an image that is too large, and have us reduce it,
than to send an image that is too small, which we can do
nothing about. File Naming - Please follow these rules: For Gallery entries, and Construction Review photos, please name the files in the following format:
Examples:
For in-box Preview photos, leave off your name, and only use the name of the kit. Examples:
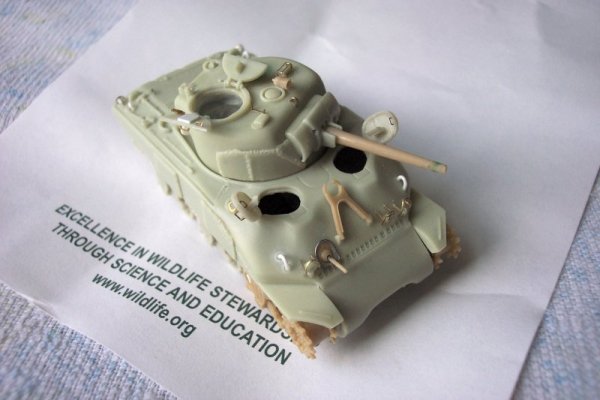
Picture format - Send color photographs as .jpg's. Line drawings are best saved as .gif's. If you are unsure, try saving the image as both, and see which one has the smaller file size. Size - There are two types of size to discuss here: the size (in Kilobytes) of the .jpg file, and the size (in pixels) of the image on the screen. Try to keep the file size of each image to less than 100K. The best way to do this is to make the photo size about 600 pixels wide. If you are sending many photos of the same kit, make each photo smaller, around 500 pixels wide. Save the .jpg at 85% quality. You can send several images in a single email, but keep the total email size below about 1MB. Composition - In order to maximize the viewable area of the subject, composition of the image is important. Note that we are not looking for artistic perfection here (unless the image is of a diorama, perhaps), but rather the goal is to get the best view of the subject in the smallest image size. This is done by cropping. The following image is 600 pixels wide, and it has a file size of 37K:
To reduce the file size to make it faster to download, we resize it to 400 pixels wide:
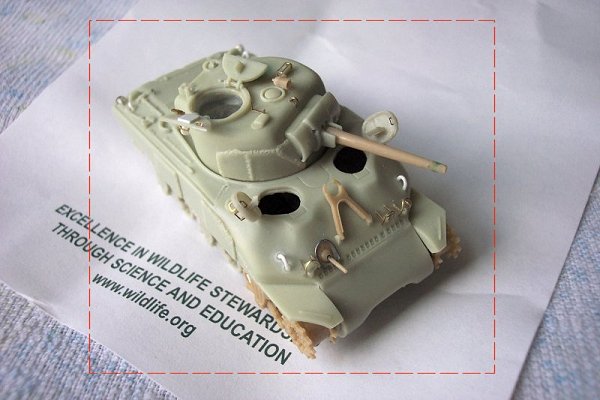
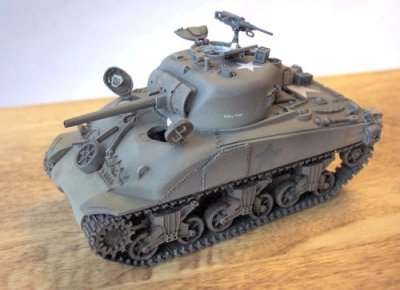
But notice how the subject has shrunk to the point where it is almost too small to see clearly. So instead of simply shrinking the original image, first crop the image to isolate the subject, as seen here, in the original 600 pixel-wide image:
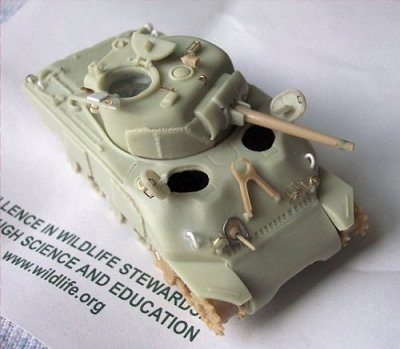
The cropped image in only 450 pixels wide, so that resizing it to 400 pixels has a very small effect on the size of the subject:
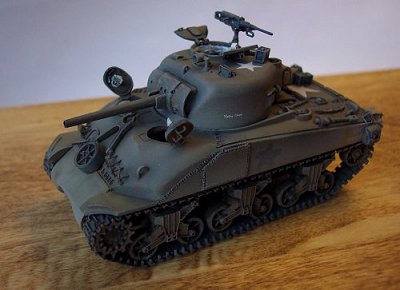
This photo is 400 pixels wide, just like the second image above, yet because of the cropping, the subject is much larger. The file size (25.7K) is slightly larger than that second photo (21.1K) because this one has a greater height, but compared to the original, it is much more manageable. Because I was using 600 pixel and 400 pixel wide images in this demo, the file size differences are not great. Also, these photos have a lot of solid blocks of color in them, which makes for a smaller file size. For photos that start at 800 pixels or larger, and for those with lots of colors, reducing them to 600, or 500 pixels, will reduce their file size significantly. Contrast and Brightness - I often times receive photos that are very dark, so I adjust their brightness and contrast to improve their visibility. The following photo could have been considered too dark to use:
But after adjusting the contrast and brightness, the photo is seen to be perfectly useable:
And the final touch I usually add, is to increase the "Sharpness" of the image, which is like focusing it:
Color - For those of you with graphics programs, you can also adjust the color balance and color saturation of your images to more closely match what the model looks like in real life. I will often do this with contributed photos if it is obvious that the colors are off, but most times, I'm not certain what the actual colors were, so I usually won't mess with this. |
| Back to Guide for Contributors | Back to Home Page |