|
UM has so far released all major variants of the PzKpfw 38(t) and the Panzerjäger on that chassis. In this review we will take a closer look at the following PzKpfw 38(t) kits:
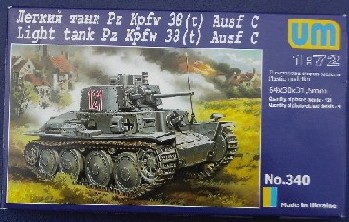
UM 340 German Light Tank PzKpfw 38(t) Ausf. C
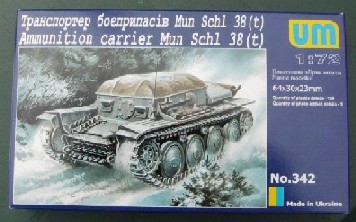
UM 342 Munitionspanzer 38(t)
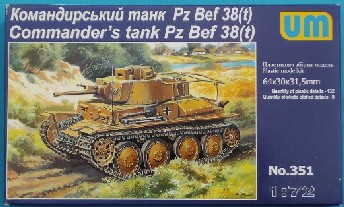
UM 351 Commander’s tank Pz Bef 38(t)
As the whole series of kits has most sprues in common, the comments given here are transferable to the other kits.
1. History and versions
The Pz.Kpfw. 38(t) was a direct descendant of the Czech LT vz 38 light tank (also produced by UM) and was one of the better designs of its time. After the occupation of Czechoslovakia by the Germans the development was continued and the tank saw widespread service in the Wehrmacht. When its useful life as a gun tank ended, the chassis formed the basis of a series of Panzerjäger (commonly known as the Marder III series, although semantically this is not 100% correct). Later it evolved in the well-known Hetzer tank hunter. Both are also produced by UM.
Pz.Kpfw.38(t) tanks were used by 7 and 8 Pz.Div. during the invasion of France and by 7,8,12,19 and 20 Pz.Div. during Operation Barbarossa.
The PzKpfw 38(t) (the “(t)” was dropped in 1943) can basically be split into an early series with a two piece driver’s plate (Ausf. A-D) and a late series with a straight driver’s plate (Ausf. E-G).
The variants were (according to my references)
Ausf. A :
Basically a LT vz.38 with minor modifications
Production: 05/39 - 11/39.
Ausf. B :
Addition of Notek and convoy light. Omission of Czech “battle aerial”.
Production: 01/40 - 04/40.
Ausf. C - D:
(Minimal difference between C & D)
Thicker frontal armor. Redesigned antenna mount. Annular turret splash guard.
Some C/D had a repositioned muffler (higher) to allow for the installation of a smoke discharge unit, resulting in a bend in the exhaust pipe.
Production: C: 05/40 - 08/40. D: 09/40 - 11/40
Note: according to [2] the Ausf. D already had a straight front plate. If anyone can comment on this, please do.
Ausf. E –F :
(Minimal difference between E & F)
Straight driver’s plate and thicker armor. Fewer bolts on the turret front, driver’s plate and engine deck. No protective ring for the turret MG. Repositioned muffler (see Ausf. C). Provision for spare tracks on the glacis plate.
Production: E: 11/40 - 05/41. F: 05/41 - 10/41
Ausf. S :
Confiscated production for Sweden (small series). A mix of Ausf. D and E characteristics.
Production: 05/41 - 10/41
Ausf. G :
Even fewer bolts on frontal plate, turret and engine deck. Notek on glacis plate instead of fender (available as retrofit). Addition of towing pintle.
Production: 10/41 - 06/42
Ausf. H,K,L & M:
Only used for Selbstfahrlafetten (Marder etc).
2. The kits: construction and accuracy
a. Common aspects
 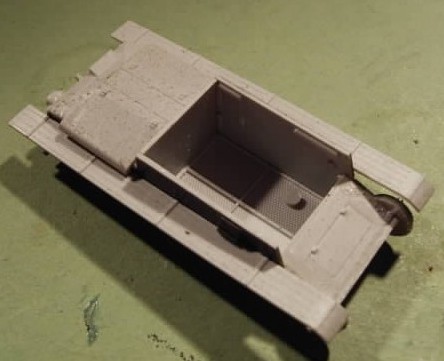
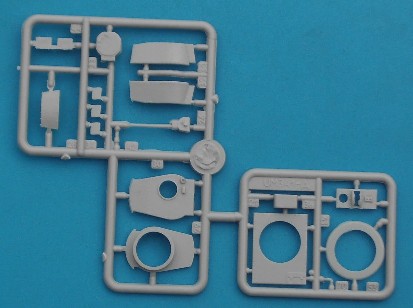
The dimensions of these kits agree well with the drawings by Mr Hubert Cance in [5], and the detail in the kit is quite nice.
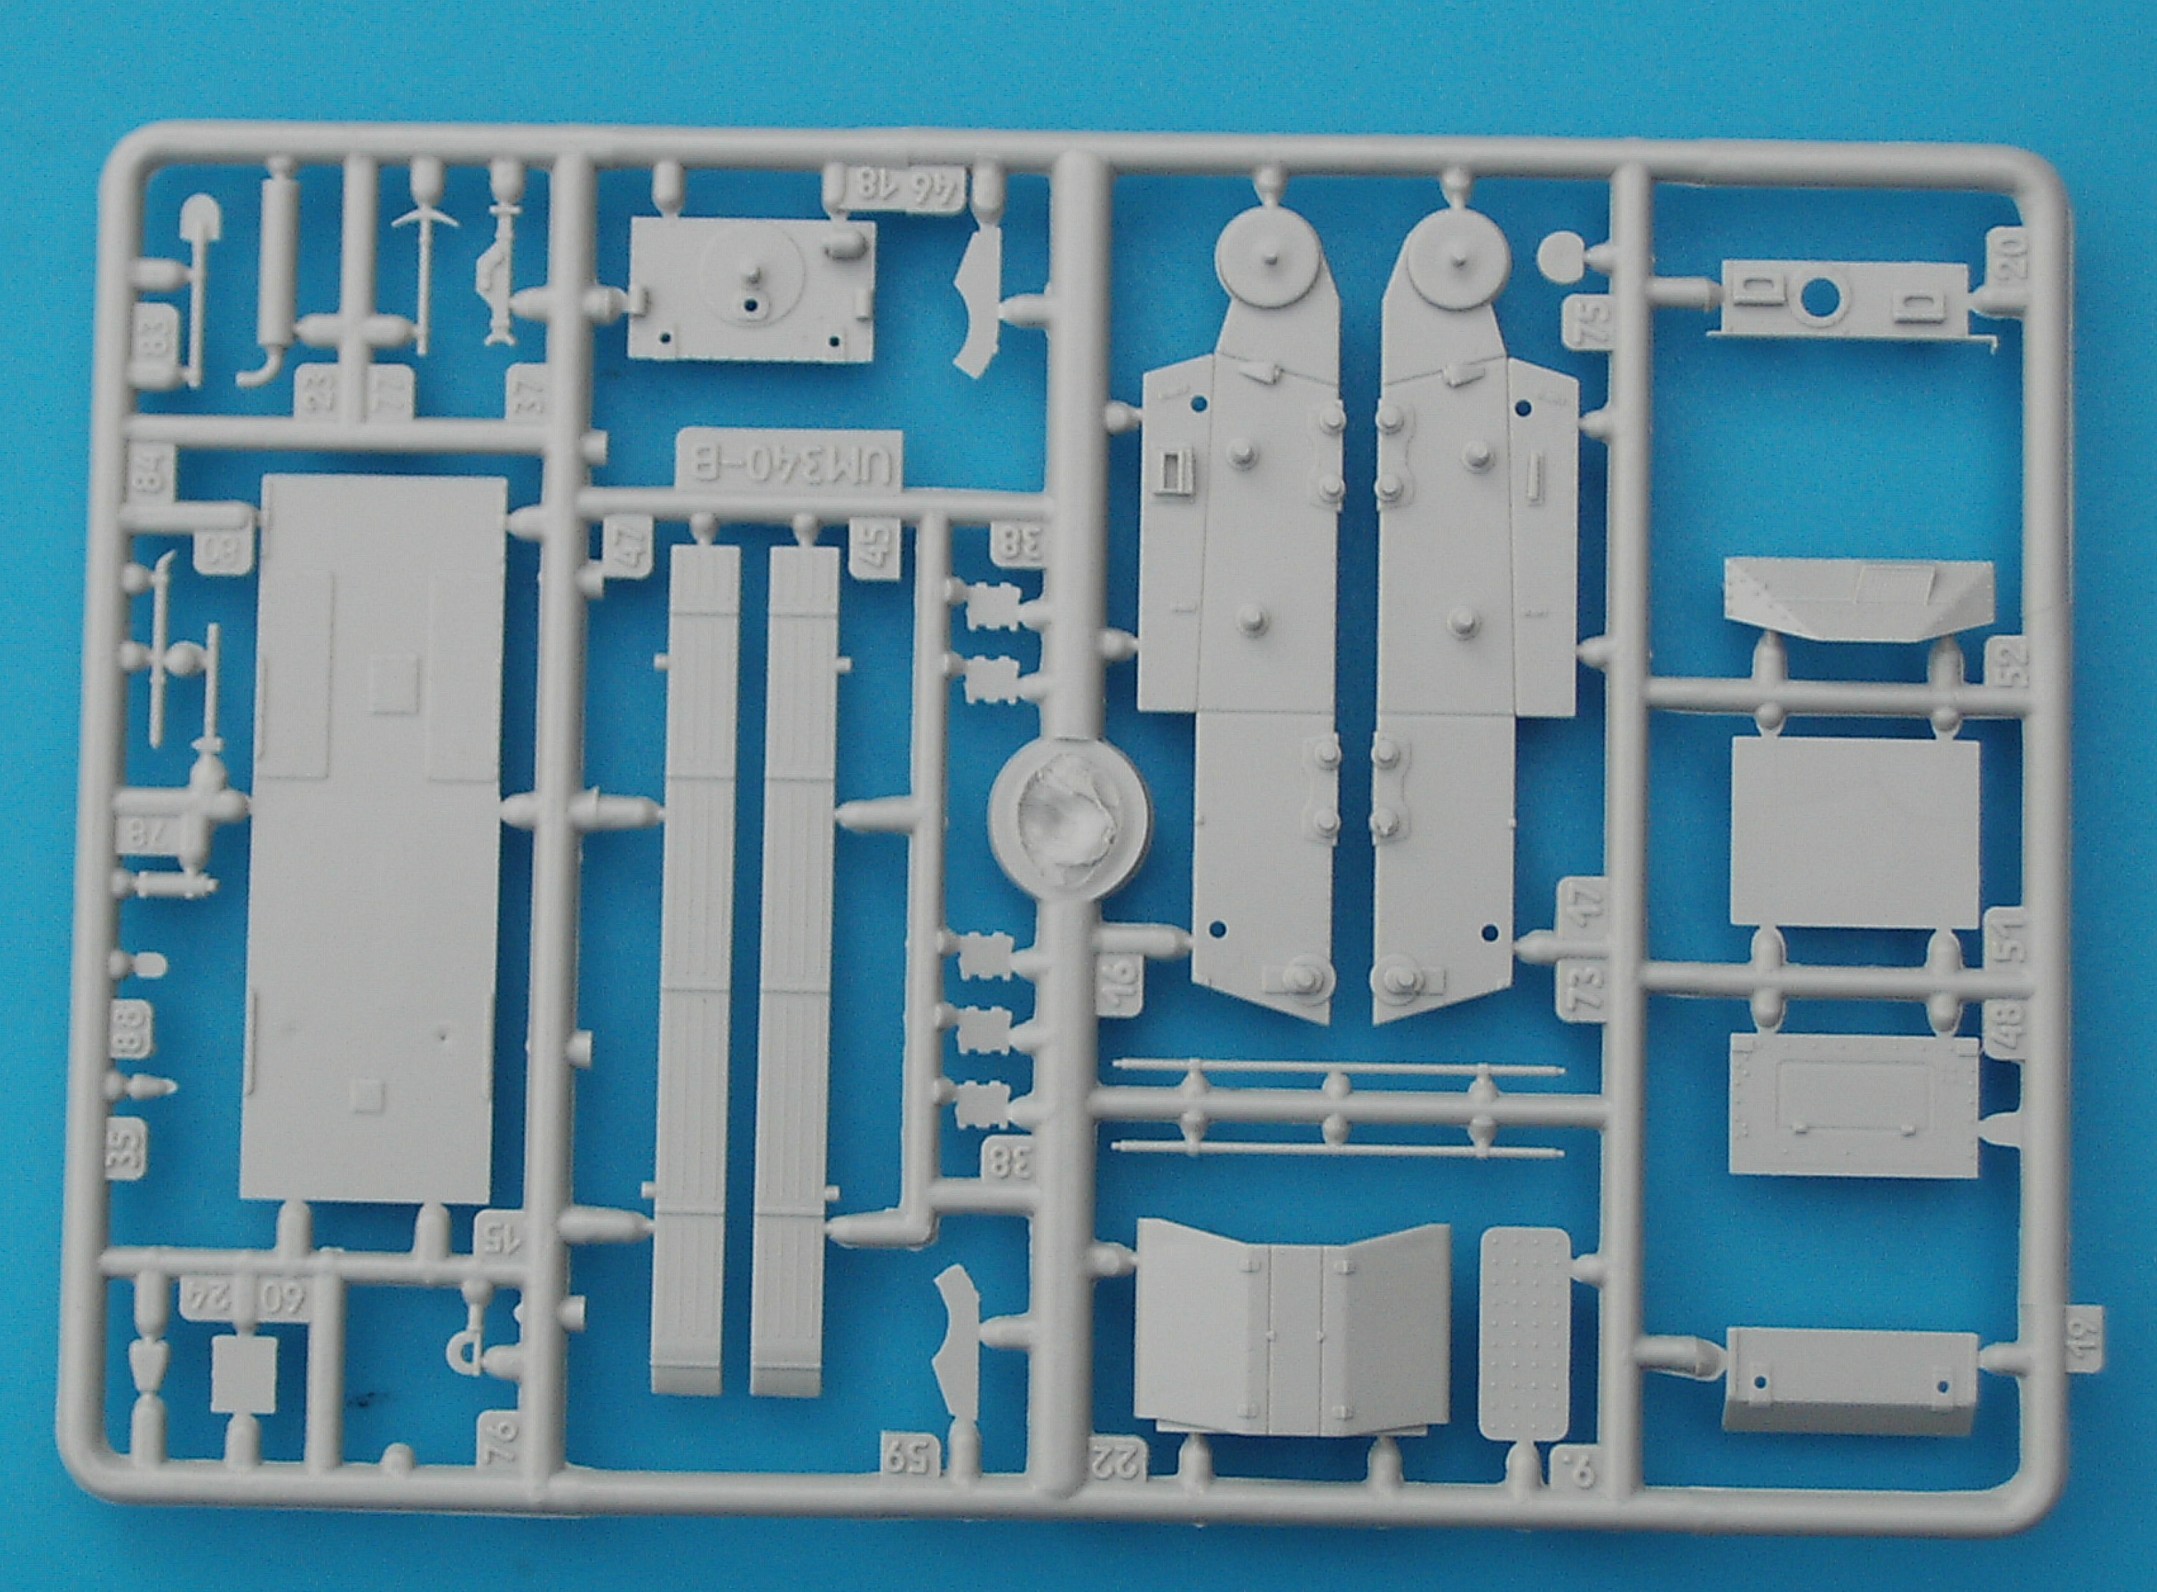
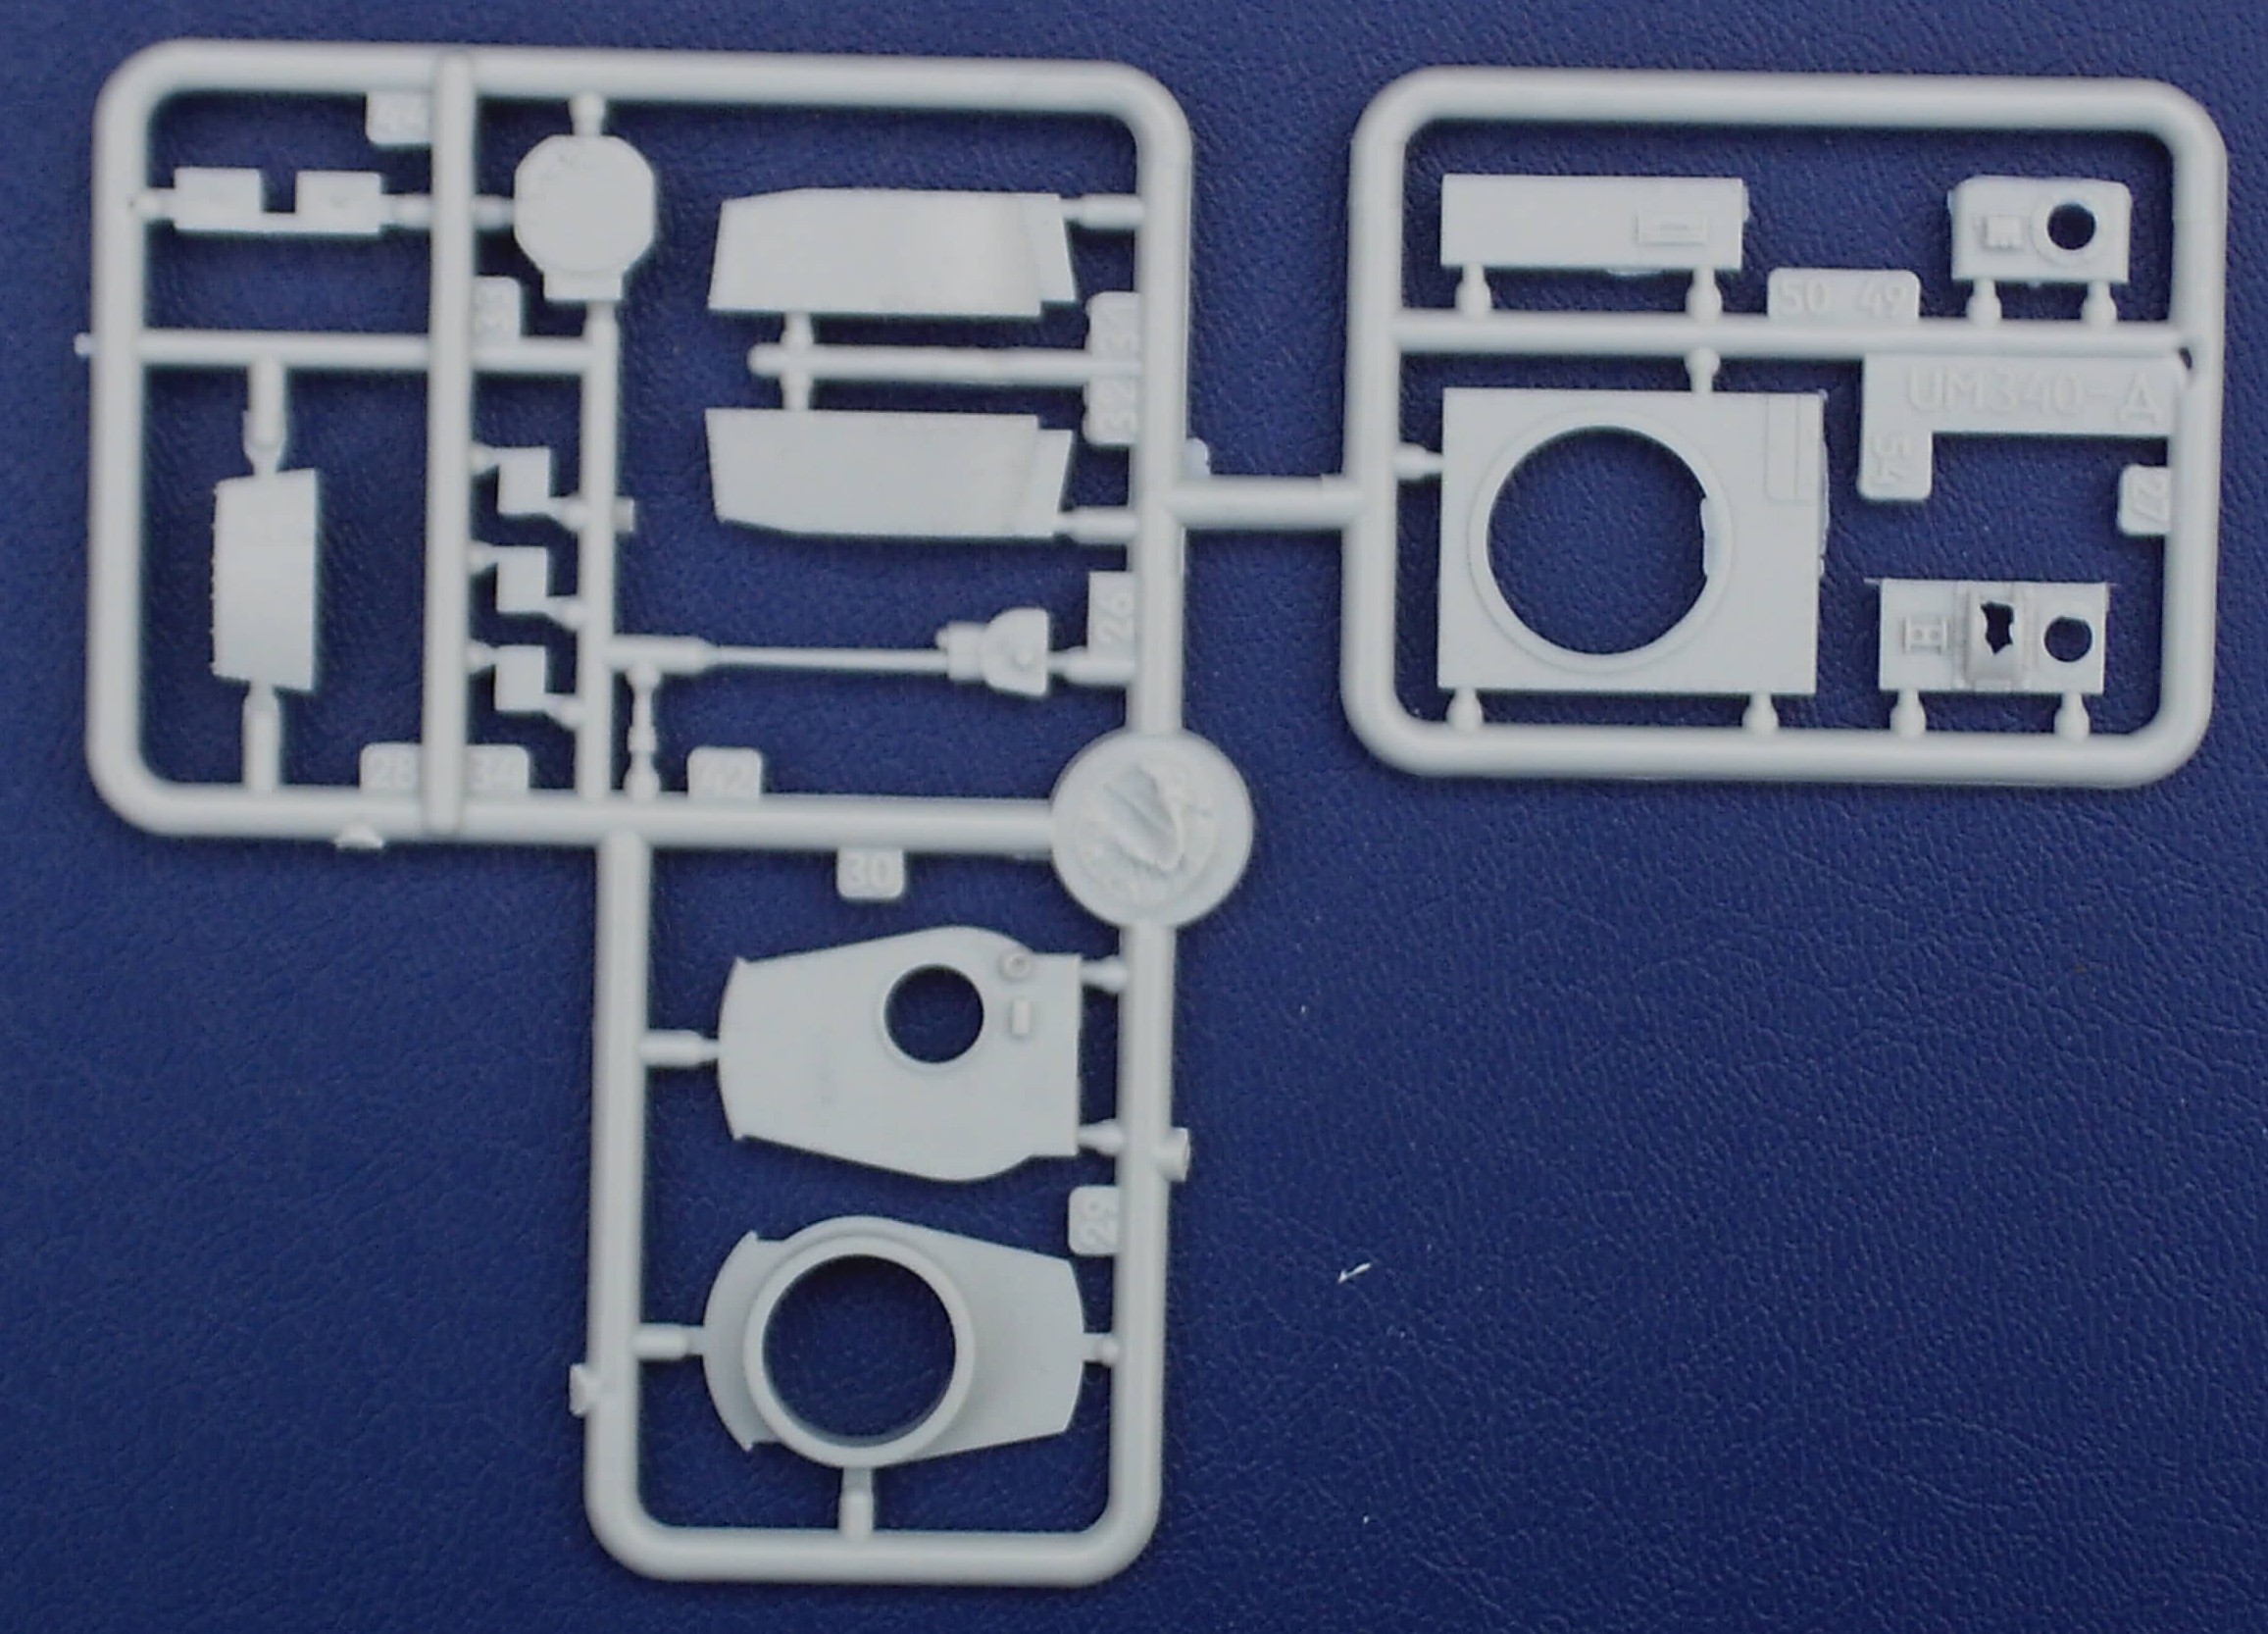
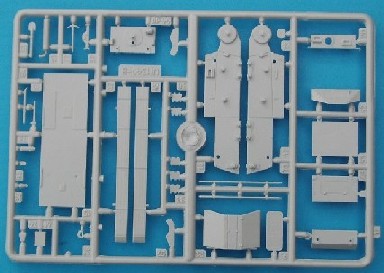
All kits share the same lower hull and suspension. The hull goes together very well, but the suspension needs some careful planning
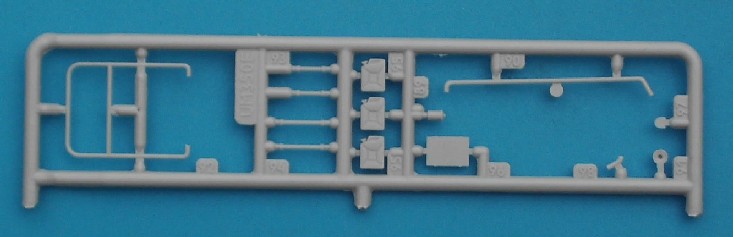
- The tracks are link and length and are nicely done, but the linking pegs were a bit thicker than the cutout on the receiving end in one of the kits. I guess that the molds for the tracks had some mileage in my example, which is not strange knowing how many UM kits share them.
- The manual would have you install the tracks backwards !
- The idler and (to a lesser extent) the drive sprocket are a bit too narrow for the tracks, requiring the builder to add a spacer. I have heard comments about the tracks actually being to wide, but cannot personally comment on this. Apparently this little problem has been rectified on later kits.
- The alignment of the running gear is quite difficult, and careful dry fitting is required. You might want to position the road-wheels closer to the hull and/or the return rollers further out. It might also be a good idea to install all components to the lateral hull plates before constructing the hull.
- There is no detail on the inside of the road wheels.
- The axle of the idler is off center. Personally, I like this, as it allows you to position the idler slightly differently to cater for the track length and/or sag.
- The top end of the track is given in 2 sections, making the creation of realistic sag a bit more difficult. You might want to use the continuous part on top and the 2 sections on the bottom instead.
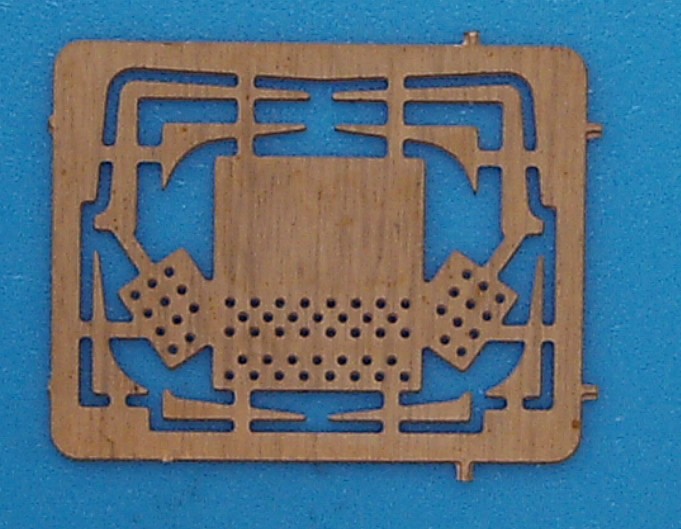
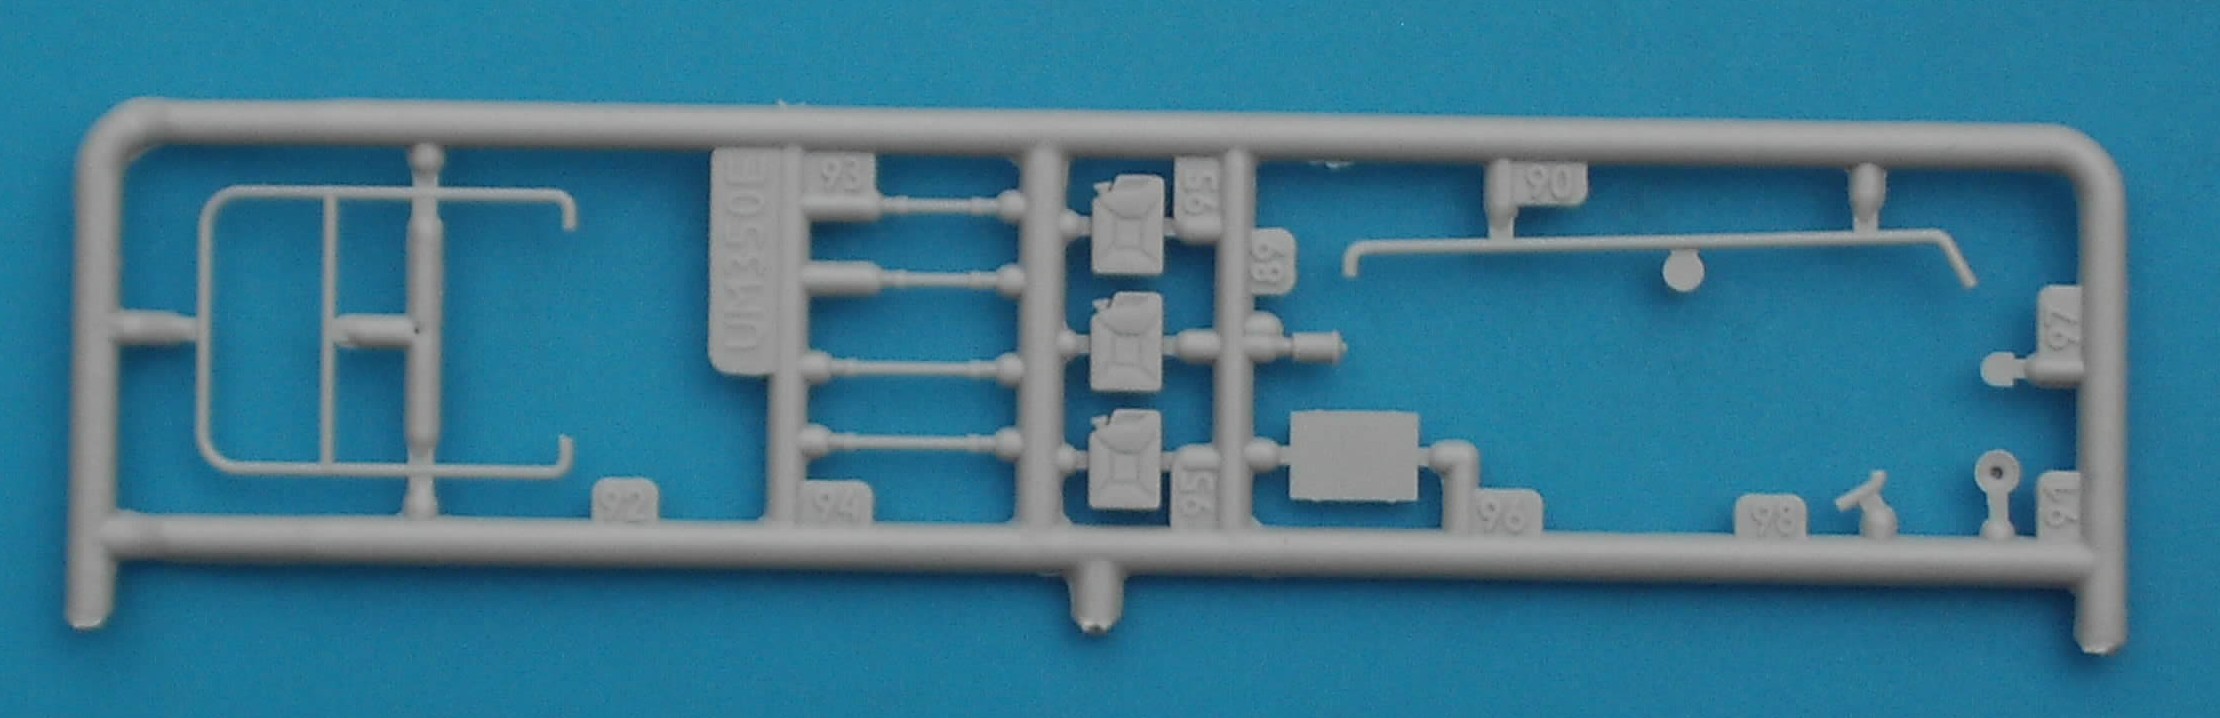
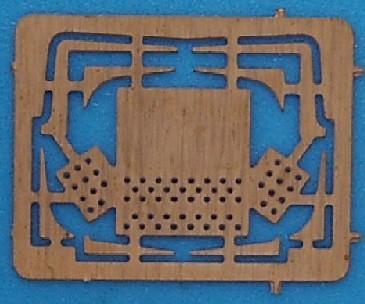
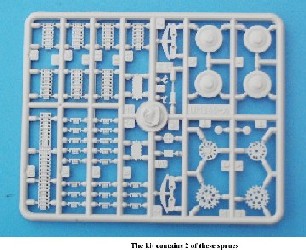
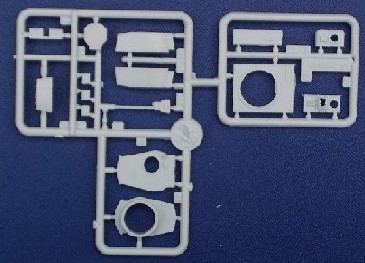
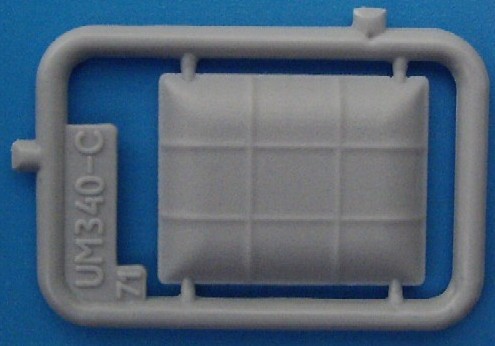
- A small fret of etched parts for a small bin and the stiffeners for the fenders is also included. While nicely done they are quite thick. This makes handling them easier, but bending distorting them harder.
- The tools are separate, but quite simplistic. The shovel, for instance is very flat (but at least it is there completely).
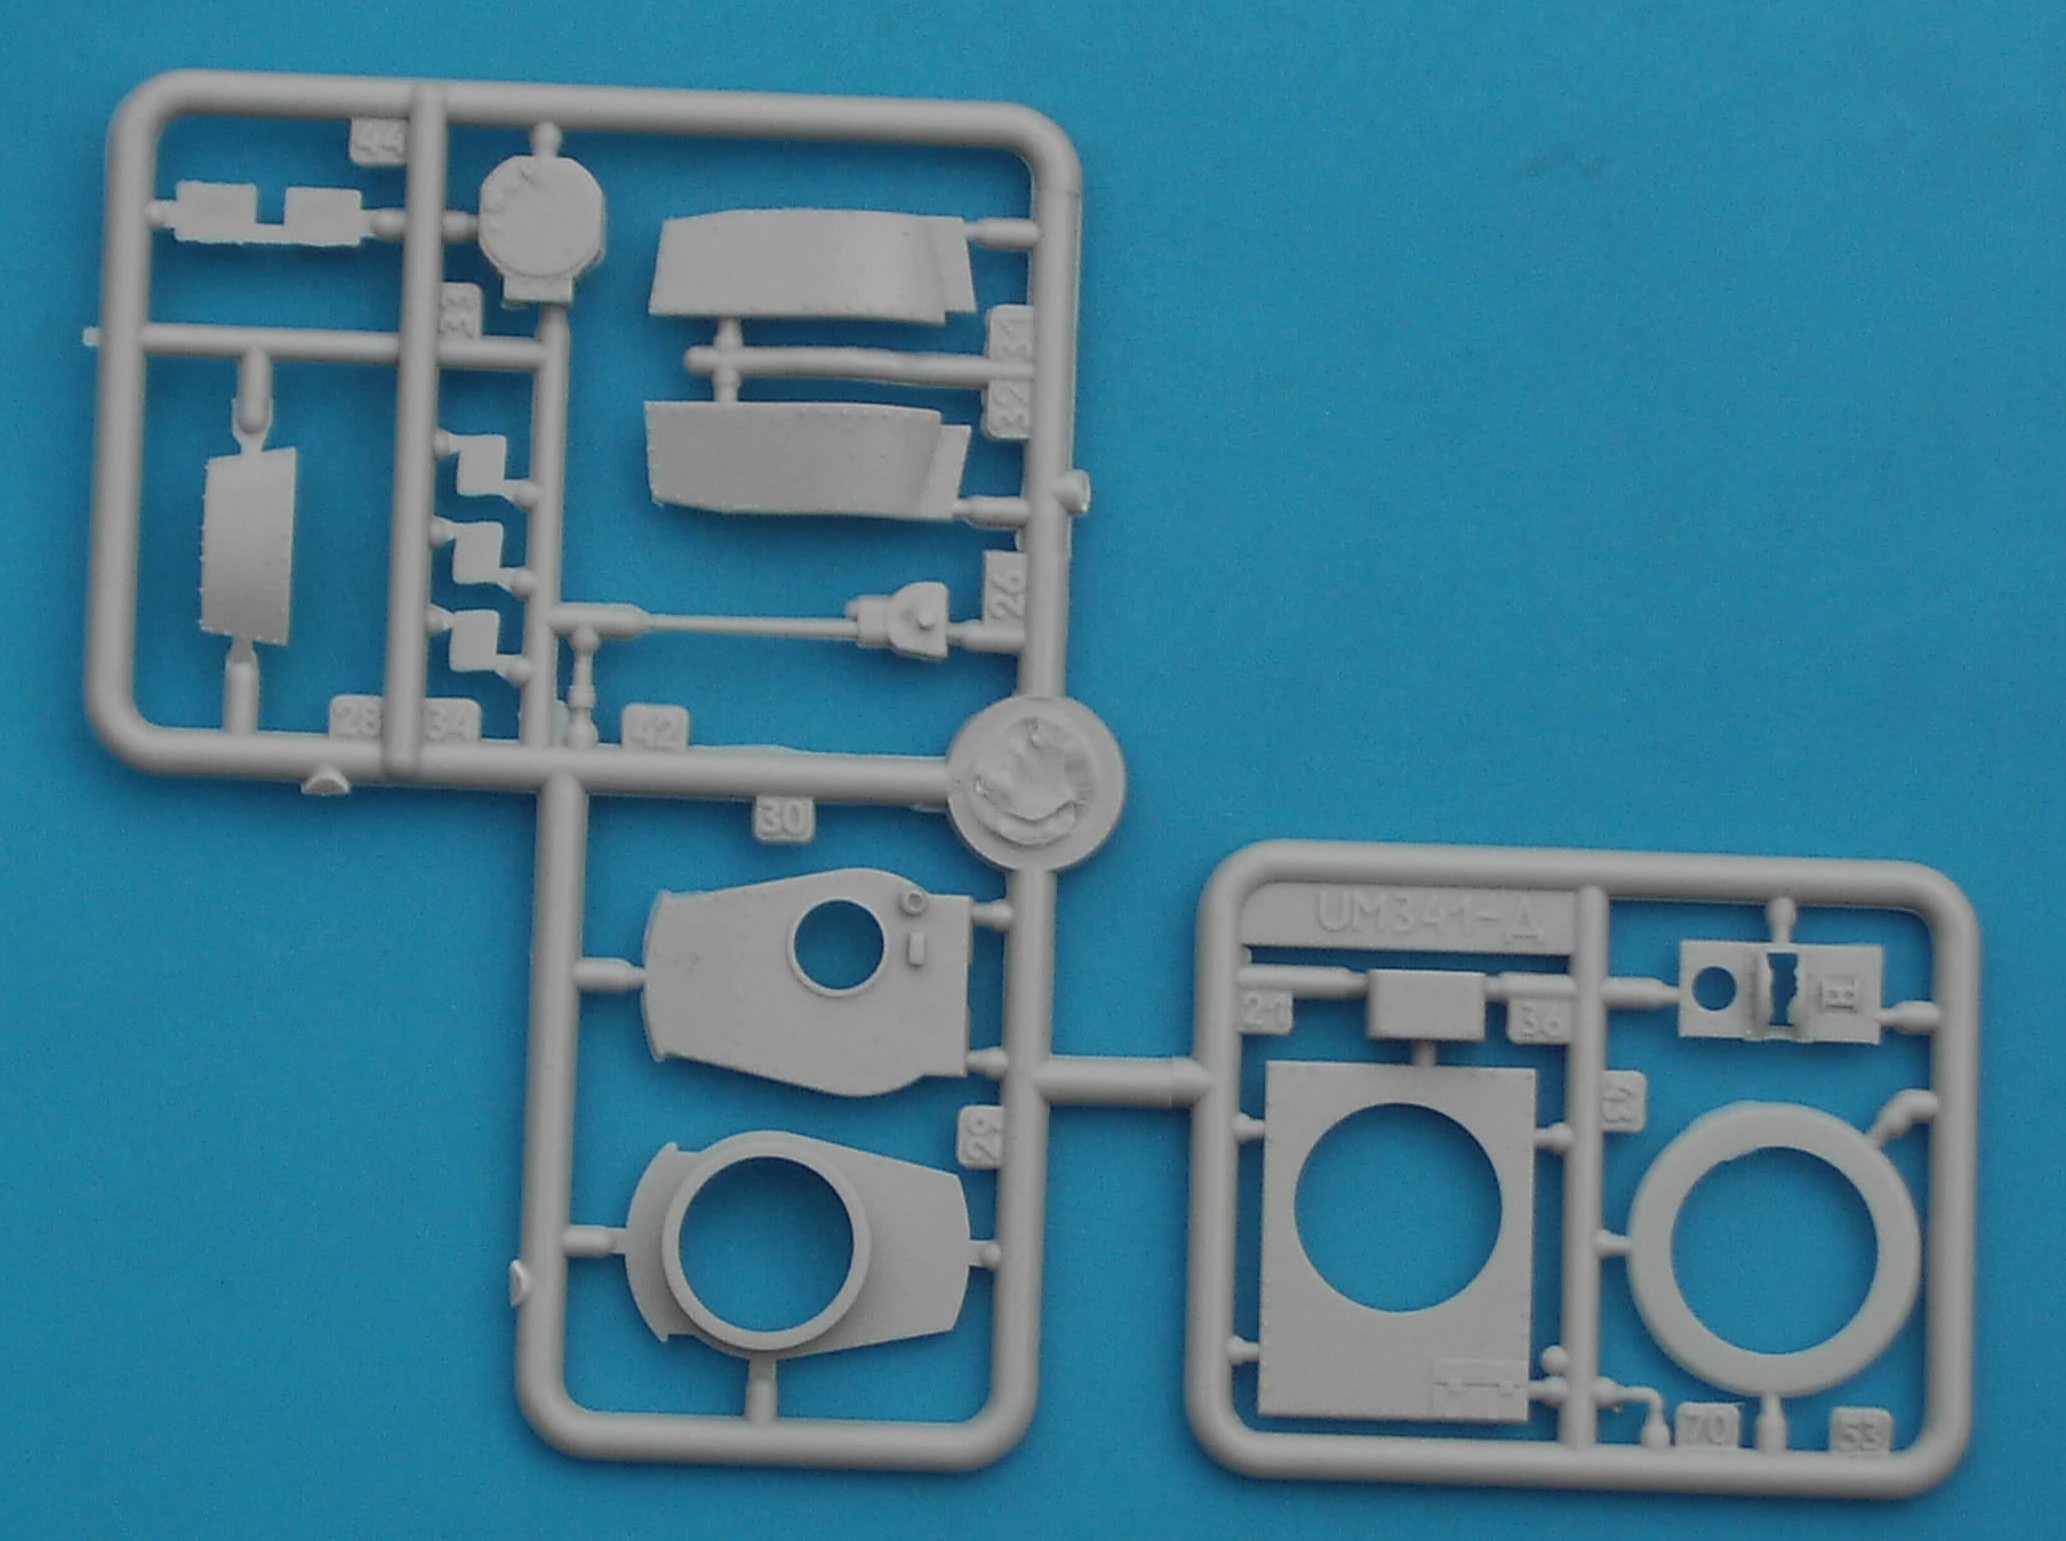
- As one of the differences between the various Ausf. is the number of bolts/rivets, UM caters for this option by giving a number of miniscule rivet heads to add yourself. Very thoughtful to think about it, but I had rather preferred they molded all rivets (or are they bolts ?) on, and asked the modeler to remove some, which would be so much easier. I do not seriously believe many modelers will take the trouble to add these little buggers. The molded-on bolts are actually nicely done and to scale (in my eye). Unfortunately the plastic is quite soft and reacts very well to MEK. This means that in my case I obliterated almost all the bolts when aplying the MEK as they just melted away. That being said, the purist would want to reposition the bolts anyway, as due to the thickness of the plastic for the hull and turret parts they are not exactly where they should be (e.g. for the turret top plate they should be closer to the edges).
- The variants without a hull MG require you to add a plug to close the hole. Unfortunately, this ruins the effect of the continuous bolted plate that was used in the real thing. It is very difficult to fill the joint between the plug and the rest of the plate without ruining the bolts. It might have been better if UM had required you to drill a hole in a continuous plate if you required a hull MG. Again very thoughtful, but ill-engineered.
- Small details that differ from the plans at hand are the exact pattern of the grating on the engine deck, and the shape of the lower real hull (angular instead of rounded). The engine deck is a bit too thin on the sides (and too close to the fenders) and had some slight sink marks in my examples. The fenders are a bit thick, but might easily be thinned on the sides.
- An annoying aspect of UM's desire to use as many common parts as possible is the way they modeled the discontinuous front plate of the early variants. You just have to glue a protruding part to the driver's side. Fine, but the hatch is molded on the top plate (which is not altered). As such the driver's hatch is too much to the rear for the early variants. Scratch-building required.
- The small half cylinders on the rear plate, close to the idlers, are incorrectly oriented. You should, if you care, turn them 90°.
- You don’t get a rear convoy light.
- On the glacis plate, the splash guard for the transmission cover is too shallow.
- The manual is of a very good quality (apart from the orientation of the tracks as mentioned).
b. For the gun tanks:
- There is a minor fit problem with the gun cradle, but nothing that some cutting and sanding won’t fix. Carefully dry-fit first.
- The commander’s hatch is closed.
- The bolts on the turret top plate are too much inward.
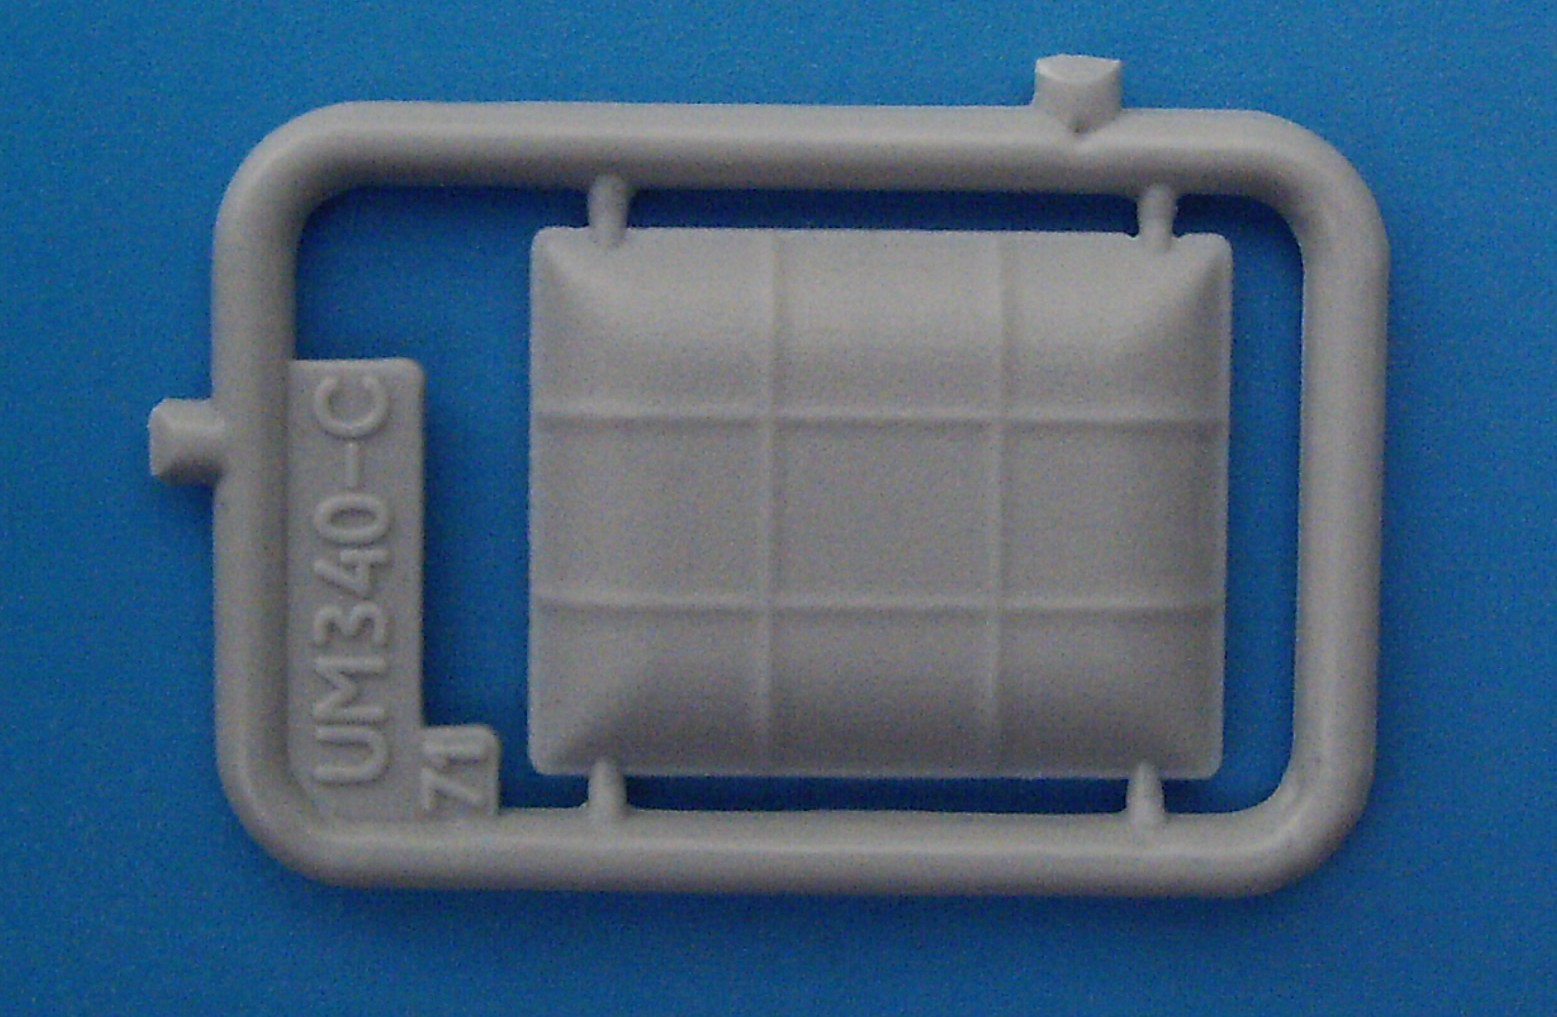
c. Ausf C (Kit 340)
The kit contains specific parts for the early series of tanks: driver’s plate without matching hull roof (see remark above) and turret frontal plate. According to my references it corresponds to an early Ausf. C with the straight muffler. As the Ausf. D was almost identical, it could also represent that model. To give it the more characteristic bend in the muffler piping, you can just make a 90° bend from sprue, or (when lazy) take it from the Ausf. G kit.
If you want an Ausf. B the main modification would be to scratch-build a larger cylindrical antenna mounting.
Please also check Doug Chaltry’s discussion of kit 340 (with a discussion of the Hungarian markings).
d. Mun. Pz. (Kit 342)
The kit contains a hull that is specific for a late series (E-G). The straight muffler in the kit points to an Ausf. E or F, while the position of the Notek and the towing pintle points to an Ausf G. It more or less depends on the number of bolts you want to add, and what you consider as a retrofit, and what not. The bent muffler can be had from another kit, or the small bend can be scratchbuilt. The only kit specific part is the tarpaulin.
If you want to build other Ausf. as an ammo carrier, you can buy this kit for the tarpaulin, or scratchbuild the latter, leaving you with a spare turret for a bunker. I would consider the latter option, as this kit's retail price is the same as for the gun tanks, and building the tarpaulin is an easy exercise.
Also note that some ammo carriers retained the hull MG, which makes life just that bit easier by avoiding the use of the plug (see earlier).
e. Pz.Bef.Wg. (Kit 351)
The vehicle has the characteristics of an Ausf. G (one of its sprues is marked with the number 341, corresponding to the Ausf. G tank kit), although by the time the Ausf. G was in production most command vehicles were equipped with a star antenna instead of a frame antenna. You can easily backdate it to an early Ausf. E by the choice of the number of bolts, and by building it with a straight muffler (just omit the bend).
If you want an ordinary Ausf.G, and if you are not after any specific markings for the Ausf.G, it would be better to buy this kit instead of kit 341. In this way you have some spare parts to add to other kits (e.g. to make a Befehls Ausf. C) . Besides, the correctness of UM's decals is dubious anyway, as shown below.
3. Decals and marking options
UM has the habit of providing a number of spare decals on every sheet without any indication how to use them. Sometimes it is even obvious that some would better fit another variant of the tank (like the early war rhomboids included with a later war tank). I find this very frustrating, but it is of course much better than no spare decals at all. Apart from that, I have some doubts about the marking options they DO mention. The printing quality of the decals is generally very good and they adhere well.
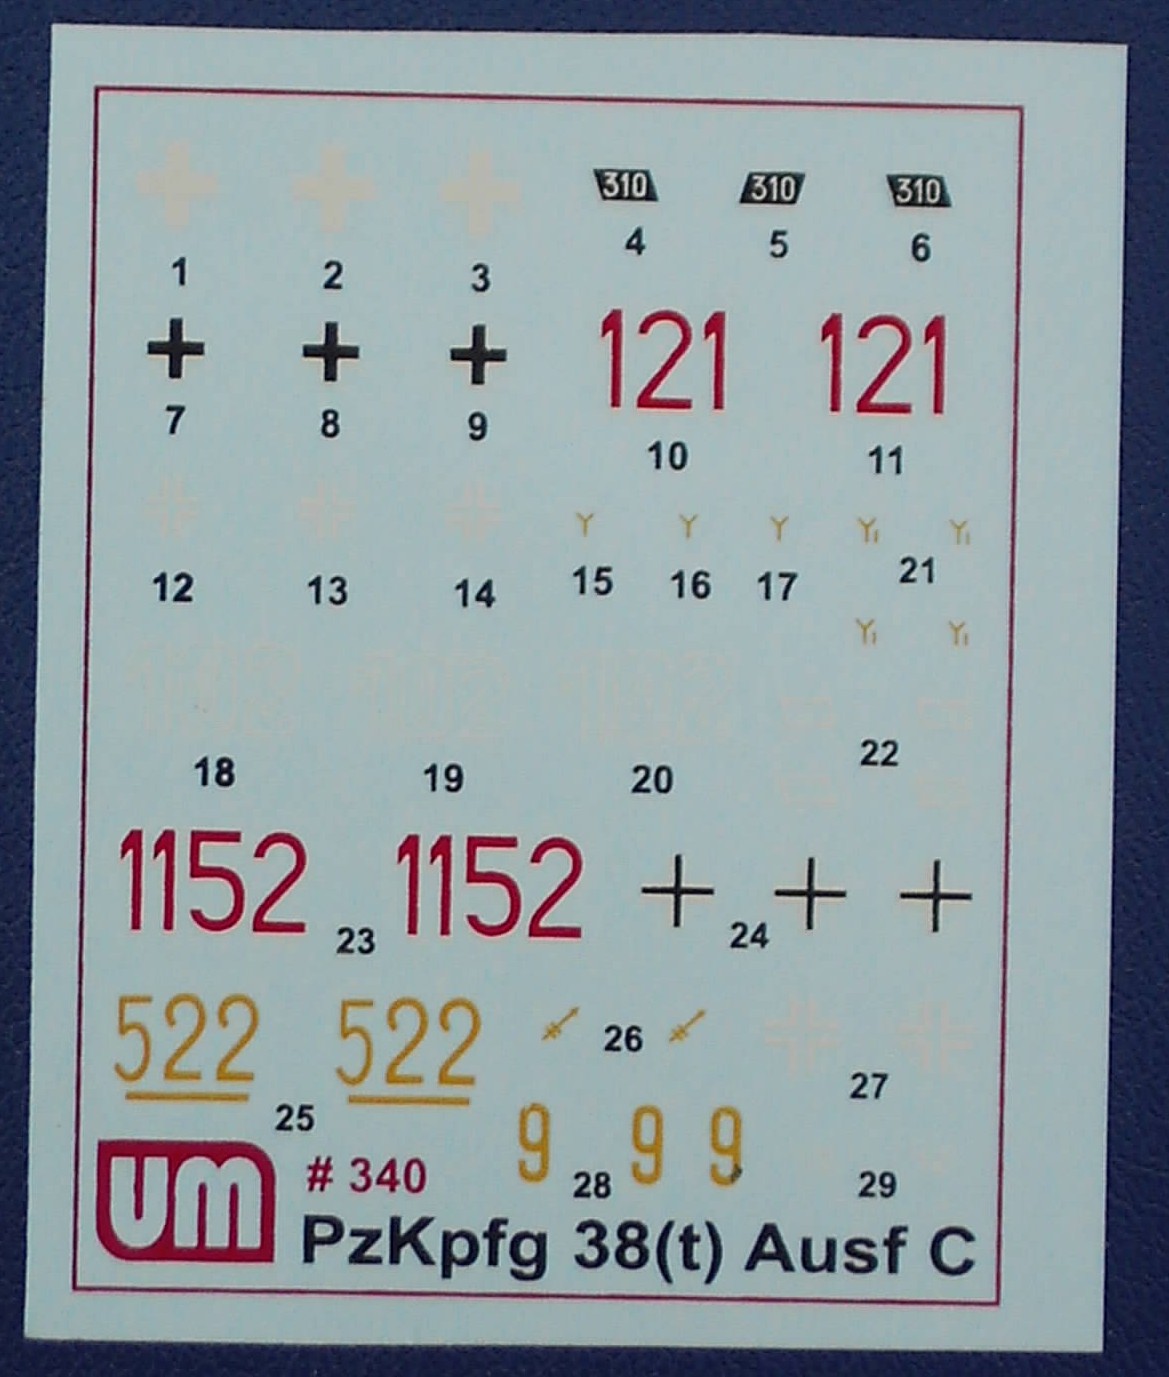
a. Ausf. C (Kit 340)
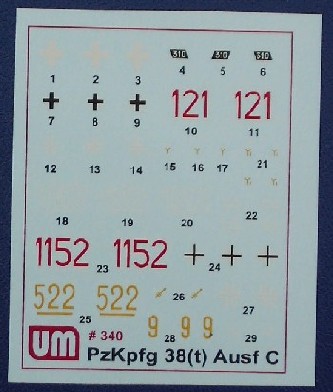
According to the instructions:
1) “310”, white on a small black rhomboid (metal plate), Panzer Gray, 3. Light Division, Poland, September 1939. No unit insignia.
2) “Red 121”, Panzer Gray, 7 PzDiv, France, May 1940. No unit insignia.
3) No turret number, Panzer Gray, 7 PzDiv, Russia, October. No unit insignia.
4) “White 102”, Panzer Gray, Hungarian 1.Armoured Division, Don, Summer 1942. No unit insignia. According to Doug Chaltry’s discussion of this kit these markings are incorrect.
You might also take care with the first two markings, as the Ausf.B only appeared in Jan 1940 and the Ausf. C only appeared in May 1940. So, the first marking option is more than likely for an Ausf. A. The second one might be a C, but could as well be a B. If you prefer the latter, you only need to change the antenna mount (vide supra).
Apart from this you get a number of spare decals, including “Red 1152”, “Yellow 522” (Russian style - probaly a "trophei"), crosses, “Yellow 9”, two very small white 12s, and the unit insignia of 22 Pz.Div (which I haven’t seen equipped with Pz.Kpfw.38(t))
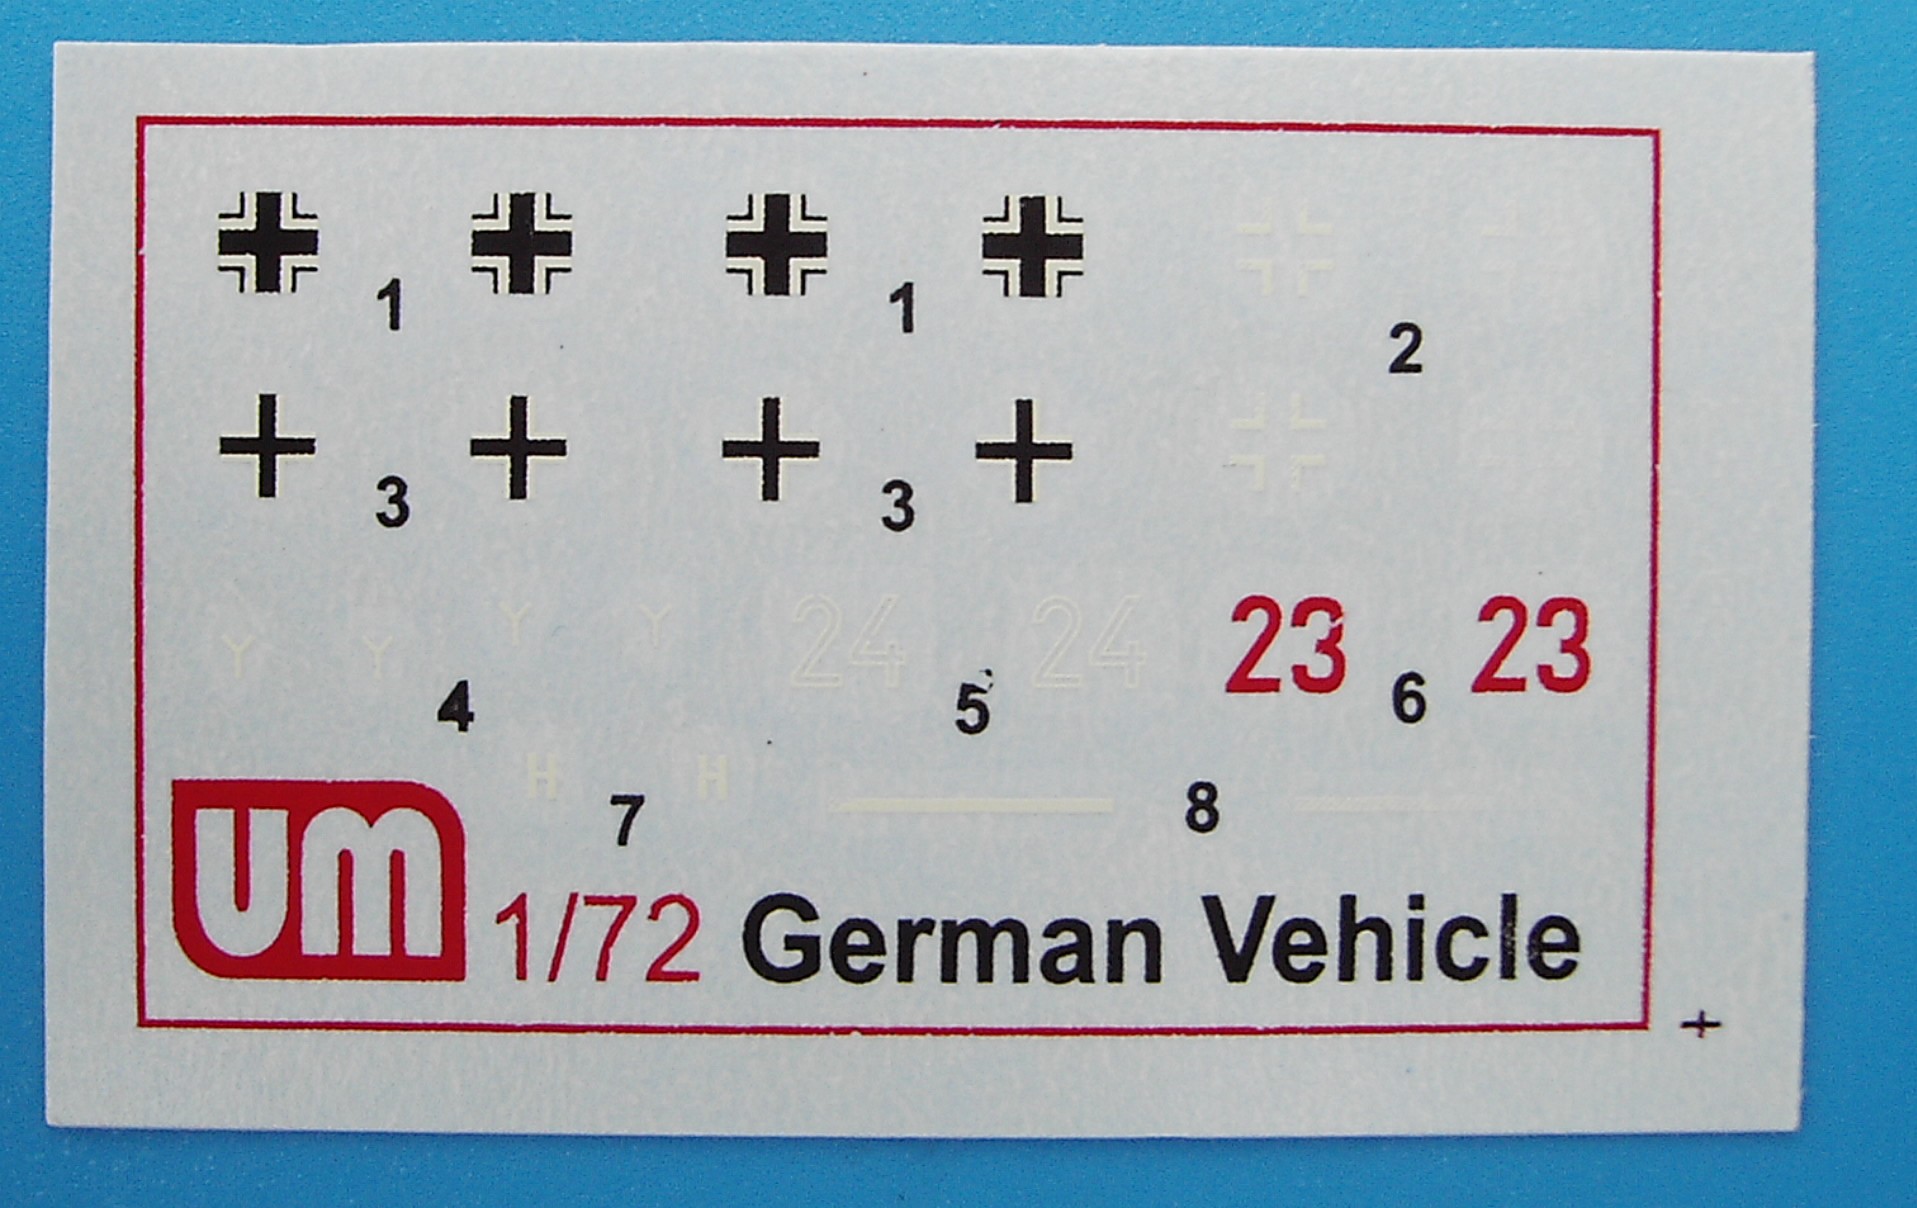
b. Mun.Pz. (Kit 342)
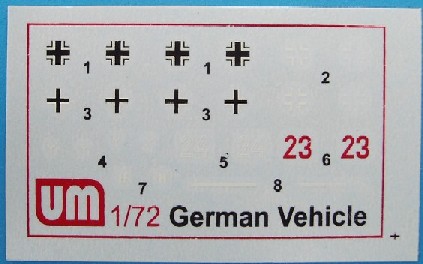
Three (non-specified) German versions, 2 in dark Grey and 1 in Dark Yellow. Generic decals. Some letters are a bit rough around the edges and appear scratched (due to printing problems, real scratching or intentionally ?). But of course you just might like that, as it could be the same in reality.
You get a red 23 a white outline 24 various types of crosses and 4 white “Y” markings for 7 PzDiv (or 1 PzDiv if turned upside down, although this unit did not use the 38(t)). In my opinion very few of these vehicles would have worn any numbers.
The same decal sheet can be found in some other UM kits.
c. Pz.Bef.Wg. (Kit 351)
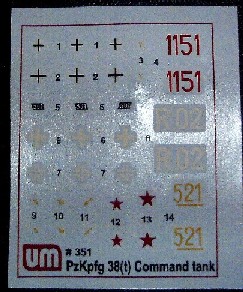
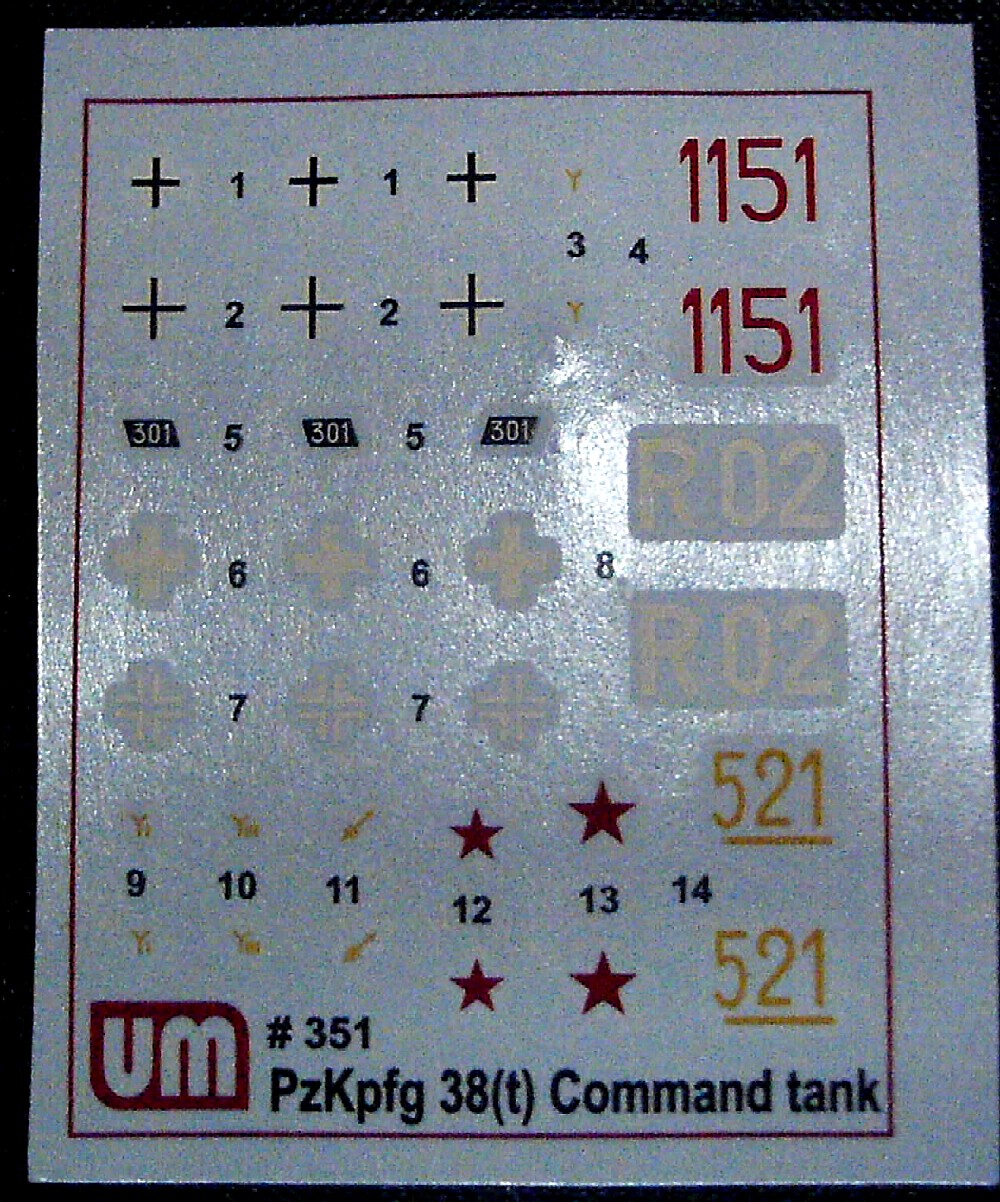
According to the instructions:
1) “White RO2”, Panzer Grey, 19 PzDiv, Eastern Front 1941. Unfortunately the Wolfsangel of the division is not included.
2) “Red 1151”, Dark Yellow, 20 PzDiv, Eastern Front 1943. Strangely enough, the unit insignia is not that of the division (arrow piercing curved or straight line) but that of 7 PzDiv.
You also get a bunch of spare decals, which are not mentioned in the instructions:
- various styles of crosses
- black rhomboid plates with number 301 (early war style), which would be better for an early war Panzer.
- 4 red stars and hand written yellow 521 (Soviet style, probably another "trophei"). I know the Soviets captured some 38(t), but I have not seen a PzBefWg yet.
- Unit insignia for 8,10 and 22 PzDiv
With the unit insignia that are provided, you can also represent 1,2,4 PzDiv (by turning them upside down), although these did not use the Pz.Kpfw.38(t). On the other hand, I don’t have reference mentioning 10 and 22 PzDiv either, so I am at a loss here. In any case, you have stuff to add to the spares box.
4. References:
[1] Die Panzer-Kampfwagen 35(t) und 38(t) und ihre Abarten, Miltährfahrzeuge 11, W.J. Spielberger, Motorbuch Verlag.
[2] PzKpfw 38(t), In Action 19, C.K. Kliment and H.L. Doyle, Squadron/Signal Publications
[3] 1940 Campagne à l’Ouest 1 & 2, Steelmasters Hors série 5 & 10
[4] Praga, LT vz.38, Pz.Kpfw.38(t), MBI, 2002
[5] Befehlspanzer, Steelmasters Hors série 3
[6] Panzerkampfwagen 38t(), Tanks and Armour, T.J. Gander, Ian Allan Publishing |