|
|
|
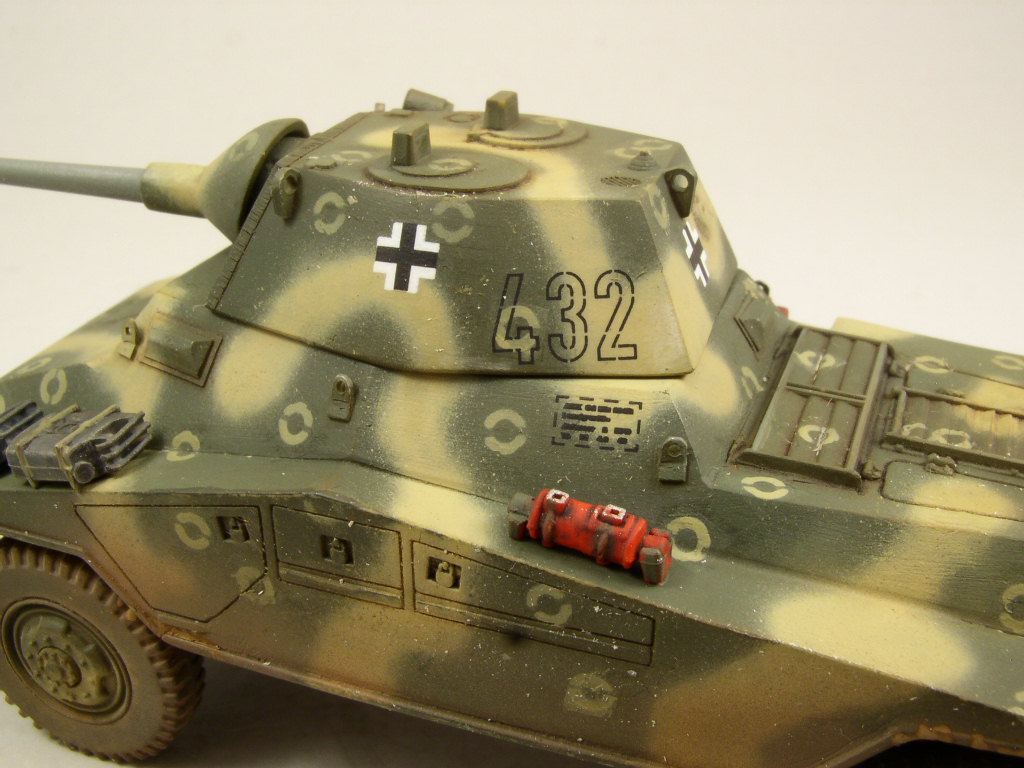
Converting an Italeri Sd.Kfz.234/2 to a 4-rad Spähwagen |
|||
|
Article by
Bill Powers
- jwp968(at)aol(dot)com
Edited by Al Magnus |
||||
|
|
|
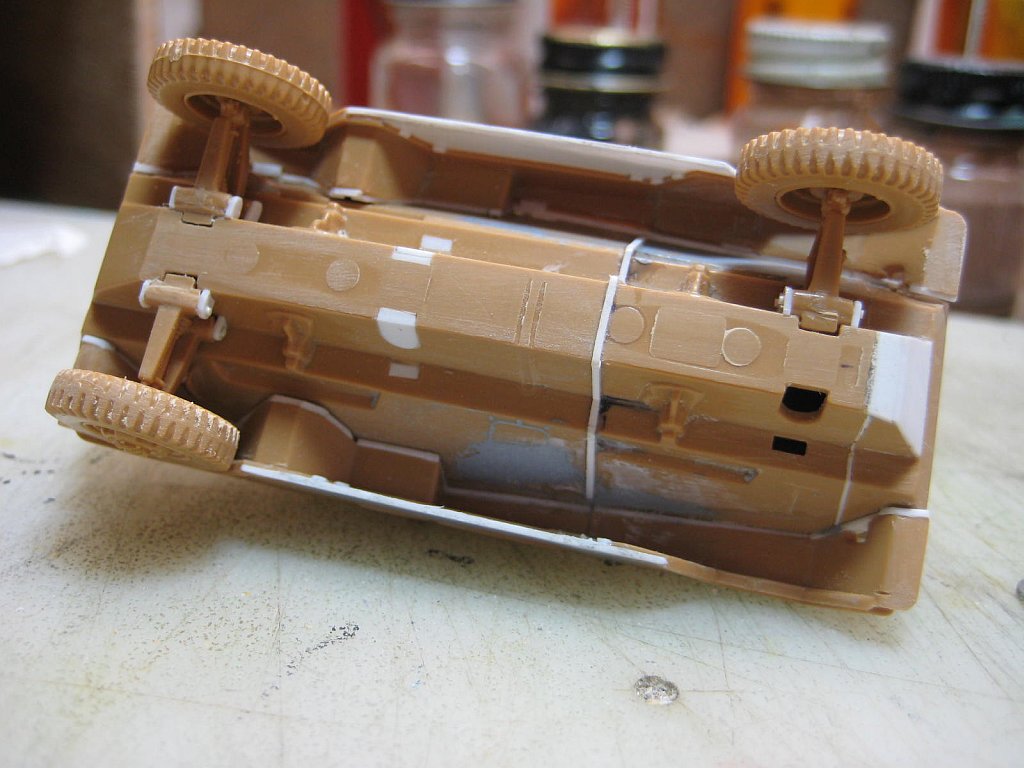
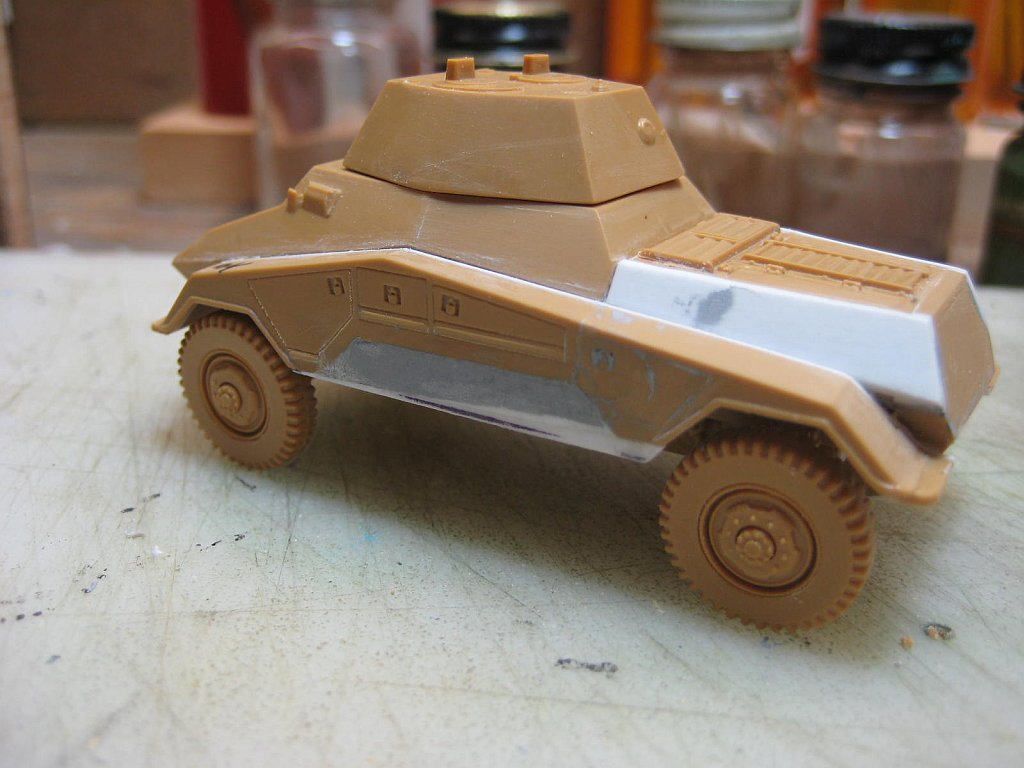
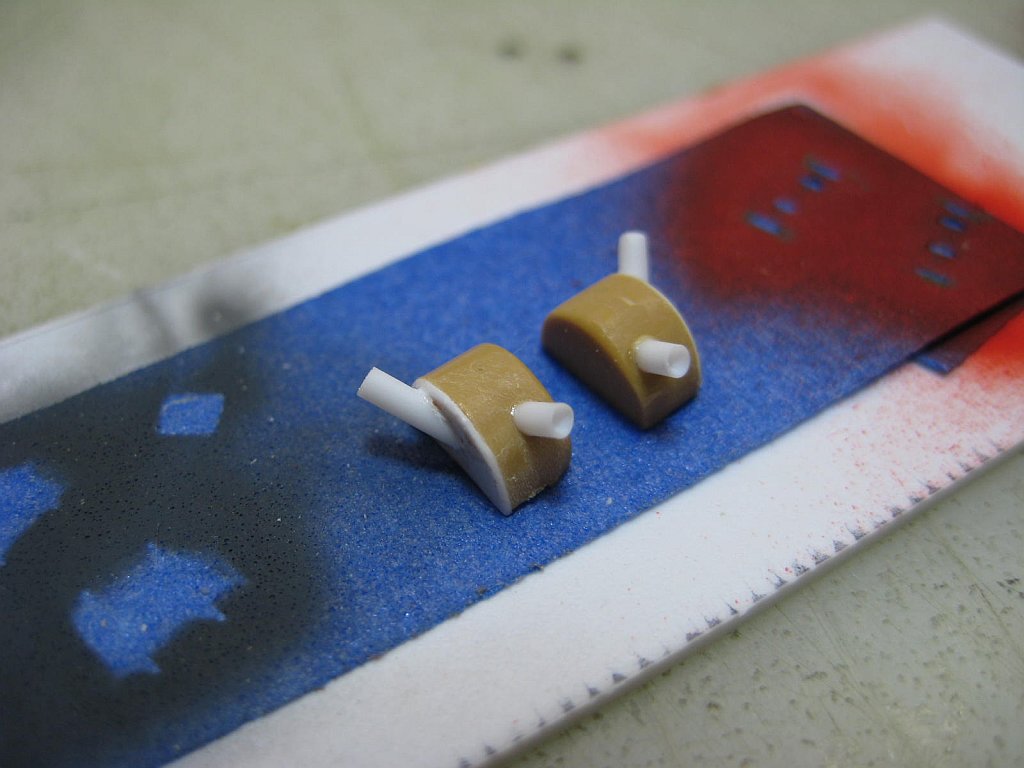
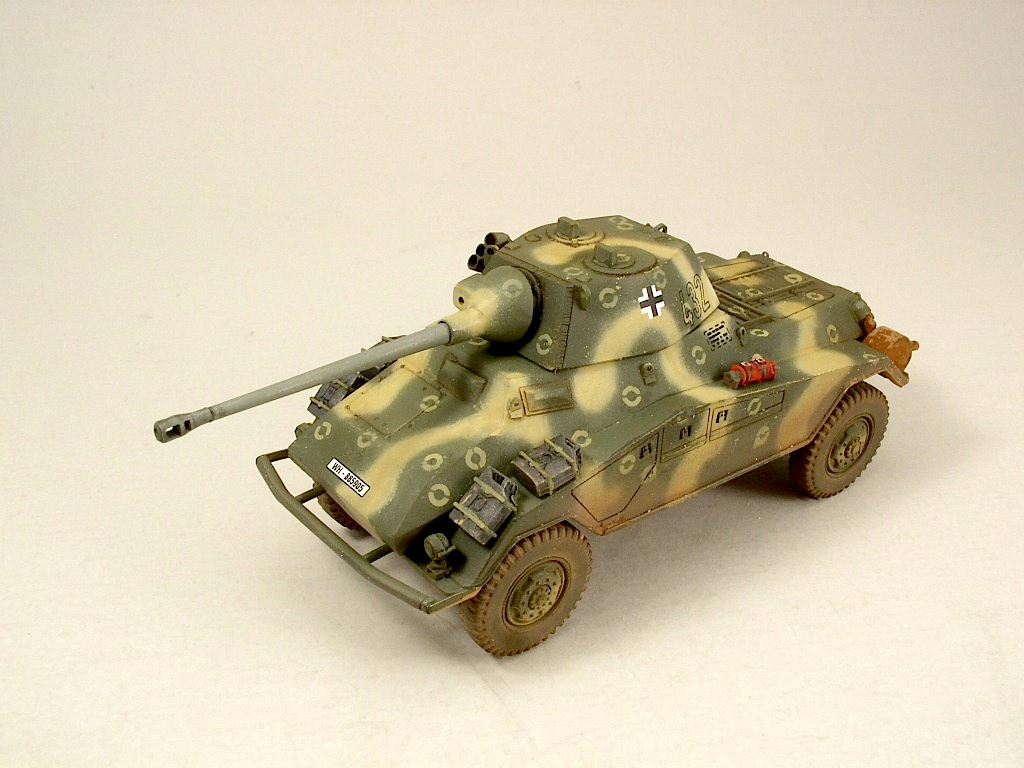
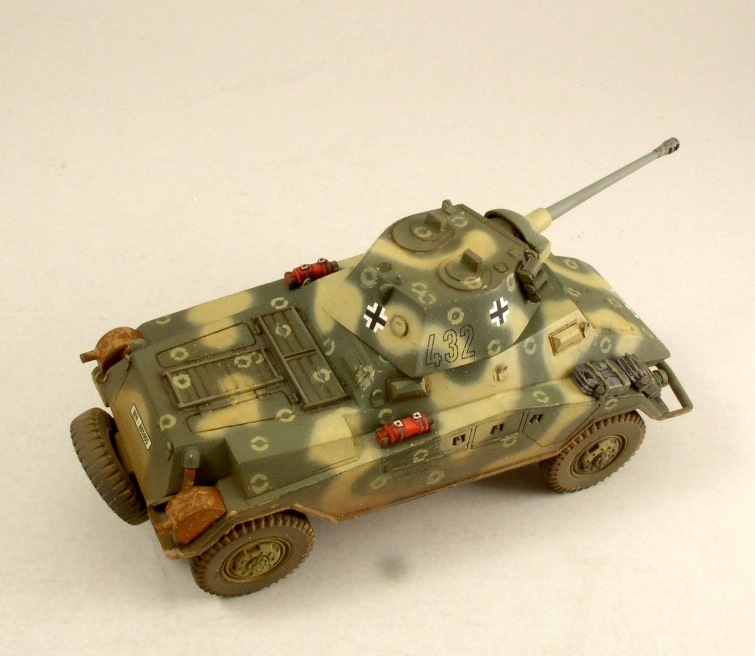
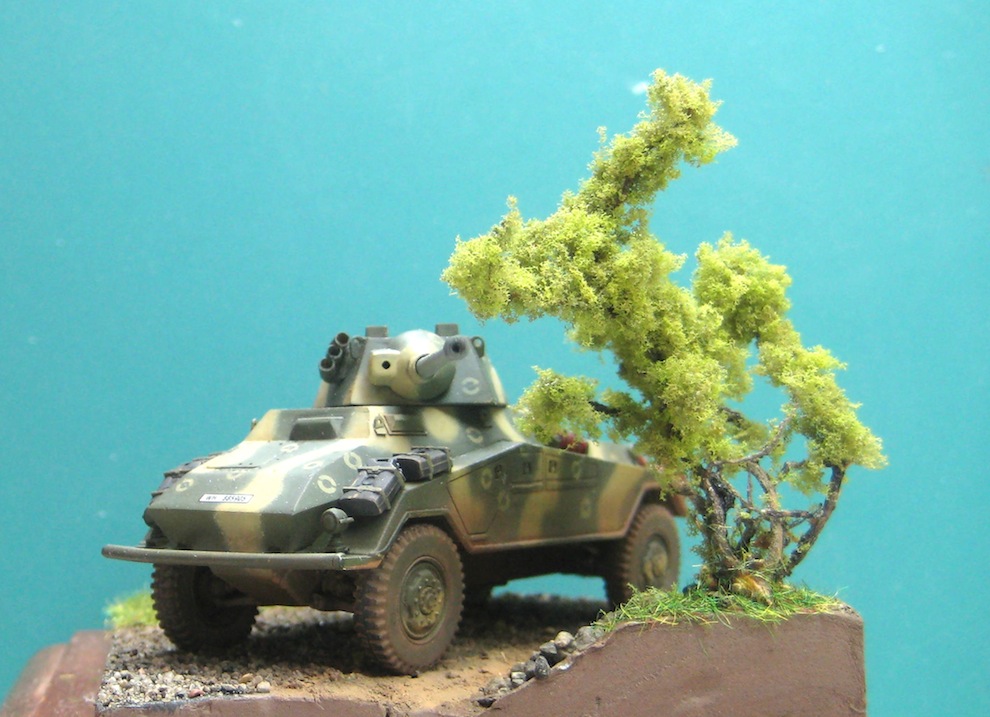
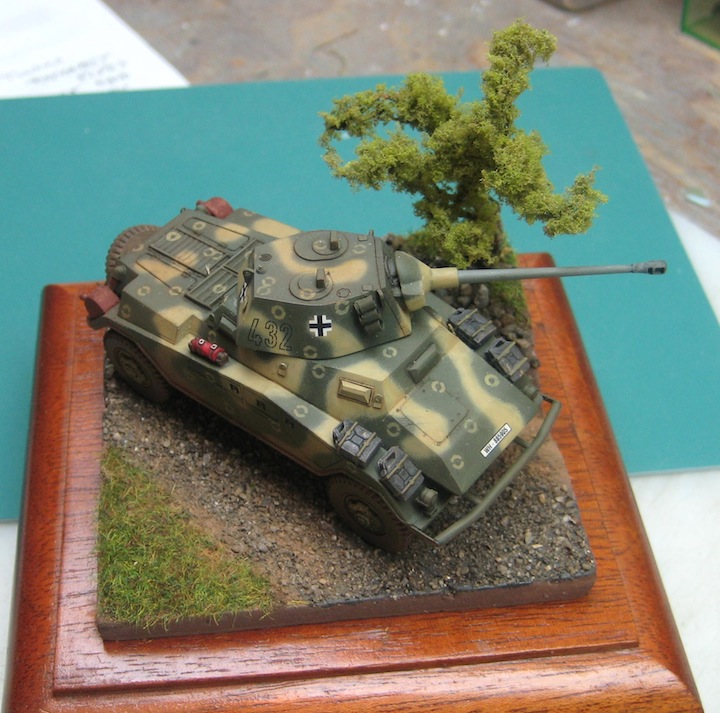
Realizing that the venerable Sd.Kfz.222 had its shortcomings, the Germans sought a replacement. A proposal was made to build a “cheaper” 234 that would have only four wheels and a smaller engine (actually half the 234 engine) but this proposal was not developed. I first saw this vehicle in an old issue of Military Miniatures in Review at the IPMS Nationals. Some months later, a hobby shop had an Armour magazine with a related article plus the Italeri 234 kit both on sale for less than half price. This was a sign: build me! So I bought the kit and magazine, and set to work converting eight wheels to four. The first issue was where to make the cuts for shortening the body. The kit body is in two parts, top and bottom. The top would be sectioned in front of and behind the radiator grille work. So these sections were cut out and the three remaining pieces glued back together. Shortening the top created a step in the side panels, so some plastic sheet was added and sanded until this was smooth. The bottom didn't require this precision. One section was removed which included the mounting for one axle. This section had to equal what was removed from the top. The “third” axle mount was filled using scrap white plastic. Some suspension detail was added but not the steering as Doug did in his build review of the Italeri Sd.Kfz.234/2 (which can be seen here). The bottom was longer than the top aft of the last axle, so another section was removed to shorten this area. Later some plastic was added to the rear to match the upper body. Next, the top was dry fitted to the bottom and the spacing for the front and rear wheel checked. Then the two were glued together. The side fenders/storage were fitted and one section removed to match the overall length of the body. The cut was made just ahead of the front radiator. The section was removed from the aft area because the front of the kit body had not been disturbed and the kit fender fit, well almost. Some plastic was cut to fit into the third and fourth wheel well gaps. There was much putty and sanding to smooth this. The modified fender required an additional strip where the fender touched the body. This strip was sanded and adjusted until there was a tight fit. For some reason, the kit mufflers would not fit, so these were sectioned and new pipes added with white plastic rod and then drilled out. While I was in the mood, I made new vision visors, lifting hooks/eyes, handles on the jerry cans and gun barrel. In hindsight, the hatches should be open with crew...but this was enough at the time of building. The model was primed and painted in a two tone scheme found in the MMiR article. That article also featured the stenciled circles, which were duplicated by making a stencil and spraying through the stencil onto clear decal paper. There was a high reject rate but the good ones really add a lot to the model. The other decals came from the kit. After application, the model was flat coated and weathered with oils and MIG pigments. After these pix were taken, the model was weathered more with pigment/dust and mounted on a scenic base. The Armor magazine had picture of this vehicle with the Sd.Kfz.222 style turret, but personally I like the turret from the Sd.Kfz.234/2 as shown in the MMiR article.
|
| Back to Articles Page | |
Article Last Updated: 25 May 2011 |
Back to Home Page |